- Retail Onboarding User Guide
- Party Management
- Retail Onboarding
- Onboarding Enrichment
- Onboarding Enrichment - Financial Profile
1.1.2.8 Onboarding Enrichment - Financial Profile
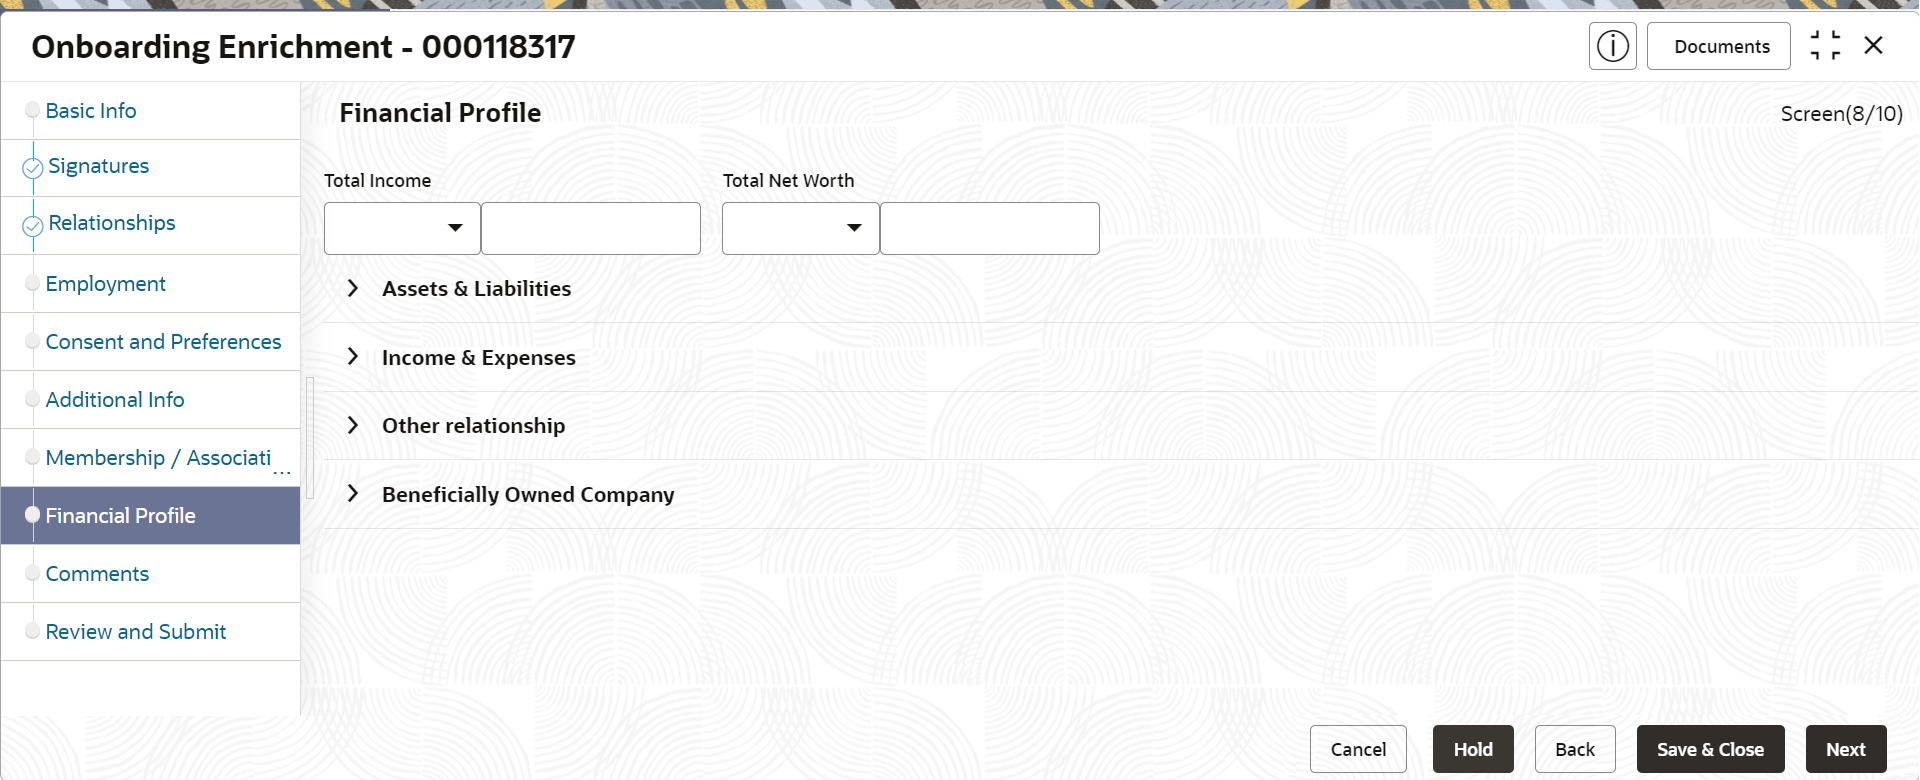
The relationship managers can further enrich the customer’s financial information in the Financial Profile screen, by adding total income and net worth, income, and expense details, and details about the relationship with other banks.
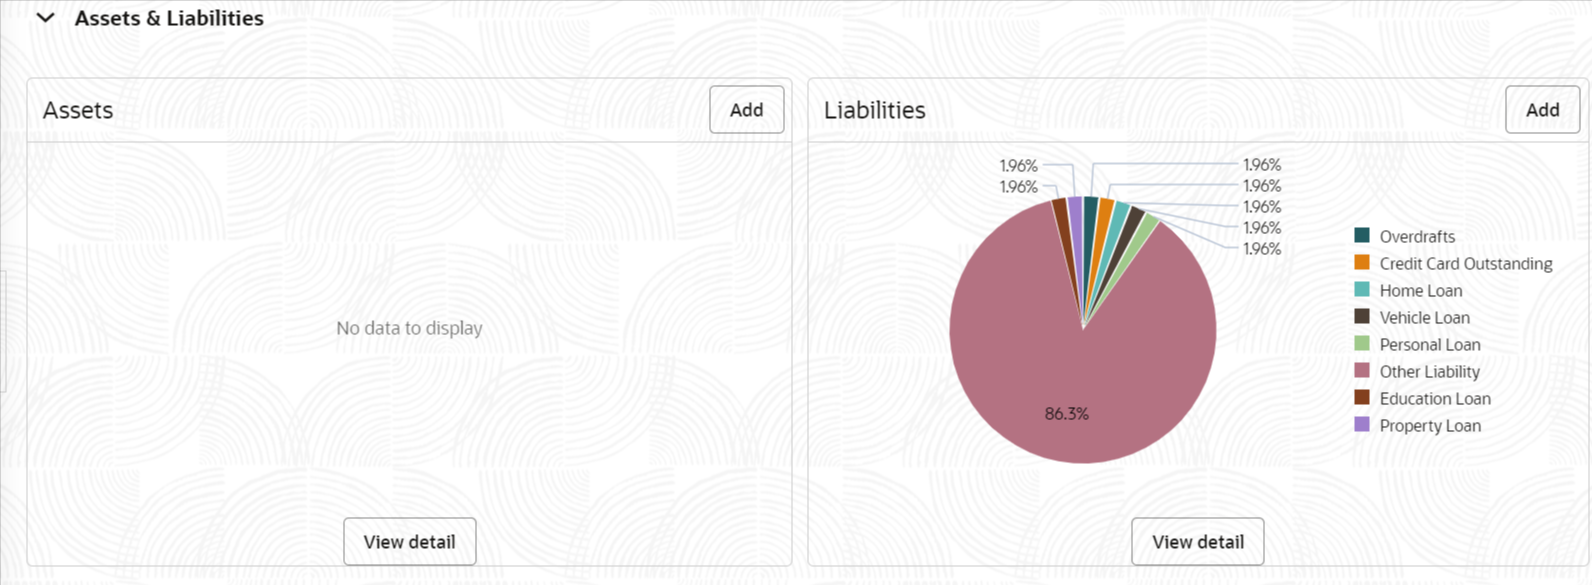
This screen is to add or update asset and liability details.
Note:
The fields marked as Required are mandatory.The following additional Data Segments can be captured in Financial Profile in Onboarding Enrichment – Financial Profile section.
Table 1-48 Data Segment - Description
Sl.No
Data Segment Name
Mandatory / Optional / Conditional
Description
1
Total Income and Net worth
Optional
Data Segment to capture Total Income and Net worth of the party.
2
Income & Expense
Optional
Data Segment to capture Income and Expense details of the party.
3
Other Relationship
Optional
Data Segment to capture Other Relationships of the party.
4
Beneficially Owned Company
Optional
Data Segment to capture Beneficially Owned Company relations of the party.
- Click Next in
theMembership/Association screen.The Financial Profile screen displays.
Figure 1-51 Enrichment – Financial Profile
- On the Financial Profile screen, click and expand Assets & Liabilities segment.The Assets & Liabilities screen displays.
Figure 1-52 Assets and Liabilities Details
- On the Assets & Liabilities screen, you can perform the following actions. For more information, refer to the below table.
Table 1-49 Common Actions for Assets and Liabilities
Action Description Add ClickAdd button to add the assets and liabilities in the corresponding tiles. For more information, refer to the Figure 1-29 and Figure 1-31. View detail Click View detail button in the corresponding tiles to change the chart view of asset and liabilities detail to the list view. Back Click Back button in the corresponding tiles to change the list view of assets and liabilities detail to the chart view. - Click the configure icon in the corresponding tile.
The following options are displayed in assets and liabilities details:
- Add
- Modify
- Delete
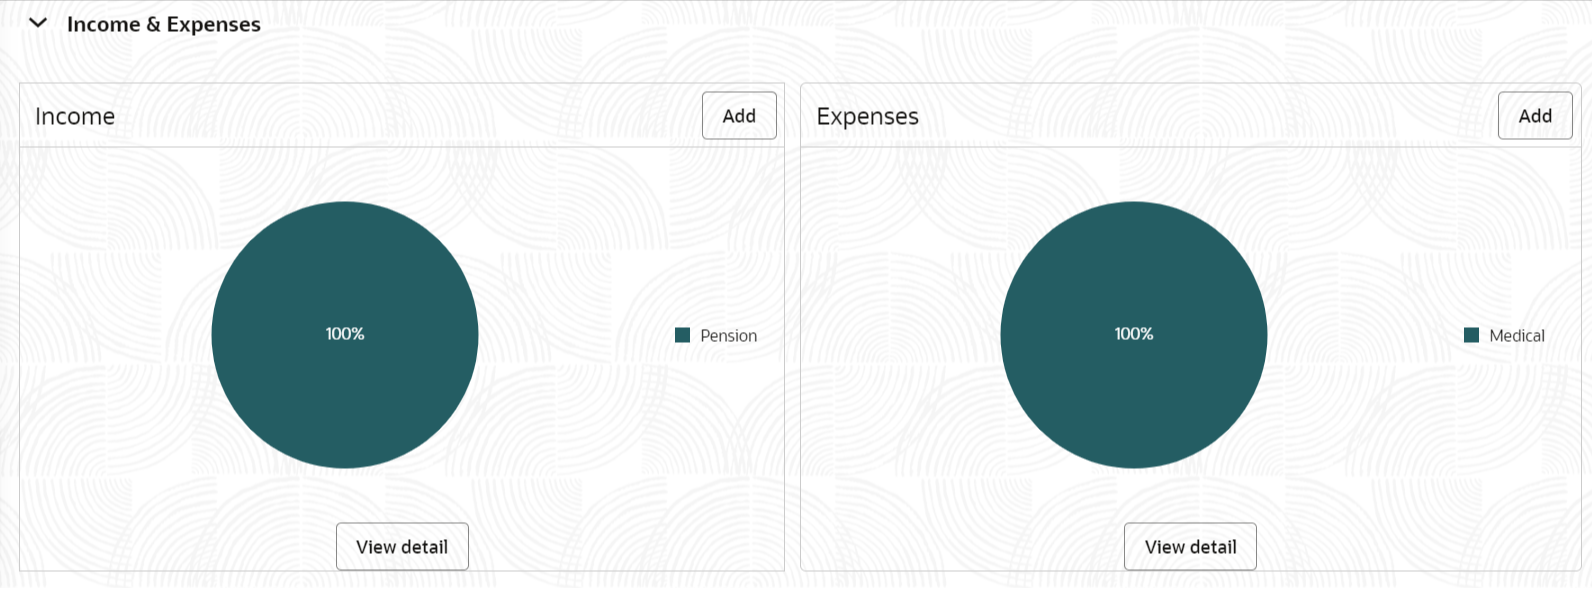
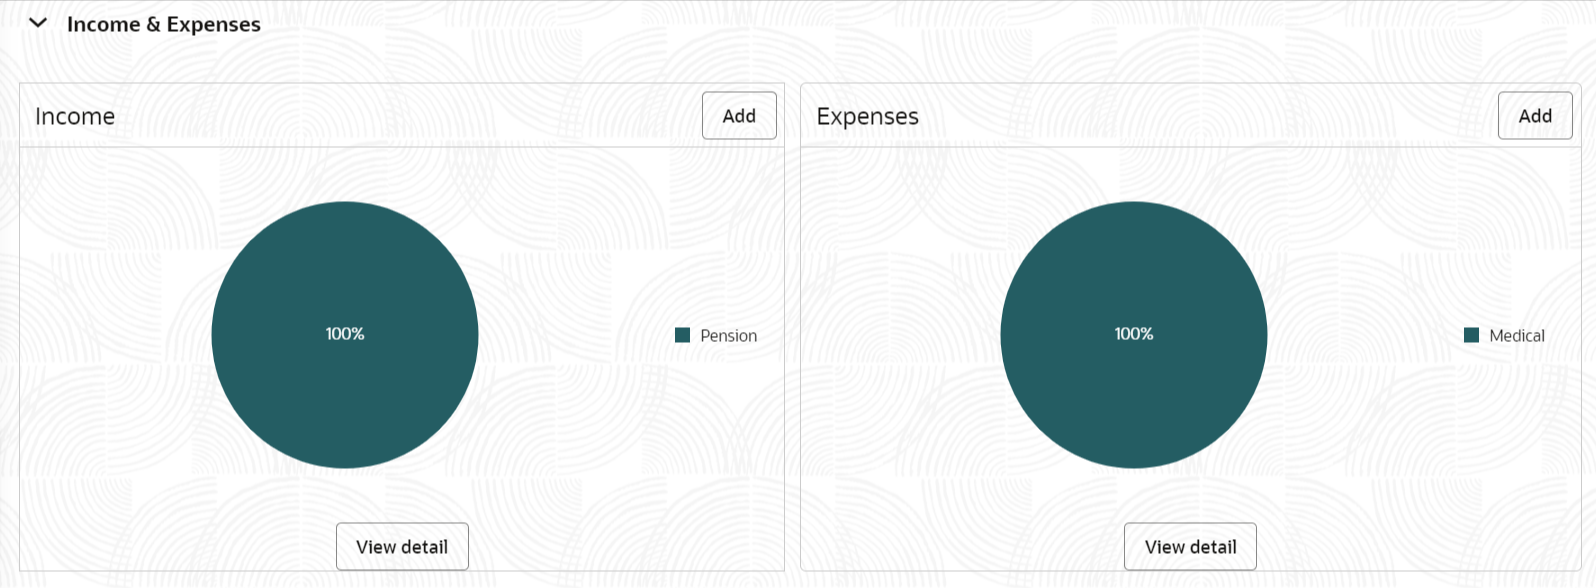
- Click and expand the Income & Expenses
section.
Figure 1-53 Financial Profile – Income and Expense
- Click Add to add the income details of the
customer.The Income screen displays.
- Click Add.The Add Income screen displays.
- On the Add Income screen, specify the fields.For more information on fields, refer to the field description table.
Table 1-50 Add Income – Field Description
Field Description Income Type Select income type from the drop-down values. The available options are: - Pension
- Agriculture
- Salary
- Interest Amount
- Rentals
- Bonus
- Cash Gifts
- Business
- Total Income
- Investment Income
- Other Income
Note:
The list of values can be configured through Entity Maintenance.Frequency Select frequency of income from the drop-down list. The available options are: - Weekly
- Bi-Weekly
- Monthly
- Quarterly
- Yearly
- Daily
- Half Yearly
Note:
The list of values can be configured through Entity Maintenance.Currency Click the search icon and select the currency from the list. Note:
The list of values can be configured through Common Core Maintenance for Currency Code.Amount Specify the value of income as per income details of the party. - Click Add to save the details.
Note:
You can also select the required item from the list, and click the Edit/Delete icon to modify/delete the added membership details. - Click
 icon to exit the Income window.
 - In the Expenses tile, click the configure icon to add
the expense details of the customer.The Expenses window is displayed.
- Click Add.The Add Expenses screen is displayed.
- On the Add Expense screen, specify the fields. For more information on fields, refer to the field description table.
Table 1-51 Add Expenses - Field Description
Field Description Expense Type Select expense type from the drop-down list. The available options are: - Medical
- Education
- Rentals
- Household
- Vehicle
- Fuel
- Other Expenses
- Loan Payments
- Utility Payments
- Insurance Payments
- Credit Card Payments
Note:
The list of values can be configured through Entity Maintenance.Frequency Select the frequency from the drop-down list. The available options are: - Weekly
- Bi-Weekly
- Monthly
- Quarterly
- Yearly
- Daily
- Half Yearly
Note:
The list of values can be configured through Entity Maintenance.Currency Click the search icon and select the currency from the list. Note:
The list of values can be configured through Common Core Maintenance for Currency Code.Expense Value Specify the expense value. Note:
Refer to the Oracle Banking Party Configurations User Guide for entity maintenance. - Click Add to save the details.
Note:
You can also select the required item from the list, and click the Edit/Delete to modify/delete the added membership details. - Click
 icon to exit the Income window.
 - Click and expand the Other Relationship section.The Other Relationship screen displays.
- Click Add to add details about the customer’s
relationship with other banks.The Relationship with other financial institutions screen displays.
Figure 1-59 Relationship with other financial institutions
- On the Relationship with other financial institutions
screen, specify the fields.For more information on fields, refer to the field description table.
Table 1-52 Relationship with other financial institutions - Field Description
Field Description Institution Name Specify the name of the institution where the customer is a member. Relationship Type Select the relationship type from the drop-down list. The available options are: - Loan
- Deposit
- CASA
Note:
The list of values can be configured through Entity Maintenance.Relationship Worth Select a currency from the drop-down values, and specify the relationship worth amount. Relationship worth Currency Relationship worth currency with other financial relationship of party. Select from the available list of values. Note:
List of values can be configured through Common Core Maintenance for Currency Code.Relationship Since Click Calendar icon and select the start date of the customer’s relationship. - Click Add to save the details.
The system adds and lists the relationship details in the Other relationship section
Note:
You can also select the required item from list, and click the edit/delete icon to modify/delete the other relationship details.
- Click and expand Beneficially Owned Company segment.The Beneficially Owned Company screen displays.
- Click + to add details about beneficially owned company.The Beneficially Owned Company pop-up screen is displayed.
- On the Beneficially Owned Company pop-up screen, specify the details. For more information, refer to the field description table.
Table 1-53 Beneficially Owned Company - Field Description
Field Description Company Name Specify company name as per beneficially owned company details of the party. Location Specify location of the beneficially owned company of the party. Percentage Holding Percentage holding as per beneficially owned company details of the party. Annual Income Currency Select the currency of incomer as per income details of the party from the list of values. Annual Income Amount Specify annual income of the beneficially owned company of the party. Line of Business Specify line of business of the beneficially owned company of the party. Note:
Refer to the Oracle Banking Party Configurations User Guide for entity maintenance.The system adds and lists the beneficially owned company details in the section.Note:
You can also select the required item from list and click edit/delete icon to modify/delete the beneficially owned company details. - Click Next to move to the Comments segment.
Parent topic: Onboarding Enrichment
