- Retail Onboarding User Guide
- Party Management
- Retail Onboarding
- Recommendation
1.1.4 Recommendation
In this stage, the final Recommendation user reviews the customer details and moves the task to Approval stage if the details are appropriate.
If the details are inappropriate, the reviewer can send the task back to the
previous stage.
Note:
The fields marked as Required are mandatory.- Click Acquire and Edit in the Free
Tasks screen for the application for which
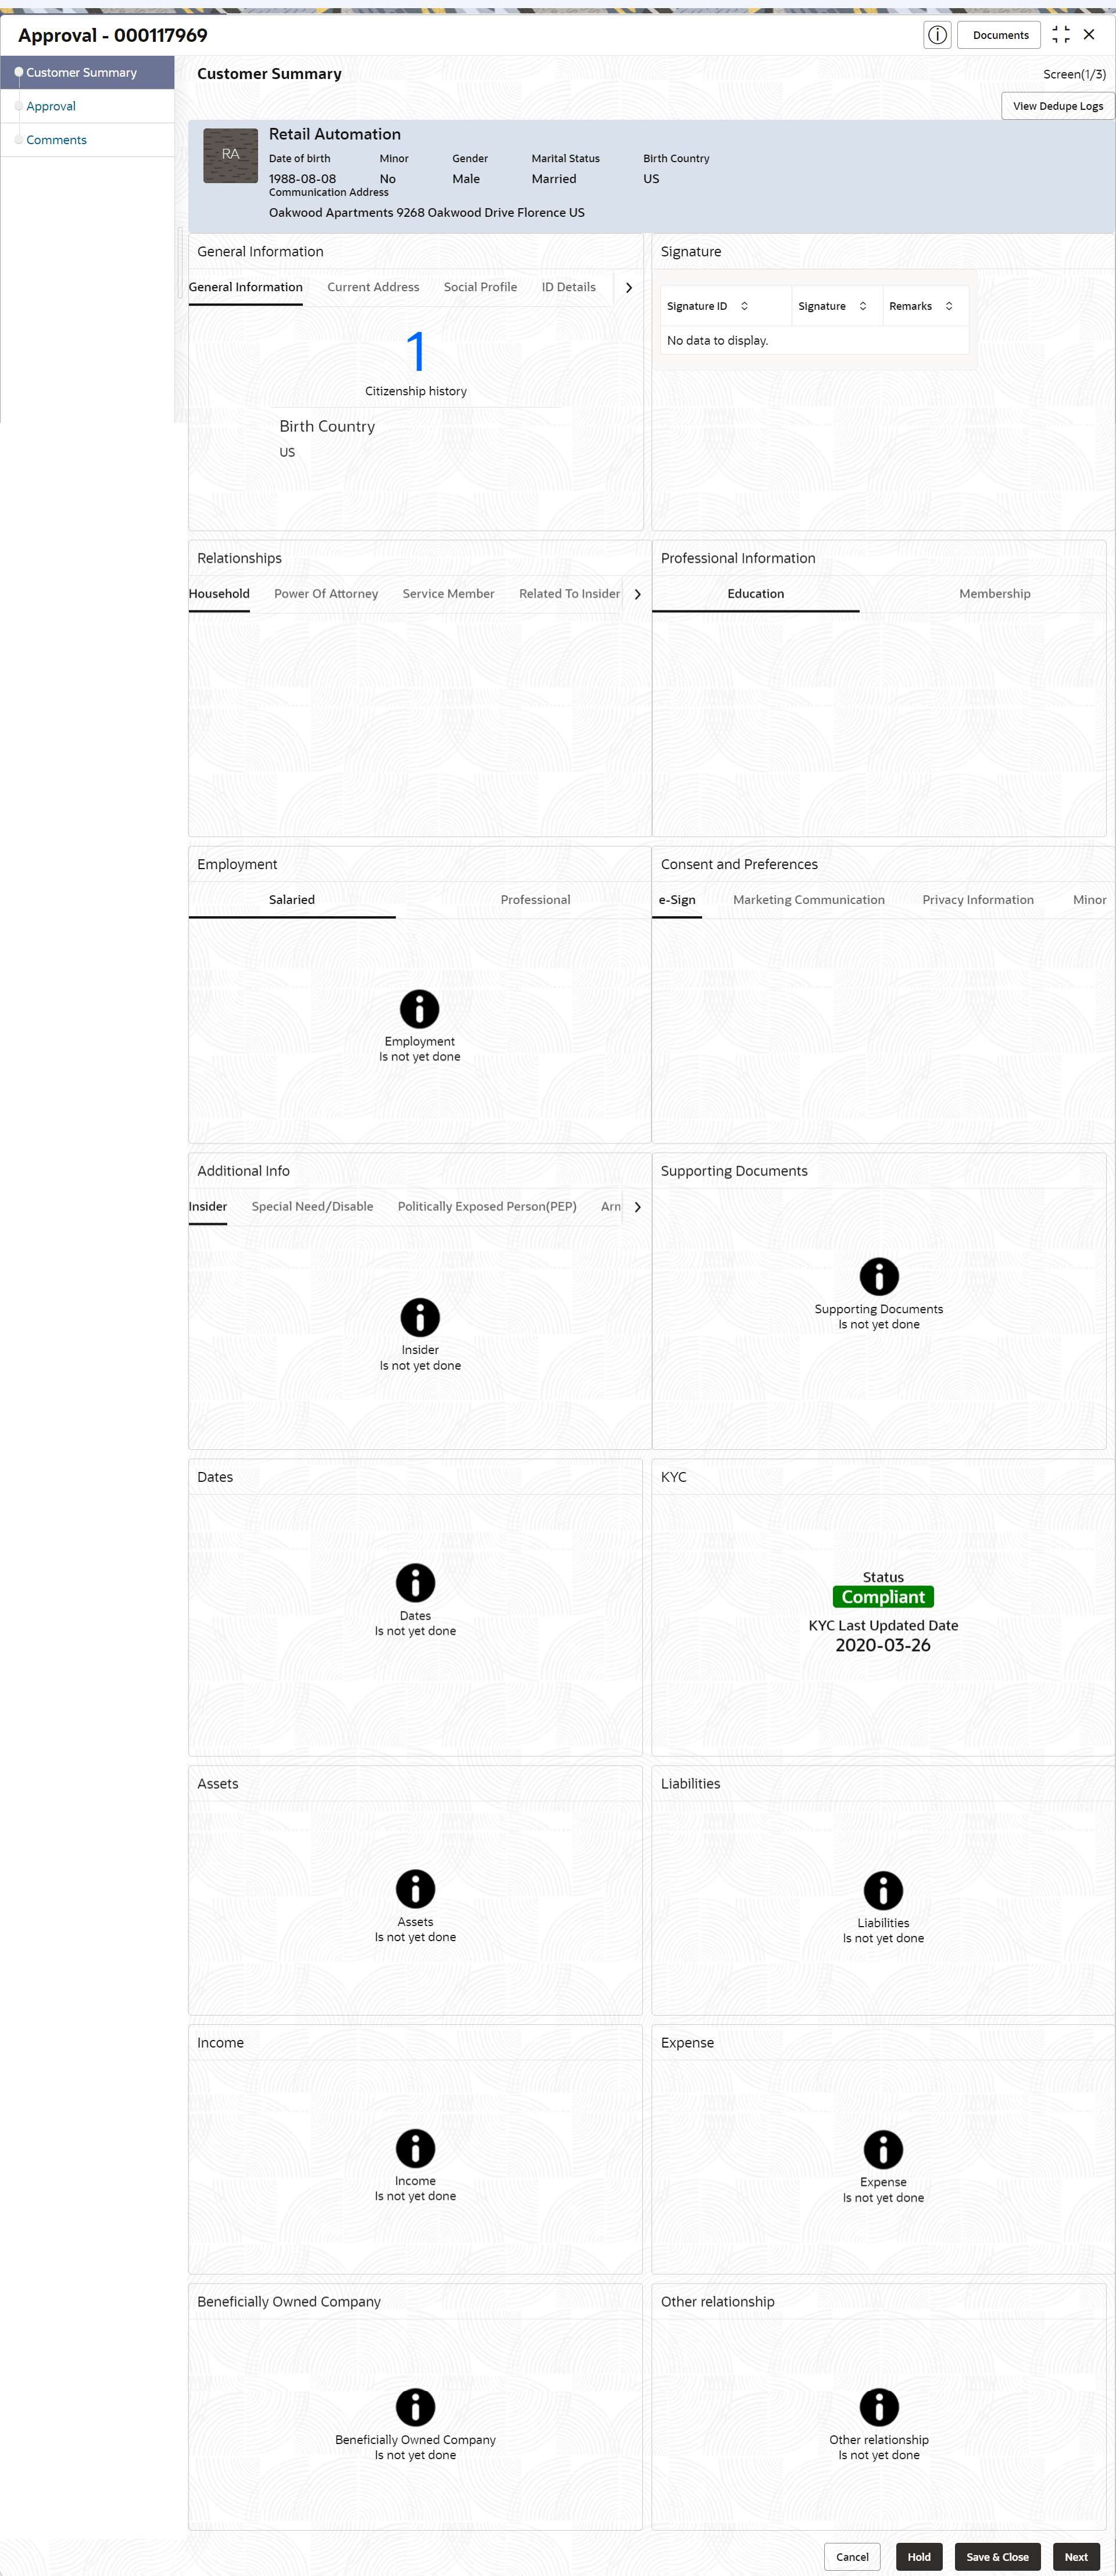
Recommendation stage has to be acted upon.The Customer Summary screen displays.
Figure 1-68 Recommendation – Customer Summary
- On the Customer Summary screen, verify the details that
are displayed in tiles.
For more information on the tiles, refer to the Table 1-54
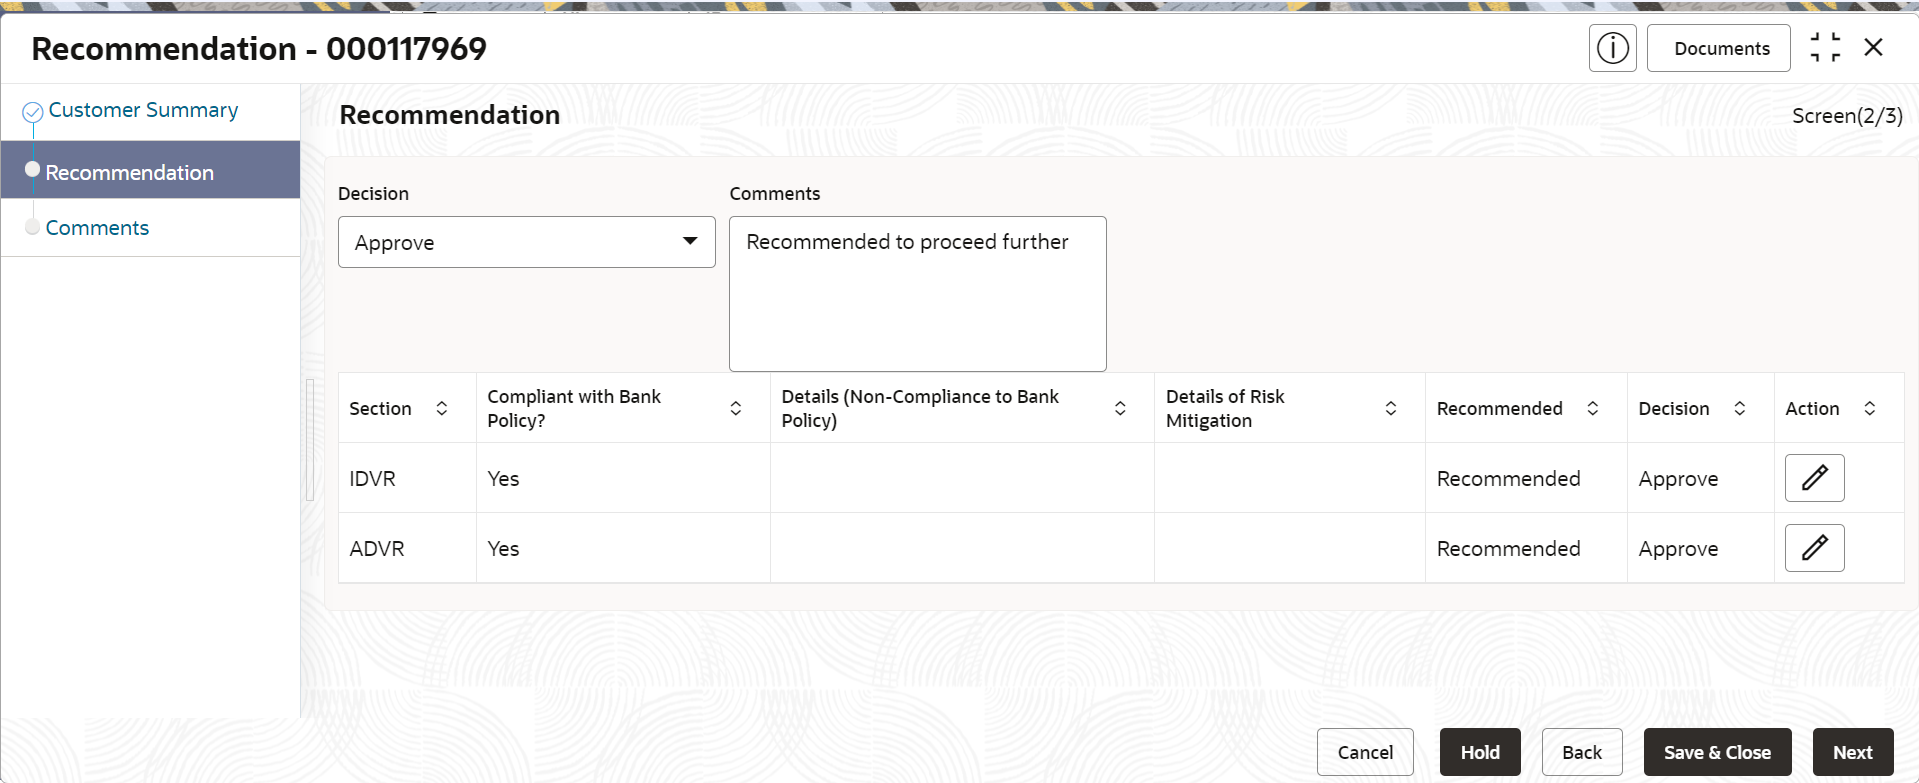
- Click Next.The Review screen display.
Figure 1-69 Recommendation – Recommendation Comments
- Select Recommendation decision in Decision field.
- Specify the Comments for Recommendation decision.
- Click Action to Input
Recommendation details for each of the KYC
type.For example, if the user clicks Action in Address Verification, the system displays the Address Verification window as shown.
- Click Action to Input Recommendation details for each of
the Party Information Data Segment.The Onboarding Approval screen displays.
- Specify the fields for Onboarding Approval.For more information on fields, refer to the field description table.
Table 1-69 Onboarding Approval - Field Description
Field Description Compliant with Bank Policy Enable the toggle button if customer is compliant with the Bank Policy. Recommended Enable the toggle button if customer is Recommended by reviewing user. Decision Specify decision with respect to KYC type. Details (Non-Compliance to Bank Policy) Specify the details of Non-Compliance to Bank Policy. Note:
This field is available only Compliant with Bank Policy toggle is disabled.Details of Risk Mitigation Specify the comments of Details of Risk Mitigation. Note:
This field is available only Compliant with Bank Policy toggle is disabled. - Click View KYC Details to review all the KYC details.
- Click Update to update the decision.
- On the Comments screen, perform the following
actions:
Table 1-70 Actions - Description
Actions Description Post Click Post. The comments are posted below the text box. Submit Click Submit. The Checklist window is displayed. Outcome On the Checklist window, select the Outcome as Approve or Reject and click Submit. Based on the value selected for the outcome, the following conditions apply: -
If Approve is selected, the task is moved to the Approval stage.
- If Reject is selected, the task is terminated.
-
- Click Next.The Comments screen displays.
- Specify the overall comments for the Recommendation stage.
Parent topic: Retail Onboarding

