4.10.2.1 Creating the Export Data Rule
To create a export data rule, follow these steps:
- Navigate to Export Data Summary page.
- Click the Add button.
- Enter the following Export Data details in the Basic Information section:
Figure 4-82 Basic Information section

- Name: Enter unique export data rule name. This is a mandatory field.
- Description: Enter brief description of rule.
- Enter the parameter details in the Export Parameters section:
Figure 4-83 Export Parameters section

- Dataset: Select the Dataset which was defined in Datasets UI.
- File Type: Select the type of file. It can be CSV, JSON, Parquet, and XML
- File Compression Type: Define the compression type for the selected file. The supported File Compression Type is Gzip.
- File Name: Enter the logical name for table.
- Column Delimiters: This field is applicable if the selected file type is CSV. The supported Column Delimiters are Comma (,) and Pipe(|). You can use this to separate data within a row.
- Max File Size: Define the maximum file size. The minimum file size limit is 10 MB and maximum limit is 1GB.
- Include Header: This field is applicable if the selected file type is CSV. If this toggle is turned ON, then the exported CSV file will include headers for the exported table columns.
- Value Enclosed By Double Quote: This field is applicable if the selected file type is CSV. If this toggle is turned ON, then the fields will be double quoted in exported CSV file.
- Enter the table and column details in the Tables and Columns
section:
Figure 4-84 Tables and Columns section
 To add Table(s) and Column(s), follow these steps:
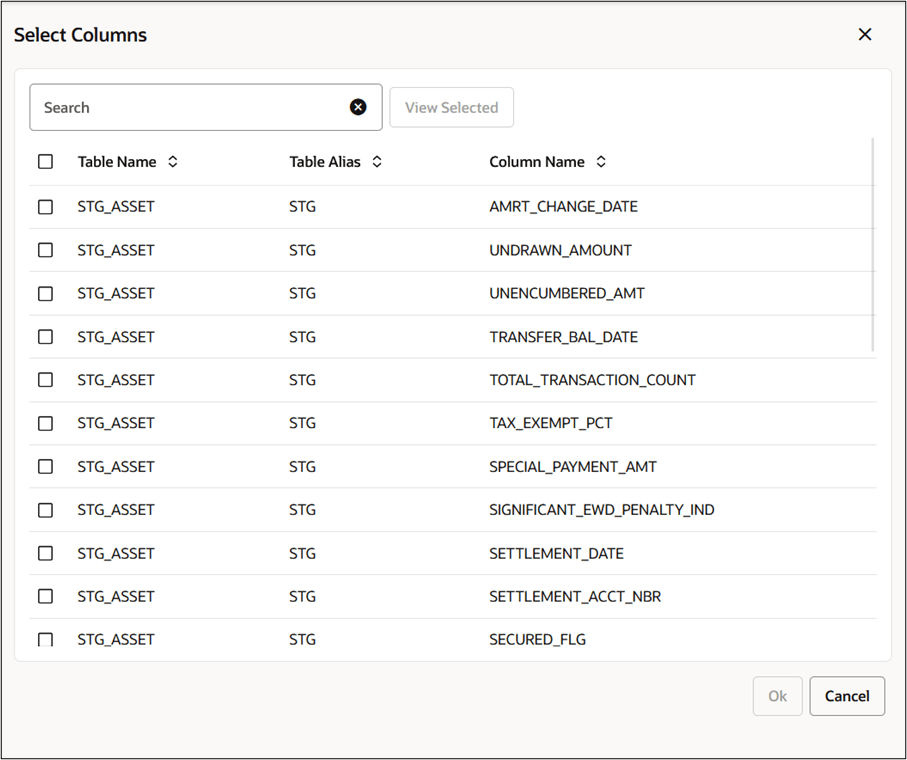
- Click Add button in Tables and Columns section. The Select
Columns window is displayed.
Figure 4-85 Select Columns window

- Select the tables and columns. Click OK.
Figure 4-86 Tables and Columns section

- You can edit the Column Alias name if required. The Column Alias name should be unique.
- Add the Column Expression.
You can also include dynamic parameters in column expression if needed.
For example:
FSI_D_ASSET.ACCOUNT_NUMBER = '##ACC_VAL1##'If multiple parameters are required, then separate them using commas (,). For example:
FSI_D_ASSET.ACCOUNT_NUMBER IN
                                    ('##ACC_VAL1##','##ACC_VAL2##','##ACC_VAL3##')
These dynamic parameters will be replaced with actual values during the execution through the Scheduler Service UI or Export Data UI.
For more details, see the Exporting the Data section.
- Define the Aggregate Function.
- Click Add button in Tables and Columns section. The Select
Columns window is displayed.
- Update the Other Details section for Filters, Groups, and/or
Orders.
Figure 4-87 Other Details section

- Use filters as required.
You can also include dynamic parameters for Filter queries if needed.
For example:
FSI_D_ASSET.ACCOUNT_NUMBER =
                                '##ACC_VAL1##'
If multiple parameters are required, then separate them using commas (,). For example:
FSI_D_ASSET.ACCOUNT_NUMBER IN
                                ('##ACC_VAL1##','##ACC_VAL2##','##ACC_VAL3##')
These dynamic parameters will be replaced with actual values during the execution through the Scheduler Service UI or Export Data UI.
For more details, see the Exporting the Data section.
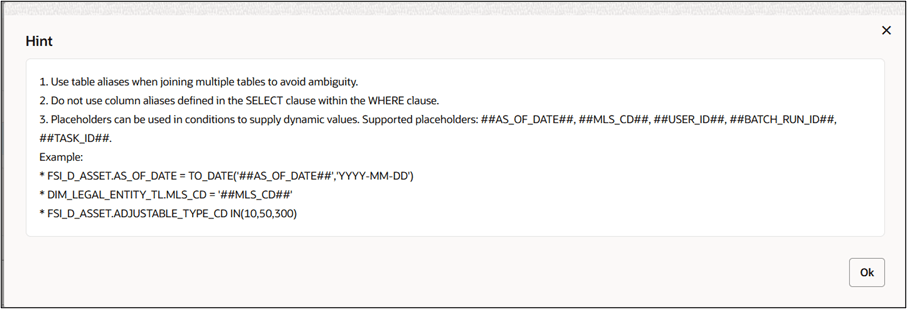
You can click Hint icon to view the hints before defining a filter. Below is a sample of Hint:
Figure 4-88 Sample of Hint

- Use Group By to group the data.
You can also include dynamic parameters for Group By queries if needed.
For example:
FSI_D_ASSET.ACCOUNT_NUMBER =
                                '##ACC_VAL1##'
If multiple parameters are required, then separate them using commas (,). For example:
FSI_D_ASSET.ACCOUNT_NUMBER IN
                                ('##ACC_VAL1##','##ACC_VAL2##','##ACC_VAL3##')
These dynamic parameters will be replaced with actual values during the execution through the Scheduler Service UI or Export Data UI.
For more details, see the Exporting the Data section.
You can click Hint icon to view the hints before defining a filter. Below is a sample of Hint:
Figure 4-89 sample of Hint

- Use Order By to arrange the data.
- Use filters as required.
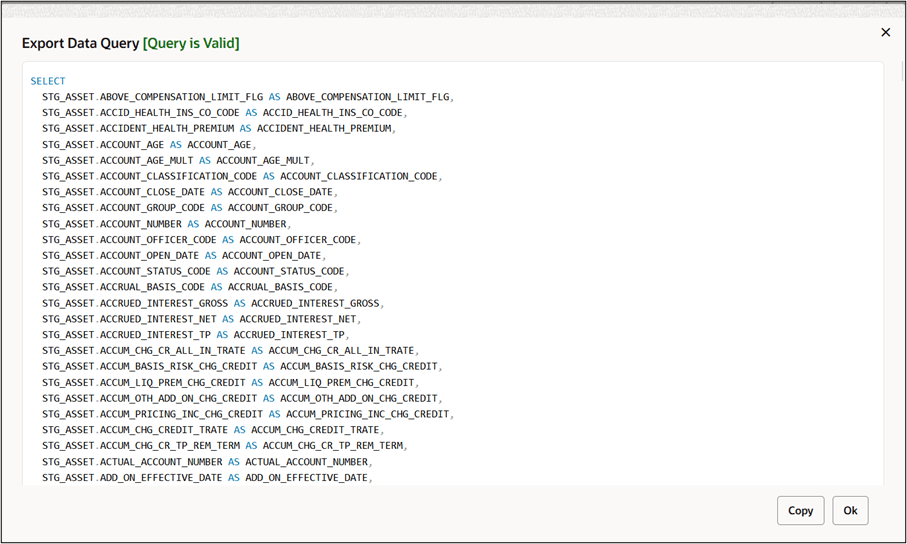
- Click Save. You can click Preview Query button to view the
defined rule in query format.
Figure 4-90 Preview Query

You can copy the query using the Copy button. Click Ok to continue.