G.1 Creating an Application
To create an application, follow these steps:
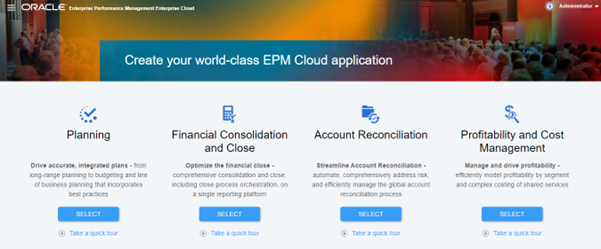
- Click Select under Planning.
Figure G-1 Enterprise Planning and Budgeting Cloud Service Landing Page
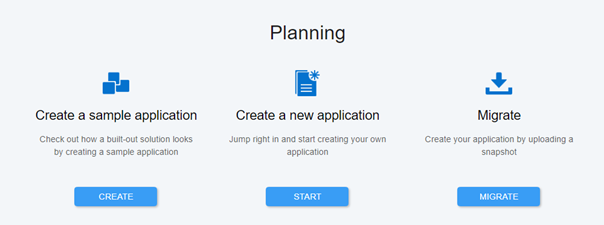
- Click Start to create a new Planning Application.
Figure G-2 Create Application
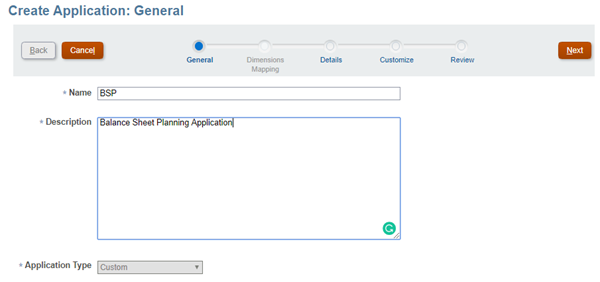
- Enter an application name, description, select Application Type as
Custom, and then click Next.
Figure G-3 Create Application – General Details
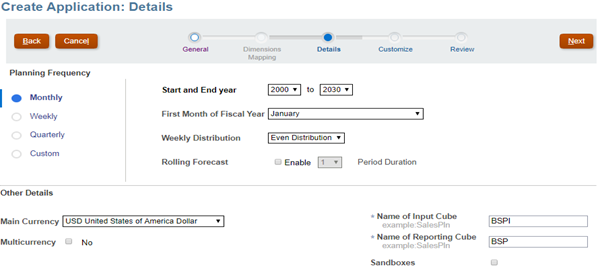
- Select the value of the following options in Create Application: Details Wizard as
specified below and click Next:
- Planning Frequency: Monthly.
- Start and End Year: Make sure to include the year that contains the historic actuals required for planning and analysis.
- First Month of Fiscal Year: January.
- Weekly Distribution: Even Distribution.
- Main Currency: Reporting Currency in OFSAA.
- Multicurrency: uncheck.
- Name of the input cube: user-defined.
- Name of the reporting cube: user-defined.
Figure G-4 Create Application Details
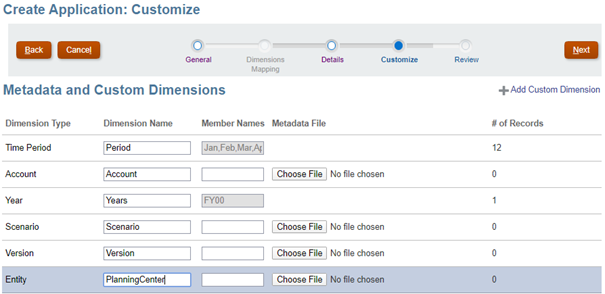
- In the Metadata and Custom Dimensions tab change the Dimension Name of Entity to
Planning Center and click Next.
Figure G-5 Create Application - Customize
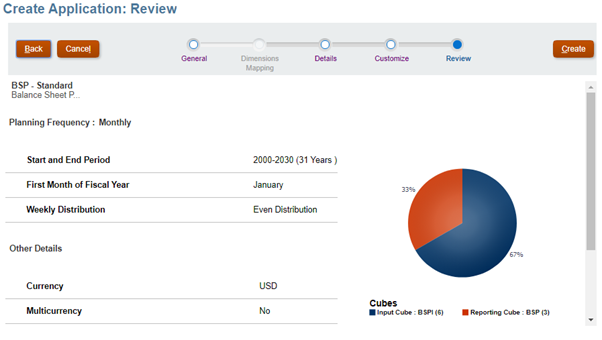
- Review all the details and click Create.
Figure G-6 Create Application - Review
