Creating Production Workspace
On the Workspace Summary page, click Add Workspace. The Create Workspace
window is displayed with the following process:
- Basic Details
- Workspace Schema
- Data Sourcing
- Metadata Sourcing
- Validate
- Summary
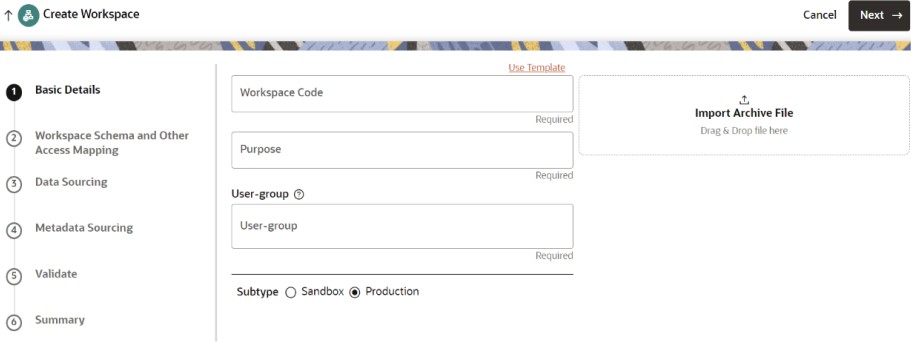
Basic Details
To create a basic details of the
production workspace, follow these steps:
- Enter the Workspace Code and Purpose of the workspace.
- From the drop-down list, select the User-group.
- Select the subtype as Production.
- Click Next.
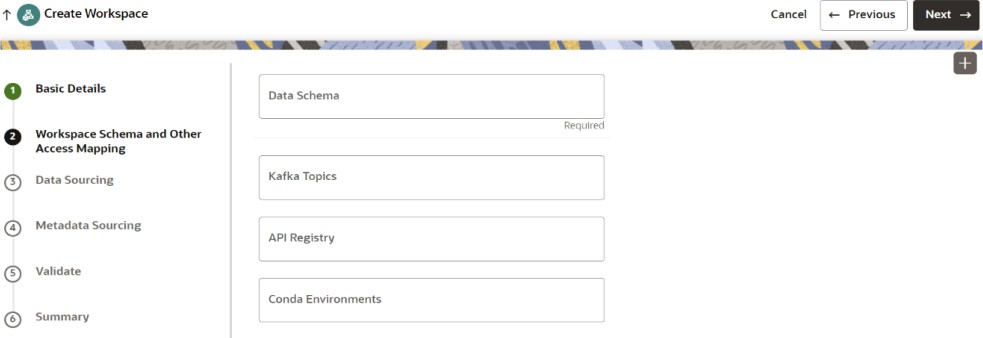
Workspace Schema
To create the workspace schema,
follow these steps:
- Select the Data Schema as Sanction Atomic Schema.
Note:
Leave the Kafka Topics and API Configurations fields as blank.For more information about creating Data Schema, see How to Create Data Store.
- Select the following Conda Environments:
- default_8.1.2.8.0
- ml4aml_8.1.2.8.0
- Click Next.
Data Sourcing
Data sourcing is not required as the production workspace is attached to the Sanction Atomic Schema. To source the data sourcing tables, see the Data Sourcing section in the How to Create Sandbox Workspace topic. Click Next to navigate to the Metadata Sourcing tab.
Metadata Sourcing
To source the metadata tables, see the Metadata Sourcing section in How to Create Sandbox Workspace. Click Next to navigate to the Validate workspace tab.
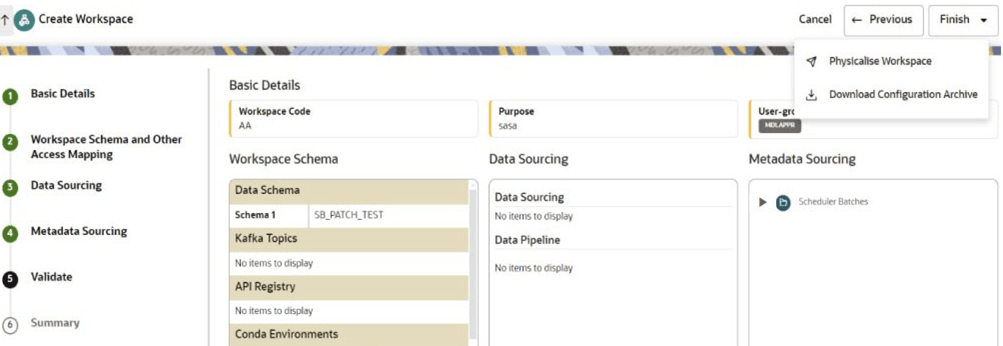
Validate Workspace
You can validate the Basic
details, Workspace schema, Data Sourcing and Metadata sourcing before you
physicalize the workspace.
To Physicalize the workspace, Click Finish and then
select Physicalize Workspace.
Summary
You can view summary of the created
workspace.


