Identity Management
Figure 8-31 The Identity Management Page
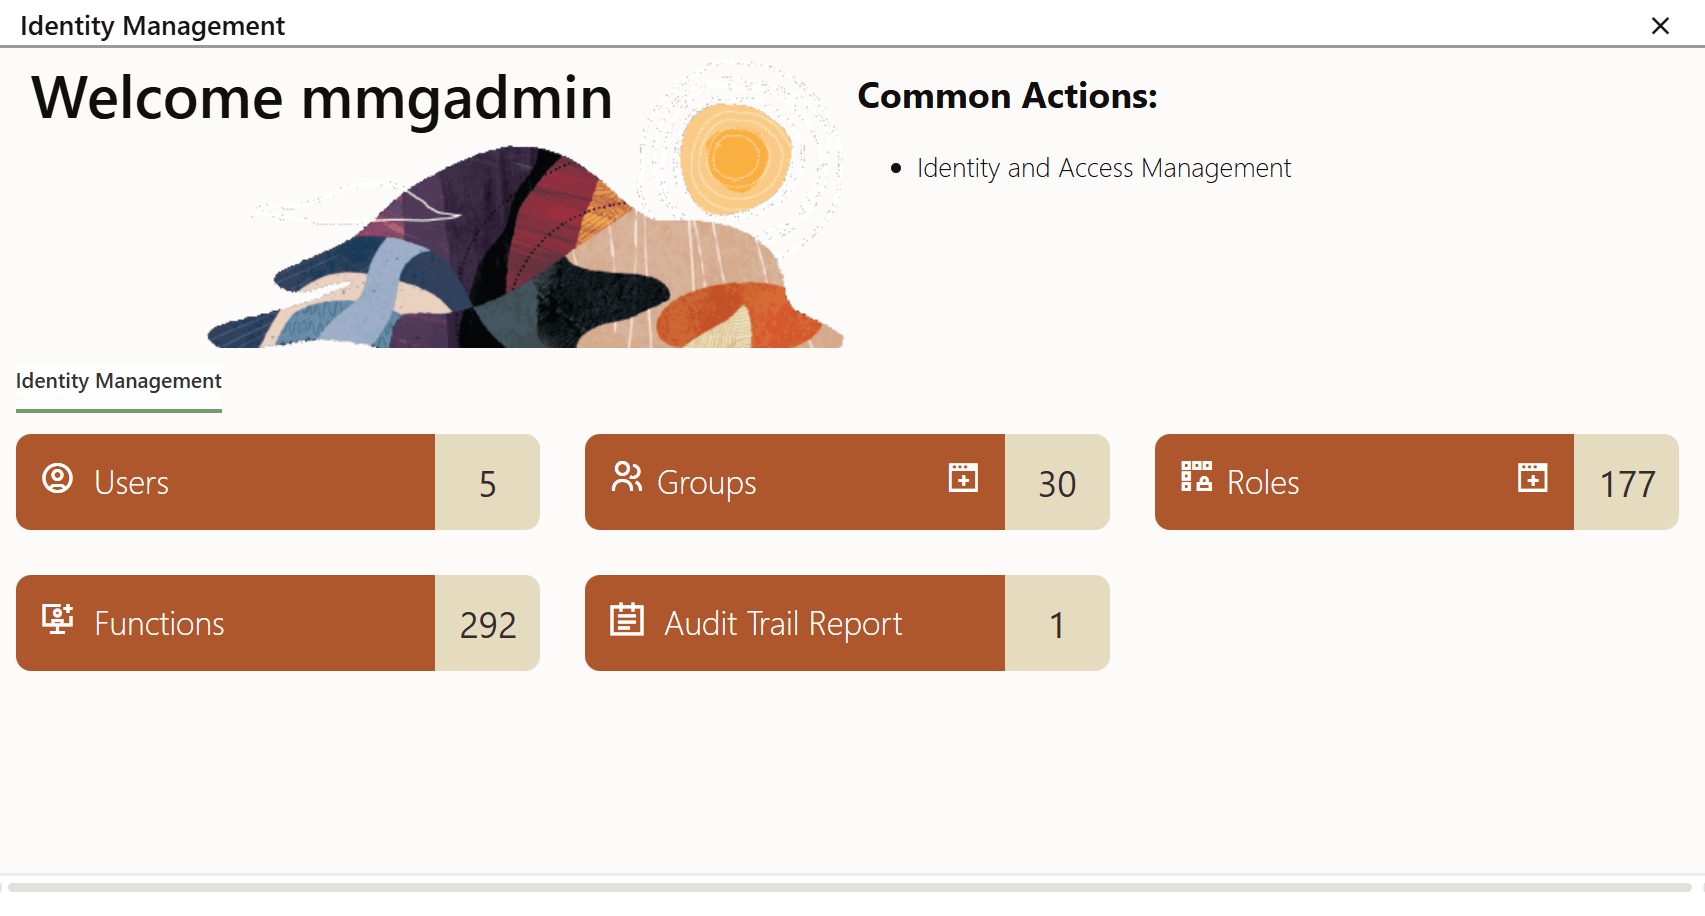
- Users: The users who are mapped to the application are
listed on this page.
Figure 8-32 Identity Management Users
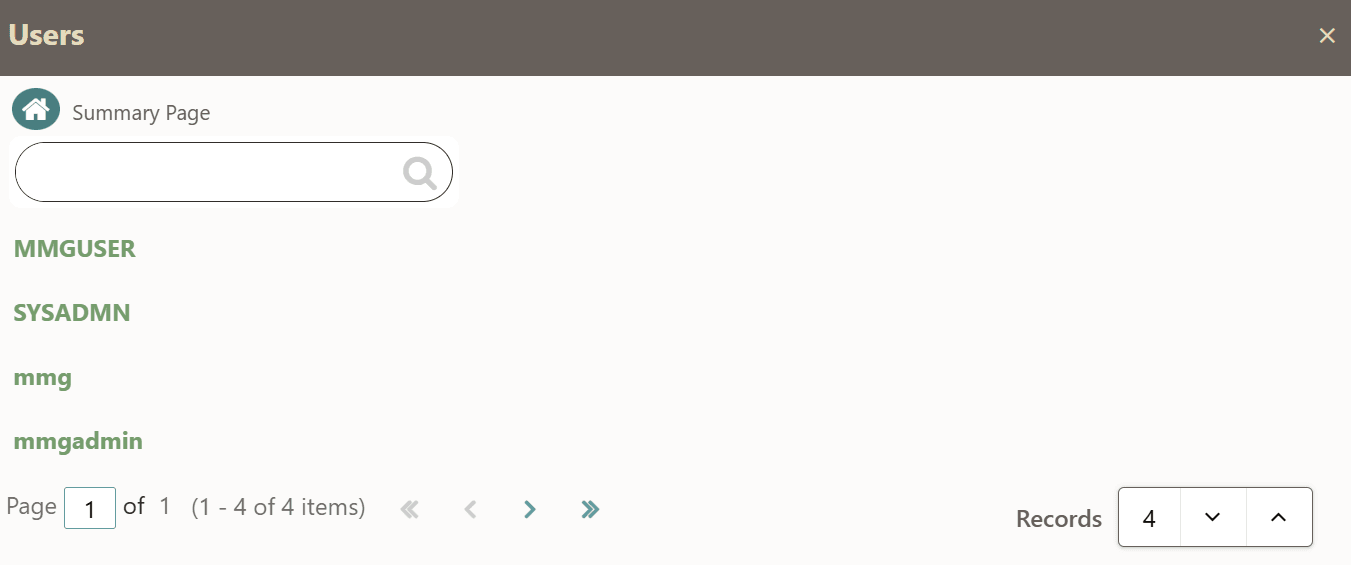
- Groups: The application admin users contain groups. This
page displays the groups that are assigned to a user.
Figure 8-33 Identity Management Groups
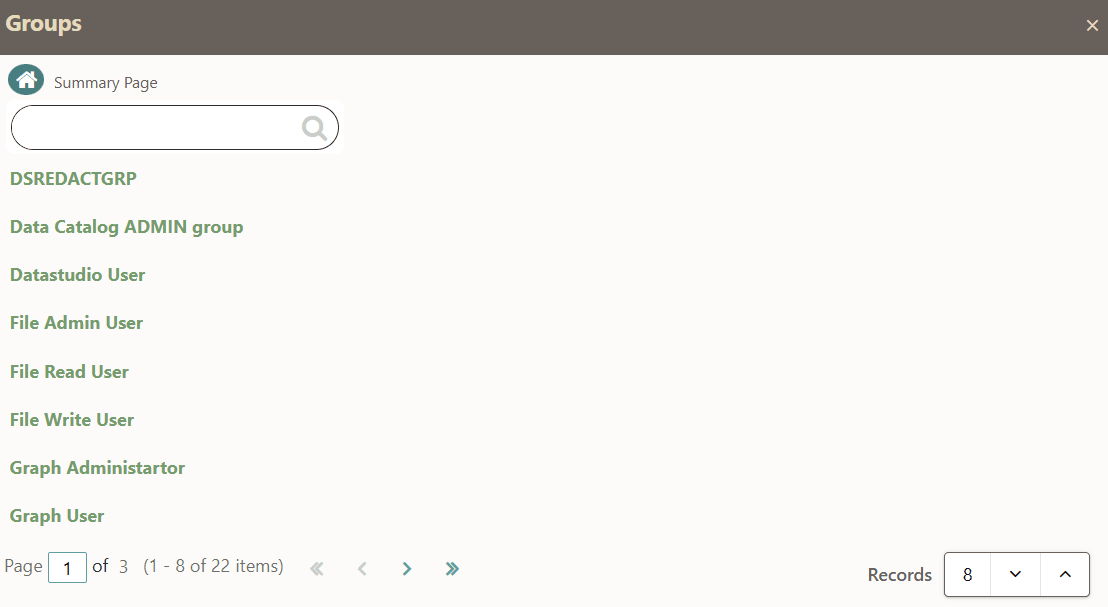
Select a group to view or add details about it on the Group Details page. The Details tab is open by default.
Figure 8-34 Group Details - Details
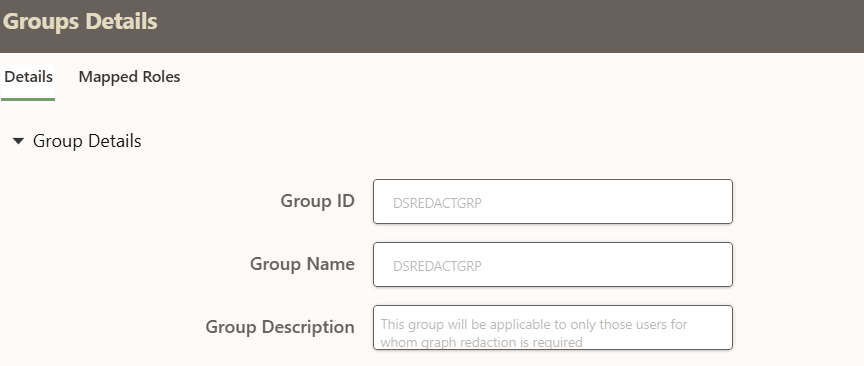 Additionally, click the Mapped Roles tab to view details about roles that are mapped to specific groups.
Figure 8-35 Group Details - Mapped Roles
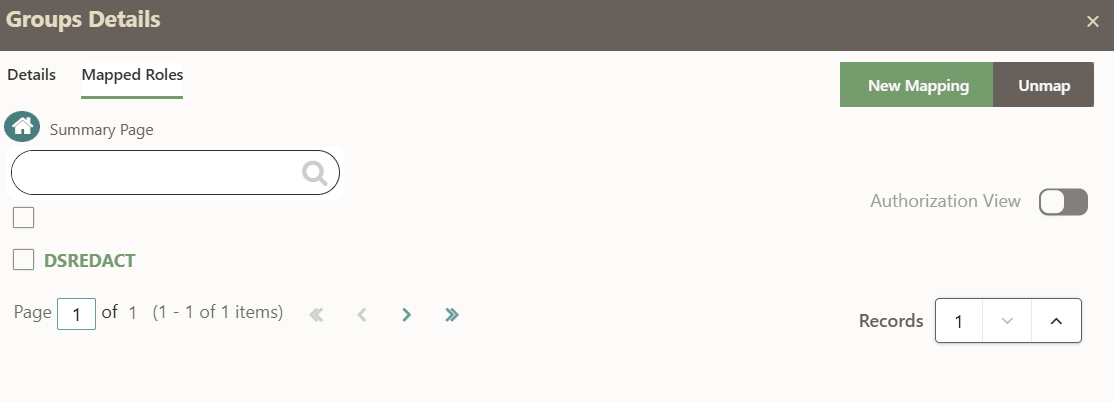 All the groups have specific roles mapped to it.
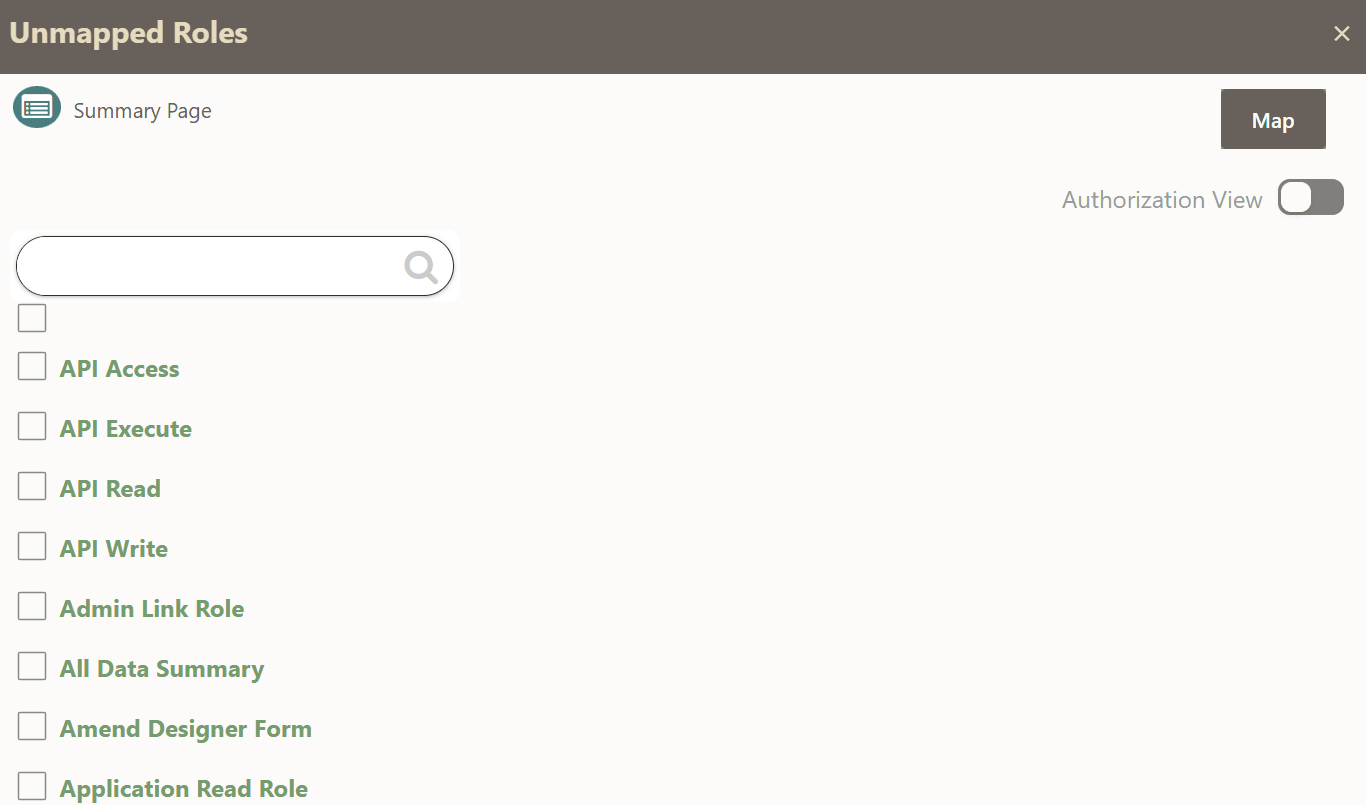
- New Mapping: Click
New Mapping to map a role to a group via
the Unmapped Roles page. On this page, select
the desired roles and click Map. You can also
search for a specific role by entering the name of the role in the
Search field and then clicking the search
icon.
Figure 8-36 Unmapped Roles
- Unmap:Select the Role(s) that you
want to unmap and then click Unmap.
Note:
If a user has logged in and then mapped the role and group with a specific user credential, then, they can unmap only other groups, and not the user group they have logged in with. - Authorization: When you need to map a new
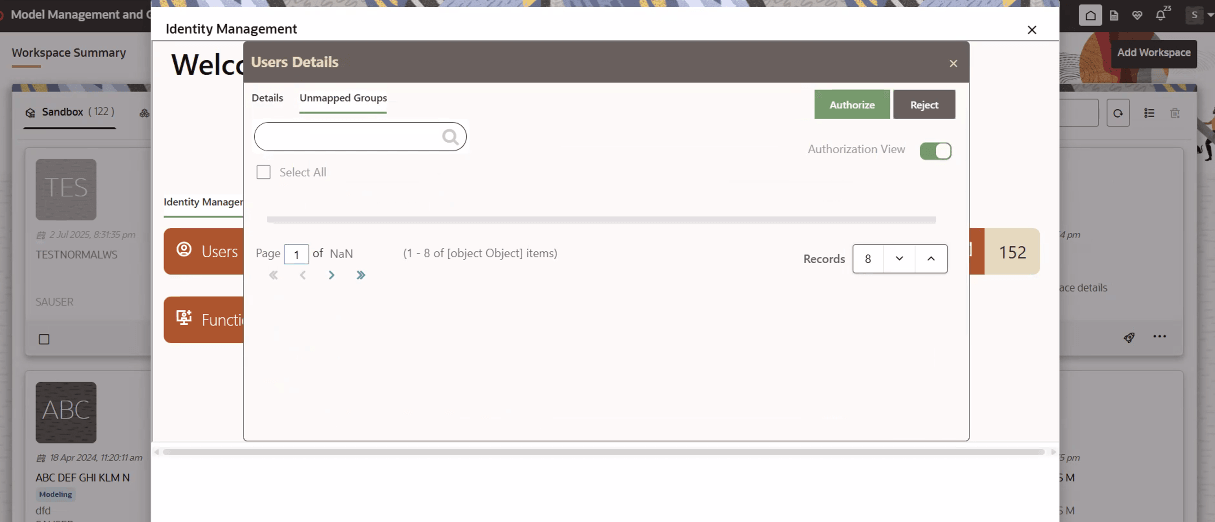
role, you request for a new role or user group mapping. Select the
Authorization View toggle. The
Authorize and
Reject button appear. To authorize or
approve the role or group, select Authorize.
To reject the request, click Reject.
Figure 8-37 Authorization View screen
- New Mapping: Click
New Mapping to map a role to a group via
the Unmapped Roles page. On this page, select
the desired roles and click Map. You can also
search for a specific role by entering the name of the role in the
Search field and then clicking the search
icon.
- Roles: The application admin users contain roles. This
page displays the roles that are assigned to a user.
Figure 8-38 Roles
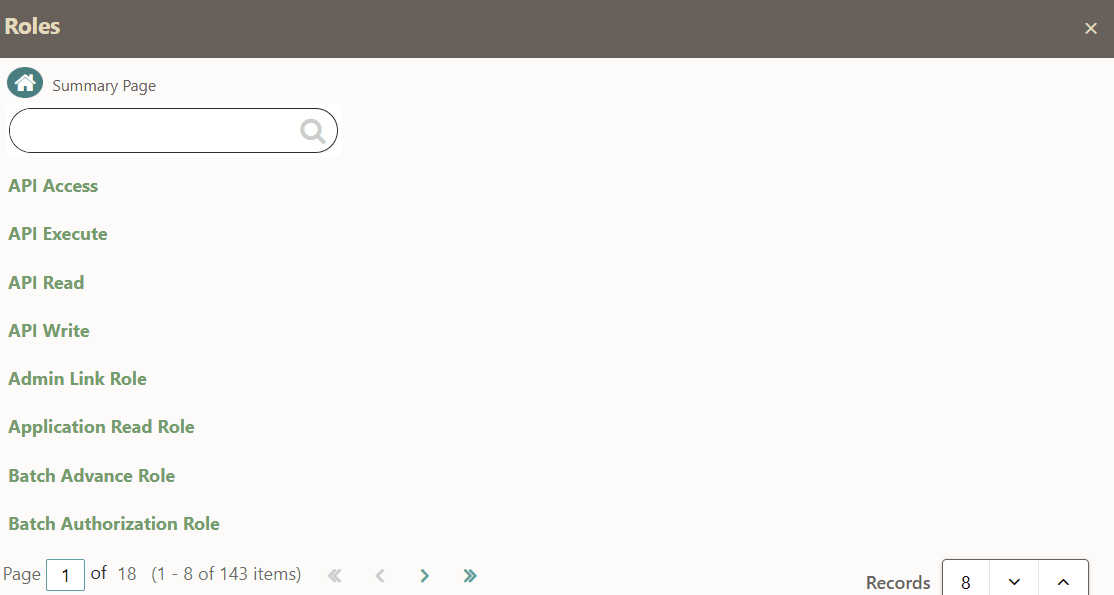 Select a to view or add details about it on the Roles Details page. The Details tab is open by default.
Figure 8-39 Role Details
 Additionally, click the Mapped Functions tab to view details about roles that are mapped to specific functions.
Figure 8-40 Mapped Functions
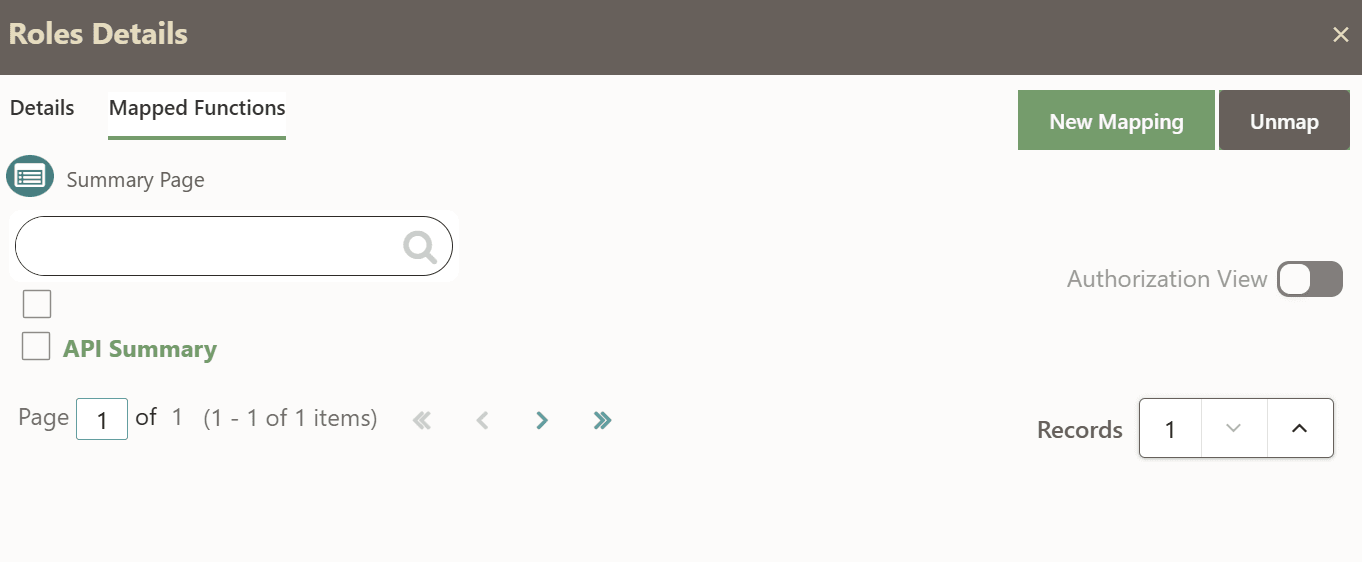 All the roles have specific functions mapped to it.
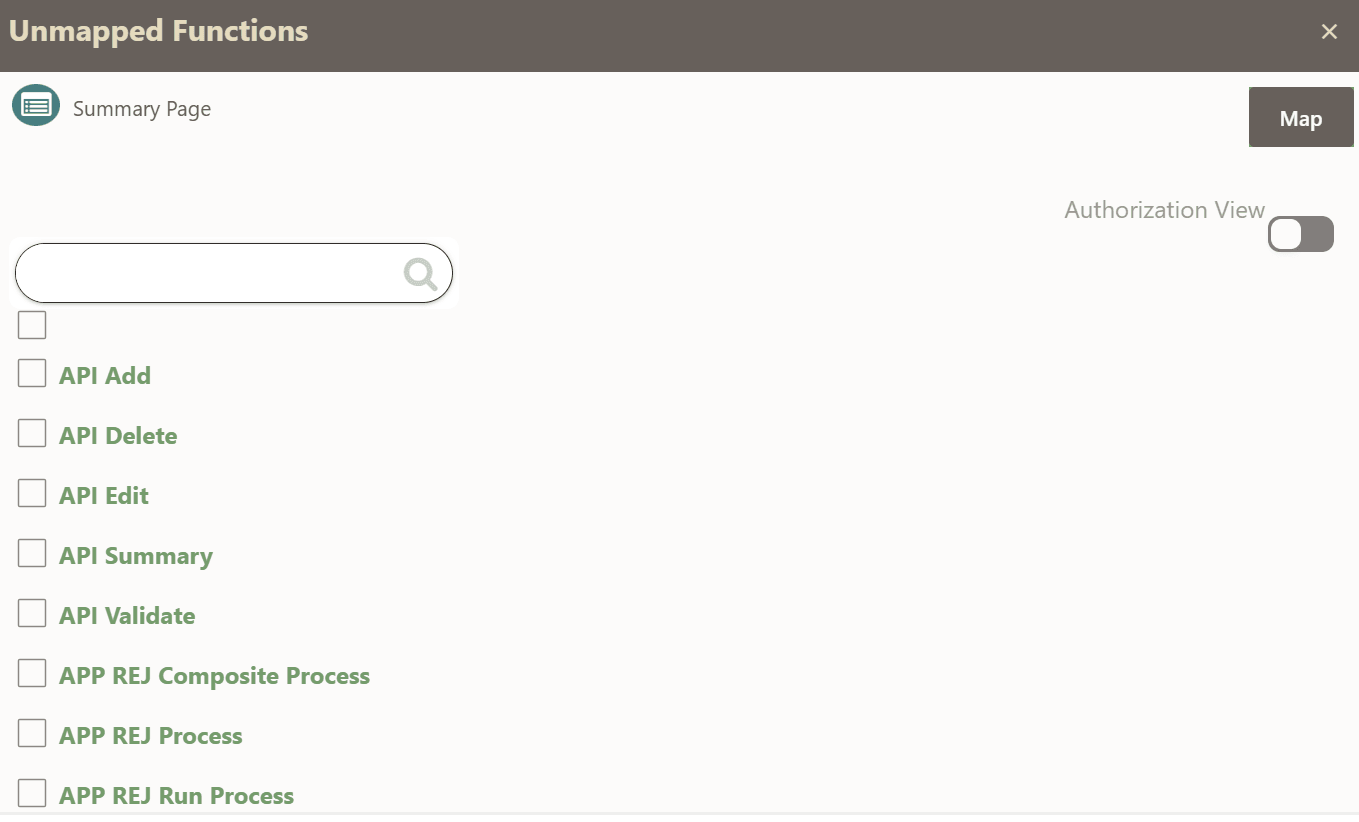
- New Mapping: Click
New Mapping to map a role to a function
via the Unmapped Functions page. On this
page, select the desired functions and click
Map. You can also search for a specific
function by entering the name of the function in the
Search field and then clicking the search
icon.
Figure 8-41 Unmapped Functions
- Unmap:Select the function(s) that you want to unmap and then click Unmap.
- Authorization: Select the
Authorization View toggle. The
Authorize and
Reject button appear. To authorize or
approve the role or function, select
Authorize. To reject the request, click
Reject.
Figure 8-42 Authorization View

- New Mapping: Click
New Mapping to map a role to a function
via the Unmapped Functions page. On this
page, select the desired functions and click
Map. You can also search for a specific
function by entering the name of the function in the
Search field and then clicking the search
icon.
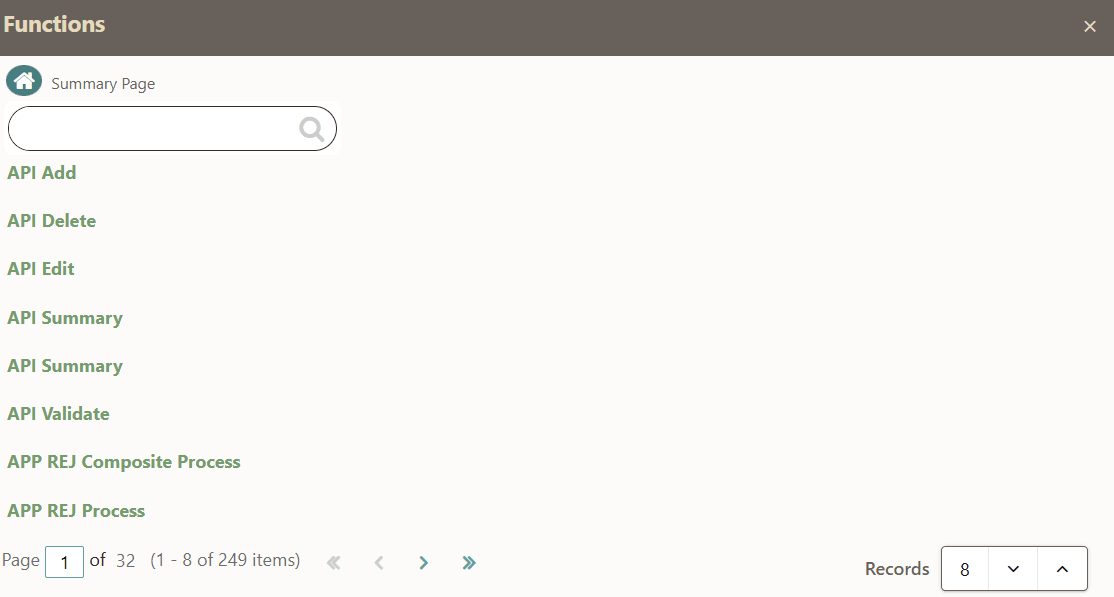
- Functions: View the list of functions on this page. Click
a specific function to view or add details about it. You can also search for a
specific function by entering the name of the function in the
Search field and then clicking the search icon.
Figure 8-43 Functions
- Audit Trail: The audit trail report reflects the
activities the user performs during a particular period.
Figure 8-44 Audit Trail Report
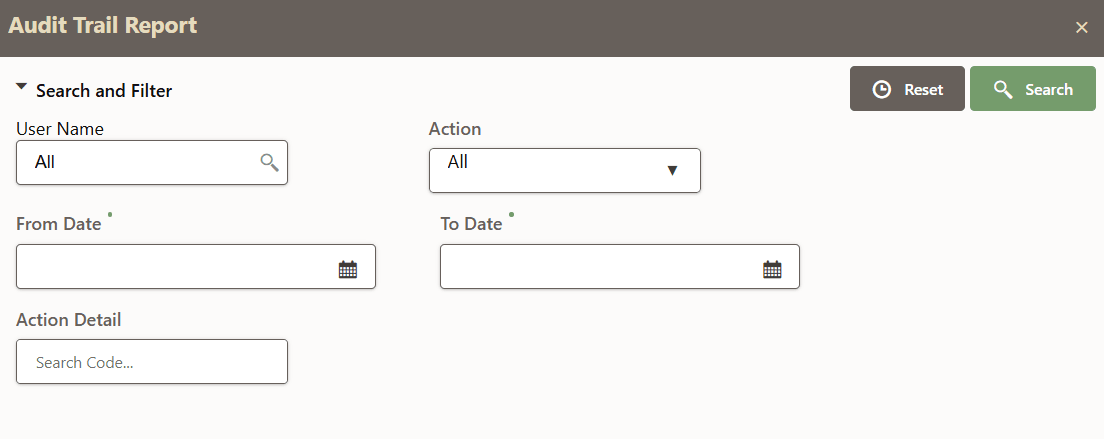
- User Name:Click the arrow to select a user name from the drop-down list.
- Action: Click the arrow to select an action from the drop-down list
- From Date: Click the Select Date. icon to select a from date.
- To Date:Click the Select Date. icon to select a to date.
- Action Detail: Enter a value in this field.
- Reset: Click this button to reset the data in the audit trail report.
- Search: Click the search button to track a particular activity.