Associating Images to Menu Item SLUs

The following steps explain how to associate images to Menu Item SLUs. Up to four images can be associated for each Menu Item SLU. Note that you must have the appropriate role privileges in order to access and edit Menu Item SLUs. Additionally, it is required that Simphony Transaction Services Gen 2 (STS Gen 2) be enabled for your enterprises devices, as well as there being an established Oracle Cloud Infrastructure (OCI) account to run in conjunction with the Object Storage device.

  1. Select the Enterprise level, click Descriptors, and then click Menu Item SLU Names.
  2. Select the desired SLU record.
  3. Click the Images tab.
  4. To add an image and its details:

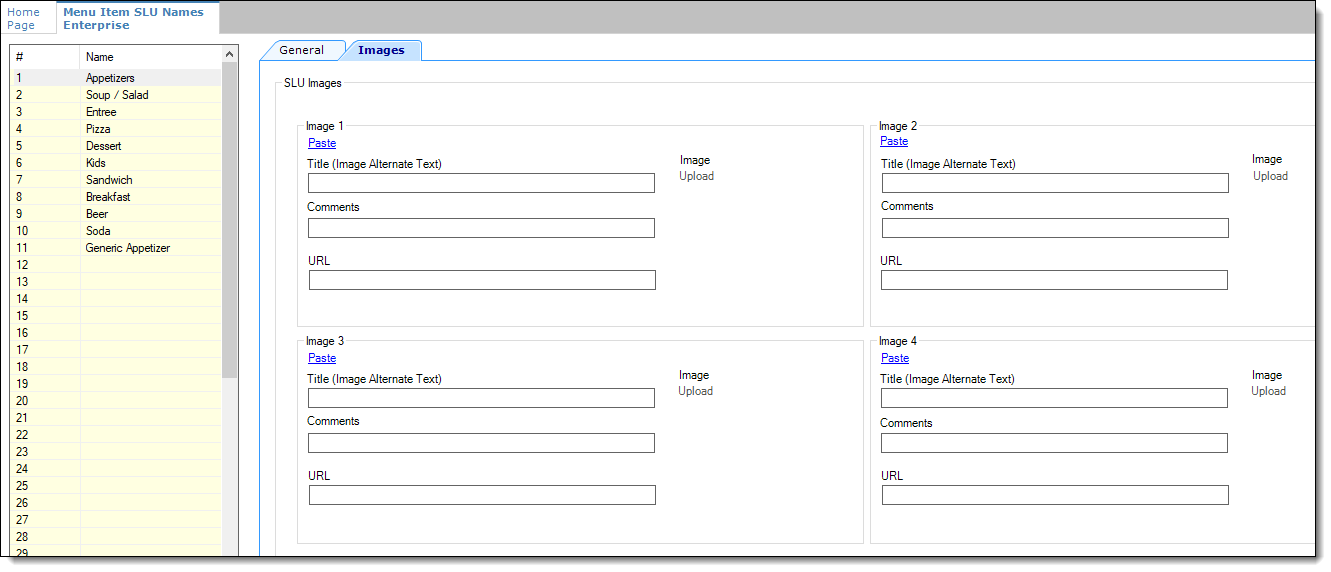
    Figure 47-8 Menu Item SLU Names Images Tab


    This figure shows the Images tab in the Menu Item SLU Names module.
    1. Click Upload, and then select the desired image to upload. Once the image is uploaded, a successful upload message dialog window appears. To upload an external image, enter the image URL in the URL field and the image will automatically upload.

      Note:

      When an image is uploaded, the URL field populates with an Object Storage URL.
    2. Enter text defining the image in the Title (Image Alternate Text) field.

      The text entered here is used for the following two purposes:

      1. This text field is used to name the uploaded image to your Oracle Cloud Infrastructure (OCI) account to run in conjunction with an Object Storage device.

      2. This text field’s content is passed along to customers via the API and should not be left blank. This text is the description of the image for customers who use assistive technology. Enter an image name (or label) which customers can access while placing a mobile order. Properly naming images helps customers better identify items and improves their chances of successfully accessing and adding items to their order.

    3. (Optional) Enter any additional details for the image in the Comments field.
  5. Repeat Step 4 for the remaining SLU Images sections.
  6. To remove an image and its details:
    1. Navigate to any uploaded image, and then click Delete or click Clear All.
  7. To copy the details from an uploaded image to a new image, click Copy, and then click Paste in any empty image section.
  8. To download an image, click Download.
  9. Click Save.