GloriaFood Configuration
Complete the following steps using GloriaFood. Use the information recorded in Simphony Configuration Values.
- In the Connect to Simphony dialog, enter the information
as described in the Connect to Simphony Fields table.
Figure 4-1 Connect to Simphony Dialog
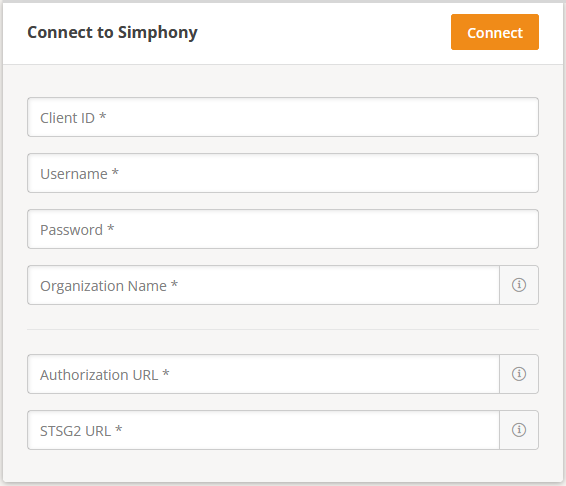
Table 4-1 Connect to Simphony Fields
Field Description Client ID
Copy the information from the Simphony Transaction Services Gen2 API Client information screen. See Step 16 in Transaction Services API Account.
Username
Enter
GLORIAFOOD.Password
Enter the password for the API Account.
Organization Name
Enter the 3-4 character code used when logging in to EMC or Simphony Home.
Authorization URL
In the EMC, select the Enterprise level, click Setup, and then click Enterprise Parameters. On the Applications tab, copy the OpenID Connect Provider URL (for example,
https://servername.domain.com/oidc-provider/v1/oauth2).Enter only the server portion of the URL—
https://servername.domain.com.STSG2 URL
In the EMC, select the Enterprise level, click Setup, and then click Enterprise Parameters. On the Applications tab, copy the Simphony Transaction Services (Gen2) Services URL (for example,
https://servername.domain.com/api/v1/).Enter only the server portion of the URL—
https://servername.domain.com. - Click Connect. The Location Setup
dialog appears. The Organization Name is the short code for your organization.
Figure 4-2 Location Setup Dialog
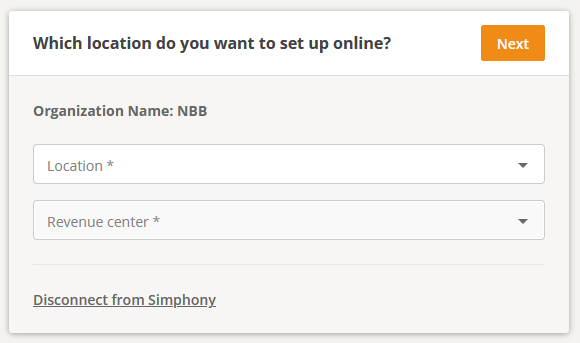
- Select the Location and Revenue center that use GloriaFood.
- In the Simphony Settings dialog, click the Add
new link to map the GloriaFood order types to the Simphony
order types.
- In the Simphony drop-down list, select the Simphony order type.
- In the GloriaFood drop-down list, select the corresponding GloriaFood order type.
Figure 4-3 Simphony Settings Dialog
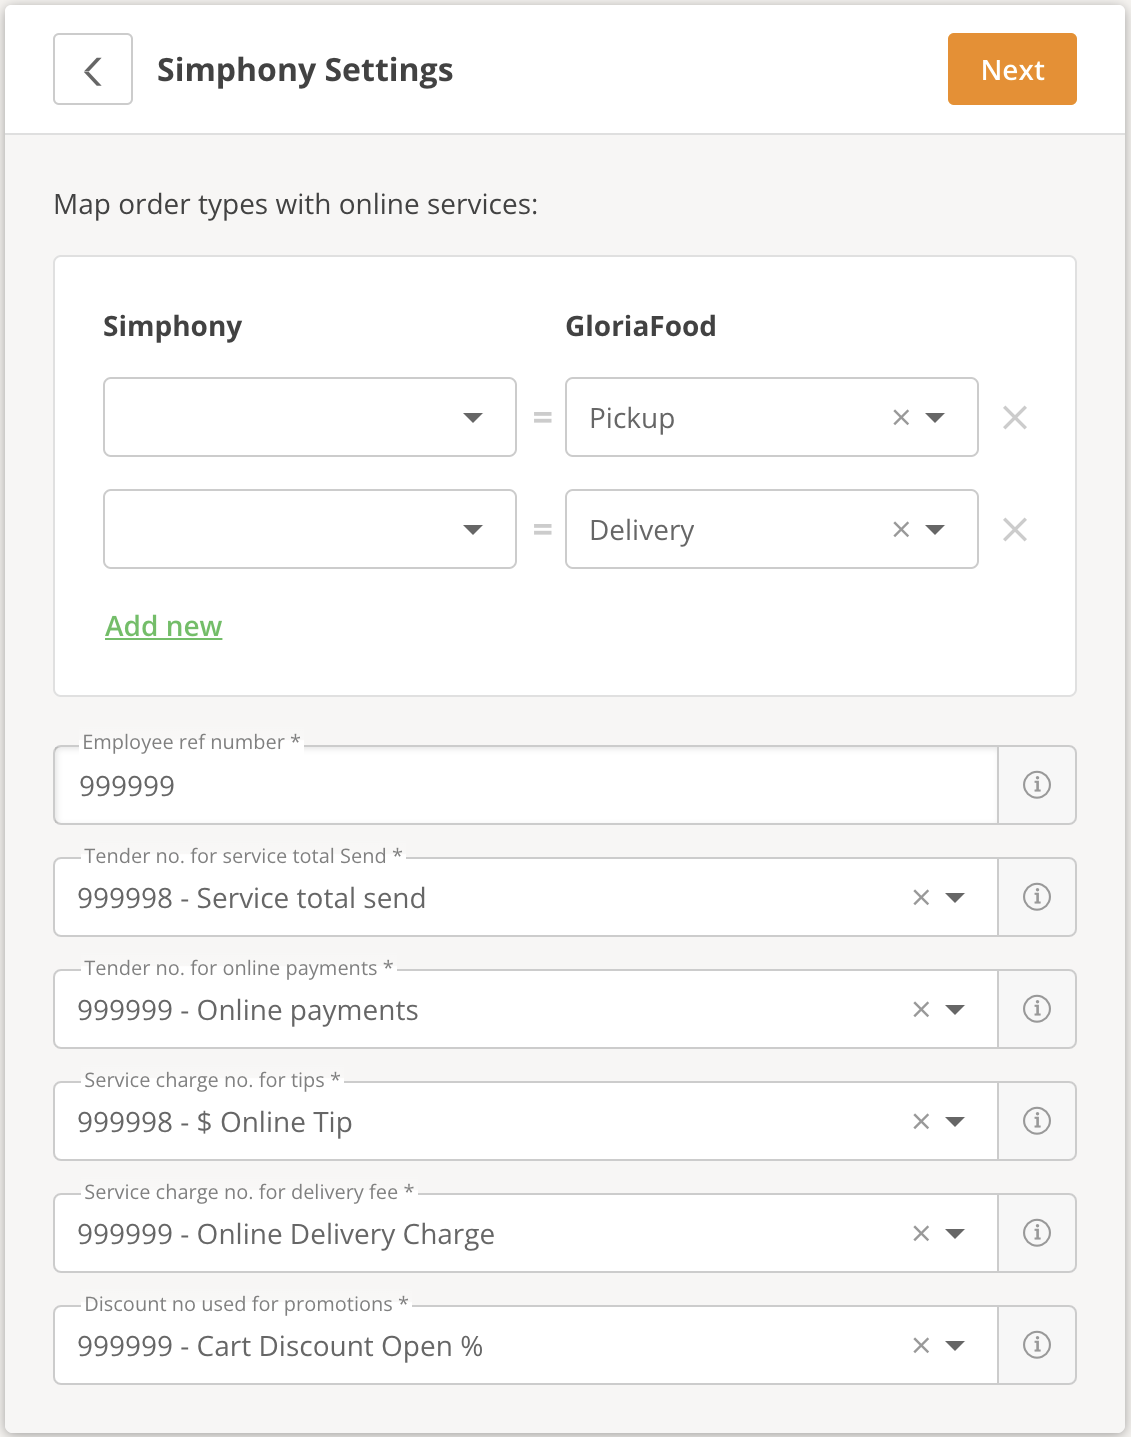
- In the Simphony Settings dialog, enter the information
as described in the Simphony Settings Fields table, and then click Next.
Table 4-2 Simphony Settings Fields
Field Description Employee ref number
Enter the Employee ID that will be credited for GloriaFood transactions.
Tender no. for service total Send
Enter the Tender/Media object number for the GloriaFood pay in-store Service Total.
Tender no. for online payments
Enter the Tender/Media object number for the GloriaFood credit card payment.
Service charge no. for tips
Enter the Service Charge object number for tips.
Service charge no. for delivery fee
Enter the Service Charge object number for delivery fees.
Discount no. used for promotions
Enter the Discount object number to be used for tracking GloriaFood managed discounts.
If any of the fields are not configured according to the integration requirements, the system provides an error message. Correct the Simphony configuration as required, and then click Next.
It may take up to 20 minutes for Simphony configuration changes to become available in GloriaFood.
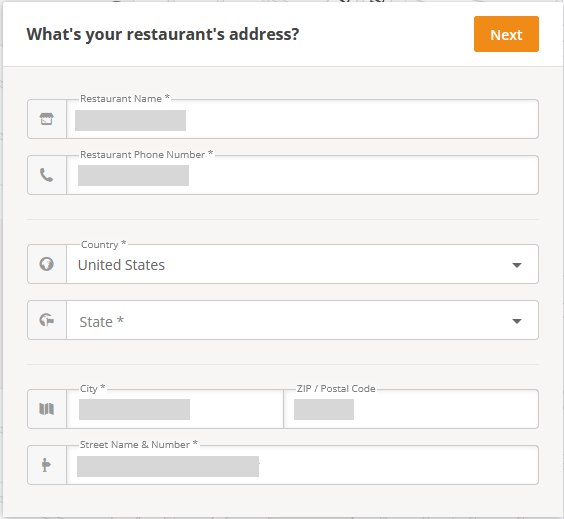
- The integration automatically populates the restaurant
address values if they are configured in the Simphony RVC Configuration
module in the EMC prior to connecting to GloriaFood. If they are not
configured or do not appear as expected, edit the values in the restaurant
address dialog before clicking Next.
Figure 4-4 Restaurant Address Dialog
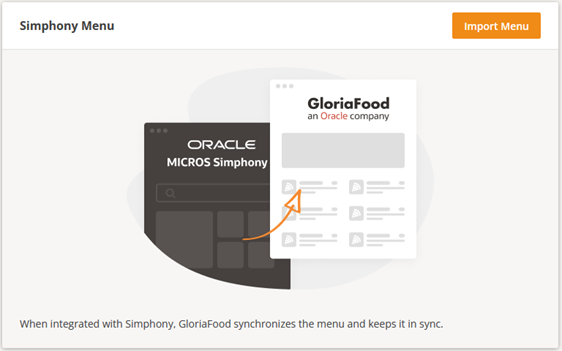
- On the Simphony Menu dialog, click Import Menu.
Figure 4-5 Simphony Menu Dialog
- On the Select Tags and SLU dialog, select the information
as described in the Select Tags and SLU Fields table, and then click Next.
Figure 4-6 Select Tags and SLU Dialog

Table 4-3 Select Tags and SLU Fields
Field Description Tags to import
Select the tags to use to filter menu items.
It takes up to 20 minutes for configuration changes to become available to GloriaFood. If a new tag was added and it does not appear here, leave this dialog and return to it in 20 minutes.
SLU Number
Enter the menu item definition SLU group number to use for categories.
Image slot
Enter the menu item definition image slot number to use for images.
- Click Preview to view the menu based on your selected tags, SLUs, and images.
- Click Import to import all configured menu items.
- To perform a new import of the menu and change the tags, SLUs, or images on the landing page for menu setup, click Reimport Menu, and then repeat steps 7 through 8.