Install the Data Studio Interpreters

The Data Studio interpreters are part of the Oracle Healthcare Translational Research Notebook solution. This installation assumes that the docker containers for the interpreters are to be running in the same host VM as the Oracle Healthcare Translational Research Middle Tier. The installation and configurations are easier if they are run on the same VM. However, if running on a different host, see the advanced section on Running on a different Host.

  1. Download the Part 1 and Part 2 zip files of the Data Studio interpreters from Oracle e-delivery/MOS (refer to the Release Notes). Copy them to the host VM.
    • PgXDataStudio-Docker_4.1.1.0_part1.zip
    • PgXDataStudio-Docker_4.1.1.0_part2.zip
  2. Create a directory and move the zip files to this directory.
  3. Unzip the zip files onto the directory:
    • unzip -a PgXDataStudio-Docker_4.1.1.0_part1.zip
    • unzip -a PgXDataStudio-Docker_4.1.1.0_part2.zip

    Note:

    The subfolder docker-images contains the tar file of the Docker images. The PgXDataStudio folder contains the configuration and set up files.
  4. Copy the docker-load.sh file from the folder PgXDataStudio/docker onto the docker-images folder.
  5. Change directories (cd) into the docker-images folder and run the docker-load.sh file (sudo sh ./docker_load.sh).

    Note:

    The docker images are loaded from the tar files into the local docker registry. This takes a few minutes and the progress is visible in the console.
  6. Create the Oracle wallet for storing the Oracle Healthcare Translational Research database API schema credentials for Python interpreter as follows:
    1. Create a directory shared_volume inside the PgxDataStudio directory (or any other location).
    2. Change directory (cd) into the PgxDataStudio/database/utilities folder. Edit the cx_oracle_conn_config.sh file and provide the values specified in the file.
      • database hostname, port and service name
      • API (CGA) schema name for API_SCHEMA_NAME
      • Weblogic Home directory full path for WEBLOGIC_HOME
      • Java Home directory full path for JAVA_HOME
      • full path to the shared_volume directory created above for HOST_TNS_ADMIN
    3. Run the script create_cx_oracle_conn.sh. The script prompts for the API schema password. Upon successful completion, the shared_volume directory contains the sqlnet.ora, tnsnames.ora, and the wallet directory.
  7. This will also create the .env file in the current directory. Copy the file .env from the current PgxDataStudio/database/utilities directory into the PgXDataStudio/docker/ folder.
  8. Start the datastudio docker containers using docker-compose as sudo docker-compose up -d.

    This step starts all the docker containers. The console shows the status. To confirm, verify using sudo docker ps. This command should list the 5 data studio docker containers listed in the docker-compose file.

You can now log in to the Oracle Healthcare Translational Research Next Gen and click on the datastudio images to navigate to the Data Studio notebooks.

Post-Installation Configuration Steps
One of the login users should be given the notebook admin role. In the Oracle Healthcare Translational Research Middle Tier WebLogic console, assign the user with the pgxds_admin_group role. This can be done in Users & Groups of Security Realm in the WebLogic console.

The following configuration steps are needed to enable and work with data studio:

Oracle Healthcare Translational Research Middle Tier WebLogic - Listen Address

The Data Studio apps deployed in WebLogic communicate within and with interpreters. By default, "localhost" is used in the configurations. The managed server should be reachable using this address.

  1. In the Oracle Healthcare Translational Research Middle Tier WebLogic, go to the managed server (hosting the apps). In the Configurations tab, if there is a value specified for the Listen Address, clear the field. Note that you will have to first Lock & Edit, then clear the value and click Save.
    The Listen Address field, found in the Configurations tab.
  2. Restart the Managed Server.

Configurations in Notebooks

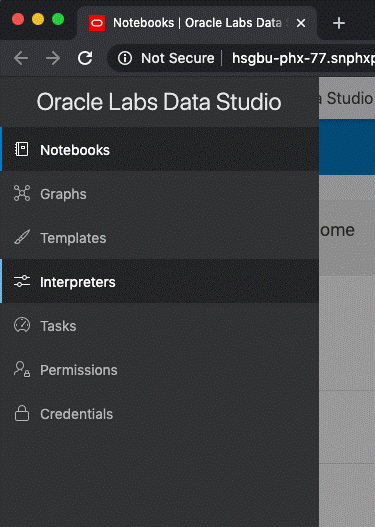
  1. Log in to Next Gen with the notebook admin user and navigate to the Data Studio by clicking on the left nav.

    The Data Studio app is displayed in a separate tab and the user will be logged into the Data Studio with this user ID.

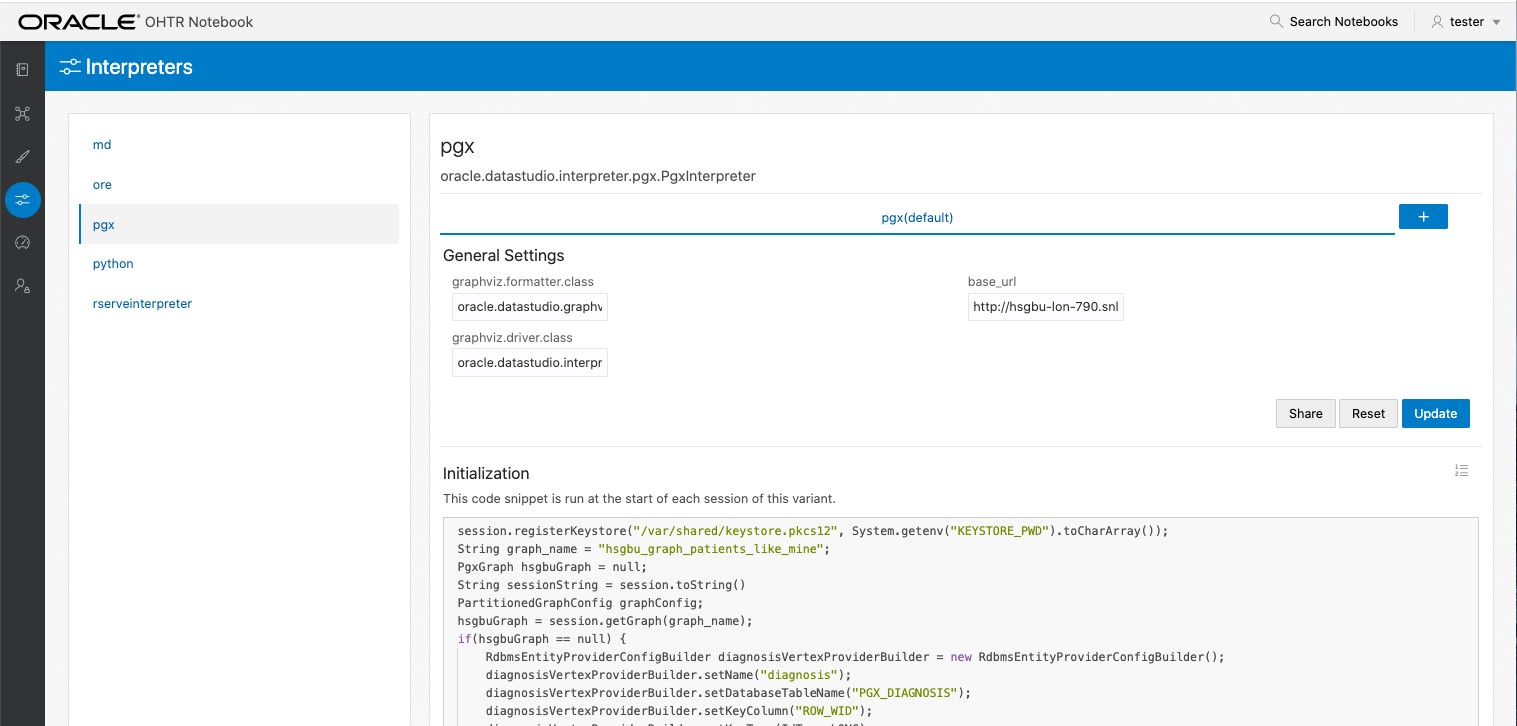
  2. Navigate to the Interpreters tab in the notebook.
    Oracle Healthcare Translational Research-Noteboook's Interpreters tab
  3. Navigate to the pgx tab in the interpreters list.
    Oracle Healthcare Translational Research - PGX Interpreters list
  4. Update the base_url to point to the pgx server running in the managed server.

    Because the pgx-server is, by default, running on 7781, the format is:

    http://myhostname:7781
  5. Click Update.

That's it. Now you can navigate to the Notebooks tab to access the notebooks.