6 Gate Location
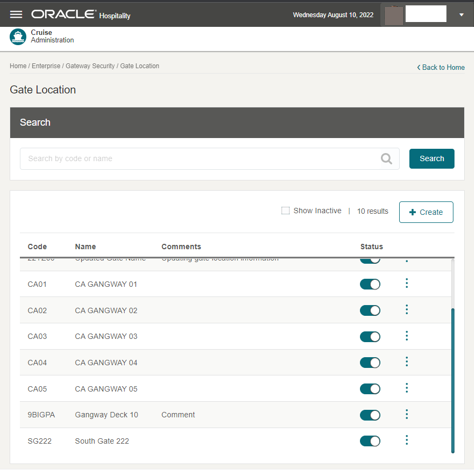
The Gate Location setup enables you to configure the security gate location. You can turn off any of the gate locations that you do not require. On the Gateway Location page, the drop-down selection only displays active gate locations.
Gate Location
Figure 6-1 Gate Location

The Gate Location enables you to assign an active gate location to the Gateway Security, Gate Settings page. You can create a new gate location and, if the gate location is not ready in use, or no longer required, you can deactivate it by sliding the Status to off.
Editing a Gate Location
- On the Gate Location page, click the vertical ellipsis of the gate location and then click Edit.
- Click Edit button. This navigate to the Edit Gate Location page.
- Update the information and click Save.
Deleting a Gate Location
-
On the Gate Location page, press the ellipsis button of the selected gate location.
-
Select the Delete option.
-
At the confirmation message, choose Delete to proceed to delete the record or Cancel to return to the previous screen
Searching a Gate Location
- On the Gate Location page, all active gate location records are shown in the results view.
- To lookup a gate location, enter a value in the search box then click Search.
- The system shows all the matching active records in the results view.
- To include all inactive records in the result view, select the Show Inactive check box.
Tender Boat
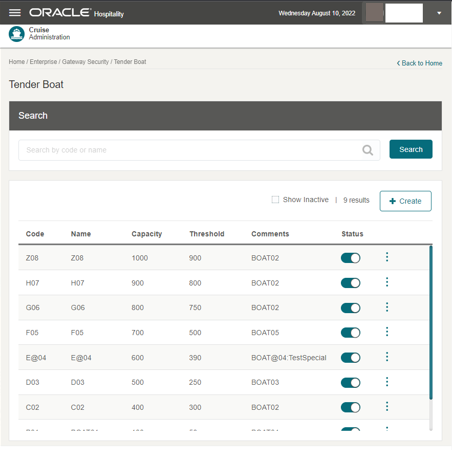
Figure 6-2 Tender Boat

The Tender Boat enables you to assign an active tender boat to the Gateway Security, Tender Boat page. You can create a new tender boat and if the tender boat is not ready for use, or no longer required, you can deactivate it by sliding the Status to off.
Editing a Tender Boat
- On the Tender Boat page, click the vertical ellipsis of the selected tender boat and then click Edit.
- Click Edit to navigate to the Edit Tender Boat page.
- Update the information and click Save.
Deleting a Tender Boat
- On the Tender Boat page, click the vertical ellipsis of the selected tender boat and then click Delete.
- Click Delete.
- On the confirmation message, click Delete to proceed or Cancel to return to the previous screen.
Searching for a Tender Boat
- On the Tender Boat page, all active tender boat records appear in the results view.
- To look up a tender boat, enter a value in the search box then select Search.
- The system shows all the matching active records in the results view.
- To show all inactive records in the result view, select the Show Inactive check box.