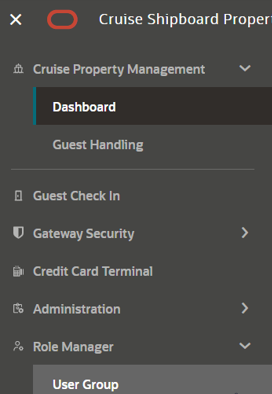
29 Role Manager
Figure 29-1 Role Manager

The Role Manager function is a security feature that enables the assignment of user access by user groups, in which you can further assign certain functionality to the users, either by expertise or position. For the current version, if you are granting the user multiple user groups, the system deems the first assignment as their main role.
To access this page, the login user must at least have a View access granted. Login user granted with View access only is not allowed to modify any of the predefined access, whereas login user granted with Edit access only is not allowed to view the user group listing. If login user need to have access to modify the predefined access, then both View and Edit access need to be granted. To assign the access rights to a group, see section Modifying User Group Predefined Access.
User Group
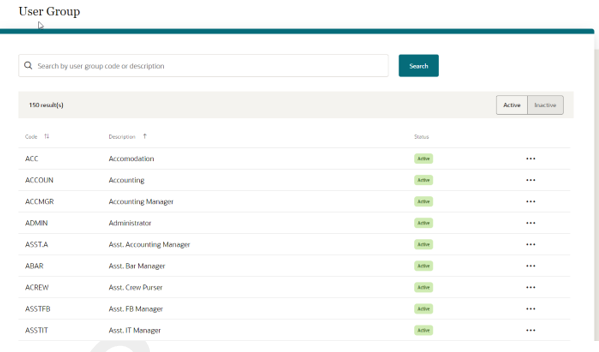
In the User Group page, it lists all the User Group that exists in the Cruise Property Management Desktop Application User Security module, and you can grant/un-grant the predefined access for the User Group. Each of the records has a user group code, description and status - active or inactive. These fields are read-only.
You can use the Search option at the top of the page to search the user group by code and description. You can also toggle the Active/Inactive button to see all groups by status.
To assign the access rights to a group, click the Ellipsis action button of the user group record followed by Edit.
Figure 29-2 User Group

Modifying User Group Predefined Access
-
On the User Group Listing page, click the Ellipsis button.
-
Select Edit button to open the Edit User Group screen.
-
At the Edit User Group screen, all the main tasks, subtasks, and predefined access will be listed for you to grant and un-grant the predefined access to the selected user group.
-
Each of the main task has a count indicator of the access granted versus the total predefined access records.
-
Select the main task. All the subtasks that are associated with the main task will be listed along with the predefined access.
-
To look up on a main task, enter a keyword for the main task in the search main task field and press Enter. If a matching record is found, the search records appear in the main task list. Otherwise, it prompts “no record found” message.
-
To look up on a subtask or predefined access, in the search box field, enter either a keyword of the subtask name or predefined access name and then press Enter. If a matching record is found, the record shall appear. Otherwise, it prompts “no record found” message.
-
Selecting any of the below options will gives you a different view and process.
-
Granted Access
-
Ungranted Access will show ungranted access for all the main tasks or subtasks.
-
Subtask checkbox to grant all the predefined access for the subtask.
-
Select All checkbox to grant all the predefined access for the main task.
-
Predefined Access checkbox to grant certain predefined access for the subtask.
-
Update after the changes is made to the user group.
-
-
If there are changes at Edit User Group page and the Cancel button is clicked, a confirmation message “Save your changes?” will appear, prompting you to select one of the below:
-
Cancel to close the dialog box.
-
Discard to close the Edit User Group and return to User Group page without saving.
-
Save to update the changes.
-
Viewing User Group Predefined Access
-
On the User Group Listing page, click the Ellipsis button.
-
Select View button to open the View User Group screen.
-
In View Access, choose one of the options:
-
All - shows both granted and un-granted
-
Granted - only shows main and subtask
-
Un-granted - only un-granted main and subtask
-
-
You can search for the main or subtask by entering a keyword or predefined access in the respective field and then press Enter.
-
Modification of the predefined access is not allowed here. To modify, see section Modifying User Group Predefined Access.