Layout Level Details
Figure 6-1 Layout Level Details

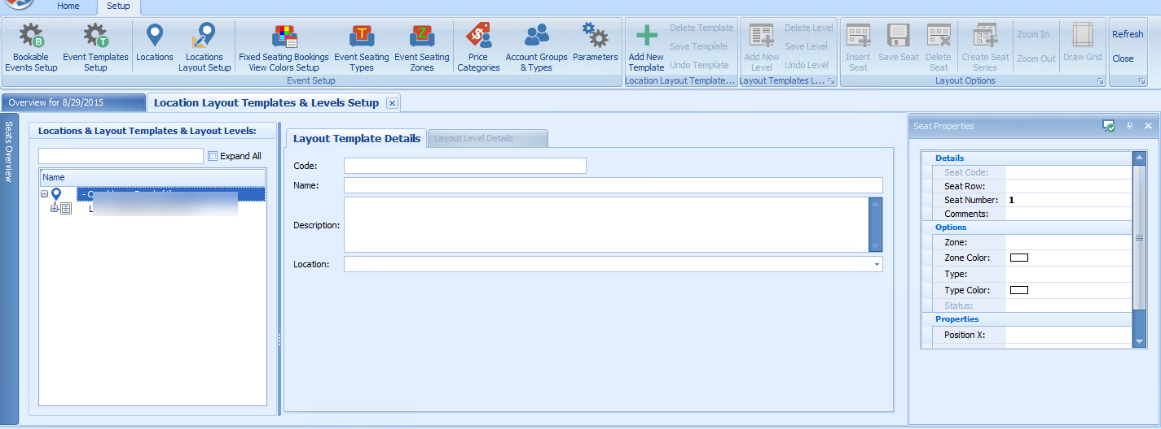
-
Select a layout template that you created earlier.
-
Click the Add New Level button.
-
Enter the Layout Level Details consisting of Level Code, Level Name, Hybrid, Open Seating Capacity, Layout Image File, and Layout View.
-
Click Save Level to save.
Creating Layout Template
Figure 6-2 Layout Template

You can add a template, delete, save or undo the previous change made on the template. After creating the location template, add a new level for the template or define the seating zones by location.
-
One location can have multiple templates.
-
One template can have multiple layouts.
Table 6-2 Field Definition of Layout Template
| Field Name | Description |
|---|---|
|
Hybrid |
An open space for people to stand. |
|
Open Seating Capacity |
Defines the number of hybrid for that level. |
|
Seat Counts |
Total number of fixed seats for that level, display field and auto-populate whenever a new seat is created for that level. |
|
Layout Image File |
Attached layout for that level (image file for example .jpg, .png, .bmp, and .gif) |
|
Clear |
To clear the saved image for that level Layout View radio button. |
Adding Seats to Layout
The seat button toggles between both options, Insert Seat/Stop Insert Seat, when clicked.
-
Click Insert Seat button.
-
Point to the layout the location of the seat.
-
Go to the Seat Properties window and update the seat row, number and all other relevant information per the following:
-
Seat Code: Seat Row and Seat Number (auto populated).
-
Comments: Enter comments for that specific seat.
-
Zone and Type: Select Seating Zone and Seating Type.
-
Position X & Y: Allows you to change the seat position X & Y in the layout.
-
Rotation: Option to rotate the seat.
-