16 Activation Settings
The Activation Settings section provides various pages to control the activation of the Mobile Guest Experience check-in.
Eligibility
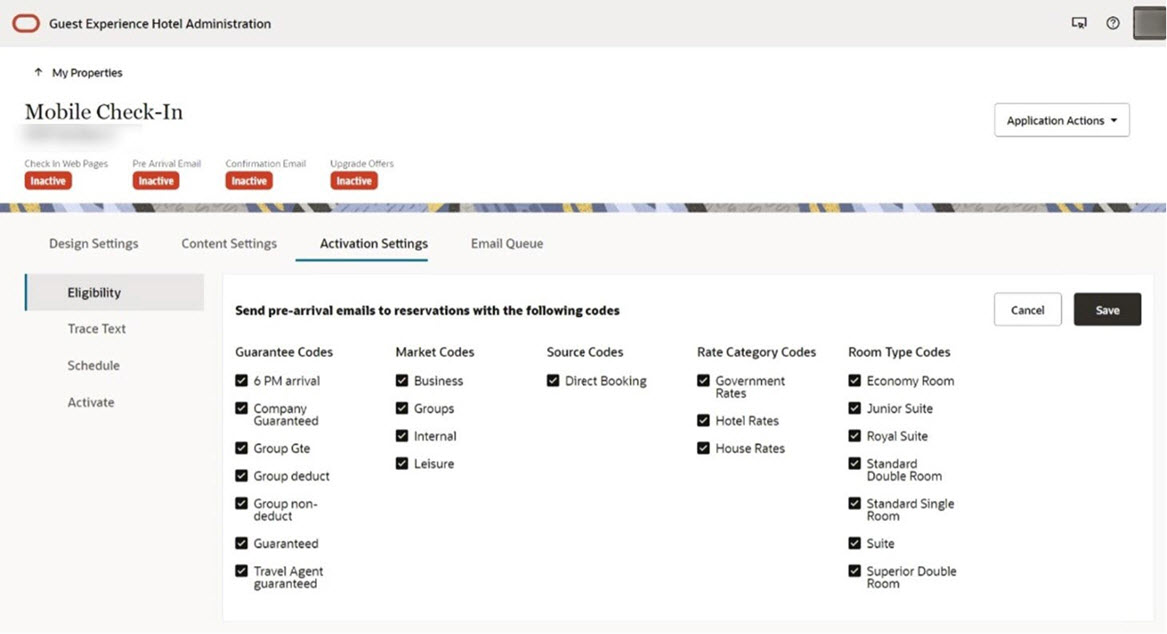
The Eligibility page enables you to decide the eligibility criteria for reservations to receive pre-arrival emails. All the eligibility criteria are selected by default when you onboard your property.
The following table shows the available criteria you can select.
Table 16-1 Eligibility Criteria
| Criteria | OPERA Cloud Documentation |
|---|---|
|
Guarantee Codes |
|
|
Market Codes |
|
|
Source Codes |
|
|
Rate Category Codes |
|
|
Room Type Codes |
-
Select the check boxes to select or deselect criteria.
-
Click the Save button after you complete your selections.
Room Count Restriction
Note:
In the current version of this application, only reservations with one room are eligible for Mobile Guest Experience check-in.
Trace Text
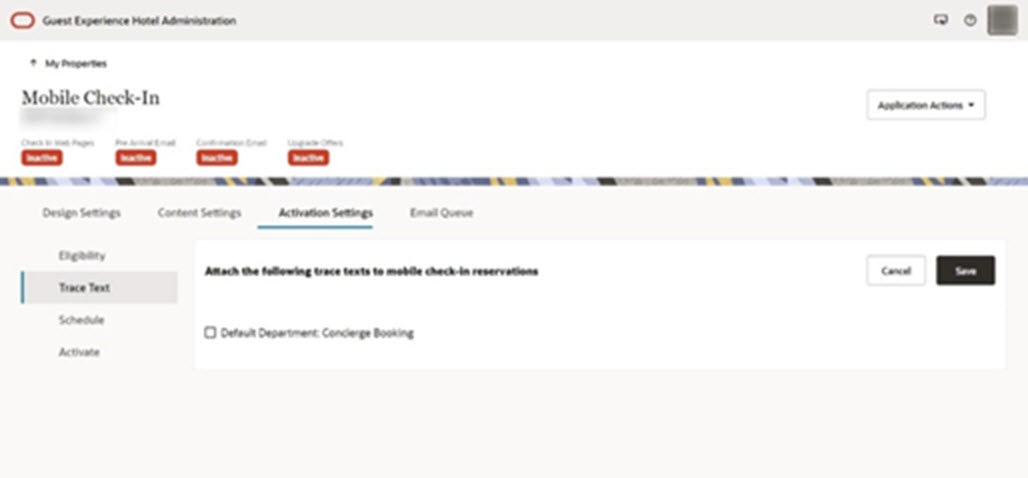
The Trace Text page enables you to select the Trace Texts that are attached to reservations after completing a mobile check-in.
-
Select the check box to select or deselect a Trace Text.
-
Click the Save button to save the selected trace text.
Preference
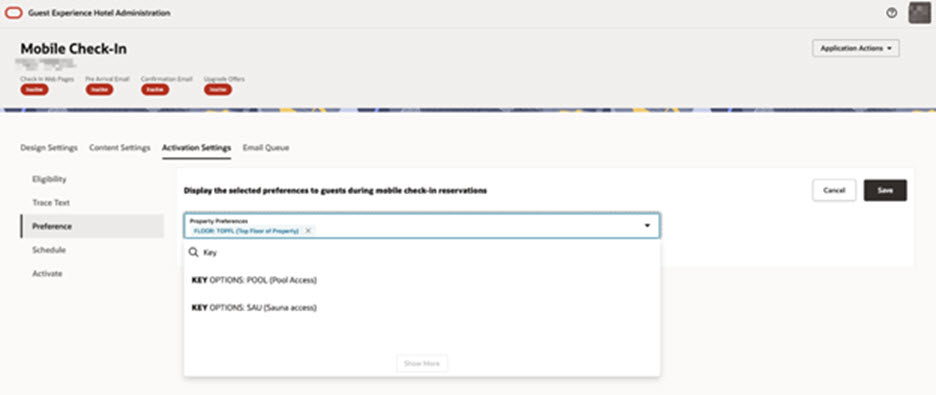
The Preference page allows you to enable the available reservation preferences for guests to select during the mobile check-in journey. You can choose up to five preferences.
-
Click Property Preferences drop-down list to show all the reservation preferences you have created in OPERA.
-
Scroll down the list, or you can use the search box to find preferences by Preference Group, Preference Code, or Preference Description.
-
Select the preference. The selected preference is added to the Property Preferences field.
-
Repeat the process for each preference.
-
Click Save.
-
Click X next to each preference to remove the preferences.
-
Click Save.
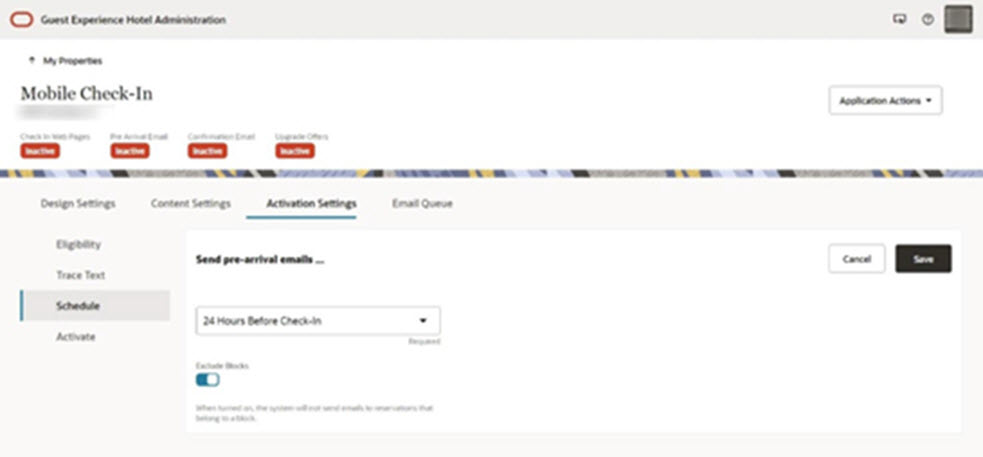
Schedule
The Schedule Page enables you to select the number of hours before the check-in time that your guests will receive in the pre-arrival emails before their arrival date and time.
-
Click the drop-down to change the value.
-
Set the time from 4 to 48 hours before check-in.
Note:
You also have the option to exclude reservations that belong to a Block. The application enables this option by default. -
Click the Save button after the changes are done.
Activate
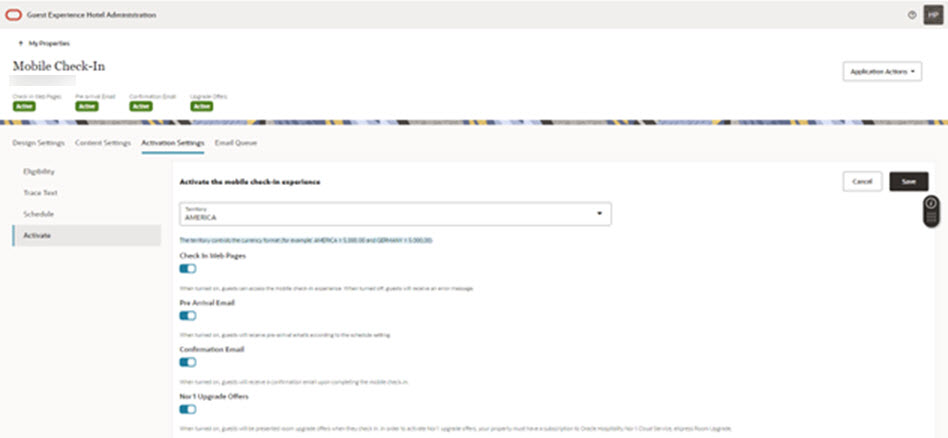
The Activate page enables you to turn on and off the following components of the Mobile Guest Experience check-in:
Table 16-2 Components
| Component | Description |
|---|---|
|
Territory |
The territory controls the currency format of the rate amounts displayed to the guest. By default, the territory is set to the country specified in the property configuration in OPERA Cloud or to AMERICA in case no matching country was found. |
|
Check-in Web Pages |
When turned on, guests can access the mobile check-in experience. When turned off, guests will receive an error message. |
|
Pre-Arrival Email |
When turned on, guests will receive pre-arrival emails according to the schedule setting. |
|
Confirmation Email |
When turned on, guests will receive a confirmation email upon completing the mobile check-in. |
|
Nor1 Upgrade Offers |
When turned on, guests are presented room upgrade offers when they check in. To activate Nor1 upgrade offers, your property must have a subscription to the Oracle Hospitality Nor1 Cloud Service, eXpress Room Upgrade. |
-
Click the switches to toggle the components on and off.
-
Click the Save button.
