Verify a Business
For details about required privileges, see Predefined Payment Groups and Privileges.
Note:
- You have 60 minutes to complete the verification process. If your session ends you can continue where you left off at a later time.
- Do not reload or refresh the page after you start entering verification details.
- After you complete all the information it can take several hours or even days for the business to be verified.
- If you come back later to continue the verification process, you can
navigate here in one of two ways:
- If the business is still being onboarded, click Business Management, click the business, and then from the onboarding checklist click Verify next to Verify Business.
- If the business is already onboarded, click Business Management, click the business, click Business Verification, and then click Update Verification.
- From the onboarding checklist, click Verify.
- Review the business information, personal information, and banking information required for the verification process, and then click Continue.
- Complete the verification steps in this order:
- Enter business details
- Add decision-makers
- Add payout details
- Sign the terms of services agreement
Table 2-1
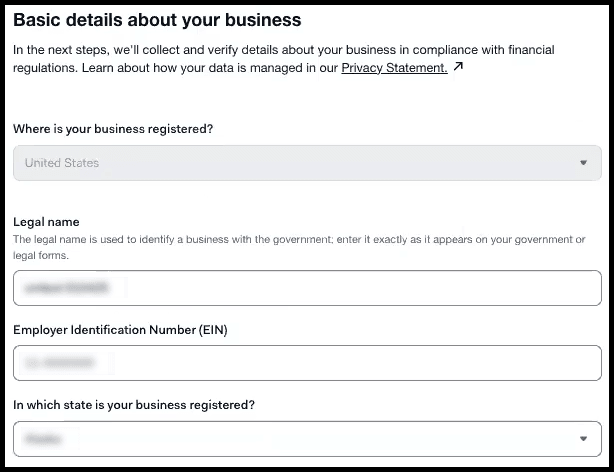
Task Screen Enter the business details:-
Click Business details, enter the details, and then click Next.
-
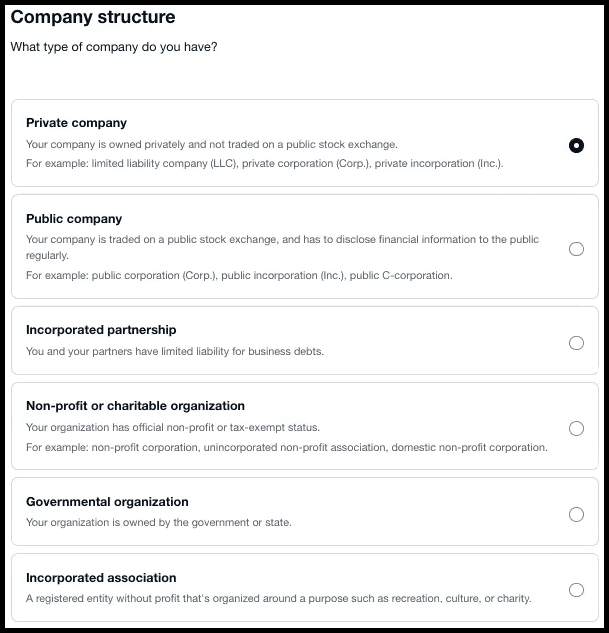
Select the company structure type and then click Next.
-
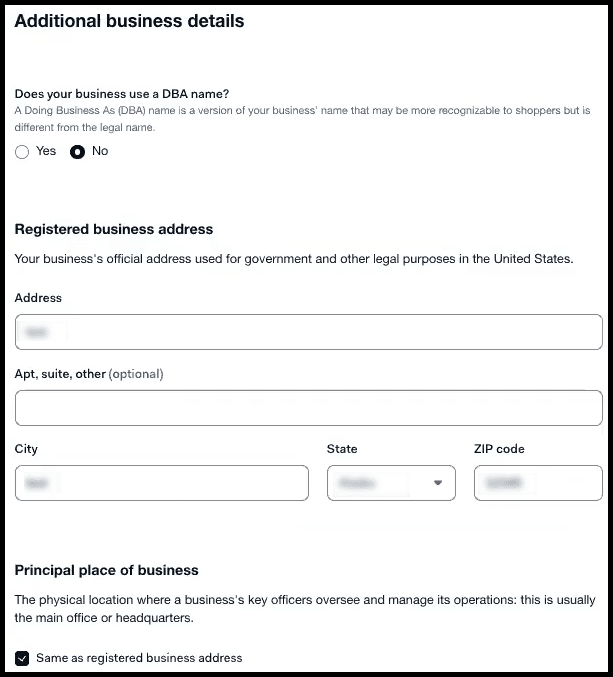
Enter additional business details and then click Next.
-
Review the summary and then click Submit.
a.
b.
c.
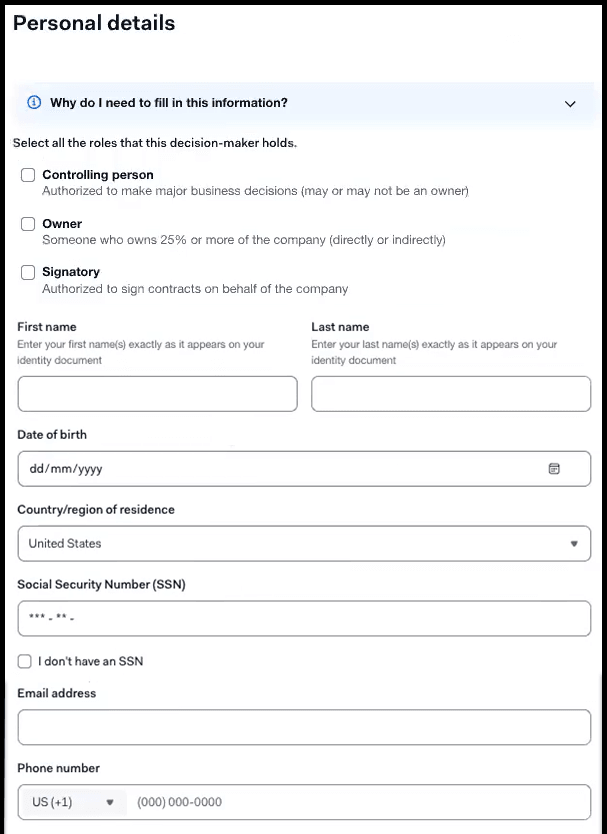
Add decision-maker details, this includes any individual who is authorized to make major business decisions, owns 25% or more of the company, or is authorized to sign contracts on behalf of the company. -
Click Decision-makers, click Add decision-maker, enter personal details, and then click Next.
-
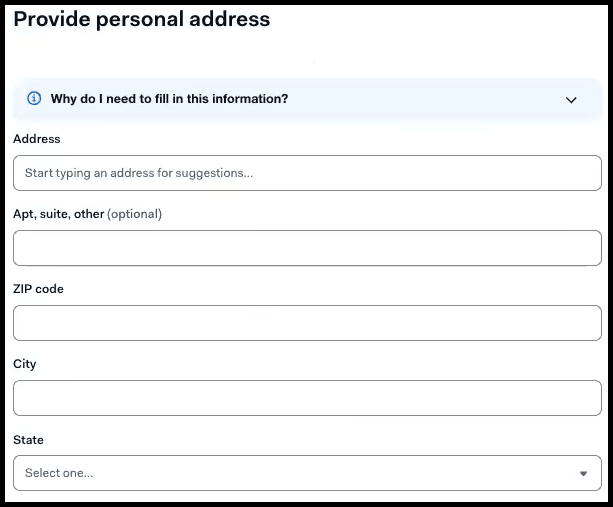
Enter personal address details and then click Next.
-
Review the summary and then click Submit.
Note:
-
The name and address must be entered exactly as they appear on their government issued photo ID.
-
When attaching supporting documentation like an ID make sure that you:
-
Fit the ID within the frame of the photo without excess background in the frame.
-
Use a color photo.
-
Rotate the photo so it opens and reads left to right.
-
a.
b.
 Verify via a banking app or mobile website or add payout details and be prepared with the following information:
-
A business bank statement (PDF) from the past 30 days.
-
A screenshot of online banking page with business account name, address, and account number visible.
-
A photo of voided business check, with business account name, address, account, and routing number visible. The check should show IBAN and sort code for banks in the UK.
-
When attaching supporting documentation make sure that you:
-
Use color photos of the front and back of a government issued photo ID or passport.
-
Fit the ID within the frame of the photo without excess background in the frame.
-
Rotate the photo so that it reads left to right, not vertical or upside down.
-
-
Click Payout details, select the verification method, and then click Next.
-
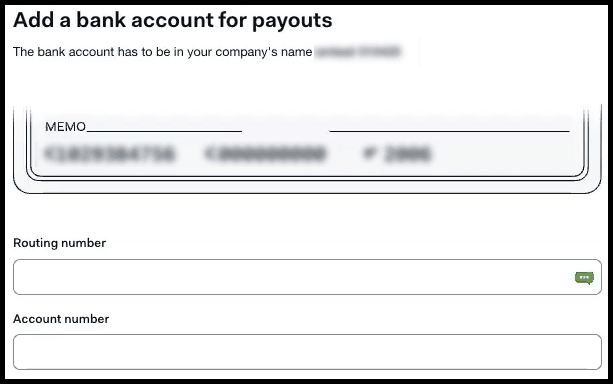
Enter the bank account information and then click Next.
-
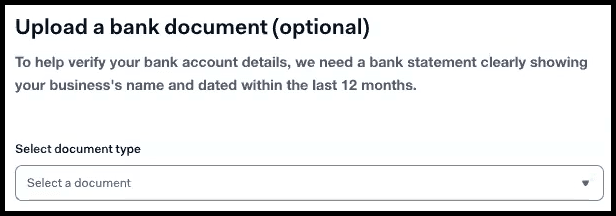
Optionally, upload a bank document and then click Next.
-
Review the summary and then click Submit.
a. 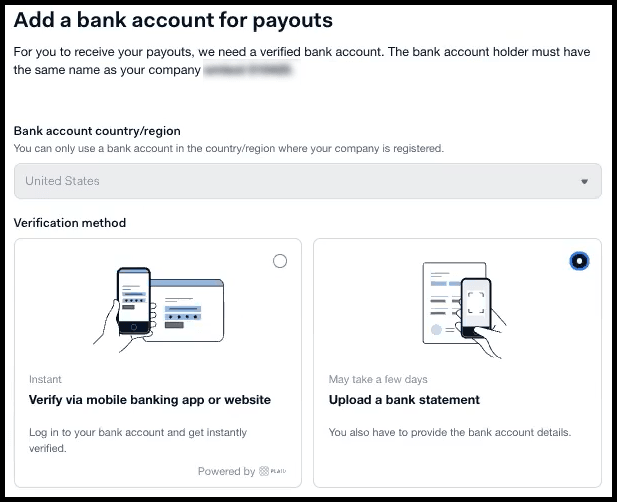
b.
c.
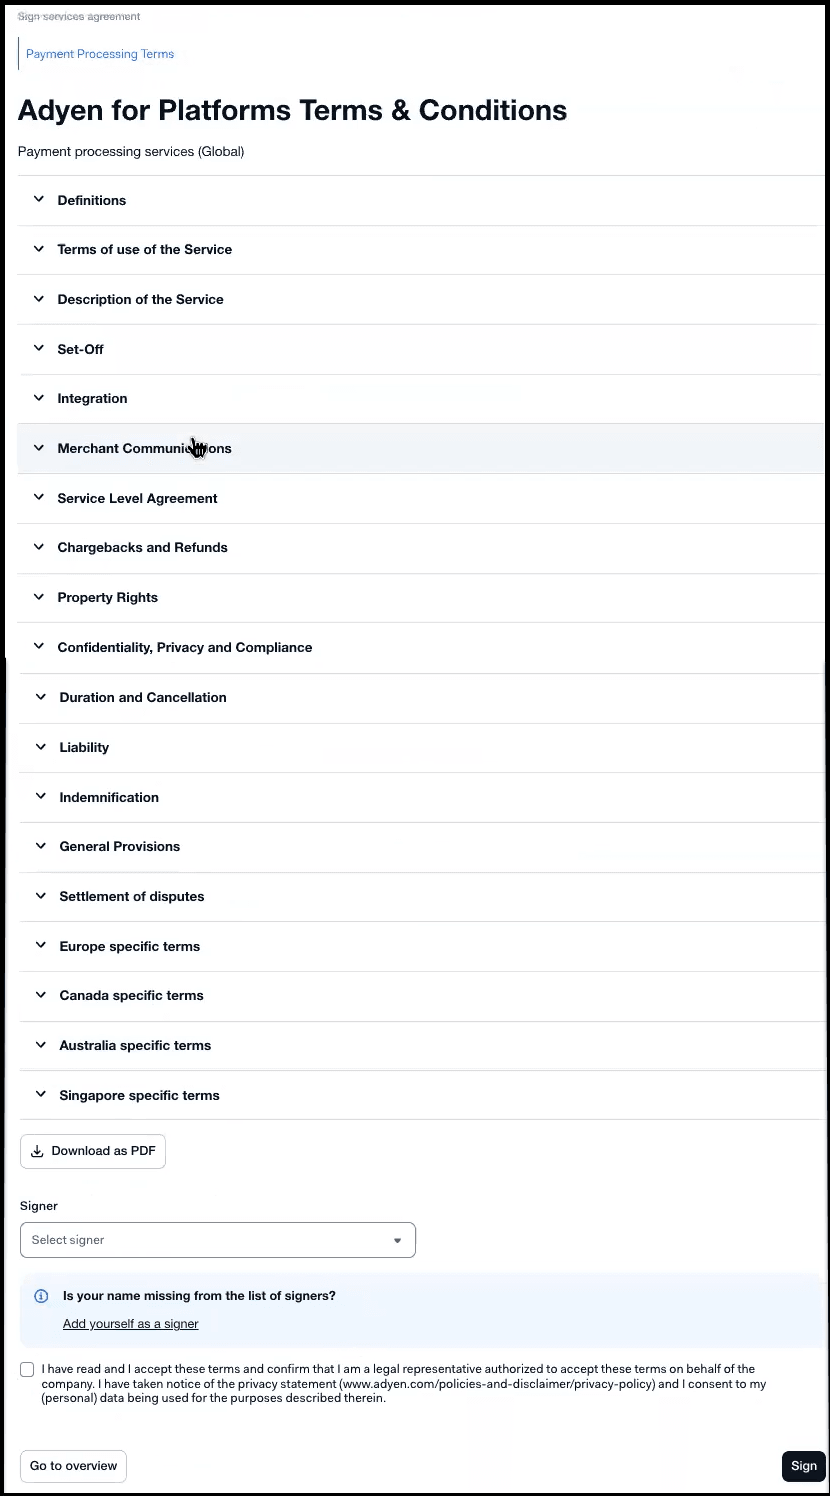
Sign the terms of services agreement: -
Click Sign services agreement.
-
Review and agree to the terms of service, select the Signer, and then click Sign.
After completing all the steps, Verified is shown next to each step. 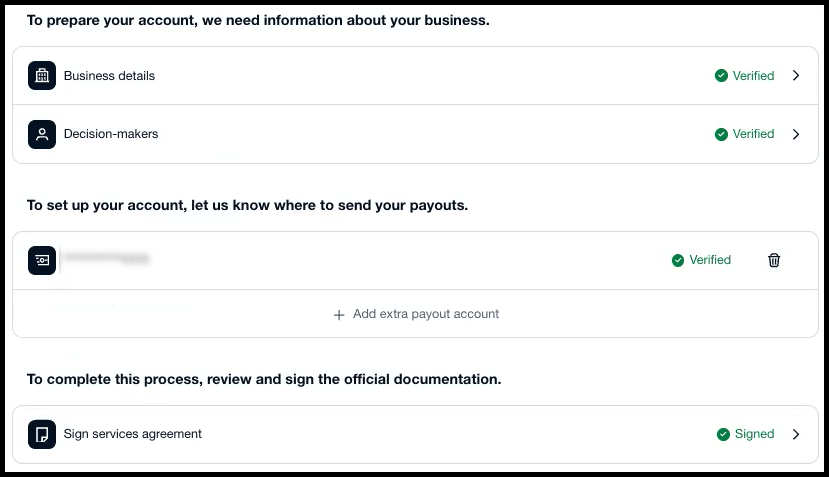
- After you complete the steps, navigate back to the onboarding checklist by clicking the link on the bottom left side of the screen.
Parent topic: Businesses