Postman
For automated API calls, Postman is the preferred way to interact with POM in order to call ad hoc processes and perform data load activities. The steps below explain how to configure Postman for first-time use with POM.
Note:
POM versions earlier than v21 allow Basic Authentication, while v21+ requires OAuth 2.0 as detailed below.-
As a pre-requisite, retrieve the Client ID and Client Secret from Retail Home’s ‘Create IDCS OAuth 2.0 Client’. Refer to the Retail Home Administration Guide for complete details on retrieving the Client ID and Client Secret info if you have not done it before.
-
In the Postman application, click New->HTTP Request.
-
Set Request Type as
POSTand set the Request URL (Example for RI schedule):https://<Region-LB>/<POM-Subnamespace>/ProcessServices/services/private/executionEngine/schedules/RI/executionFor example:
https://home.retail.us-region-1.ocs.oc-test.com/rgbu-common-rap-prod-pom/ProcessServices/services/private/executionEngine/schedules/RI/execution -
Perform the following steps before sending the POST request to retrieve your authentication token:
-
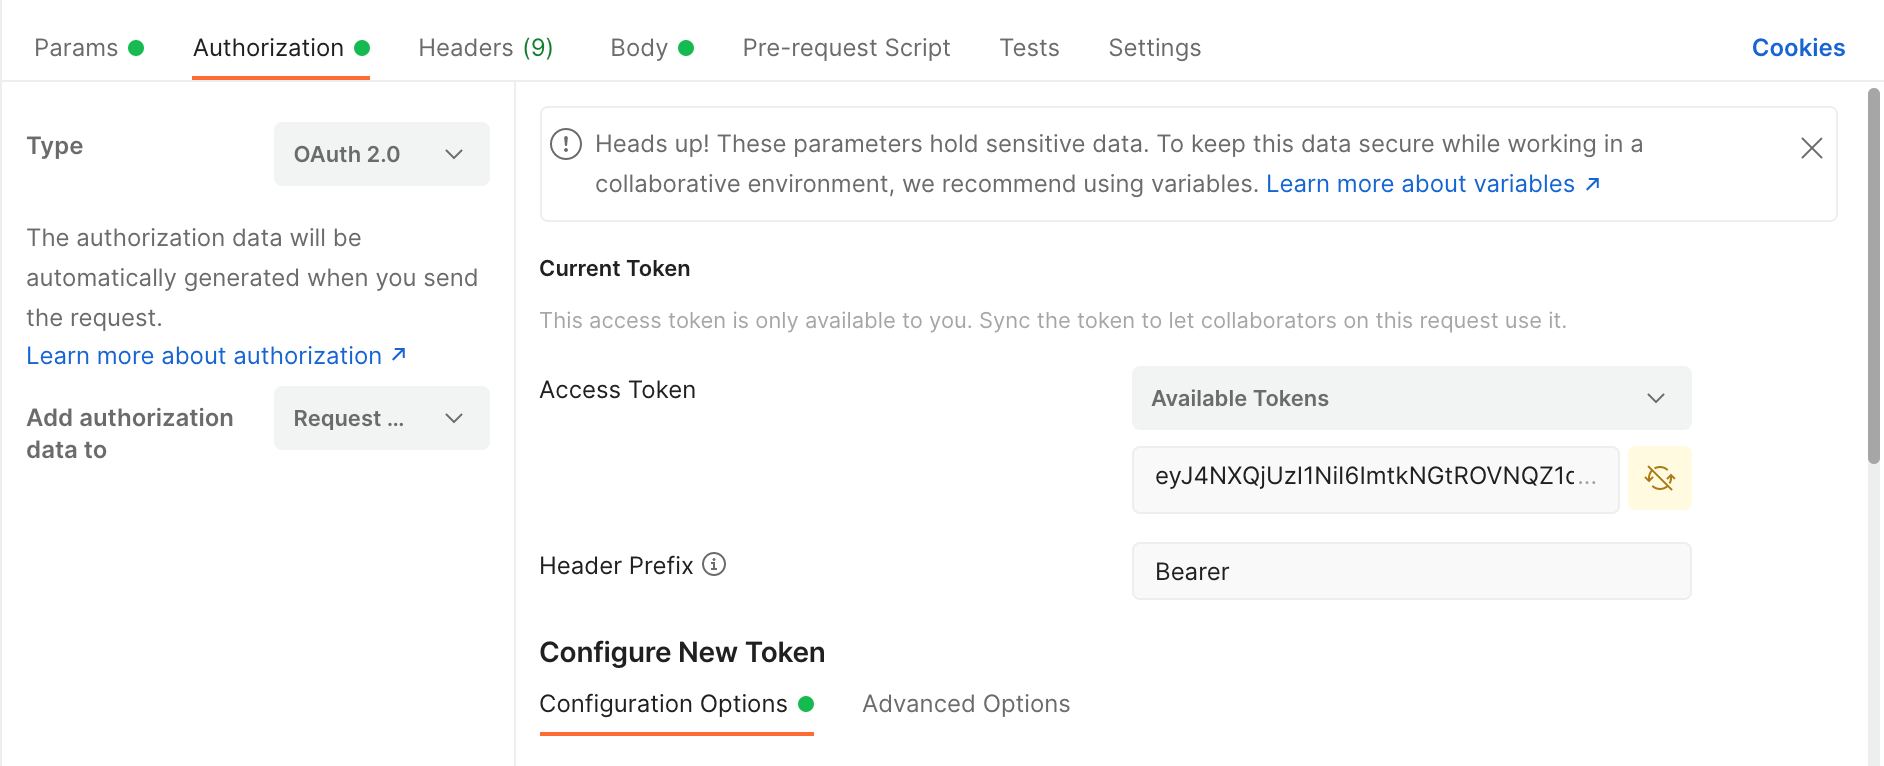
Authorization Tab:
Type: OAuth 2.0
Add authorization data to: Request Headers
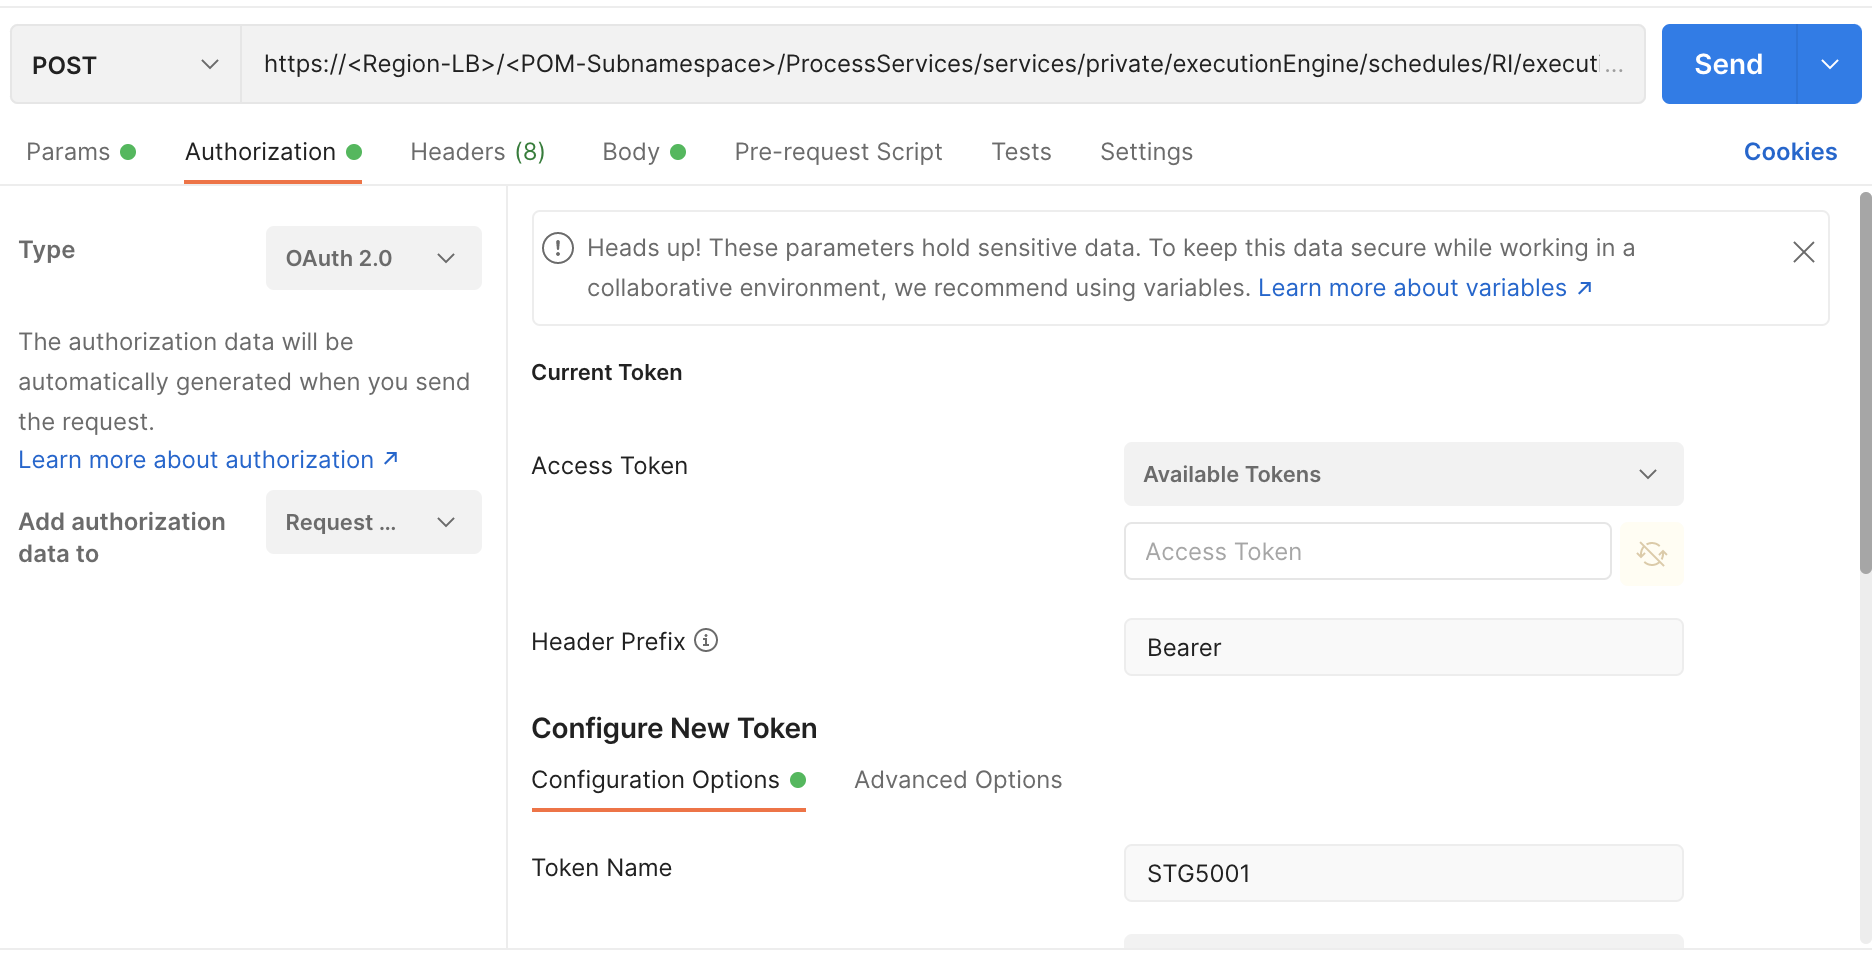
-
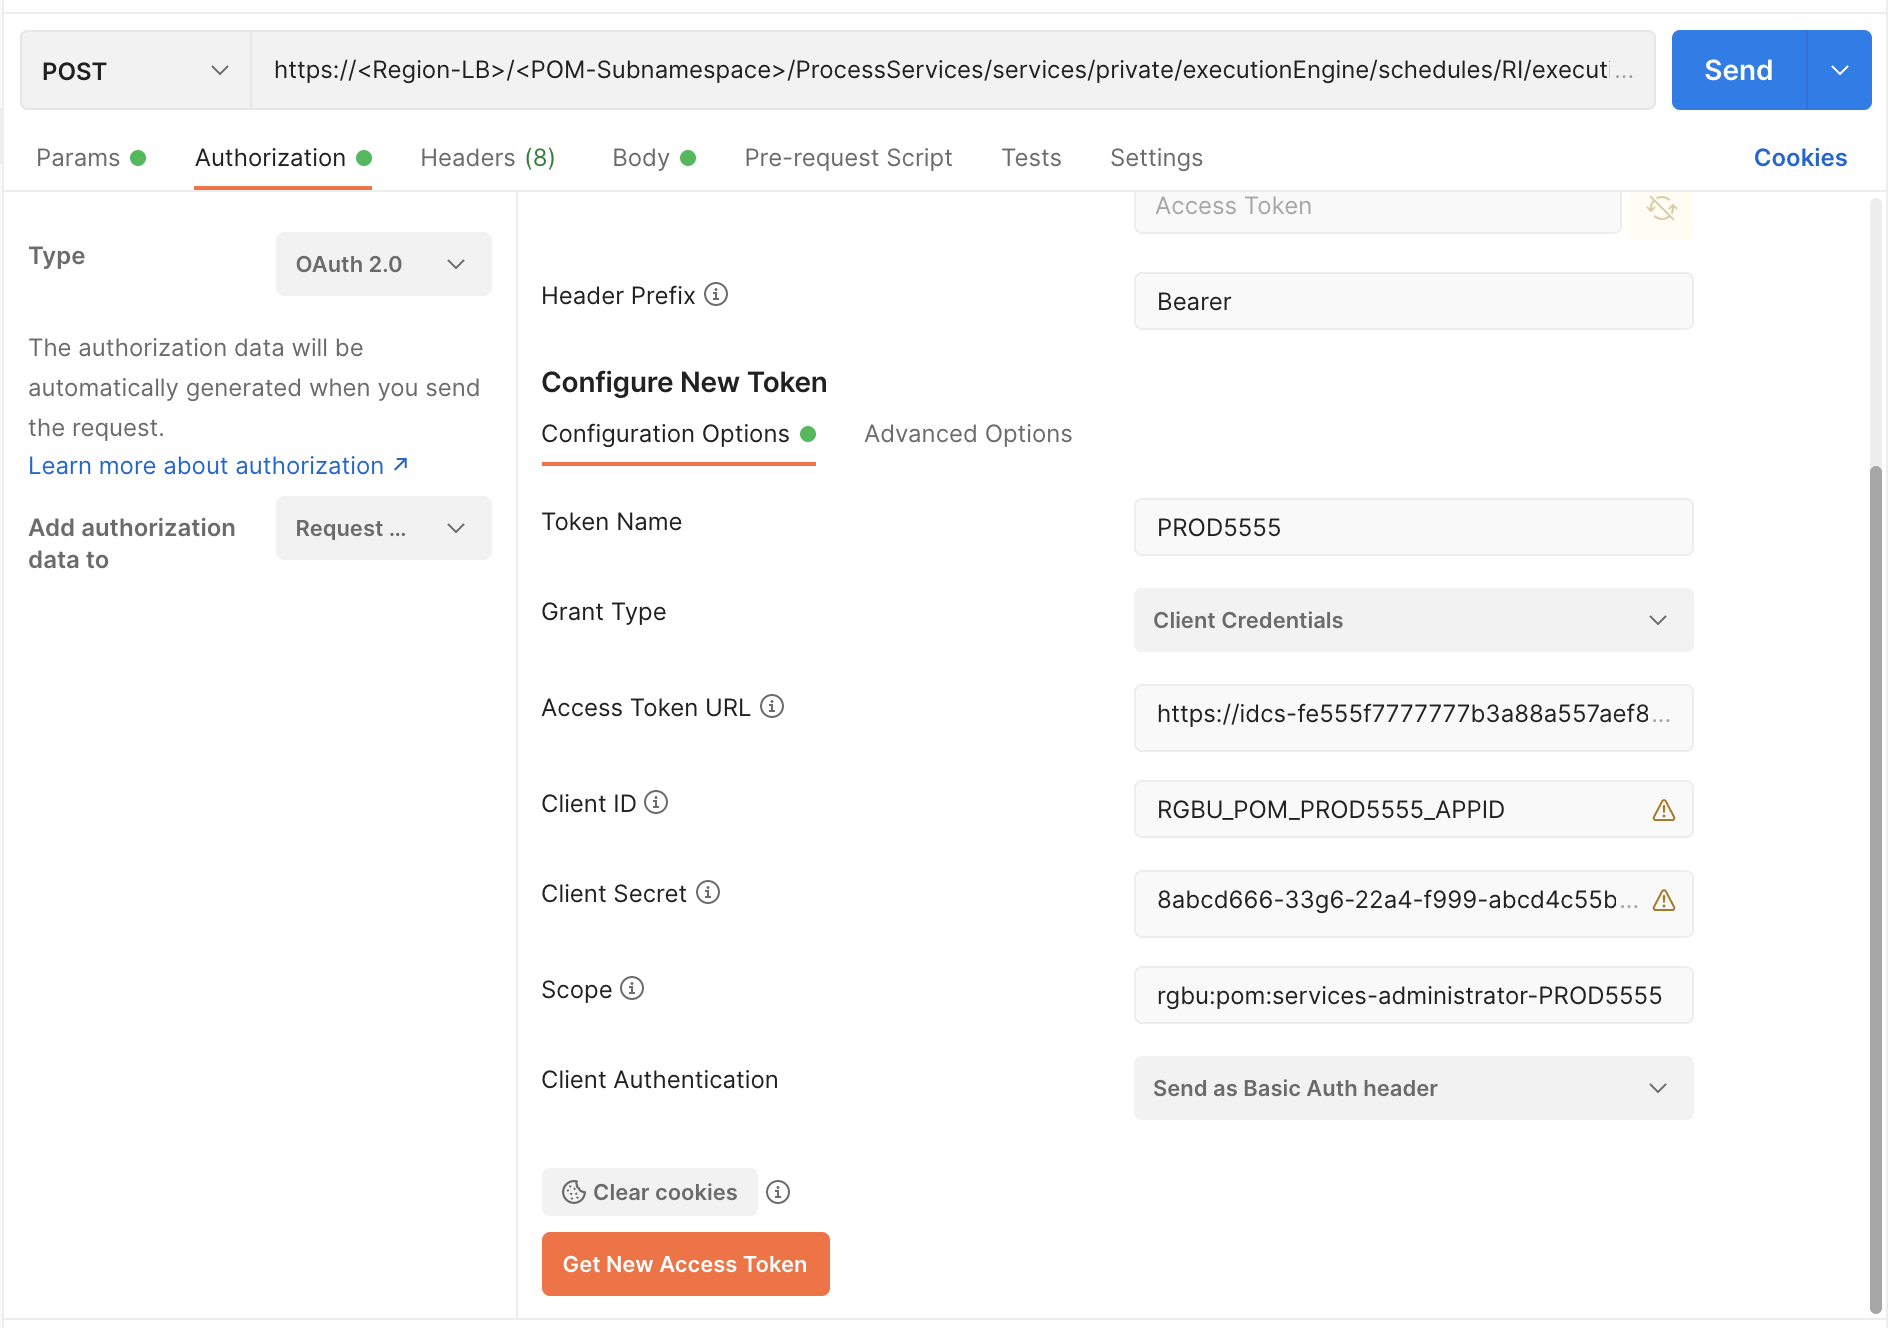
Configure the New Token:
-
Token Name: PROD5555
-
Grant Type: Client Credentials
-
Access Token URL:
https://<Customer-IDCS>/oauth2/v1/tokenFor example:
https://idcs-fe5f77f8a44.identity.c9dev.oc9dev.com/oauth2/v1/token -
Client ID: A unique “API Key” generated when registering your application in the Identity Cloud Services admin console.
-
Client Secret: A private key similar to a password that is generated when registering your application in the Identity Cloud Services admin console.
-
Scope:
rgbu:pom:services-administrator-<Env-INDEX>For example:
rgbu:pom:services-administrator-PROD5555 -
Client Authentication: Send as Basic Auth header
-
-
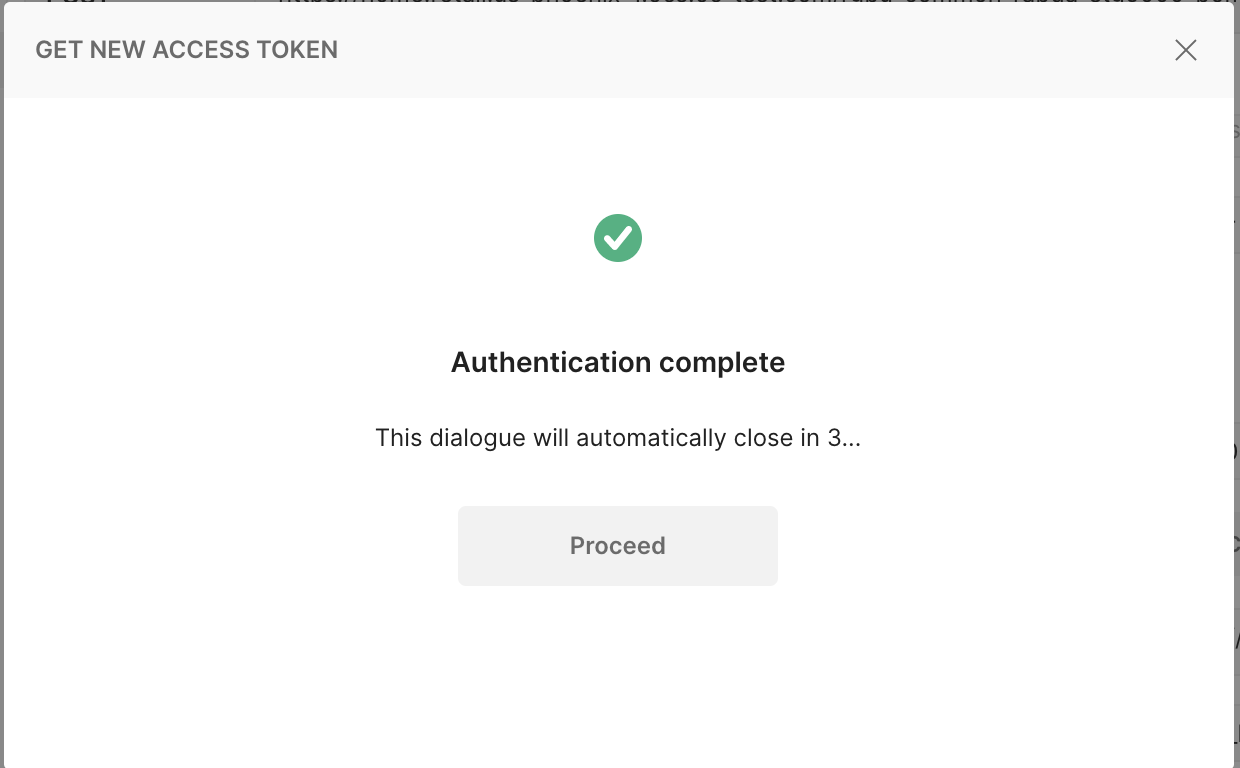
Click the Get New Access Token button.
-
-
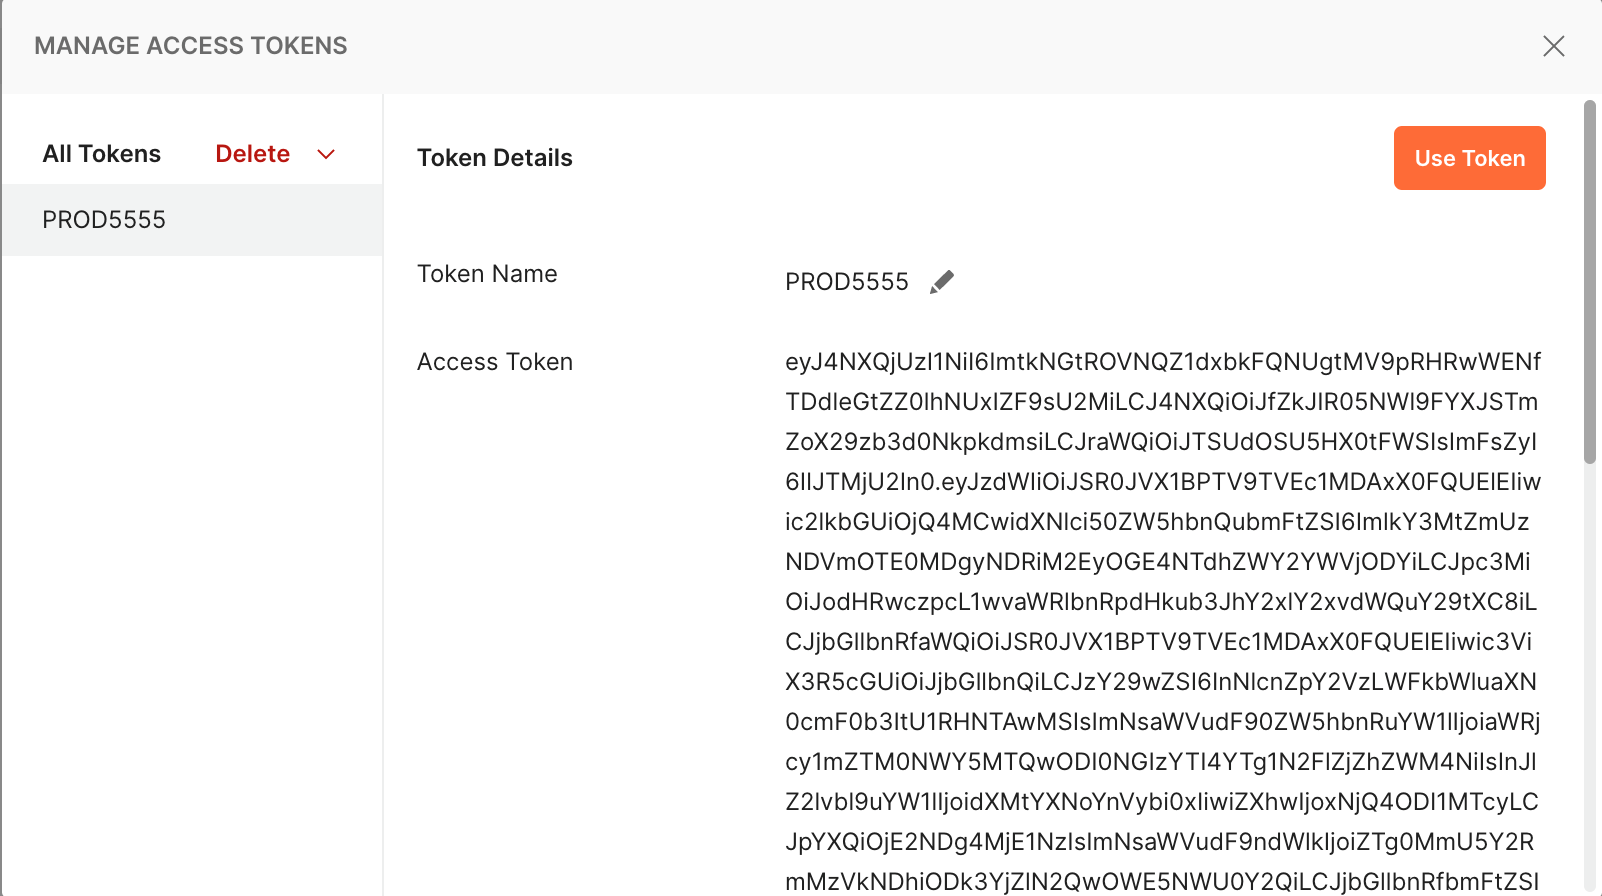
The Access Token is displayed in the MANAGE ACCESS TOKENS pop-up window. Click the Use Token button.
-
The generated token is populated in the Access Token section.
-
In the Parameters, provide a key of
skipVersionwith a value of true.
-
Click the Body tab to enter the JSON for running POM batches.
-
Select the raw radio button and JSON file type.
-
Enter the JSON XML and click the Send button in the Body tab.
-
If the returned Status is "200 OK" and
'executionEngineInfo': “STARTED”is in the response body, then the batch started as expected. -
If the status is not 200 and either of 401 (authorization error) or 500 (incorrect body content) or 404 (server down) and so on, then perform error resolution as needed.
Example request and response for the
HIST_ZIP_FILE_LOAD_ADHOCprocess: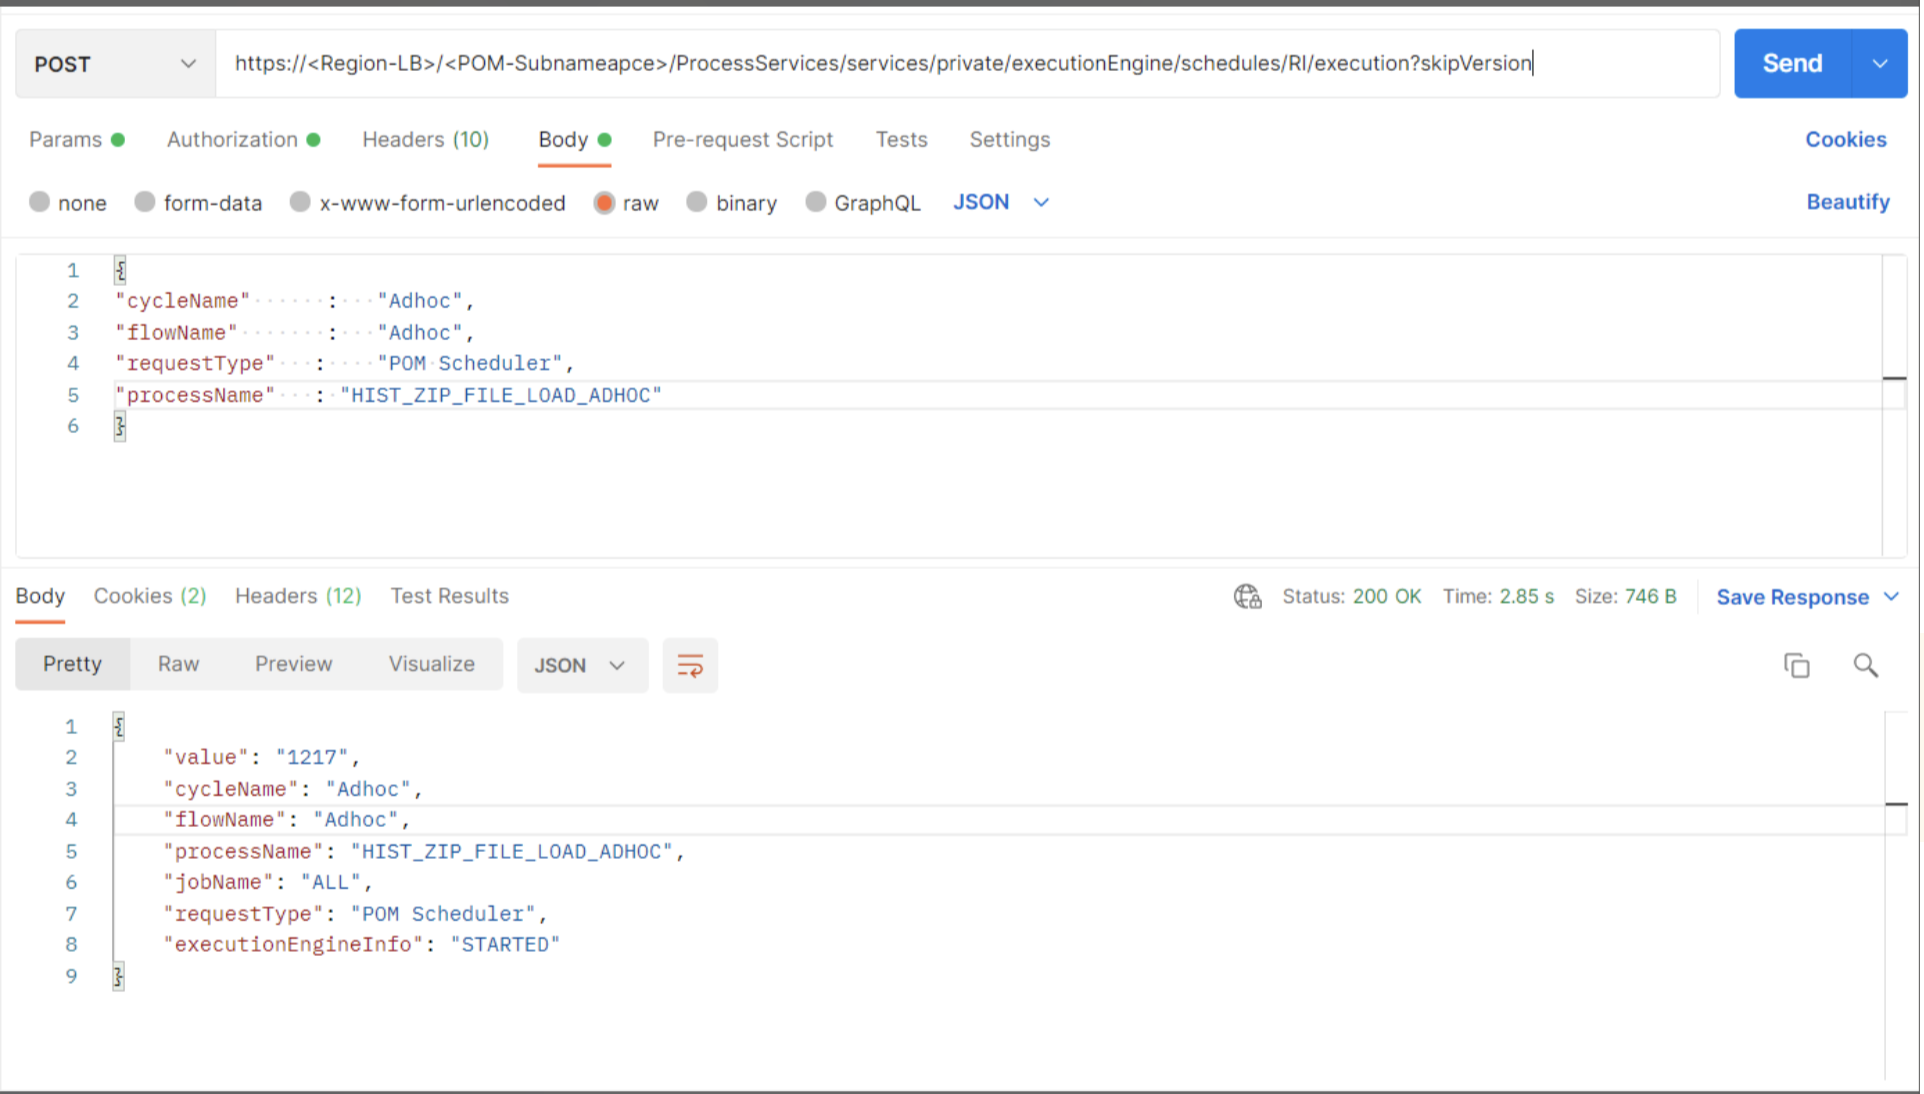
Additional examples of Postman Body JSON XML are listed below.
Nightly Batch
{
"cycleName"    :  "Nightly",
"flowName"     :  "Nightly",
"requestType"  :  "POM Scheduler"
}
With One Process – Applicable for Nightly and Ad Hoc
{
"cycleName"     :  "Nightly",
"flowName"      :  "Nightly",
"requestType"   :  "POM Scheduler",
"processName"   :  "LOAD_AGGREGATION_BCOST_IT_DY_A_PROCESS"
}
With Dynamic Parameters – Applicable for Nightly and Ad Hoc
{ "cycleName" : "Adhoc", "flowName" : "Adhoc", "requestType" : "POM Scheduler", "processName" : "HIST_INVRTV_LOAD_ADHOC", "requestParameters" : "jobParams.HIST_LOAD_INVRTV_DAY_JOB=2020-09-09 2021-09-09" } -