Create Appointments Using the UI
Users can create new Appointments using the Appointments Calendar by clicking the available slot and or by clicking New Appointment.

To create a new appointment:
- From the side menu, choose Appointments Management:
- In the Appointment Calendar screen, click the Slots Available Label.
- In the Appointment List screen, click New Appointment.
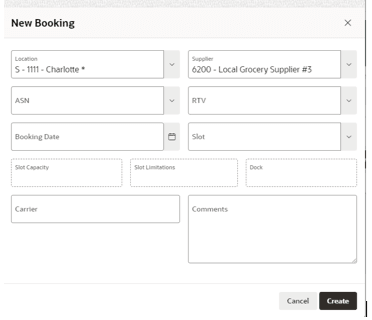
- In the New Booking dialog box, the user needs to enter the following information:
- Location (mandatory)
Note:
Prepopulated with selected location on the Home page. - Supplier (mandatory)
Note:
Prepopulated if the user only has access to one supplier. - Type (mandatory) - choose between available values:
- ASN (one or multiple selected)
- RTV (one or multiple selected)
Note:
Only ASN or RTV can be selected, not both. - Booking date (mandatory)
Note:
Prepopulated if the user chooses the slot directly from the calendar. - Slot (mandatory)
- Slot Capacity (not editable)
- Slot Limitations (not editable)
- Dock (not editable)
- Carrier (not mandatory)
- Comments (not mandatory)
- Location (mandatory)
Note:
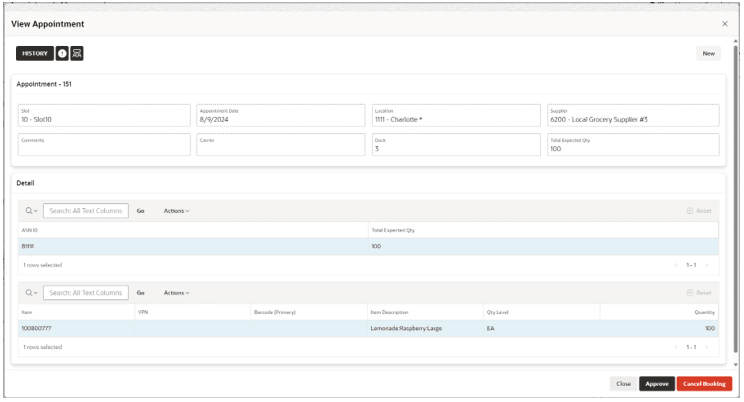
Slot Capacity, Limitations, and Dock are values associated with the selected slot.Once the user enters the information, the appointment is created and an ID is assigned. It can be viewed by opening it on the Appointment List.
