Item Transfer
The Item Transfer option allows you to transfer an item from one inventory location to another within the store. The transfer can be made for a single item, multiple items, or even an entire inventory location.
-
After logging in to the Back Office by entering your employee ID and password, select the Inventory option on the Main Menu.
-
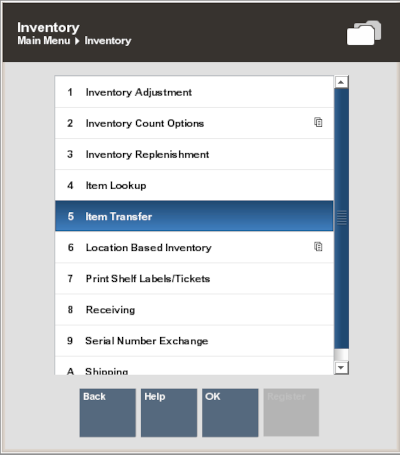
Select Item Transfer on the Inventory menu.
Figure 6-11 Inventory Menu - Item Transfer
-
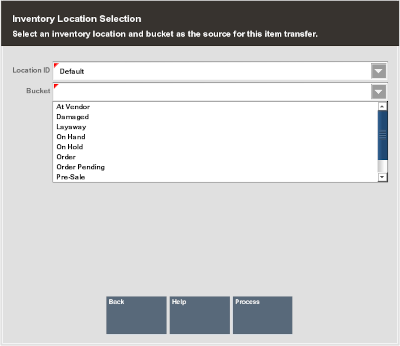
The system prompts you to select the inventory Location ID and bucket from which the item(s) will be taken. Select a Location ID from the drop-down list on the Location Id field and select a Bucket from the drop-down list on the Bucket field. Select Process to continue.
Figure 6-12 Prompt for Source Location and Bucket
-
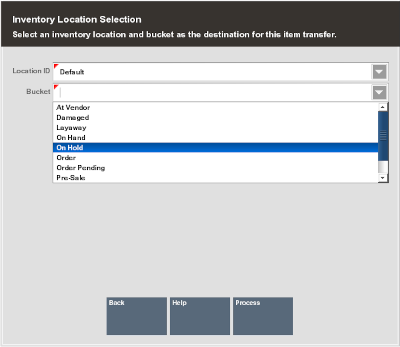
Next, select the destination location and bucket to which the item(s) will be transferred. Select Process to continue.
Figure 6-13 Prompt for Destination Location and Bucket
-
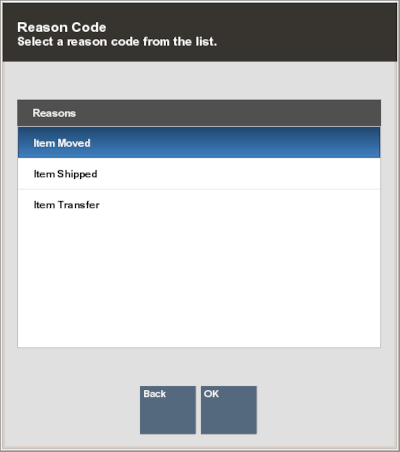
The system displays a list of reasons for transferring the item(s) to a new location. Choose a reason from the list and press Enter.
Figure 6-14 List of Reasons for Transferring an Item
-
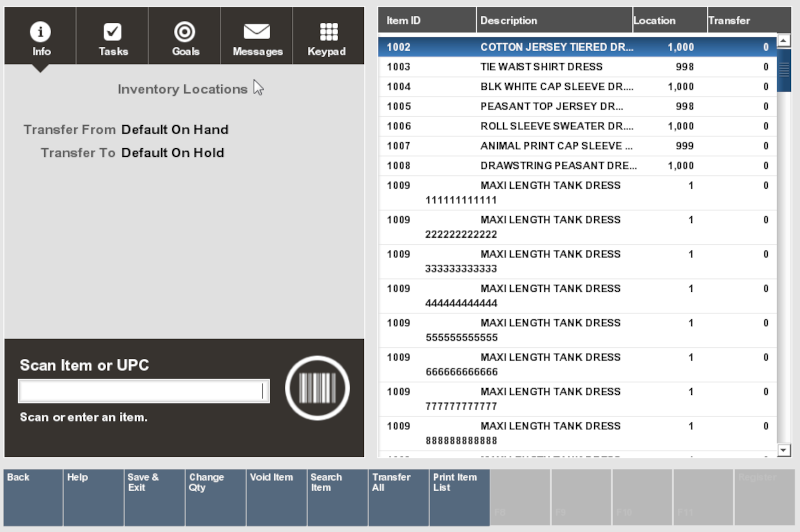
The system prompts you to enter an item ID for the transfer. Scan or enter the item ID and press Enter.
Figure 6-15 Prompt for Item ID to Be Transferred
-
The system prompts you to enter the quantity of the item that you want to transfer. Enter the number of items and press Enter.
Figure 6-16 Prompt for Item Quantity to be Transferred

Note:
If the item you want to transfer is serialized, you are prompted to enter the serial number. Type it in and press Enter.
Note:
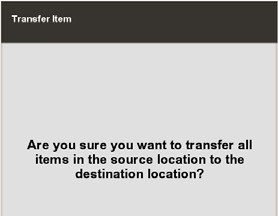
You can select the Transfer All option to transfer all the listed items to a new location.
The system prompts you to confirm that all items listed on the screen should be transferred from the source location to the new location. Select Yes to transfer all items listed on the screen or No to return to the previous screen.
-
You may change the transfer information you have entered for any of the items listed by choosing the Edit Item option:
-
Change Quantity: You are prompted to select the item and then enter the number of items you want to transfer.
-
Void Item: This resets the number of items transferred to the previously recorded transfer quantity.
-
Search Item: Enter an item ID and press Enter to locate and highlight that item in the list. This is useful when the item list is long and extends off the screen.
-
-
Select Save & Exit when finished transferring items from one location to another.
You are prompted to confirm that you want to save the transfer information you have entered.
-
Select Yes to complete the process.
-
Select No to return to the previous screen and continue selecting (or editing) items you want to include in the transfer.
-
-
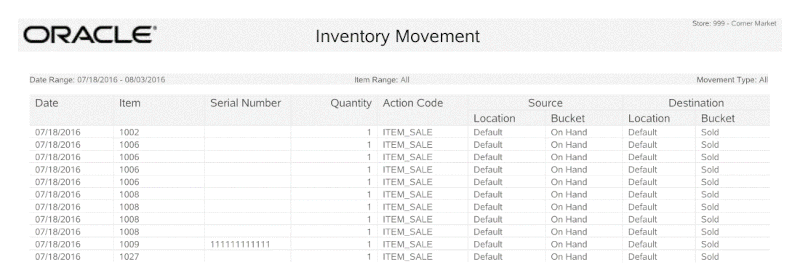
The system automatically prints the Inventory Movement Report showing the items that you just transferred.
Figure 6-17 Inventory Movement Report
