Prompts and Forms
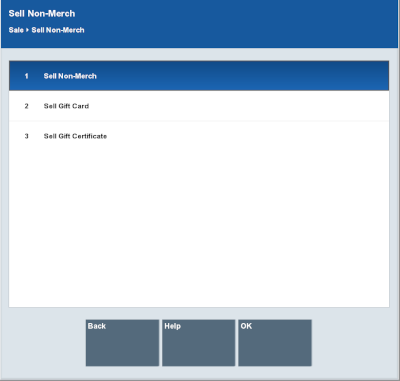
During various system operations, you may be prompted to confirm a procedure, select from a list of options, acknowledge a system action, enter/select information, and so on. Oracle Retail Xstore Point of Service provides several different types of prompts and forms to help you complete a task.
Note:
On-screen buttons can be activated through keyboard shortcuts.
Response Required Prompt
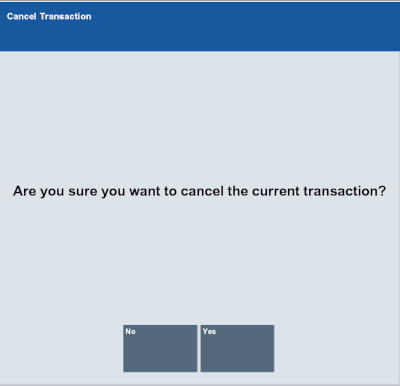
During a transaction process, you may be required to confirm an action. These prompts will require you to either confirm the action or cancel the action and return to the transaction without making the change.
Figure 2-23 Response Required Prompt
Entry Required Prompt
During a transaction process, you may be required to enter a value before continuing. Enter the necessary values, then either click or tap Process to continue. Or, if necessary, click or tap Back to cancel the action.
Figure 2-25 Entry Required Prompt
Search Prompt
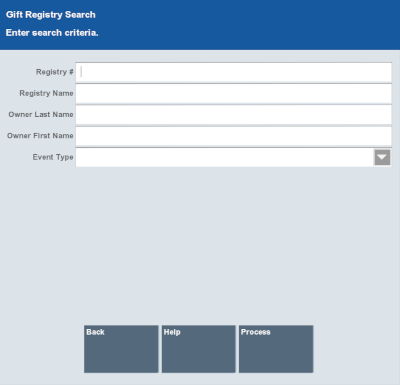
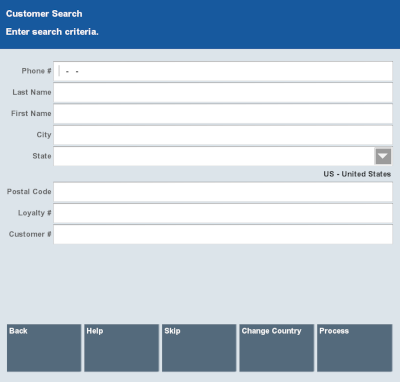
In a search form, enter parameters or criteria to initiate a database search. Oracle Retail Xstore Point of Service displays a search form automatically when you need to retrieve specific information.
To initiate a search, you need to enter only the first few letters or numbers in the appropriate search criteria fields. The more parameters you enter, the narrower the scope of the search becomes. That results in fewer records being found. When one of the parameters is not matched, the system uses the remaining parameters to conduct a broader search. If the system cannot find any matches, Oracle Retail Xstore Point of Service displays a message indicating that no information was found.
Because each Oracle Retail Xstore Point of Service search form is configurable, the search parameters on your system may be different than the search forms described in this guide.
Figure 2-26 Search Form (Customer Search)
Change Country
When applicable, a Change Country button associated with an address search will allow you to filter the values in drop-down menus to values for the selected country. This makes it easier to find the correct value in the drop-down menus.
Figure 2-27 Change Country
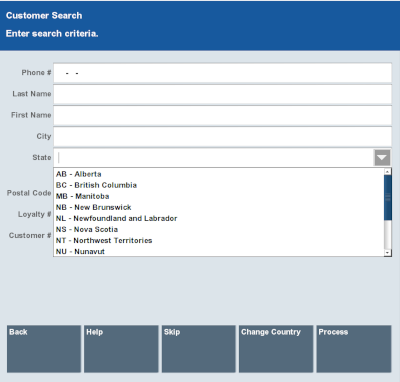
Country-specific forms and address layouts are defined in the base config path directory and not in a configuration accelerator config path, so the layouts are accessible regardless of the country a store is running in.
When the Change Country function is used on any form that supports it such as Customer Search, Customer Maintenance, and so on, you can change to any of the country-specific layouts that exist.
Data Entry Form
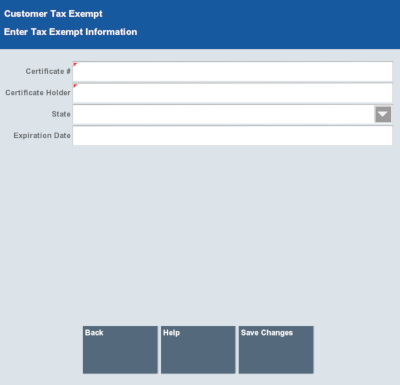
In a data entry form, you enter specific information about the initiated activity. Enter the information as required and click or tap Save Changes to continue, or click or tap Back to cancel the action.
If you click or tap Save Changes before completing all the required fields, Oracle Retail Xstore Point of Service displays a message explaining the error.
Figure 2-28 Data Entry Form (Tax Exempt Form)
Acknowledgement Prompts
Oracle Retail Xstore Point of Service will sometimes prompt users with information to be acknowledged by users. For example, these prompts can display data entry errors, informational messages, or indications of the completion of actions. These prompts will only display one button to be tapped or clicked.
Help Desk Error
If Oracle Retail Xstore Point of Service encounters a major error that cannot be handled as part of an action, Oracle Retail Xstore Point of Service alerts you that you should contact the help desk for help with the error.
If you receive this message, do one of the following:
-
Acknowledge the message and continue.
-
Call the help desk phone number displayed on the screen and follow the instructions given to you by the help desk.
-
If available, select the Open Support Ticket option. Enter the requested information, then click or tap Process.
An e-mail is automatically sent to the help desk describing the date, time, location, and system where the problem occurred, as well as the entered information and additional system log files.
