2 Documentation and Screen Conventions
The interface for Xstore POS is made up of common elements. These elements include text fields, numeric fields, buttons, links, lists, and menus used to select options, enter data, or open new screens.
Select an element to learn more about its use.
Text Field
A text field is used for keying in information. When a text field is selected, an on-screen keyboard opens which you can use to enter the requested information.
Figure 2-1 Text Field
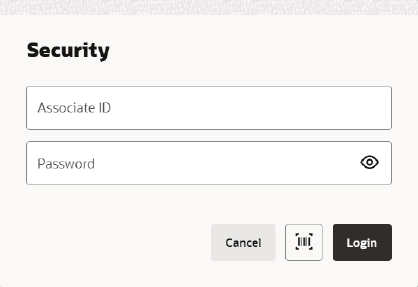
Figure 2-2 Text Field - Handheld
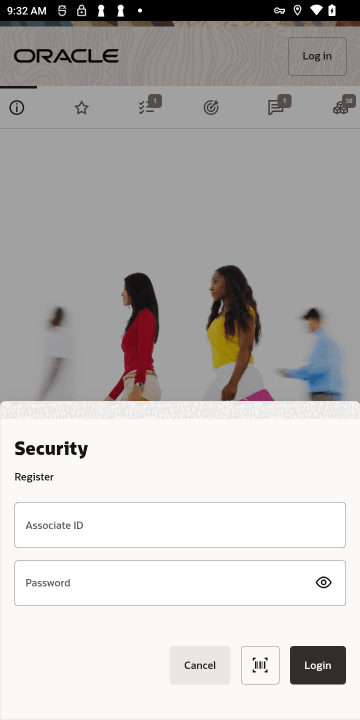
The appearance of the keyboard will depend upon the device on which you run Xstore POS. An on-screen keyboard is also displayed for alphanumeric entries such as login/passwords and postal codes.
Numeric Field
Whenever a numeric entry is required on the Xstore Desktop, Thin Client, or Tablet, a prompt displaying the field name is automatically shown. The prompt allows you to enter numbers as required.
Figure 2-3 Numeric Field
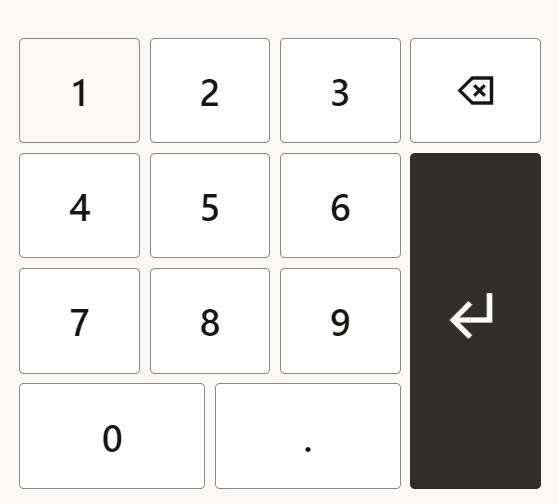
Figure 2-4 Numeric Field - Handheld
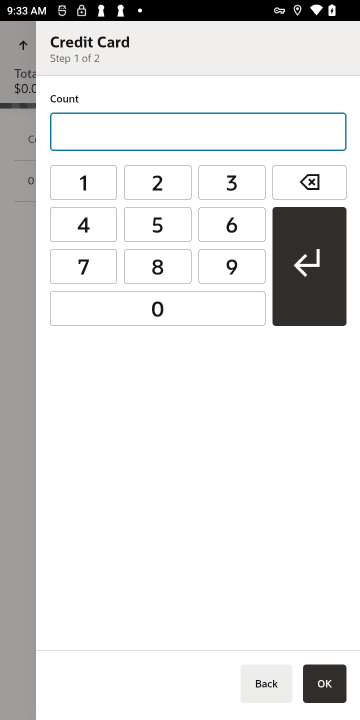
Upon completion of a numeric entry the prompt closes.
When a phone number entry field is selected, the phone number keypad displays automatically.
Passive Messages
Figure 2-5 Passive Messages

Passive messages display for a few seconds before automatically disappearing or can be closed by the user. The display time is configurable.
Notifications
Xstore displays a notification on the screen when a new high priority message and/or a new order has been created. Notifications are displayed for all order types that are in new order status and for each individual order type, for example, Same Day, Pick up or Delivery.
Note:
Pick Up Order and Transfer Pickup are grouped under Pick up.If there are several notifications, they are stacked and an accurate count per new order is displayed. The counts displayed are the same across all workstations within a store. They are not unique to different users or registers. Xstore queries Order Orchestration Cloud Service (OOCS) every 15 minutes for new orders.
High priority messages created within Xstore, as well as high priority messages created outside of Xstore, for example, corporate messages created in Xadmin, are displayed. Pay by Link transaction messages regarding payment expiring and payment completion are also displayed as high priority notifications.
Depending on the system configuration, notifications can be dismissed by the user or they are dismissed automatically by the system.
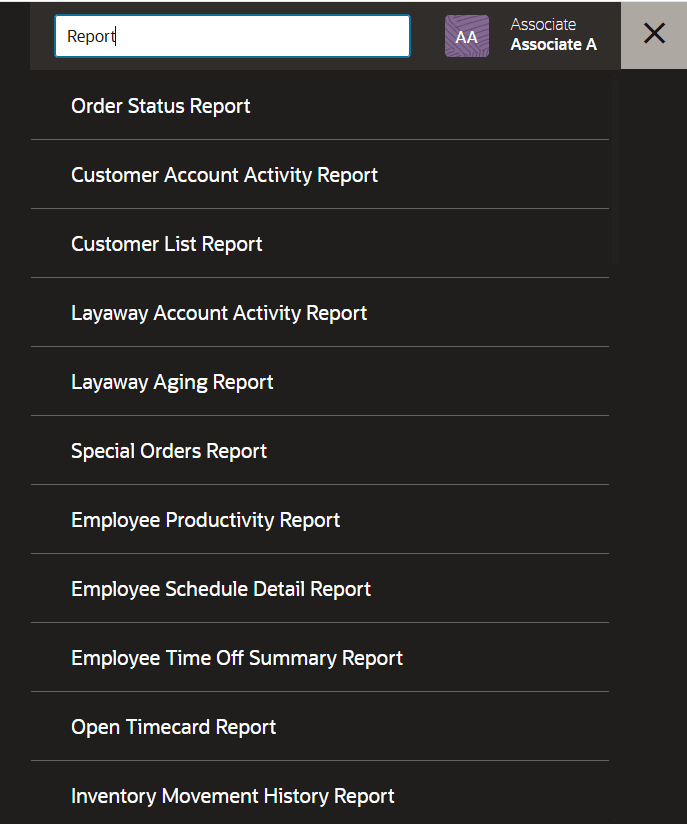
Global Navigation and Home Screen Menus
Figure 2-6 Global Navigation Menu Icon

The Global Navigation icon will not be present on all screens. When it is present, Global Navigation opens a menu showing appropriate actions you can make.
Select the respective option to access the appropriate functionality.
Figure 2-7 Home Screen Menu
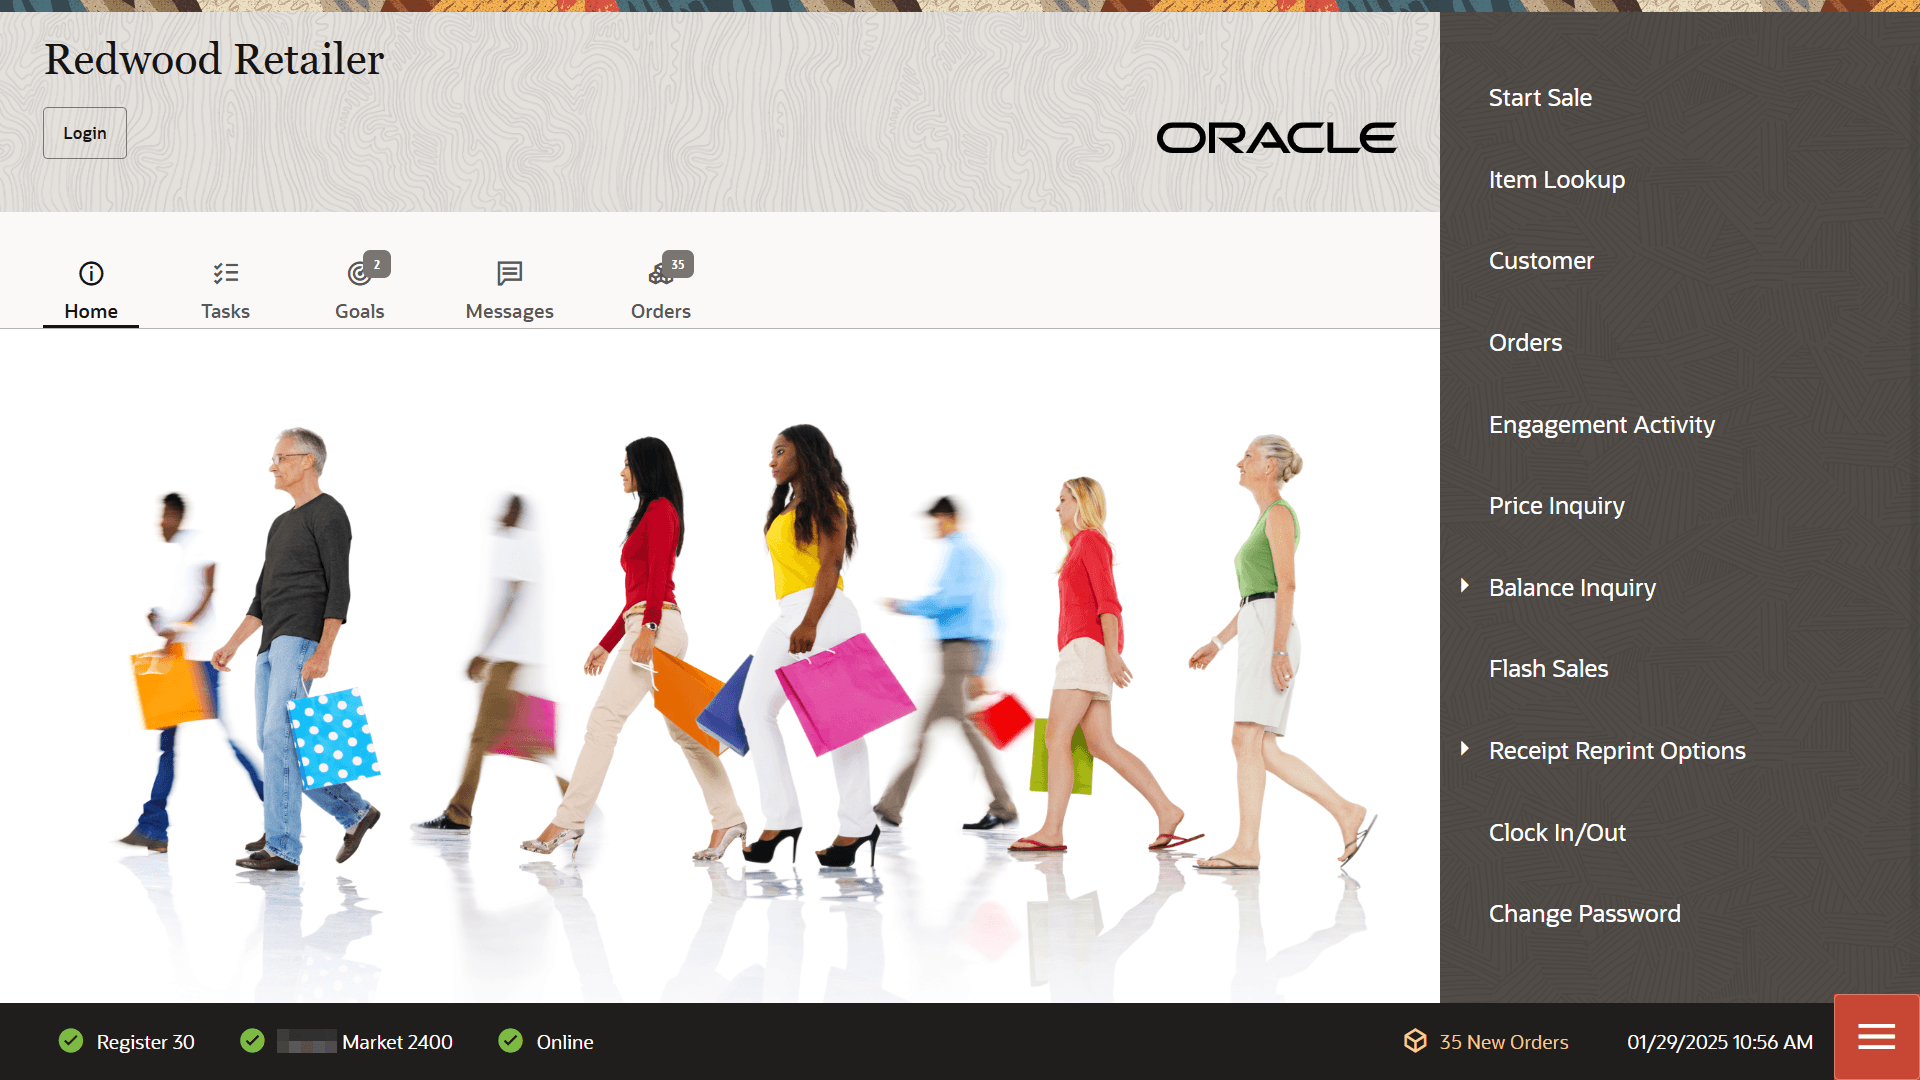
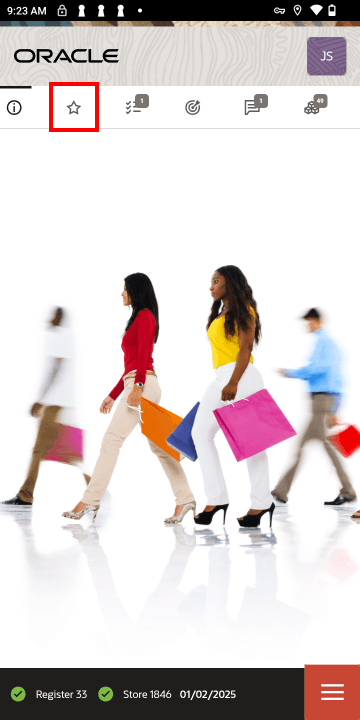
Figure 2-8 Home Screen Menu Via the Shortcut Menu - Handheld
Handheld – Quick Start Sale Button - A new Start Sale shopping cart icon is available on the Handheld home screen. Associates can tap this button to quickly begin a sales transaction. The icon appears next to the Login button when signed out, or next to the associate's profile icon when signed in. Standard login requirements and security processes remain unchanged.
Figure 2-9 Shopping Cart Icon - Handheld
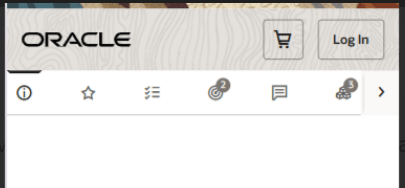
Table 2-1 Home Screen Menu Options
| Main Menu Option | Sub-Menu Option |
|---|---|
|
Start Sale |
|
|
Item Lookup |
|
|
Customer |
|
|
Orders |
|
|
Engagement Activity |
|
|
Price Inquiry |
|
|
Balance Inquiry |
Gift Card Balance |
|
Gift Certificate Balance |
|
|
Gift Receipt Inquiry |
|
|
Loyalty Balance |
|
|
Store Credit Balance |
|
|
Flash Sales |
|
|
Receipt Reprint Options |
Rebate Receipt |
|
Reissue Gift Receipt |
|
|
Reprint Document |
|
|
Reprint Last Receipt |
|
|
Clock In / Out |
|
|
Change Password |
|
|
Enter Training Mode |
Training Mode is available when logged out |
Tabs
Figure 2-10 Xstore Home Screen
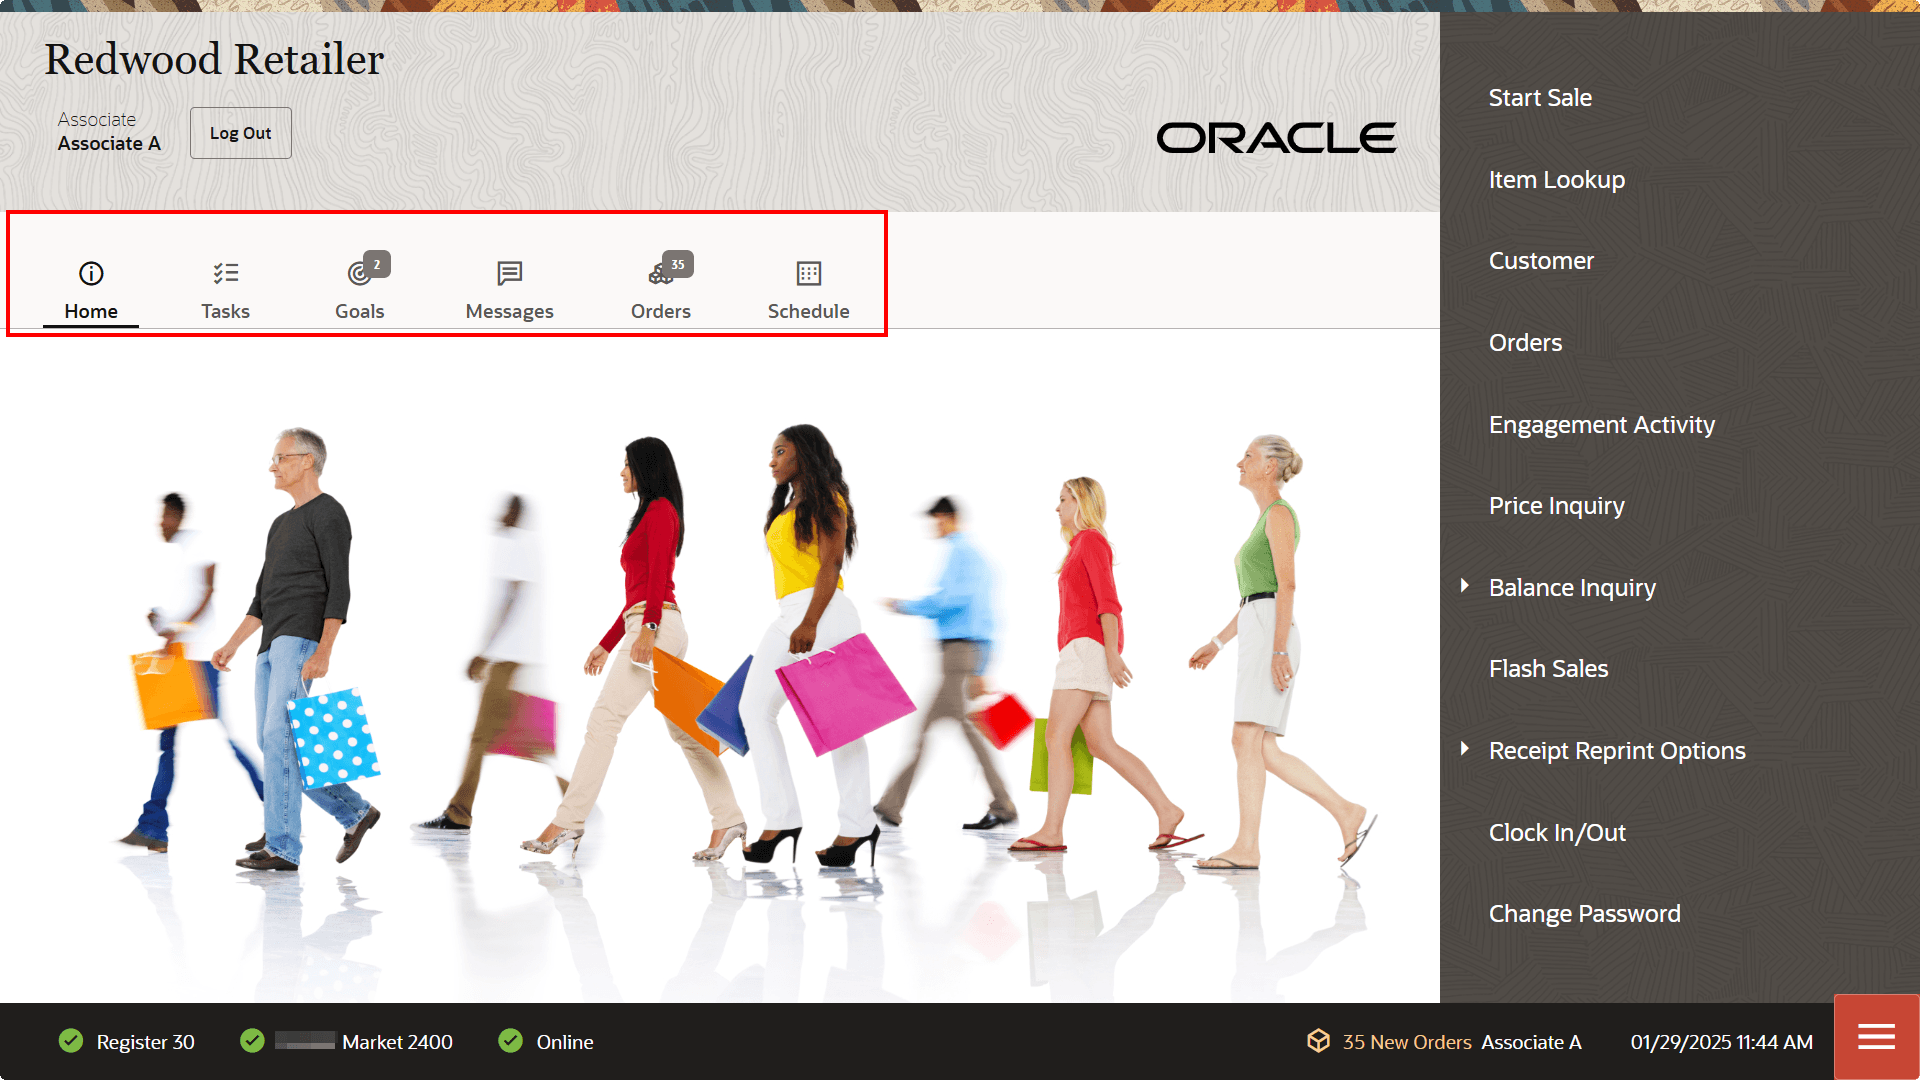
Figure 2-11 Xstore Home Screen - Handheld
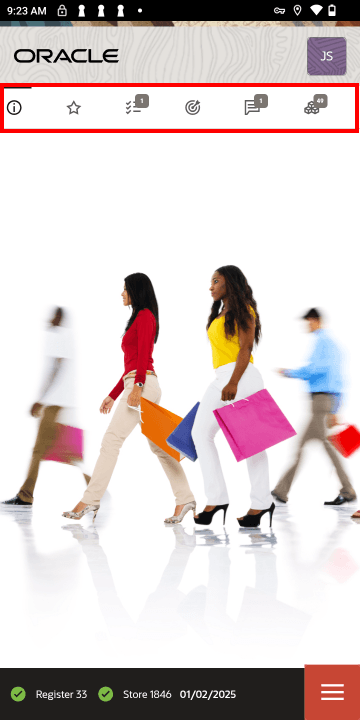
In a base implementation, Desktop, Thin Client, Tablet, and Handheld display the following options:
Home Tab
The Home tab provides a configurable information area that retailers can use to communicate content to associates. By default, the Home tab displays a configurable image, but it may also contain text messages, images, or a combination of graphics and text. The Home tab is presented consistently regardless of whether a user is logged in or logged out, and supports rich content, including HTML-based formatting when configured.
Sales Tab
Using the Sales Tab
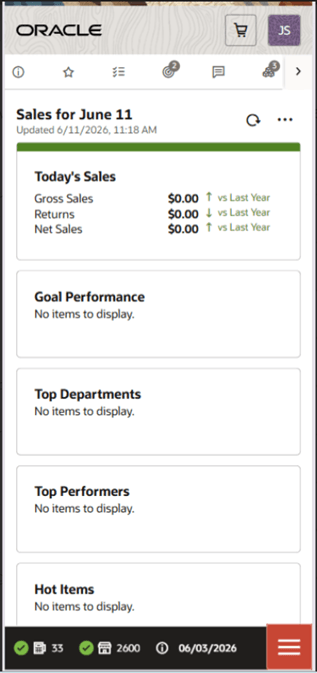
The Sales tab on the Home Screen provides a summary of store sales activity for the current calendar date.
The Sales tab displays the following sales information: Today's Sales, Goal Performance, Top Departments, Top Performers, and Hot Items.
The Sales tab displays the last updated time for the sales data. The data is refreshed at configured intervals. By default, the data is refreshed every five minutes. You can select Refresh to refresh the statistics on the page; however, the statistics are updated only according to the configured refresh interval.
Selecting Today's Sales opens the Dashboard Report. If you are not logged in, Xstore prompts you to log in before the Dashboard Report is displayed.
Note:
The Sales tab is available on desktop, thin client, and tablet form factors. It is not available on the handheld formfactor and not available in Self Checkout. The information displayed on the Sales tab is available in both logged-in and logged-out states.
Figure 2-12 Sales Tab Images - Handheld
Today's Sales
The Today's Sales section displays gross sales, returns, and net sales for the current date.
Each value is compared to the same calendar date in the previous year. An indicator shows whether the current value is higher or lower than the value for the previous year.
For gross sales and net sales, an upward green indicator means the current value is higher than the previous year, and a downward red indicator means the current value is lower than the previous year.
For returns, the indicator uses the opposite business interpretation because higher returns negatively affect sales. If returns are higher than the same date in the previous year, an upward red indicator is displayed. If returns are lower than the same date in the previous year, a downward green indicator is displayed.
Select the Today's Sales card to open the Sales Performance drawer. The Sales Performance drawer displays a table showing the store’s sales performance for multiple reporting periods, including Today, Today (Last Year), Week to Date, Month to Date, and Year to Date. For each reporting period, the drawer displays gross sales, returns, and net sales totals. Select the Done button to close the drawer.
Goal Performance
The Goal Performance section displays the store's progress toward a configured sales goal for the current date. Sales goals are defined and configured by the retailer.
The Goal Performance card displays the configured goal that is active for the current date and has the earliest expiration date and time. The card includes the goal description and a progress bar that indicates the percentage of the goal completed. The progress bar can display progress greater than 100 percent.
Select the Goal Performance card to open the Goal Performance drawer.
The Goal Performance drawer displays all configured goals that are active or effective for the current date. If there are more active goals than can be displayed at one time, scroll to view the additional goals.
The drawer includes: Description, Start, End, Sales, Goal, and Percent. Select Done to close the drawer.
Top Departments
The Top Departments section displays the top performing departments by net sales for the current date. The departments are displayed in descending order by net sales.
The card displays up to five departments and includes a graph visual that represents the sales total for each department.
Select the Top Departments card to open the Top Departments drawer.
The Top Departments drawer displays department sales details for the current sales date. The drawer displays the top five departments by net sales.
The drawer includes: Department, Gross Sales, Returns, Net Sales, Net Units Sold, and Average Unit Retail. Select Done to close the drawer.
Top Performers
The Top Performers section displays the store's top performing associates by net sales for the current date. Associates are displayed in descending order by net sales.
The card displays up to five associates and includes the associate avatar (if configured), associate name, and net sales for the current date. Associates with negative net sales are not displayed as top performers.
Select the Top Performers card to open the Top Performers drawer.
The Top Performers drawer displays up to five associates with the highest total sales for the current date. The drawer includes Associate Name, Average Units per Transaction, Average Transaction Sale Amount, and Net Sales. Select Done to close the drawer.
Hot Items
The Hot Items section displays the store's top selling items for the current date. Items are displayed in descending order by total sales.
The card displays up to five items and includes the item image, item description, item ID, and total sales for the current date.
Select the Hot Items card to open the Hot Items drawer.
The Hot Items drawer displays up to five selling items for the current date. The drawer displays the items as a list and includes the item image, item description, and item ID, quantity sold, and net sales. Select Done to close the drawer.
Tasks Tab
The Tasks tab displays open and in progress tasks with start date/time prior to the current date and end date/time equal to the current date or in the future. Tasks shown here are view only. The counters on the Tasks tab are updated in real time. Use the Refresh button to update the tab information. The updated date and time stamp are displayed.
Figure 2-13 Tasks Tab - Handheld
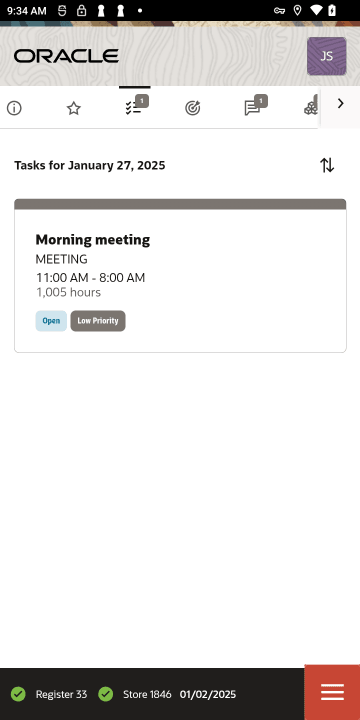
The following information is displayed for each task that day:
-
Task Description
-
Task Type
-
Start Time and End Time
-
Duration
-
Status
-
Priority
For more information about Tasks see Task Management.
Goals Tab
The Goals tab displays information from the corporate office about the goals set for your store for a specified date range. You are not required to log in to view store goals. These goals are visible to all employees.
The counters on the Goals tab are updated in real time. Use the Refresh button to update the tab information. The updated date and time stamp are displayed.
The goals are listed in the following order:
-
Completed goals
-
Active goals
-
Future goals
The goals are displays in color, based on their status:
-
Green - Goals completed and met.
-
Red - Goals completed but not met.
-
Black - Active, current, and future goals.
Each goal has an effective date and an end date. The store goal is shown in the Goal column and the current amount achieved toward the goal is shown in the % To Date column.
Note:
Future goals display “N/A"' in the % To Date column until they become active.
Sales Goal to date progress is calculated using net sales. Progress toward store goals can also be found in the Store Goals report and on the Dashboard.
Messages Tab
You are not required to log in to view messages. These messages are visible to all employees. The information shown on the Messages tab may be from the corporate office, or from your store management. The tab displays the message count. The message count is updated in real time. Use the Refresh button to update the tab information. The updated date and time stamp are displayed.
Messages require no action and may be store-specific (only displayed in your store, not corporate-wide) or register-specific (only displayed on a designated register).
Figure 2-14 Messages
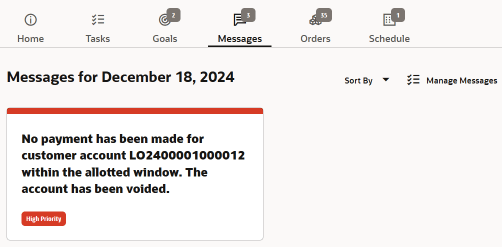
These messages are time-based and do not display after the expiration date has passed.
Note:
If the message contains a URL, click the link icon to open the URL.
Messages use badges to indicate priority:
-
High priority
-
Medium priority
-
Low Priority
Local Orders and Send Sale Transactions tendered with Pay By Link (Customer Not Present) that are awaiting payment are listed in this tab. The sales that are voided due to the PBL expiring are also listed.
In the event that an omnichannel order has not been picked up in a configurable number of days, a store message is generated. It can be configured to be on a specific register or all store registers to alert the associate that there are omnichannel orders that have not been collected. The message will remain until the order is either picked up or cancelled. See Failed to Pick Up Order for more information.
For more information about Messages, see Message Maintenance
Orders Tab
The Orders tab provides a list of orders at your store requiring action.
Select Manage Orders to proceed to Order Lookup.
Figure 2-15 Orders Tab
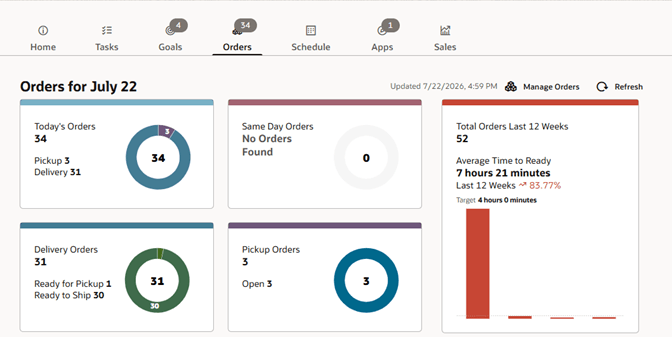
Figure 2-16 Orders Tab - Handheld
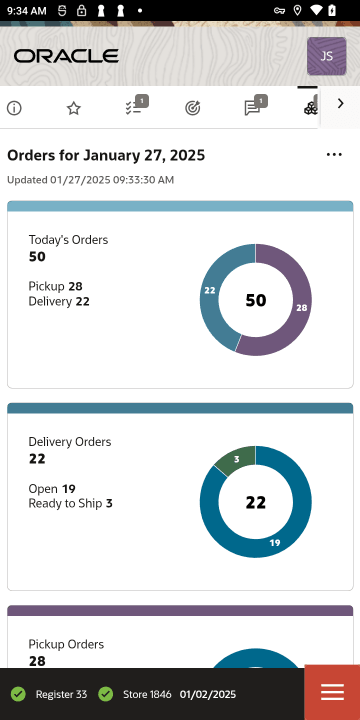
Orders Tab Details
Oracle Retail Order Orchestration Cloud Service is an optional module that can be interfaced with Xstore to provide information about inventory availability across all sales channels.
Note:
Xstore queries Order Orchestration Cloud Service (OOCS) every 15 minutes for new orders.Figure 2-17 Orders Tab
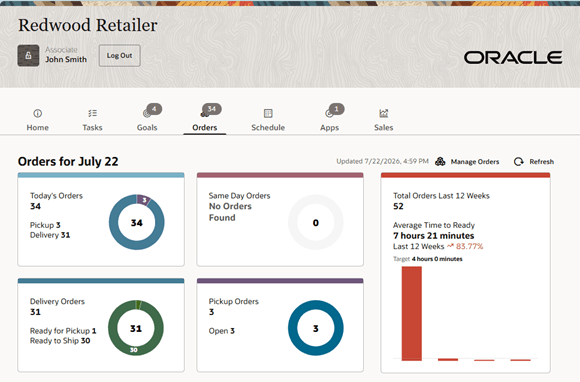
The Orders Tab is broken up into four sections – Today’s Orders, Delivery Orders, Pickup Orders, and Same Day Delivery Orders. It represents all Order Orchestration orders. It does not include special orders, local inventory orders and so on.
-
Today’s Orders - the total number of orders and breaks them down by Pickup, Delivery, or Same Day.
-
Pickup Orders - displays the number of orders in these states:
-
Open - counts all orders that have been polled but not yet reviewed by the store.
-
Accepted - the total number of orders that have been accepted by the store.
-
Ready - displays the total number of orders ready for customer pickup. For example, if there are 2 orders and each order has 3 items and they are all ready for customer pick up, the number displayed by Ready will be 2.
-
Rejected - displays the number of orders where at least one item was Rejected on that day.
-
-
In the Delivery Orders section, the numbers represent those orders that require shipping.
-
Open - displays the number of orders that have not yet been reviewed by the store. The number represents the total number and not just the current day's number of open orders awaiting to be shipped.
-
Accepted - represents all orders that have been accepted by a store associate. Before an order is ready to be shipped, it's items must first be accepted in the store.
-
Ready - displays the number of orders that are ready to be shipped. The items in these orders have been picked and packaged for the next shipment out of the store.
-
Rejected - displays the number of orders where at least one item was rejected on that day.
-
-
The Total Orders card provides a longer-term view of store order activity and fulfillment performance. It displays the total number of orders across all order types during the configured timeframe, which is 12 weeks by default, along with the average time it takes orders to move from New to Ready. The card compares this average against the store’s configured Time-to-Ready target: a red upward indicator means the average is above target, while a green downward indicator means it is below target. The weekly bar chart shows the average Time-to-Ready trend for each week in the timeframe; the dotted line marks the target. Select or hover over a bar to view the week’s start date and its average Time-to-Ready value.
Schedule Tab
The Schedule tab displays associate schedule information for the current work week.
The counters on the Schedule tab are updated in real time. Use the Refresh button to update the tab information. The updated date and time stamp are displayed.
Figure 2-18 Schedule Tab
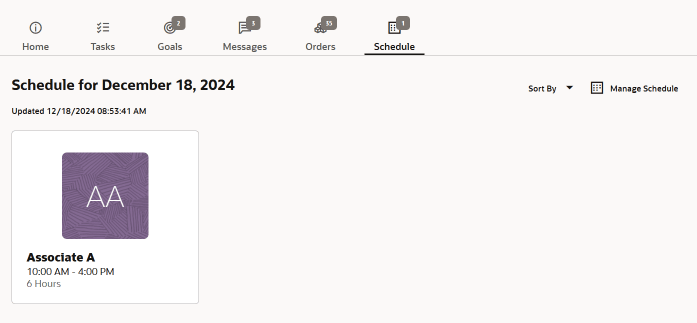
The cards display the Associate Name, Shift Start Time, End Time, Shift Duration, and Clocked In Status.
The displayed cards can be sorted using Sort By.
Figure 2-19 Sort By Options
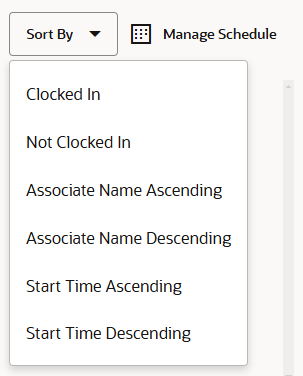
Select Manage Schedule to navigate to the existing Associate - Schedule Maintenance.
Apps Tab
The Apps tab provides quick access to applications, websites, and other resources commonly used by store associates. Configured applications are displayed as selectable tiles with an icon and title, allowing users to launch supported tools such as web browsers, internal systems, home pages, and printing applications directly from the Xstore Home Screen. The Apps tab is available in both logged-in and logged-out states and is supported on desktop and tablet form factors.
Status Bar
The status bar is shown on the bottom of the screen. It is divided into several parts, each displaying information about the system.
The status bar has the following organization:
Figure 2-20 Status Bar - Desktop

Figure 2-21 Status Bar - Tablet

-
On the left, the register number and whether the register is open or closed.
-
If the register is open, the first indicator will be green and a check mark inside it.
-
If the register is closed, the first indicator will be red and a slash (\) inside it.
-
-
Next to it is the number, and whether the store is currently open or closed.
-
If the store is open, the first indicator will be green and a check mark next to it.
-
If the store is closed, the first indicator will be red and a slash (\) next to it.
-
-
Before the date on the right, the name of the logged-in user. If no user is currently logged in, nothing will be displayed in the middle.
-
On the right, Xstore POS displays the business date and time. If logged in selecting the Date/Time opens Clock Out.
-
There is a New Order count on the footer. If a transaction is in progress a transaction number is also displayed there.
-
The Data Source Status icon is displayed as well.
For handheld only:
If you select the information icon, a pop-up window opens displaying the date and time, the register and store status, the data source status - either online or offline as well as the new order count.