4 Store Operations
24/7 Trading - End of Retail Period Process
A store can function 24 hours a day and seven days a week.
If your system is configured to support a 24–hour store environment, the store will perform a rolling close on registers. Each register will be rolled over to the next retail period (business day) one by one; always keeping at least one register available for use.
If the Xstore Self Checkout is configured with 24/7 trading in your store, the Self Checkout register is locked at the end of retail period and an associate is forced to login to close and open the Self Checkout register for trading on the next business day.
-
If configured, the following prompts are displayed at the end of retail day on the Self Checkout register.
Note:
For more information about System Configurations, see the Oracle Retail Xstore Office User Guide or the Oracle Retail Xstore Office Cloud Service User Guide.Figure 4-1 End of Retail Period Approaching
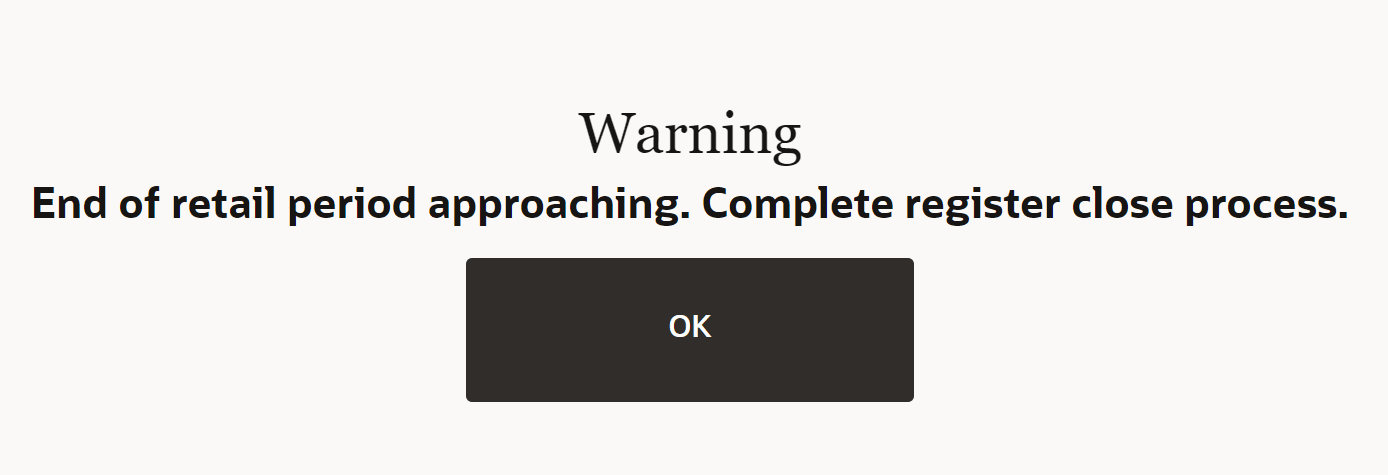
This warning message is displayed one hour before the end of the retail period and continues to be displayed on each individual Xstore Self Checkout register at the beginning of a transaction, every 10 minutes until the register close process has been started.
During a configurable grace period, the following message is displayed.Figure 4-2 Retail Period Expired
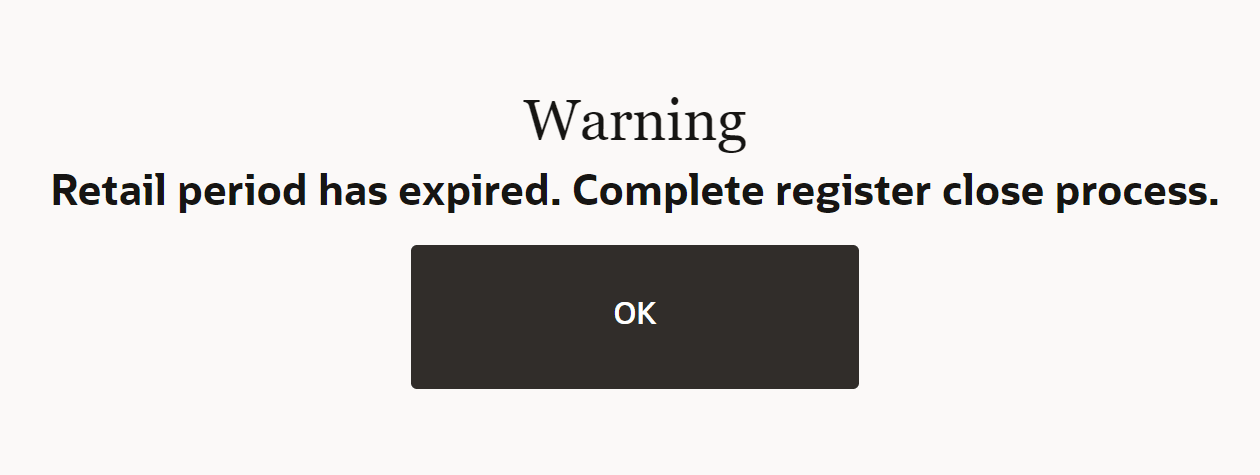
When the configurable grace period has passed, the message No new transactions can be recorded within this retail period. The register must be closed and opened again to proceed. displays.
-
Log in as an associate. See Associate Login. The Associate menu is displayed.
-
Selects Register Close.
-
You are prompted if you want to close the register.
-
Select Yes.
-
If you do not want to close the register, select No. The system returns to the Associate menu.
-
-
Depending on your system's configuration you either receive a prompt to open the register, or you need to return to the Associate menu and select Open Register.
-
Select Yes.
- If you do not want to open the register, select No, you are returned to the Activate screen. For more information, see the Activate Register section.
-
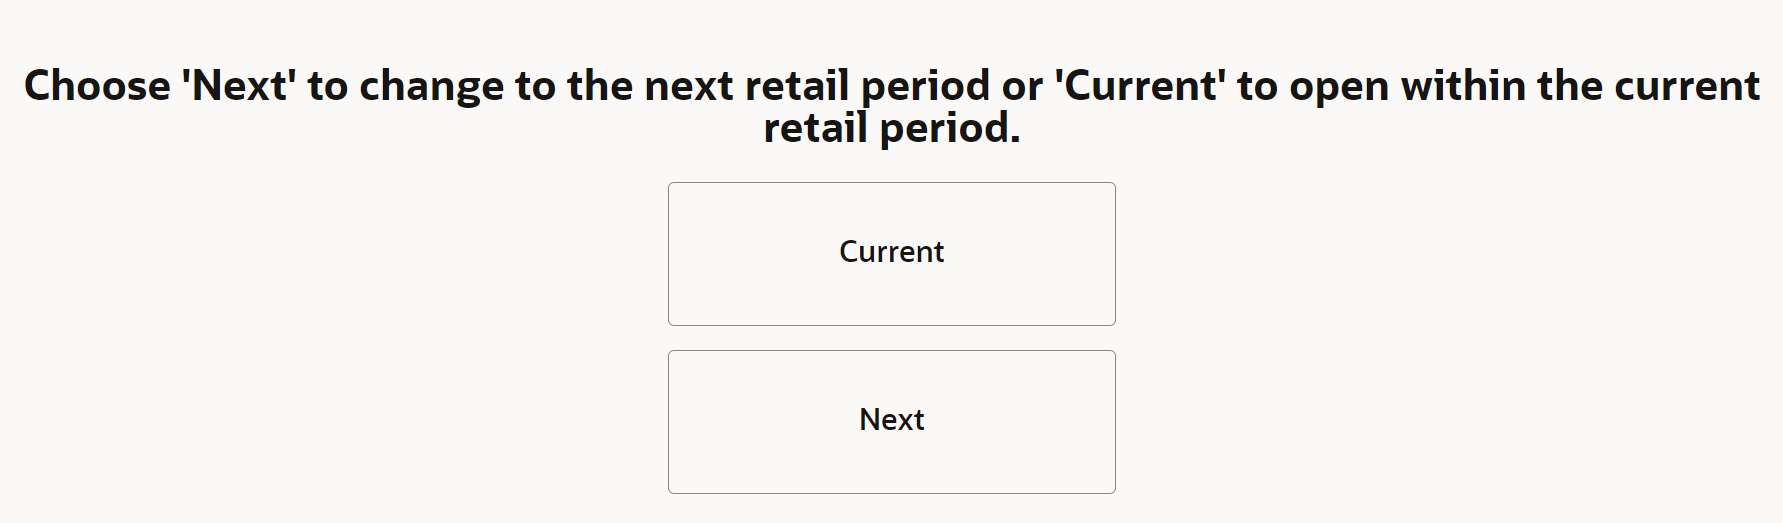
The following prompt displays.
Figure 4-3 Change to Next Retail Period or Open within Current Retail Period
-
Select Next to change to the next retail period. The Self Checkout register opens for the next available business date.
-
Select Current to open within the current retail period. The Self Checkout register opens on the current business date.
-