5 Java Runtime Environment Management
The Advanced Management Console agents enables you to install or uninstall the Java Runtime Environment (JRE) — both Enterprise and Non Enterprise from managed desktops. You can also customize a JRE version on Installers tab and select it for installing on targeted desktops. The installed JREs from managed desktops can also be uninstalled for targeted desktops.
Note:
This feature is currently not supported for desktops or servers on Linux platform.The JRE Management topic consists of the following sections:
About the JRE Management Architecture
The Java Runtime Environment (JRE) management workflow consists of the following components: User Interface (UI), Server, and agents.
-
UI: The user interface for JRE Management is facilitated through the Desktop and the Status tabs in the Advanced Management Console
-
Desktops: In the Desktops tab, select required desktops, where a JRE should be installed or uninstalled, and click Install JRE or Uninstall JRE respectively.
-
Status: In the Status Tab, you can see view the details of all the scheduled actions (commands) with information about the number of desktops, where each action is completed, failed, or in progress.
-
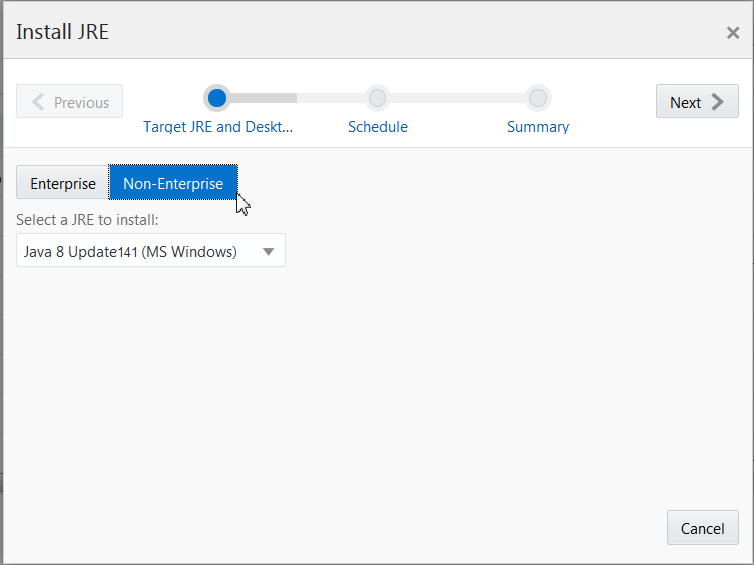
Installer: In the Installers tab, you can add Java versions and configure them for both enterprise and non-enterprise JREs. Enterprise JREs are similar to .msi packages, which contain both JRE packages and configuration files, while non-enterprise JREs don’t contain any configuration files. Non-Enterprise JREs cannot be configured. They are used without configuration.
-
-
Server/Database: The information about each install JRE or uninstall JRE action is stored. Each action contains information about all desktops, where it is targeted to, as well as status on each desktop
-
Agents: The agent actions perform the JRE installation and uninstallation processes.
Installing JRE
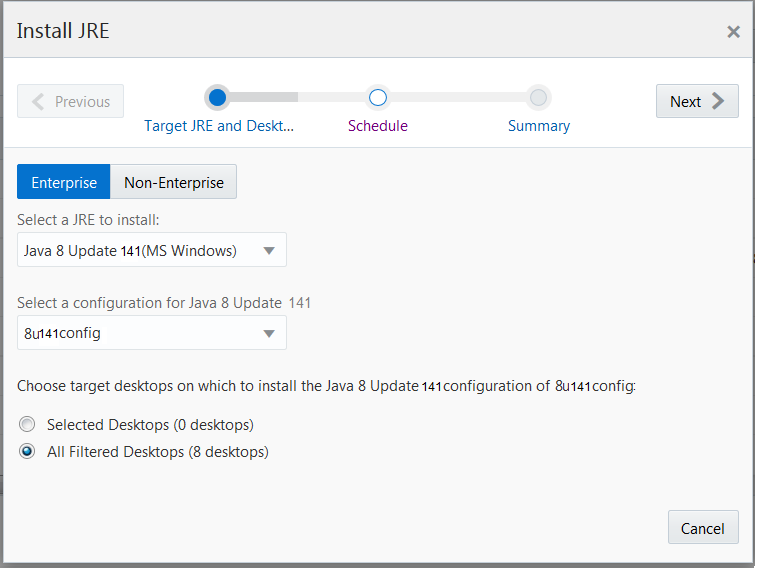
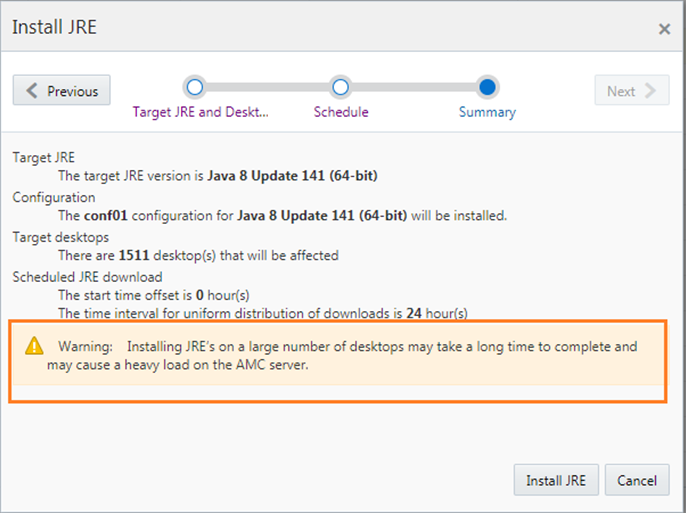
In the Desktop tab of /amcwebui, click Install JRE to install a configured Java Runtime Environment (JRE).
Installing a Non-Enterprise JRE
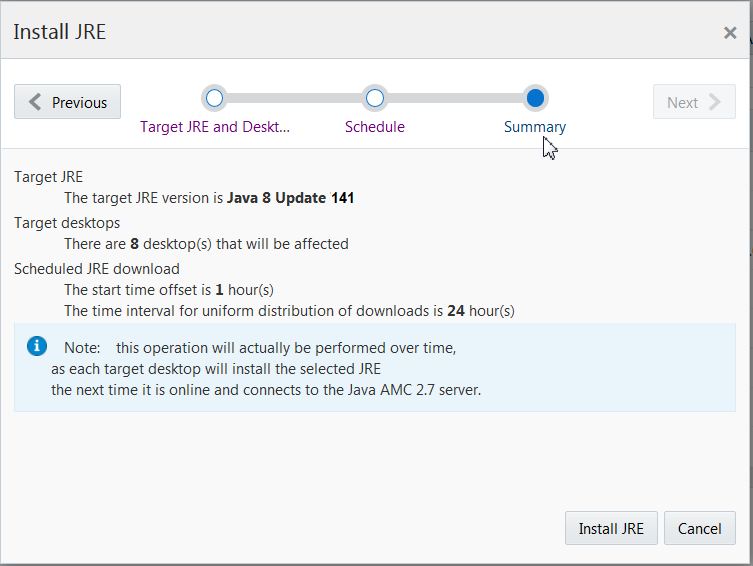
You can install non-enterprise JREs for Windows and on macOS. However, the non-enterprise don’t have the ability to define customization, but can be installed by using Install JRE from the Desktops tab.
Uninstalling JREs
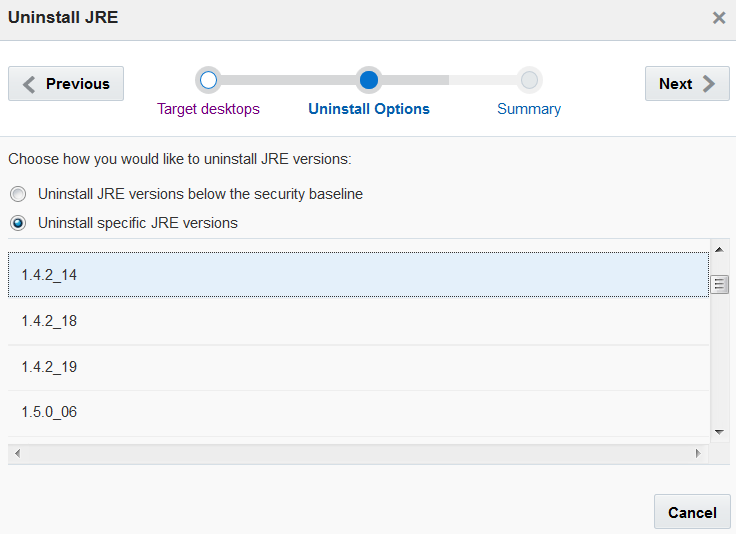
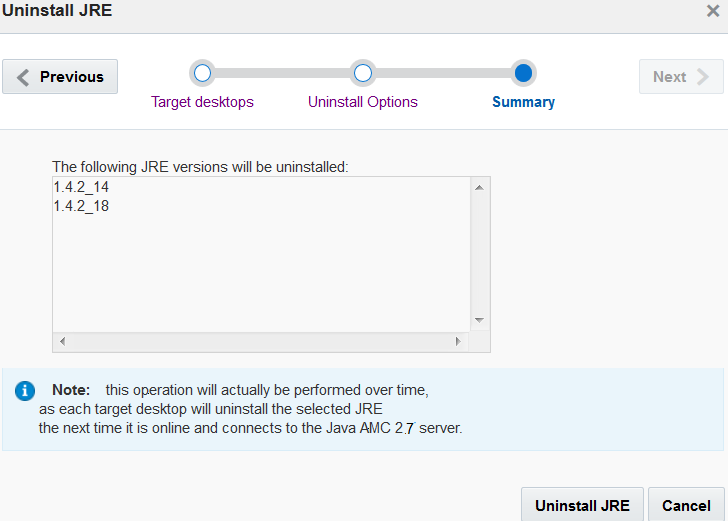
You can uninstall detected Oracle JREs on managed desktops, which are installed using Oracle Java Runtime Environment (JRE) installers or Enterprise Microsoft Windows Installer (MSI). The Advanced Management Console doesn't uninstall privately-installed JREs or JREs that are present on the desktops but are not actually installed.
Status
The Status tab forms a major User Interface (UI) component of the Java Runtime Engine (JRE) management architecture. This tab further comprises of the following tabs: Commands, Desktop, Java, and Java Releases tabs.
-
Commands: In the Commands tab, you can view the details of the agent actions, such as Install JRE and Uninstall JRE, along with their status: whether Scheduled, In Progress, Completed, Failed, or Cancelled. For each of these command status, you can click on the counter to see all the desktops, where the command is in the specified state. To cancel any of the actions, click the Cancel icon.
To delete commands, either select the required commands or click the check box on the page header to select all the commands in that page, and click Delete Commands.
-
Desktops: In the Desktops tab, you can view the details of the rule sets that have failed and retired desktops. Click Display data in Desktops tab to go to the Desktop tab.
-
Java: In the Java tab, you can view the details of the number of processed and failed Java Usage Tracker records, as well as information about Java Security Baseline.
-
Java Releases: In the Java Releases tab, information about the upcoming and released CPUs are displayed. The Java Versions, Type (CPU/LU/PSU), and Date are displayed in a tabular format in this tab. Also, a warning appears as a number next to the Java Releases tab that indicates the number of new releases that you may not be aware of. For example, (4), where (4) indicates that 4 new releases have happened since you last visited the Java Releases tab.
