Note:
- This tutorial requires access to Oracle Cloud. To sign up for a free account, see Get started with Oracle Cloud Infrastructure Free Tier.
- It uses example values for Oracle Cloud Infrastructure credentials, tenancy, and compartments. When completing your lab, substitute these values with ones specific to your cloud environment.
Identity and access management
Introduction
Oracle Cloud Infrastructure Identity and Access Management (IAM) Service lets you control who has access to your cloud resources. You control the types of access a group of users has and to which specific resources. The purpose of this lab is to give you an overview of the IAM Service components and an example scenario to help you understand how they work together.
There is a recording of the instructor going through this lab here:
Video for Lab100 01 Identity Access and Management
Prerequisites
- Oracle Cloud Infrastructure account credentials (User, Password, and Tenant)
- To sign in to the Console, you need the following:
- Tenant, User name and Password
- URL for the Console: https://oracle.com
- Oracle Cloud Infrastructure supports the latest versions of Google Chrome, Firefox and Internet Explorer 11
Sign in to the Console
In this step, you sign in to the Oracle Cloud Infrastructure console using your credentials.
-
Go to cloud.oracle.com.
-
Click Sign in to Cloud.
-
Enter your Cloud Account Name and click Next. This is the name you chose while creating your account in the previous section. It’s NOT your email address. If you’ve forgotten the name, check your confirmation email.
-
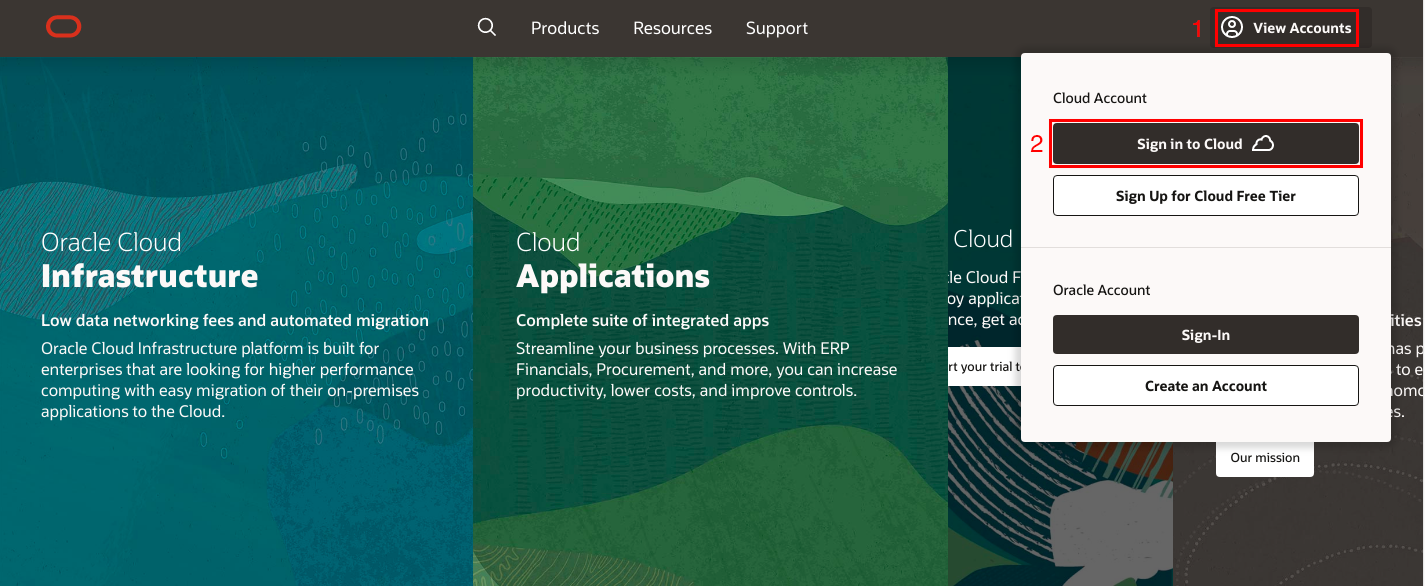
Open a supported browser and go to the console URL: https://oracle.com.
-
Click on the portrait icon in the top-right section of the browser window, then click on the Sign in to Cloud link.
-
Enter the name of your tenancy (enter your account name and not your user name), then click on the Next button.
-
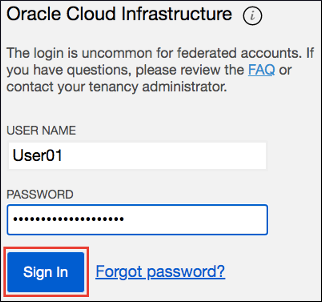
Oracle Cloud Infrastructure is integrated with Identity Cloud Services, you will see a screen validating your Identity Provider. Enter your username and password. Click Sign In.
-
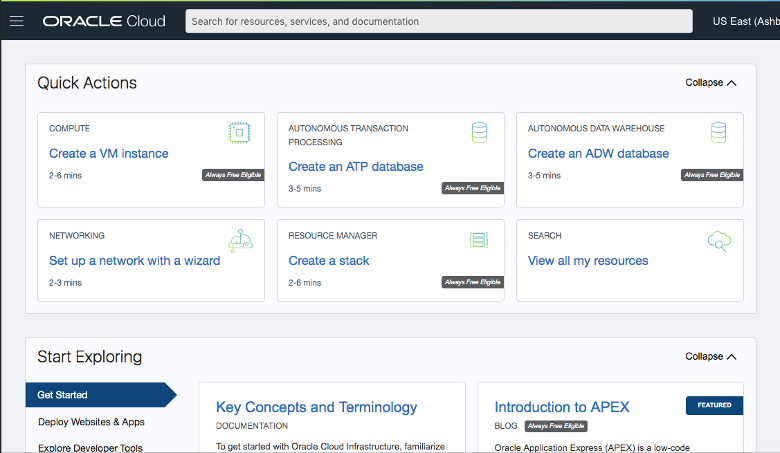
When you sign in to the Console, the Oracle Cloud dashboard is displayed.
Create Compartments
A compartment is a collection of cloud assets, like compute instances, load balancers, databases, etc. By default, a root compartment was created for you when you created your tenancy (i.e. when you registered for the trial account). It is possible to create everything in the root compartment, but Oracle recommends that you create sub-compartments to help manage your resources more efficiently.
-
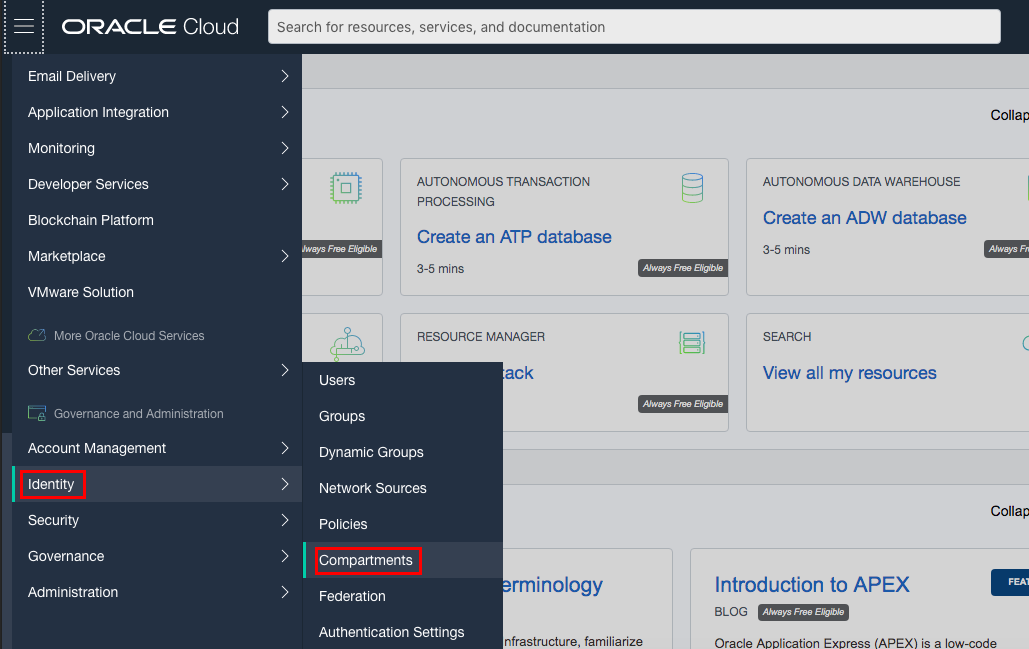
From the menu, select Identity and Compartments. Click on the blue Create Compartment button to create a sub-compartment.
-
Name the compartment Demo and provide a short description. Be sure your root compartment is shown as the parent compartment. Press the blue Create Compartment button when ready.
-
You have just created a demo compartment for all of your work.
Manage Users, Groups, and Policies to Control Access
A user’s permissions to access services comes from the groups to which they belong. The permissions for a group are defined by policies. Policies define what actions members of a group can perform, and in which compartments. Users can access services and perform operations based on the policies set for the groups of which they are members.
We’ll create a user, a group, and a security policy to understand the concept.
-
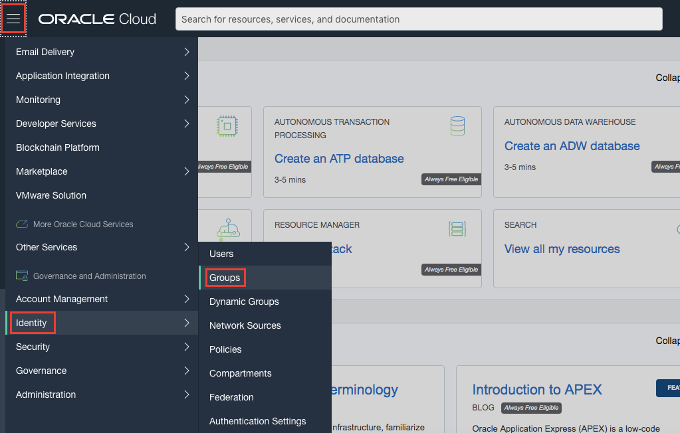
Sign in to the console, on the Menu click Identity, then select Groups.
-
Click Create Group.
-
In the Create Group dialog box, enter the following:
- Name: Enter a unique name for your group such as “oci-group” Note that the group name cannot contain spaces.
- Description: Enter a description (for example, “New group for OCI users”).
- Click Create.
-
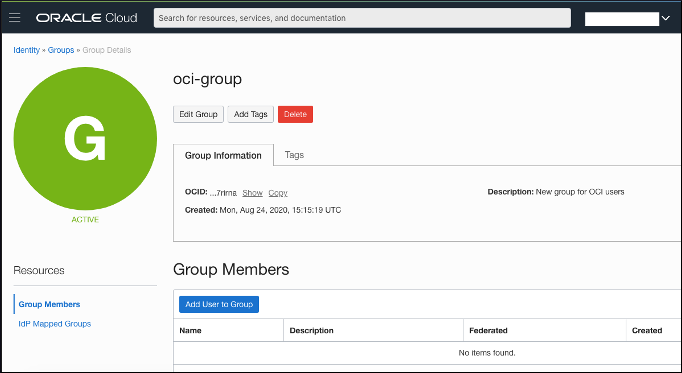
Click on your new group to display it. Your new group is displayed.
-
Let’s create a security policy that gives your group permissions in your assigned compartment. For example, create a policy that gives permission to compartment Demo to members or group oci-group:
-
On the Menu, click Identity, and then click Policies.
-
On the left side, select Demo compartment.
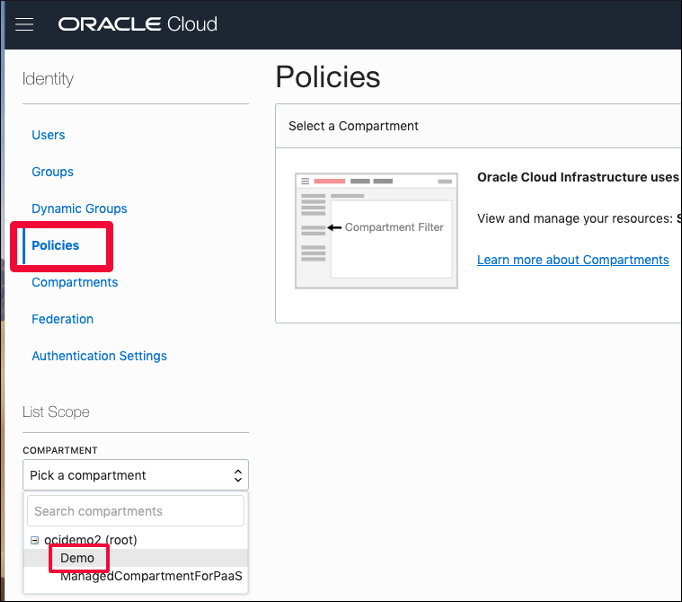
Note: You may need to click on the + sign next to your main compartment name to be able to see the sub-compartment Demo. Refresh your browser if you still don’t see the sub-compartment. Sometimes your browser caches the compartment information and does not update its internal cache.
-
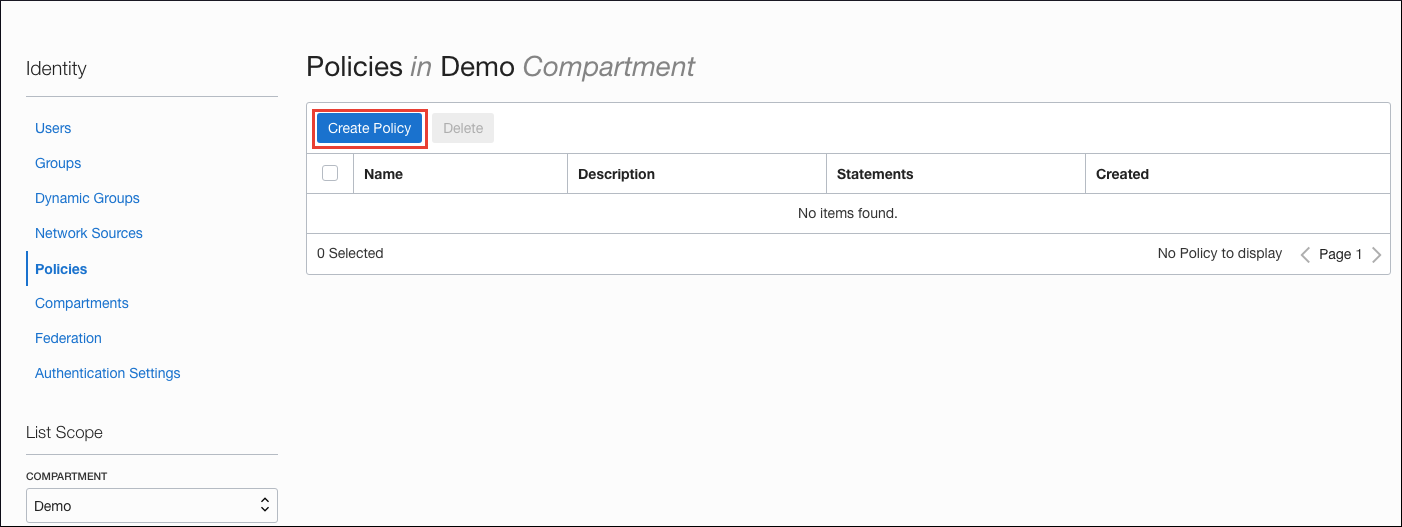
After you have selected the Demo compartment, click Create Policy.
-
Enter a unique Name for your policy (For example, “Policy-for-oci-group”) Note that the name cannot contain spaces.
-
Enter a Description (for example, “Policy for OCI Group”).
-
Enter the following Statement:
Allow group oci-group to manage all-resources in compartment Demo -
Click Create.
-
-
Create a new user.
-
On the Menu click Identity, and then click Users.
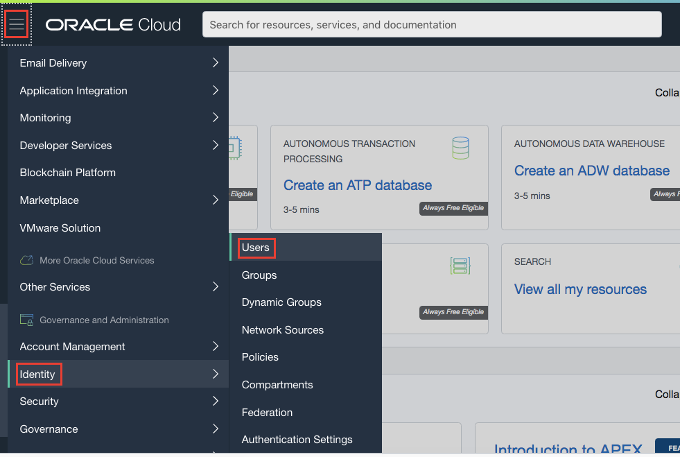
-
Click Create User.
-
In the New User dialog box, enter the following:
- Name: Enter a unique name or email address for the new user. This value is the user’s login name for the Console and it must be unique across all other users in your tenancy.
- Description: Enter a description. For example, New oci user.
- Email: You can use a personal email address to which you have access (GMail, Yahoo, etc).
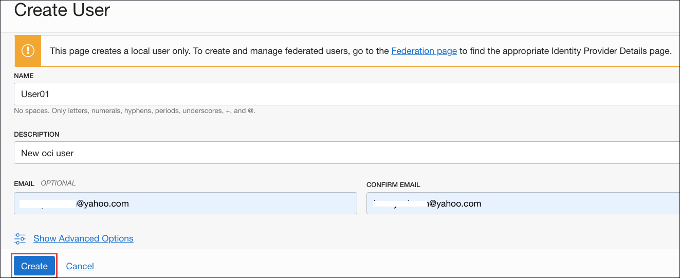
-
Click Create.
-
-
Set a Temporary Password for the newly created User.
-
From the list of users, click on the user that you created to display its details.
-
Click Create/Reset Password.

-
In the dialog, click Create/Reset Password.
-
The new one-time password is displayed.

-
Click the Copy link and then click Close. Make sure to copy this password to your notepad.
-
Click Sign Out from the user menu and log out of the admin user account completely.
-
-
Sign in as the new user using a different web browser or an incognito window.
-
Open a supported browser and go to the Console URL: https://oracle.com.
-
Click on the portrait icon in the top-right section of the browser window, then click on the Sign in to Cloud link.
-
Enter the name of your tenancy (use your account name and not your user name), then click on the Next button.
-
This time, you will sign in using local credentials box with the user you created. Note that the user you created is not part of the Identity Cloud Services.
-
Enter the password that you copied.
Note: Since this is the first-time signing in as the user, you’ll be prompted to change the temporary password as shown in the screen capture.
-
Set the new password to Welc0me2*bmcs. Click Save New Password.
-
-
Verify user permissions.
-
Go to the Menu, click Compute then Instances.
-
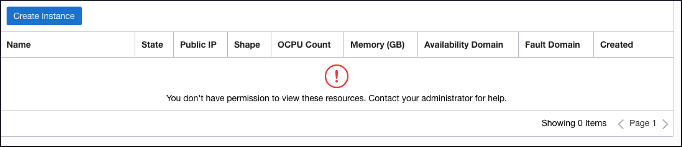
Try to select any compartment from the left menu.
-
The message “You don’t have permission to view these resources” appears. This is normal as you did not add the user to the group where you associated the policy.
-
Sign out of the console.
-
-
Add the user to a Group.
-
Sign in with the admin account.
-
From the Users list, click the user account that you just created (for example,
user01) to go to the user details page.
-
Under the Resources menu on the left, click Groups.
-
Click Add User to Group.
-
From the Groups drop-down list, select the oci-group that you created.
-
Click Add.
-
Sign out of the Oracle Cloud website.
-
-
Verify user permissions when a user belongs to a specific group.
-
Sign in with the local user01 account you created. Remember to use the latest password you assigned to this user (Welc0me2*bmcs).
-
Go to the Menu, click Compute and then Instances.
-
Select compartment Demo from the list of compartments on the left.
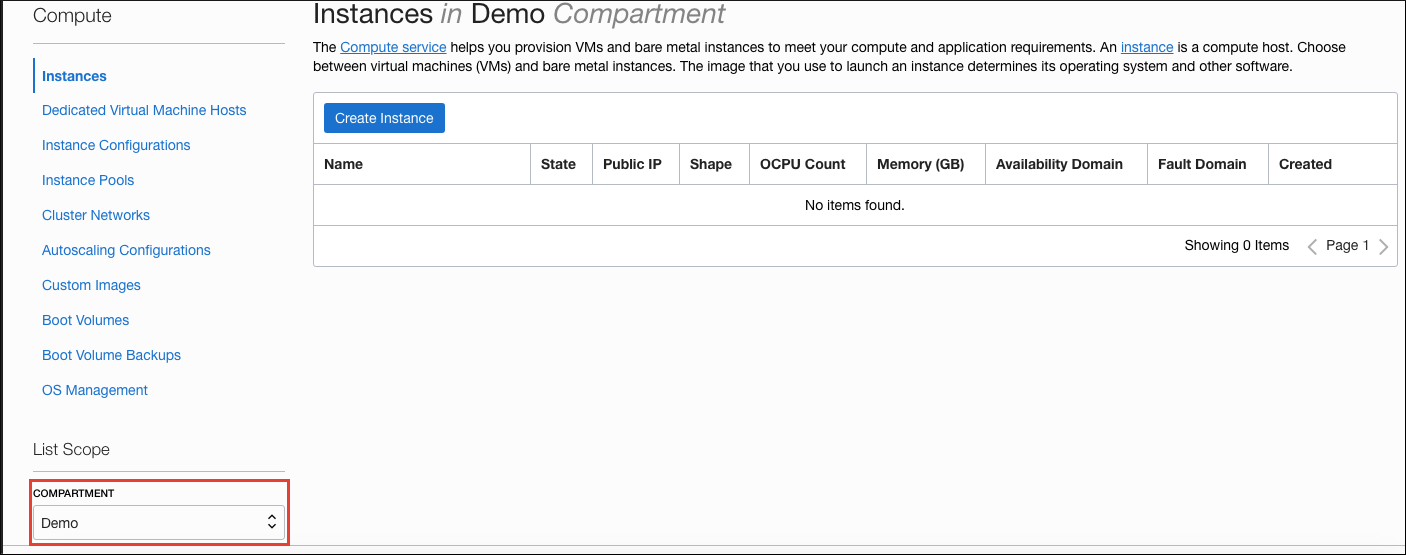
-
There is no message related to permissions and you are allowed to create new instances.
-
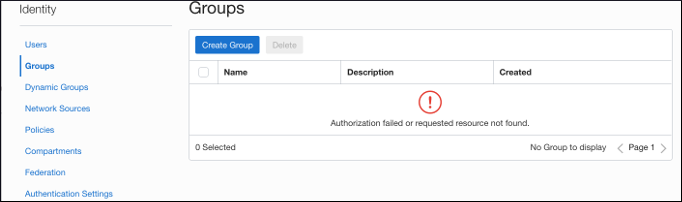
Go to Menu, click Identity, and select Groups.
-
The message “Authorization failed or requested resource not found” appears. This is expected, since your user has no permission to modify groups. Note: You may instead get the “An unexpected error occurred” message. That is also fine.
-
Sign out.
-
Acknowledgements
-
Authors - Flavio Pereira, Larry Beausoleil
-
Contributors - Arabella Yao, Product Manager Intern, DB Product Management
More Learning Resources
Explore other labs on docs.oracle.com/learn or access more free learning content on the Oracle Learning YouTube channel. Additionally, visit education.oracle.com/learning-explorer to become an Oracle Learning Explorer.
For product documentation, visit Oracle Help Center.
Identity and Access Management
F35843-03
December 2021
Copyright © 2021, Oracle and/or its affiliates.