Note:
- This tutorial requires access to Oracle Cloud. To sign up for a free account, see Get started with Oracle Cloud Infrastructure Free Tier.
- It uses example values for Oracle Cloud Infrastructure credentials, tenancy, and compartments. When completing your lab, substitute these values with ones specific to your cloud environment.
Configure vCenter ELM between Oracle Cloud VMware Solution environments
Introduction
Enhanced Linked Mode (ELM) links together multiple vCenter Servers. ELM joins vCenter Servers to the same single sign-on (SSO) domain, which allows you to log in to all linked vCenter Servers simultaneously with the same user name and password, view inventories of all linked vCenters, and automatically replicate roles, permissions, licenses, tags and policies between the linked systems.
Objectives
Configure ELM between Oracle Cloud VMware Solution environments. This tutorial can also be used to configure ELM between Oracle Cloud VMware Solution and on-premises environments.
Environment Overview
-
Toronto SDDC: 7.0U2 Oracle Cloud VMware Solution software-defined data center (SDDC) located in the Toronto region. This will be the replication partner. SSO credentials from this environment will be used when linking the two environments.
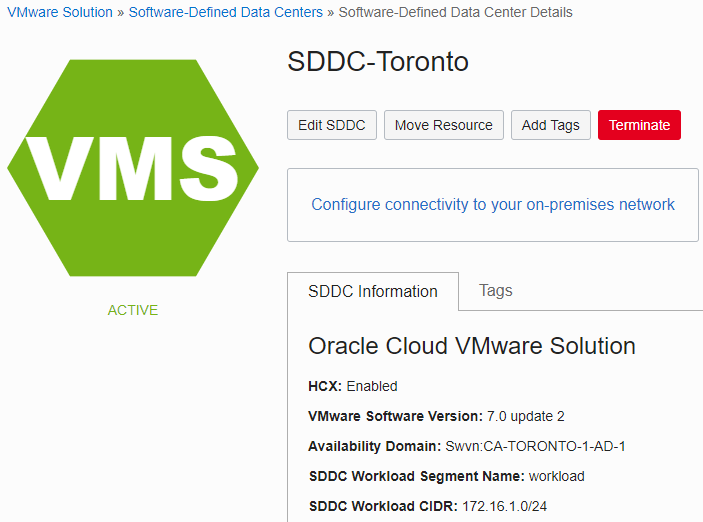
-
San Jose SDDC: 7.0U1 Oracle Cloud VMware Solution SDDC located in the San Jose region. This will be the source environment. After ELM is successfully configured, Toronto’s credentials will be used to log in to both environments.

Prerequisites
- vCenter Server 6.5U2 or later
- DNS resolution configured between environments
- File-based backup performed for each vCenter system before proceeding further (for more information, see the VMware KB on file-based backup)
- Configure VCN Remote Region Peering for appropriate connectivity between the two Oracle Cloud Infrastructure (OCI) regions
- For connectivity between on-premises and OCI, establish a FastConnect or IPsec virtual private network (VPN) between the sites for a hybrid configuration (for additional information on hybrid SDDC connectivity, review the Solution Playbook)
Task 1: Configure ELM
-
SSH into the source vCenter using root credentials.
-
At the command prompt, ping the host name of the replication partner vCenter to verify it resolves. In this example, the host name of the Toronto vCenter was entered and successfully resolved:

-
Repeat steps 1 to 2 to verify the Domain Name System (DNS) resolves from the replication partner vCenter to the source vCenter. Example successful output:

-
SSH to the source vCenter with root credentials. In this example, it is the San Jose vCenter.
-
Run the cmsso-util command in pre-check mode to verify compatibility with the replication partner vCenter. In this example, Toronto is the replication partner.
Note: The command is
_cmsso-util domain-repoint --mode pre-check --src-emb-admin administrator --replication-partner-fqdn vcenter-sddc-toronto.sddc.yyz.oci.oraclecloud.com --replication-partner-admin administrator --dest-domain-name vsphere.local_ -
Enter the source vCenter Server administration password.
-
Enter the replication partner vCenter administration password.
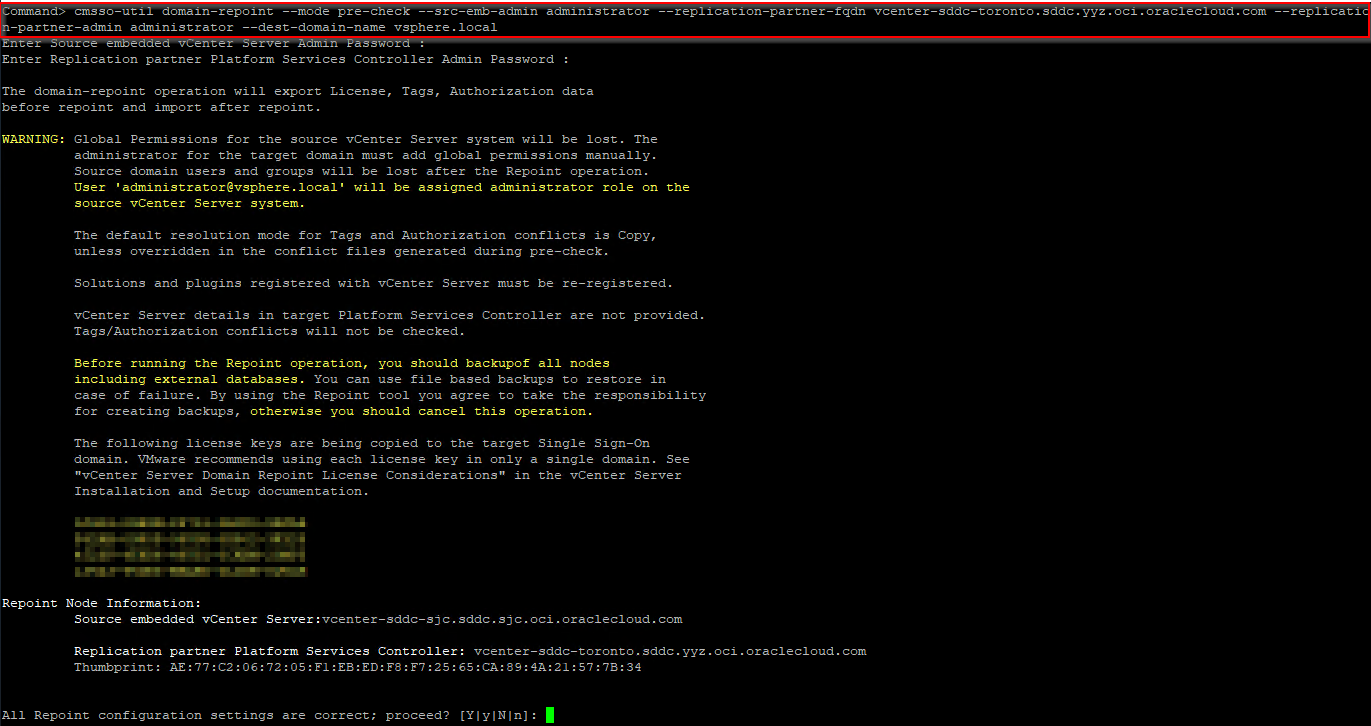
-
Verify that the configuration settings are correct and enter
y. -
Review the output and resolve any conflict data, if found.

Note: For additional information on conflict data resolution, see the VMware Documentation.
-
Run the cmsso-util command in execute mode to link the environments. In this example, Toronto is the replication partner.
Note: The command is
_cmsso-util domain-repoint --mode execute --src-emb-admin administrator --replication-partner-fqdn vcenter-sddc-toronto.sddc.yyz.oci.oraclecloud.com --replication-partner-admin administrator --dest-domain-name vsphere.local_ -
Enter the source vCenter administration password.
-
Enter the replication partner vCenter administration password.

-
Verify that the configuration settings are correct and enter
y.
Note: At this point, the two environments have been successfully linked and can now be accessed with credentials from Toronto’s SSO domain.
-
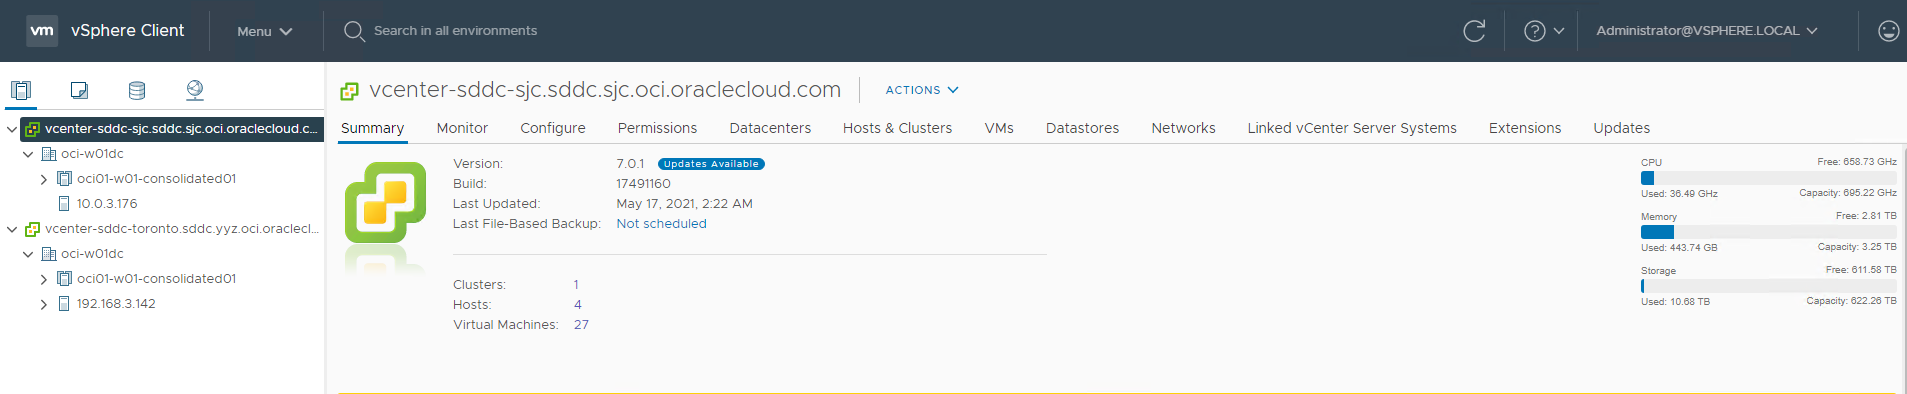
To verify, log in to San Jose vCenter with administrator@vsphere.local and the password from Toronto.

-
Once logged in, both environments will appear in the vCenter console.
Task 2: (Optional) Update HCX if Enabled
-
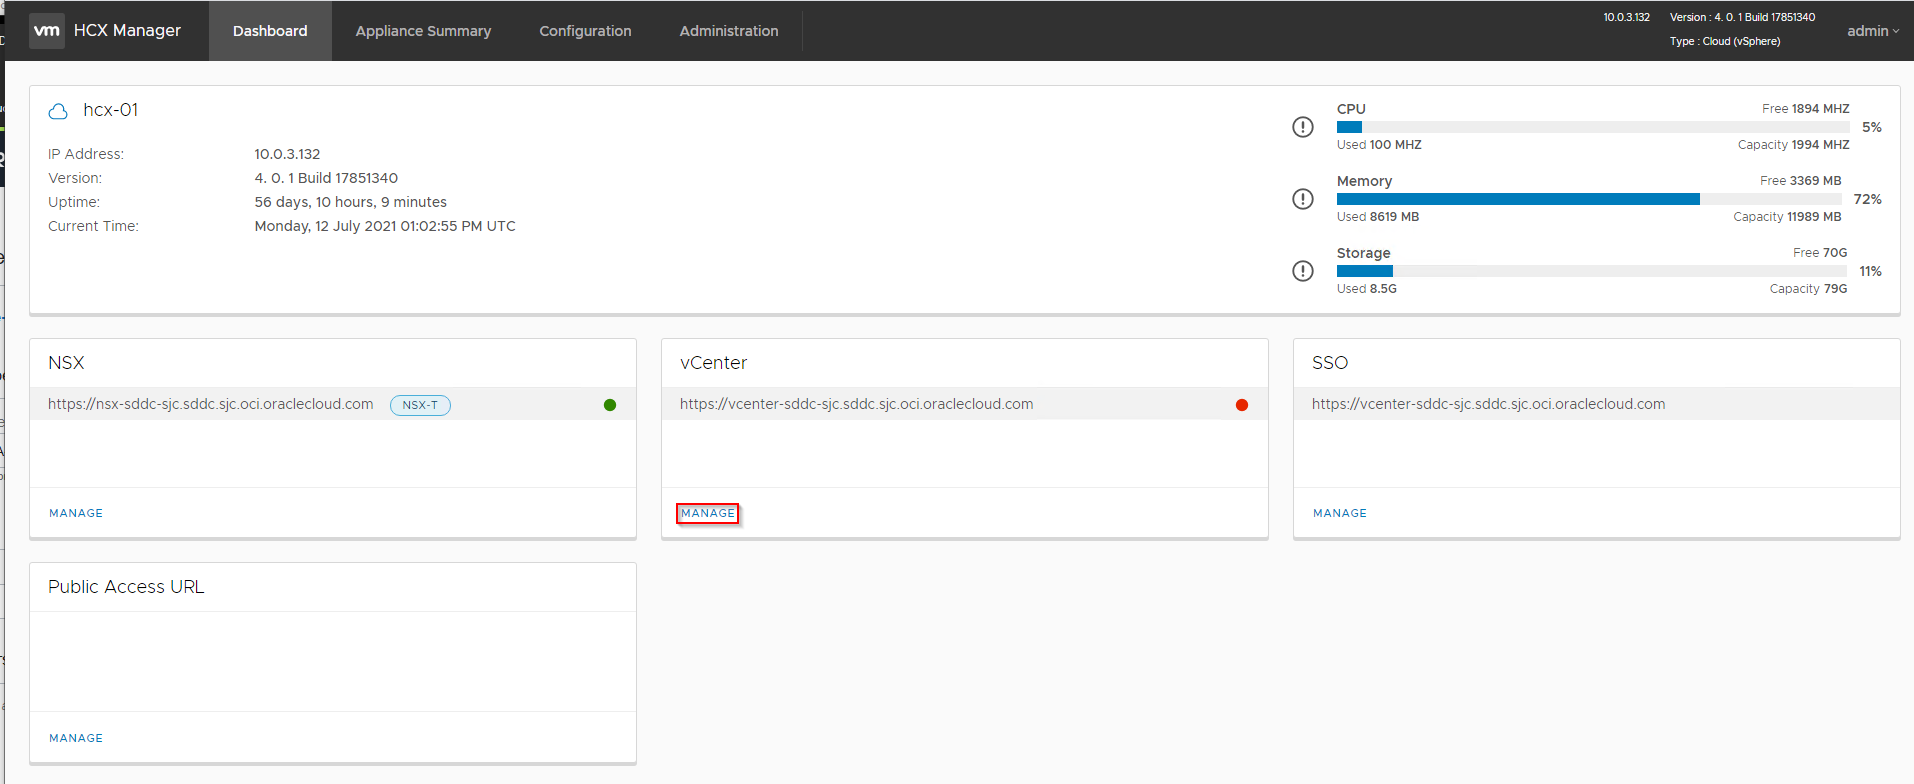
Log in to HCX Manager with administration credentials on port 9443. In this example, the HCX manager in San Jose is used: https://ip_address:9443
-
Click Manage in the vCenter section. The vCenter should be in an error state since SSO was linked with Toronto.
-
Click Edit in the vCenter section.

-
Update the Password field with the password from Toronto’s administrator@vsphere.local account.

Note: After updating the password a banner similar to the one in the following screen shot should appear.

-
Click the Appliance Summary tab. Under Hybridity Services, click STOP for Web Service and Application Service.

-
Once the web and application services are stopped, click START for Web Service.

-
Once the Web Service status shows as RUNNING, click START for the Application Service.

Wait a few moments and both services will show as running.

HCX has now been updated with the new password.
Acknowledgements
- Author - Doug Evans (Cloud Solution Architect)
More Learning Resources
Explore other labs on docs.oracle.com/learn or access more free learning content on the Oracle Learning YouTube channel. Additionally, visit education.oracle.com/learning-explorer to become an Oracle Learning Explorer.
For product documentation, visit Oracle Help Center.
Configure vCenter ELM between Oracle Cloud VMware Solution environments
F46563-02
November 2021
Copyright © 2021, Oracle and/or its affiliates.