A Upgrading Oracle GoldenGate Monitor 12.2.1.2.0 Domain to 12.2.1.3.0

This appendix describes how to upgrade domain in an existing Oracle GoldenGate Monitor Server 12c (12.2.1.2) installation.

A.1 Upgrade Prerequisites

Before you can upgrade an existing 12.2.1.2.0 Oracle GoldenGate Monitor domain to 12.2.1.3.0, ensure that the following prerequisites are met:

  • You already have a functional Oracle GoldenGate Monitor Server 12.2.1.2.0 that is up and running. This can include any version of bundle patch applied (12.2.1.2.xxxxxx).
  • Create a complete backup of existing domain and schemas, see Creating a Complete Backup.
  • Stop Oracle GoldenGate Monitor 12.2.1.2 Admin and Managed servers.
  • Stop Oracle GoldenGate Monitor JAgent.

Install Oracle WebLogic Server

To install Oracle WebLogic Server:

  1. Go toFree Oracle WebLogic Server Installers for Development.
  2. Locate the “Oracle WebLogic Server 12.2.1.3” section, and download its "Fusion Middleware Infrastructure Installer (1.5 GB)".
  3. Follow this document and download the Fusion Middleware Infrastructure Installer (1.5 GB): Installing the Infrastructure Software.

Note:

The "Oracle Home" specified in the WebLogic 12.2.1.3.0 install will be referred to as ORACLE_HOME in this appendix.

A.2 Domain Upgrade Using the Domain Upgrade Tool

After the domain upgrade, Oracle GoldenGate Monitor Server 12c (12.2.1.2) can run on Oracle WebLogic 12.2.1.3.0. This information includes the upgrade process, details regarding the components involved in that process, pre-requisites for upgrading, and post-upgrade instructions.
To upgrade Oracle GoldenGate Monitor 12.2.1.2.0 domain to 12.2.1.3.0:
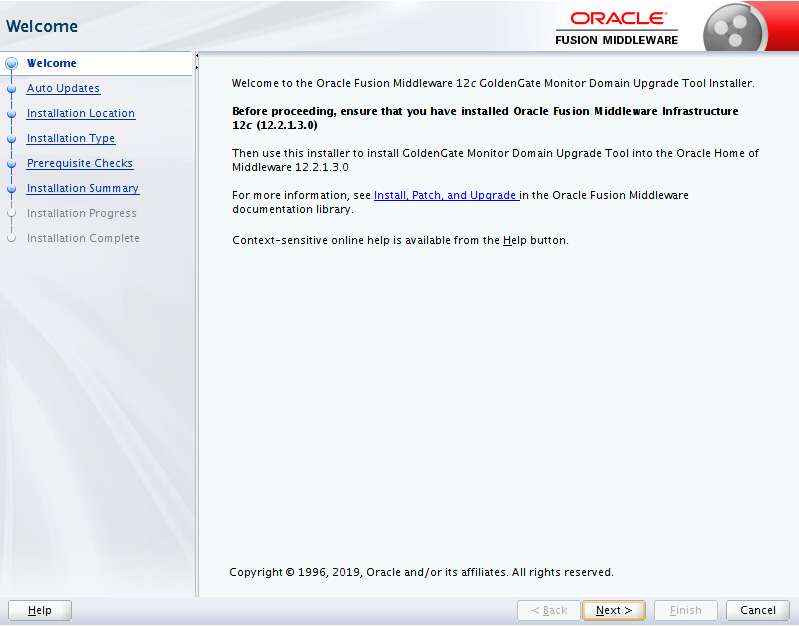
  1. Use the same JDK from the WebLogic 12.2.1.3.0 install mentioned in the Upgrade Prerequisites, and execute the Domain Upgrade Tool Installer java -jar fmw_12.2.1.2.0_oggmon_domain_upgrade_12.2.1.3.jar to install the Domain Upgrade Tool over the Middleware ORACLE_HOME of the Oracle Weblogic Infrastructure 12.2.1.3.0.
    Oracle GoldenGate Monitor Domain Upgrade Tool Installer - Welcome Screen
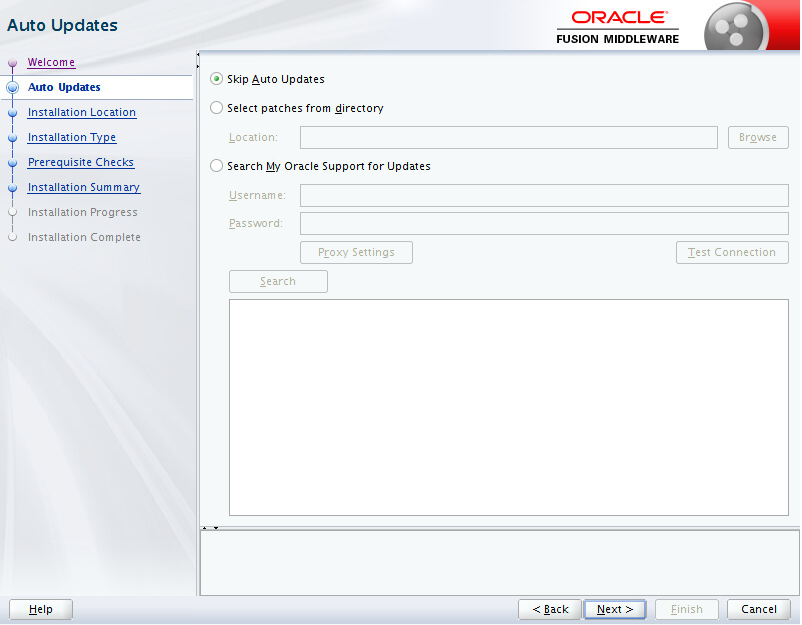
    Ensure that the Skip Auto Updates option is selected in the Auto Updates page.
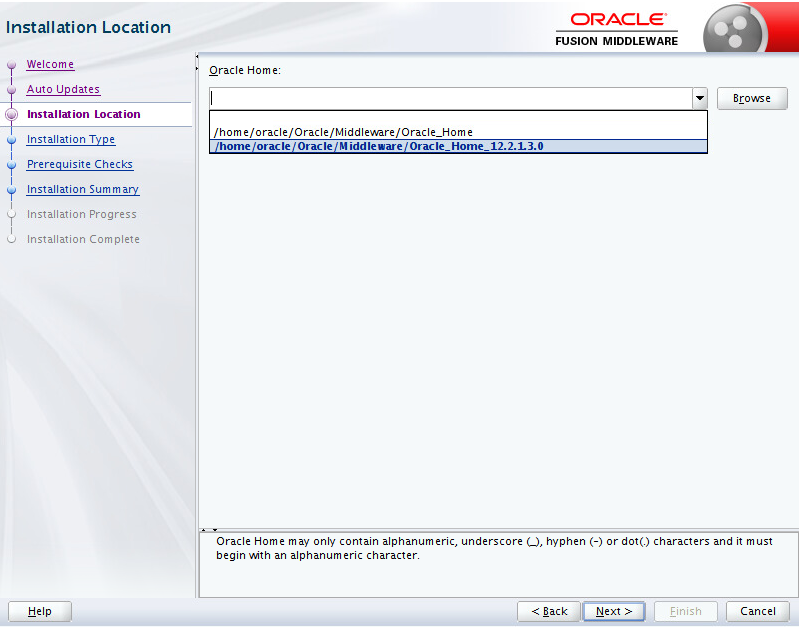
    Select the Installation Location from the 'Oracle Home' drop-down list.
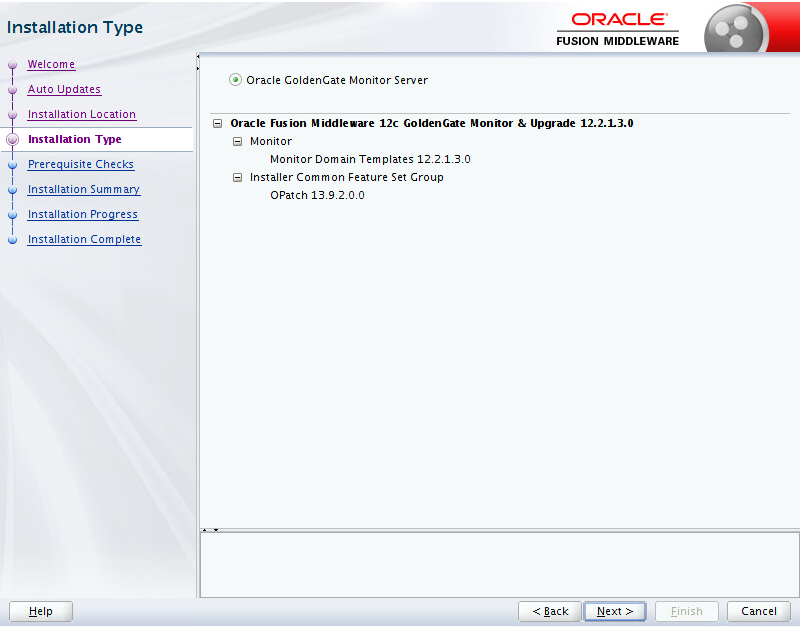
    In the Installation Type page, ensure that the Oracle GoldenGate Monitor Server option is selected.
    Completed Prerequisites check - Status displayed in the Prerequisites checks Page.
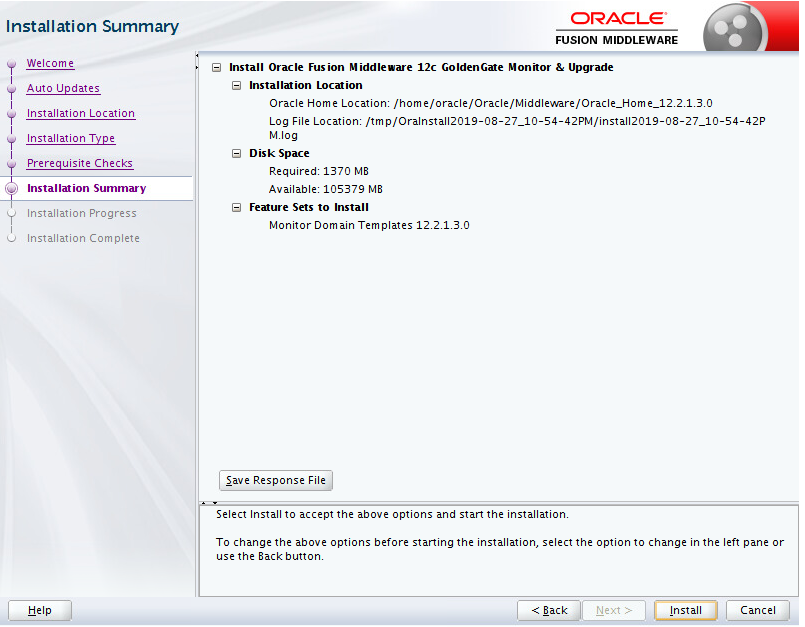
    Click Save Response File button to save the installation details in the Installation Summary page.
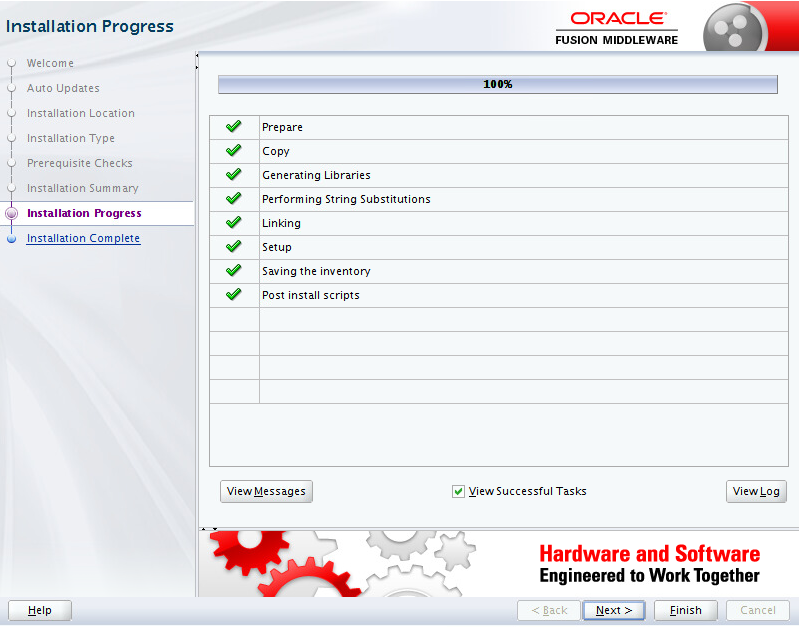
    Installation Progress page
  2. Shutdown the Oracle GoldenGate Monitor 12.2.1.2.0 server including the Admin Server.
  3. Navigate to the directory ORACLE_HOME/oracle_common/upgrade/bin, where ORACLE_HOME is the Oracle Middleware 12.2.1.3.0 home directory.
  4. Enter the command ./ua. In a Windows environment, enter ua.bat.
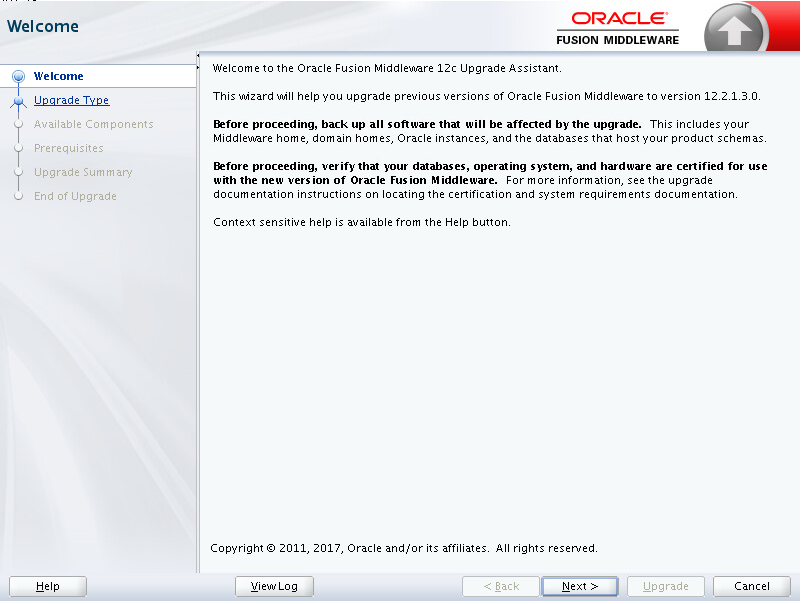
    Oracle Fusion Middleware Upgrade Assistant Welcome page
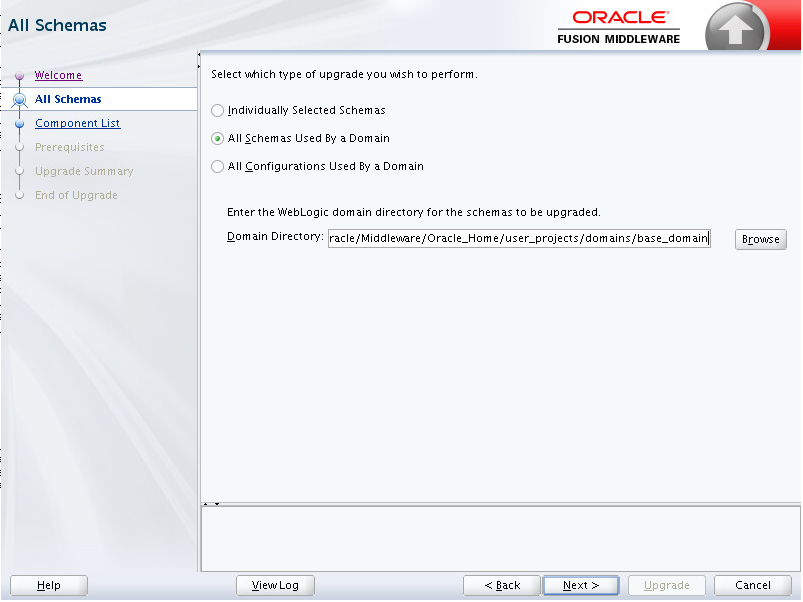
  5. In the All Schemas page, select the All Schemas Used By a Domain option.
    In the All Schemas page, select the All Schemas Used By a Domain option.
  6. Click Browse and select the Domain Directory of the Oracle GoldenGate Monitor 12.2.1.2.0.
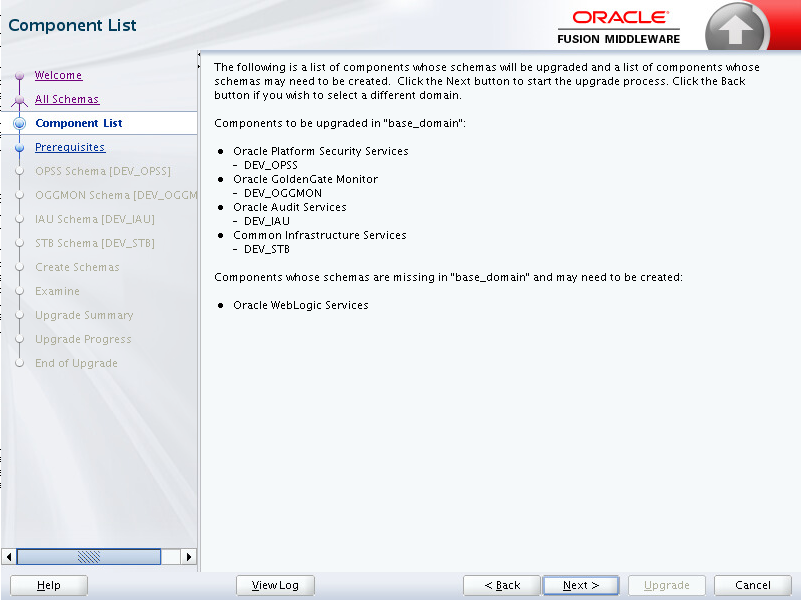
  7. Continue by providing the Database Administrator User Name and Password, and create a new password for Oracle WebLogic Services.
    Component List page
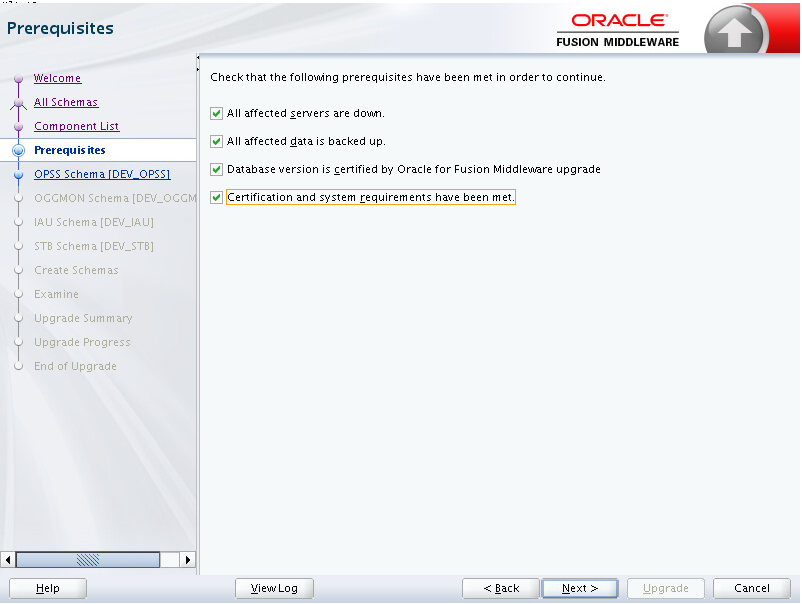
    Ensure that all the Prerequisites have been selected in the Prerequisistes page.
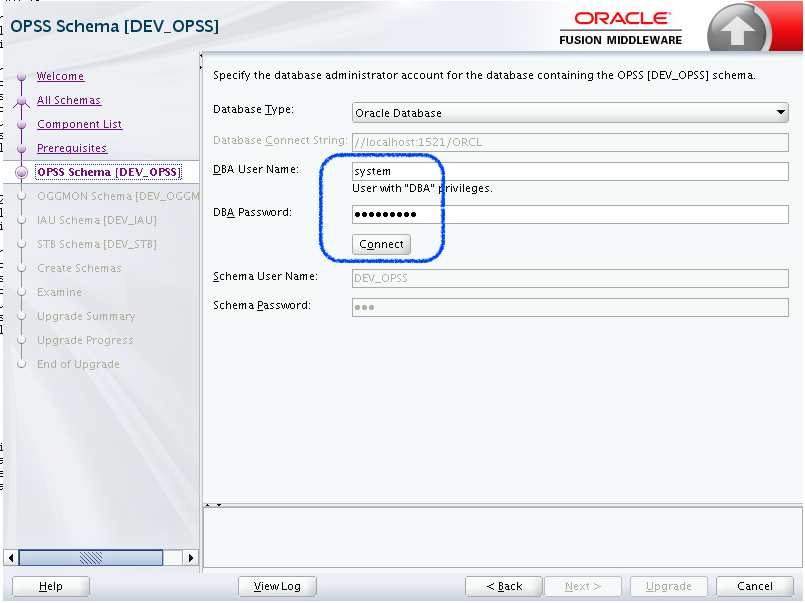
    Ensure that the database administrator account details are entered in the OPSS Schema page.
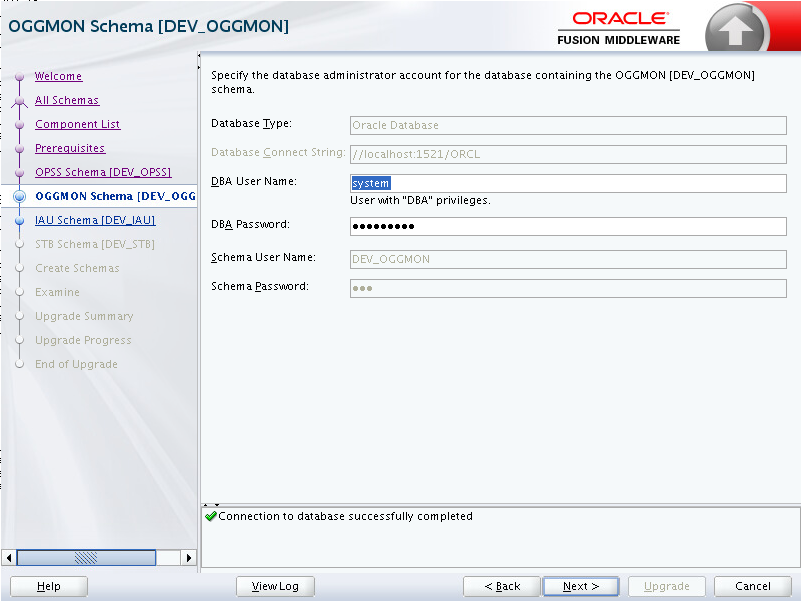
    In the OGGMON Schema page, specify the database administrator account for the database containing the OGGMON schema.
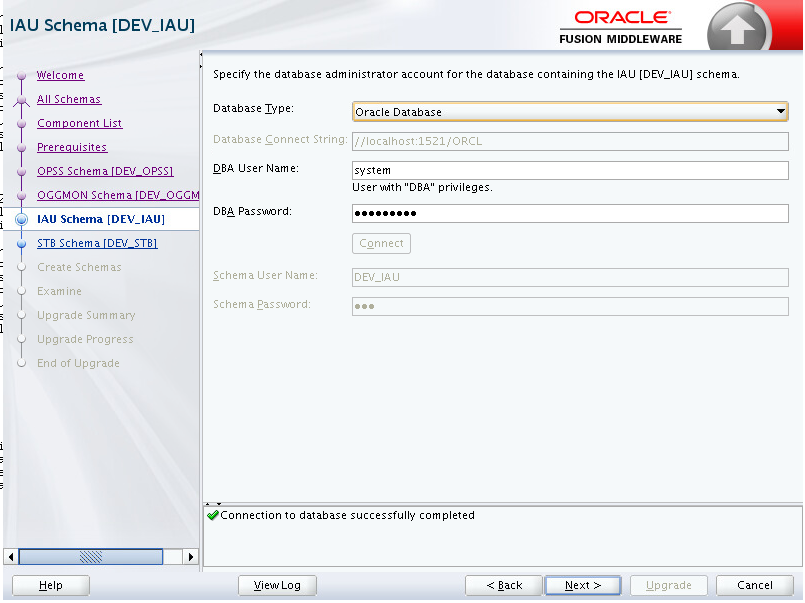
    In the IAU Schema page, specify the database administrator account for the database containing the IAU schema.
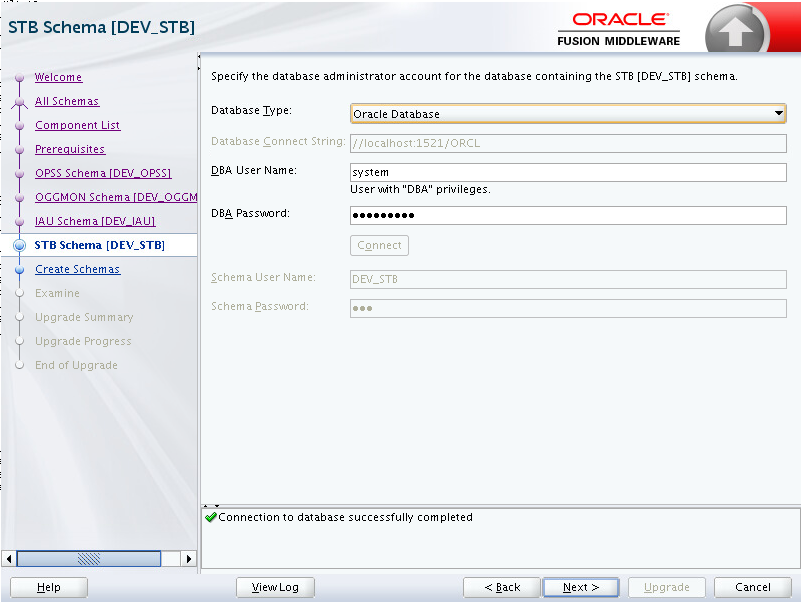
    In the STB Schema page, specify the database administrator account for the database containing the STB schema.
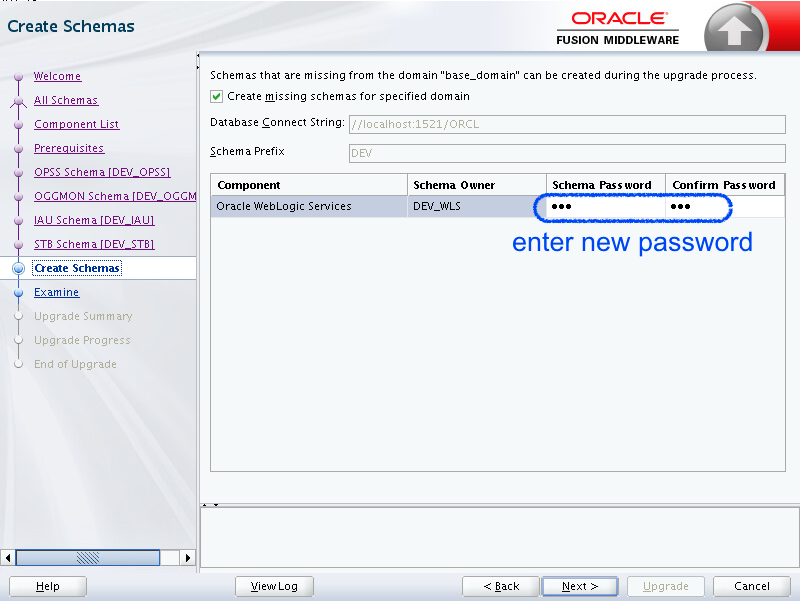
    In the Create Schemas page, you can create missing schemas (missing from the base domain) during the upgrade process.
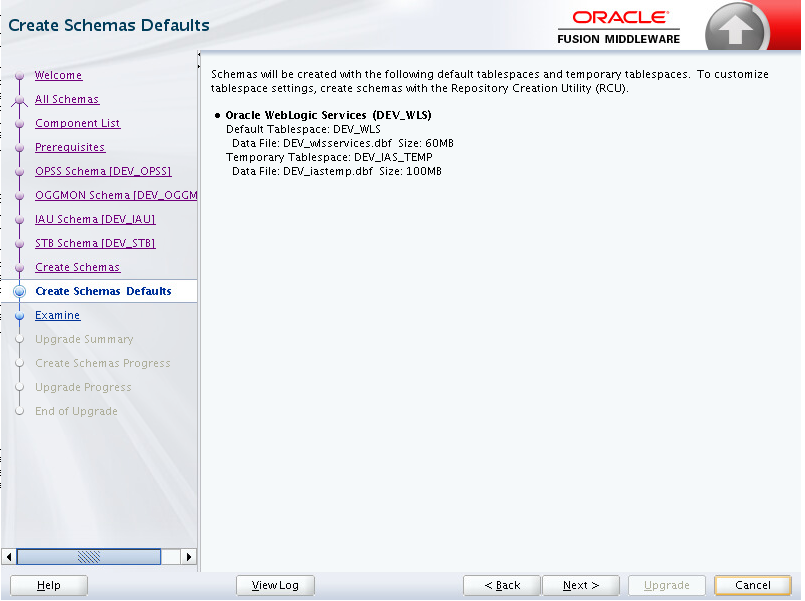
    Create Schemas Default page
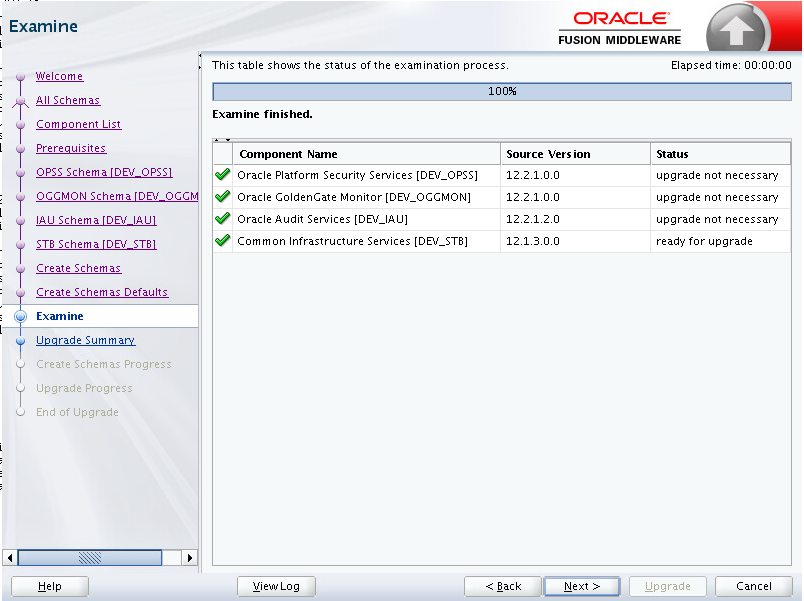
    In the Examine page, the table shows the status of the examination process.
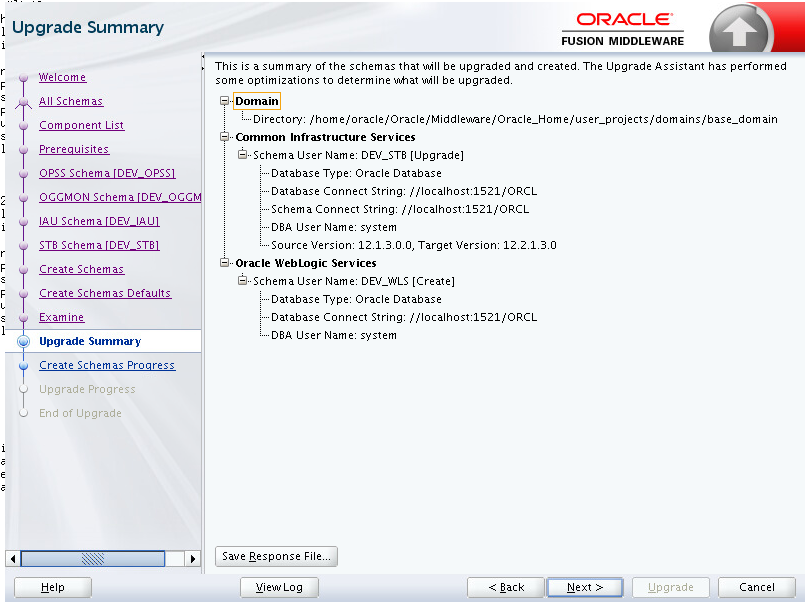
    The Upgrade Summary page displays a summary of the schemas that will be created and upgraded.
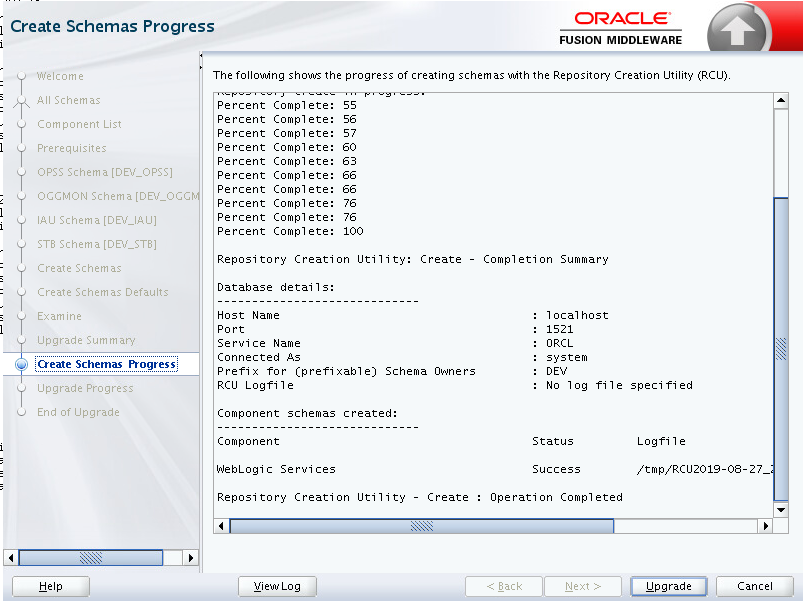
    The Create Schemas Progress page displays the progress of creating schemas with RCU.
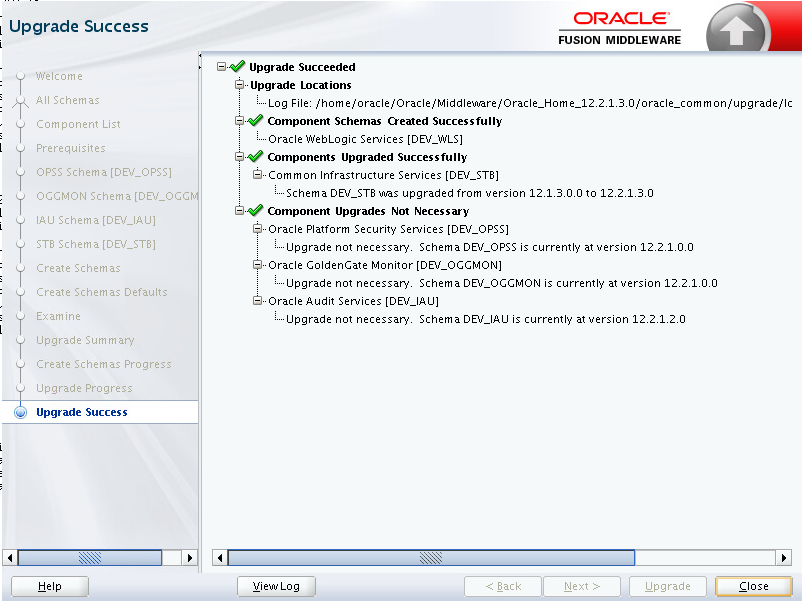
    The Upgrade Success page.

A.3 Reconfiguring the Upgrade

To reconfigure the upgrade:
  1. Navigate to ORACLE_HOME/oracle_common/common/bin, where ORACLE_HOME is the Oracle Middleware 12.2.1.3.0 home directory.
  2. Enter the command ./reconfig.sh. In a Windows environment, enter reconfig.bat.
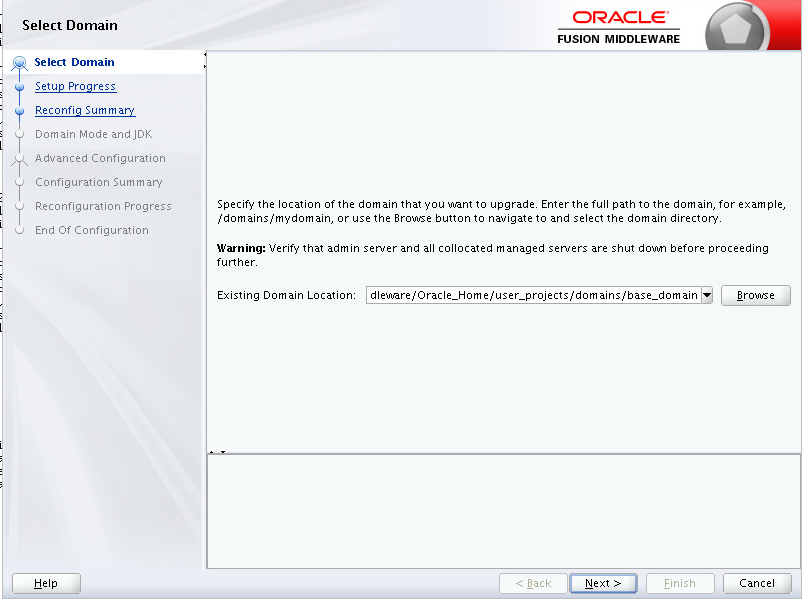
    In the Select Domain page, select an Existing Domain Location.
  3. Select the Existing Domain as Oracle GoldenGate Monitor 12.2.1.2.0 domain.
  4. Continue with the reconfiguration.
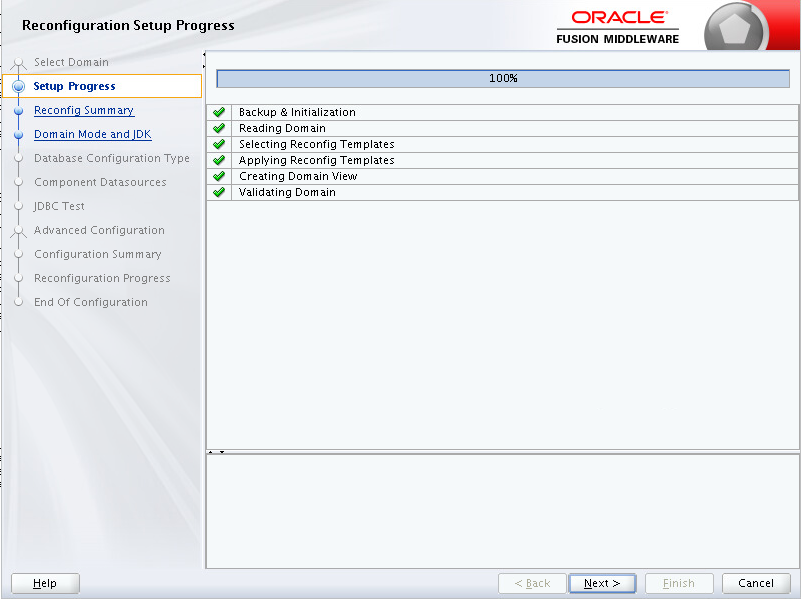
    Reconfiguration Setup Progress page.
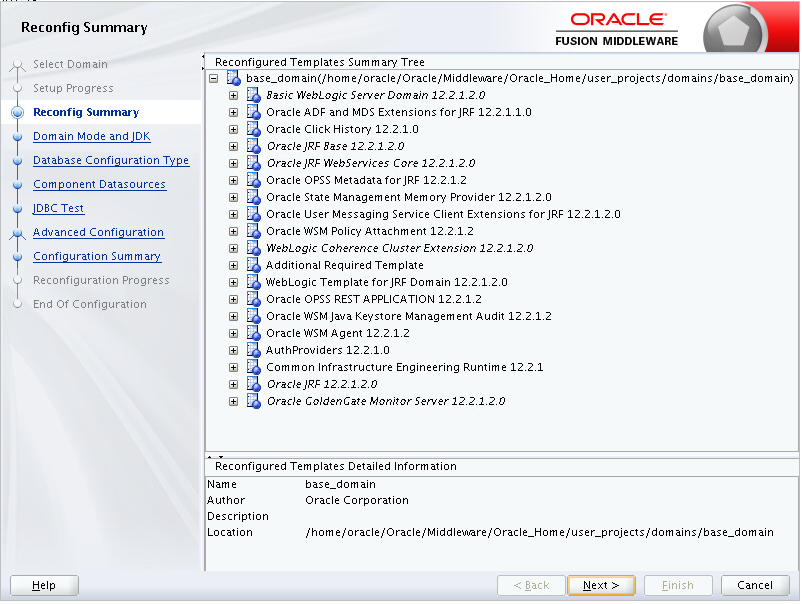
    Reconfiguration Summary page.
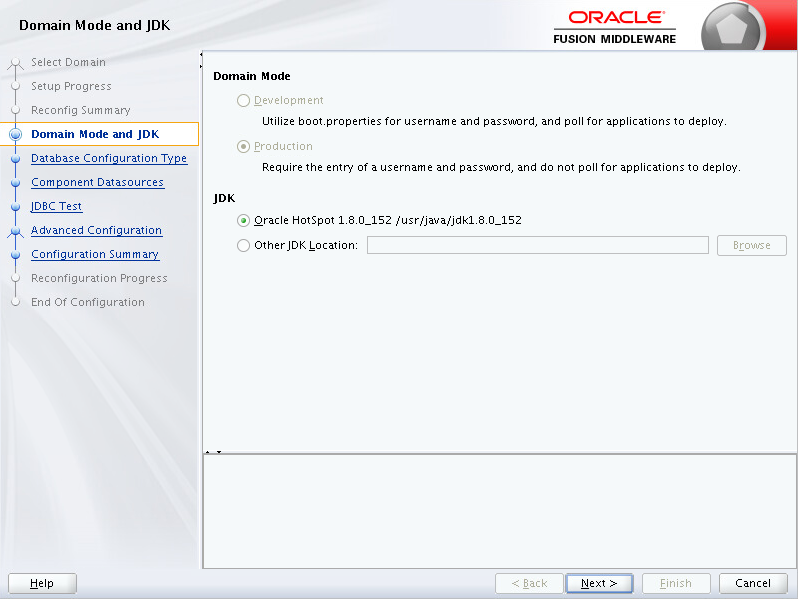
    Domain Mode and JDK page
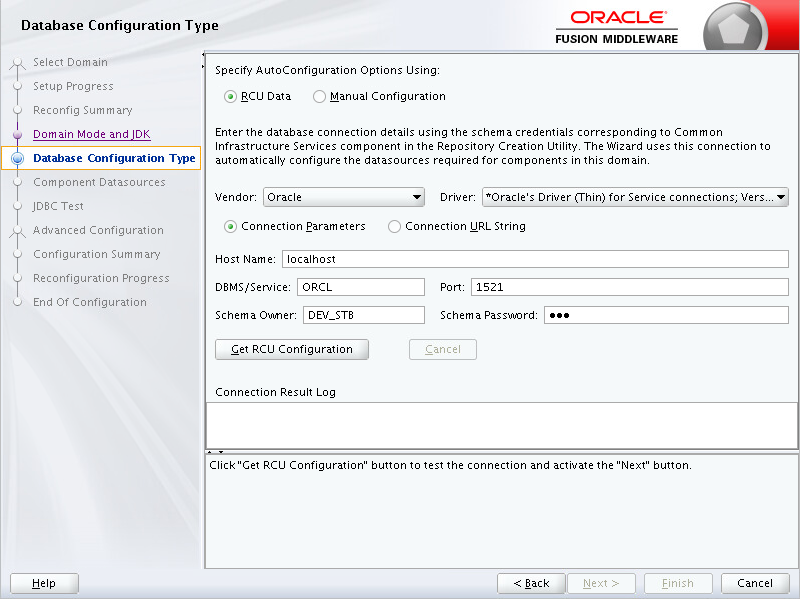
    Database Configuration Type page
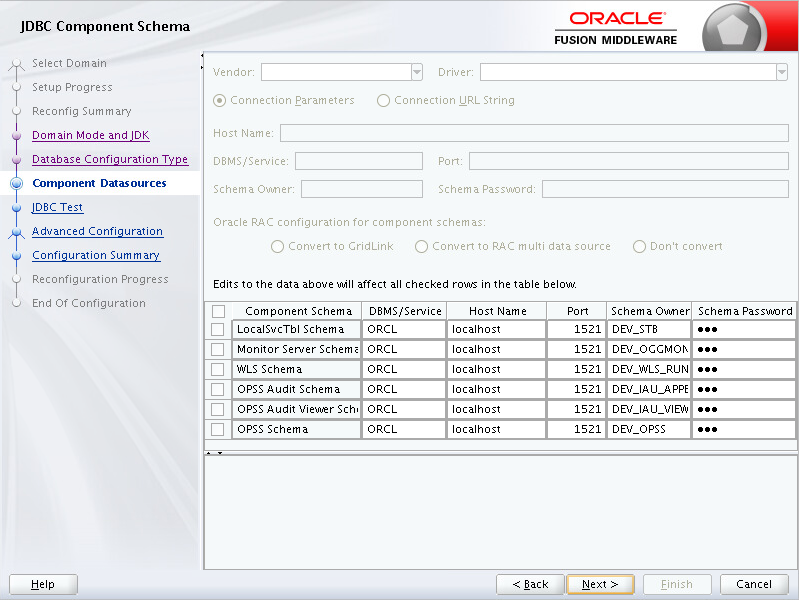
    JDBC Component Schema page
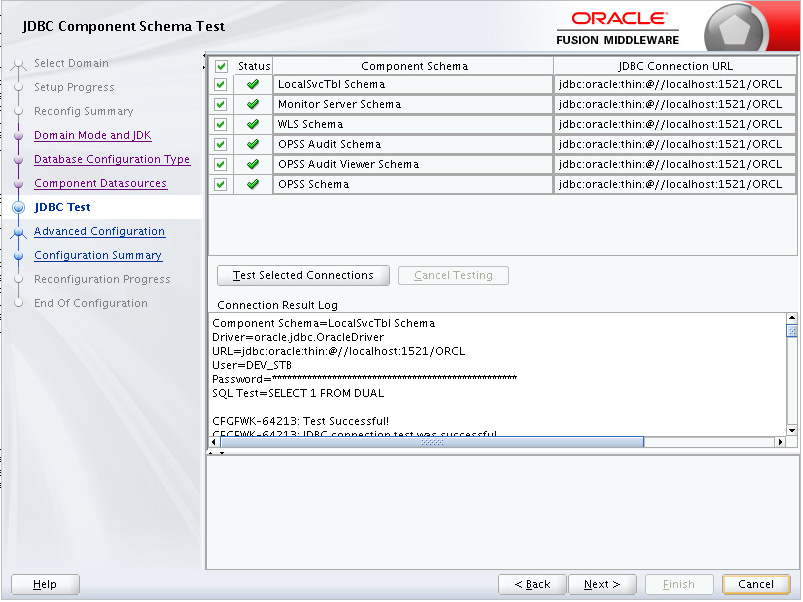
    JDBC Component Schema Test page
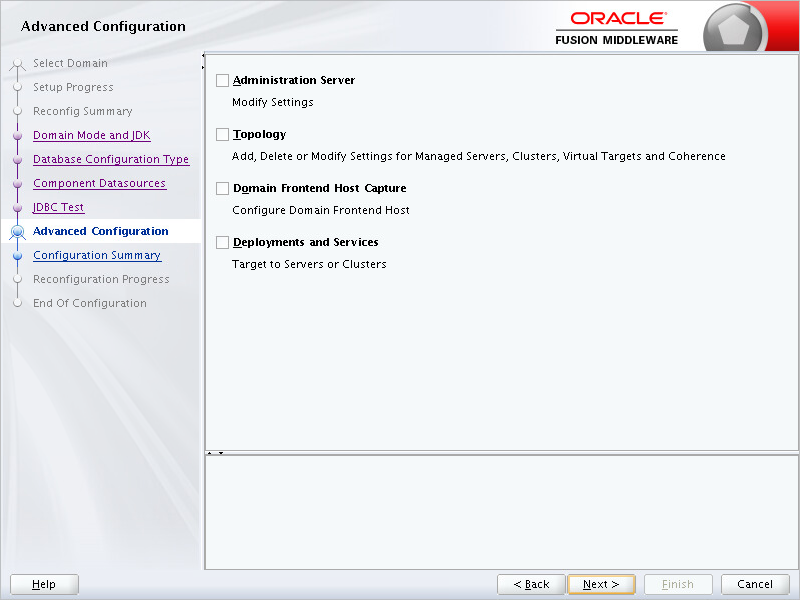
    Advanced Configuration page: Select the required configurations and click Next.
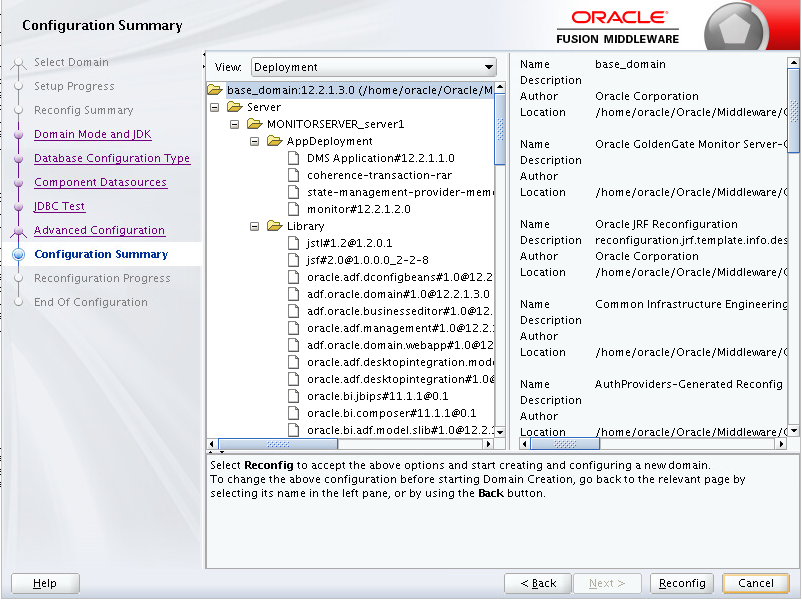
    The Configuration Summary page displays the details of the reconfiguration.
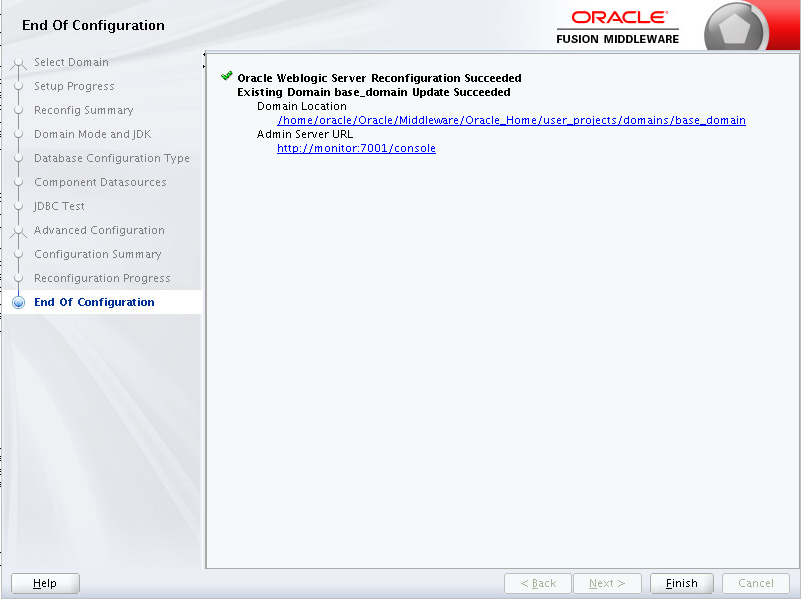
    End of Configuration

A.4 Performing the Post Upgrade Tasks

Post Upgrade Tasks:
  1. Restore the custom modifications:
    1. Under Oracle GoldenGate Monitor Server domain path, navigate to config/monitorserver/cfg.
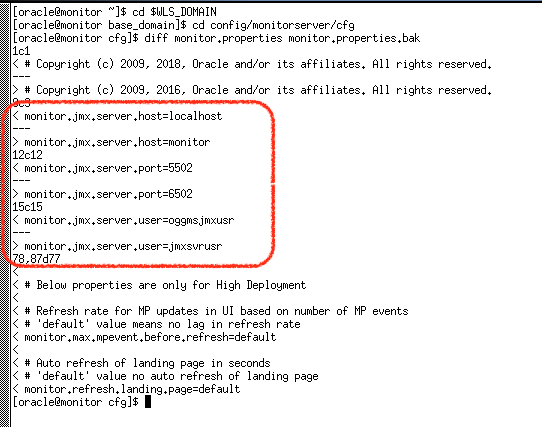
    2. Compare monitor.properties and monitor.properties.bak file, and copy all monitor.jmx.* values from monitor.properties.bak to monitor.properties.
      Post Upgrade Tasks
    3. Review files from the domain backup, identify, and apply previous custom modifications to the upgraded domain. For example:
      • <DOMAIN>/bin
      • <DOMAIN>/servers/AdminServer/security
      • <DOMAIN>/servers/MONITORSERVER_server1/security
  2. Start Oracle GoldenGate Monitor JAgent.
  3. Start Oracle GoldenGate Monitor Admin and Managed servers. See Starting Oracle GoldenGate Monitor Server.
After servers are started, verify that the WebLogic Version is 12.2.1.3.0 in the console, for example, <Aug 7, 2019 10:19:49 PM UTC> <Info> <Management> <BEA-141107> <Version: WebLogic Server 12.2.1.3.0 Thu Aug 17 13:39:49 PDT 2017 1882952.