Release 9.0.2
Part Number A95995-01
 Contents |
 Index |
| Oracle Internet File System Setup and Administration Guide Release 9.0.2 Part Number A95995-01 |
|
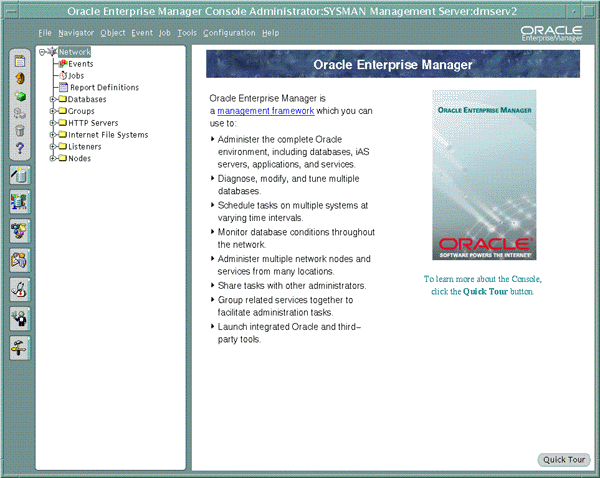
Administering Oracle 9iFS requires starting the domain and nodes and monitoring the performance of the domain. This chapter describes the components of the domain and use of the Oracle Enterprise Manager Java Console, include:
These instructions assume you have run the Enterprise Manager Configuration Assistant to set up Oracle Enterprise Manager to work with Oracle 9iFS and configured the local Oracle Management Server. See the Oracle Internet File System Installation and Configuration Guide for detailed instructions.
oemapp console
On Windows NT or Windows 2000: Start menu, select Start --> Programs --> Oracle <oracle_home> -->Enterprise Manager Console.
agentctl start.
This command submits a job to the Intelligent Agent. For more information on submitting jobs, see the Oracle Enterprise Manager Administrator's Guide.
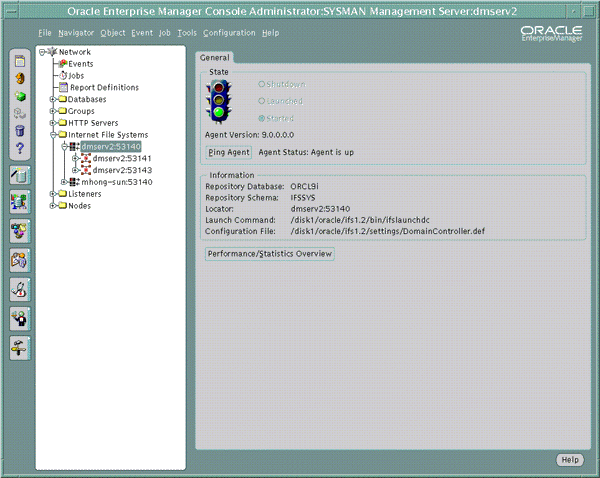
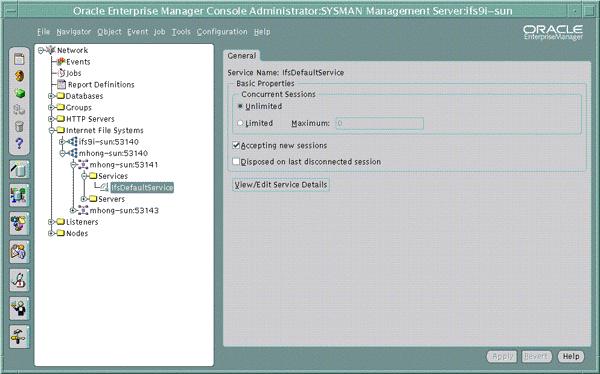
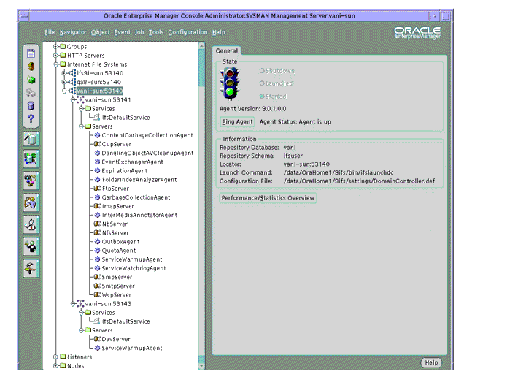
The General property sheet shows what has been started. For example, when the DAV servlet starts, an HTTP node is started.
In the event of a domain controller failure, the domain controller can be relaunched automatically by Intelligent Agent, and even restarted, if the Schema password is stored as an OMS-preferred credential and if the 'Domain Controller Down" event and its fix-it job are set up correctly on this domain controller. Similarly, in the event of a node failure, the node (its node guardian) will be relaunched automatically by IA if the 'node down' event and its fix-it job are set up correctly for the node. For more on how to register events and associated fix-it jobs, see the Oracle Enterprise Manager Administrator's Guide.
When a domain controller is started, it obtains a list of nodes in the domain and attempts to start each in turn. If a node is unavailable, the domain controller logs that node's unavailability and continues with the next node in the list. The domain controller then enters a cycle in which it waits a short period then attempts to contact each node on its list, logging failures, starting nodes not previously started, and restarting failed nodes. This cycle repeats for the life of the domain controller.
If the domain controller process fails, the already started nodes remain running. However, unstarted nodes will remain unstarted until the domain controller is re-launched and restarted.
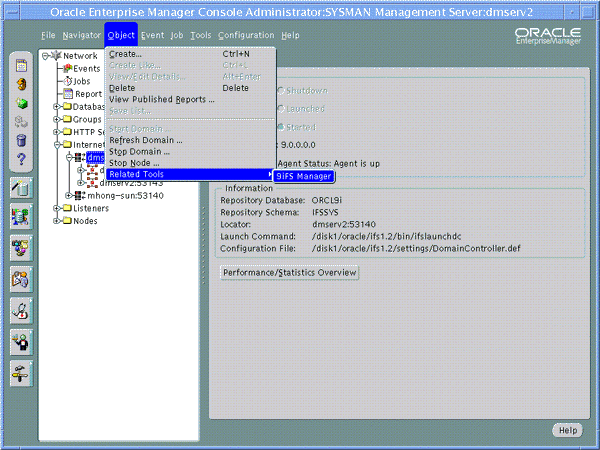
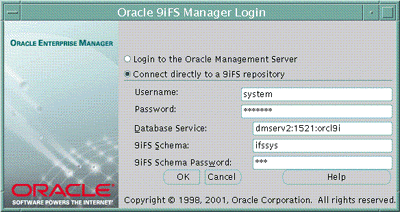
Launching Oracle 9iFS Manager in the OMS-connected mode implies that Oracle 9iFS Manager lists all the OMS-discovered Oracle 9iFS instances. A new Oracle 9iFS instance, however, is discovered by Oracle Enterprise Manager through the Discovery Wizard and not by Oracle 9iFS Manager. The Oracle 9iFS credentials for the Oracle 9iFS instances can be stored in OMS.
The Discovery Wizard is activated each time you select Discover Nodes from the Console's Navigator menu. The Discovery Wizard searches the network for the host you specify. If that node has an Oracle Intelligent Agent running, it will be added to the Oracle Enterprise Manager Java Console Navigator for management along with any services running on that target. You will be able use these services as targets in jobs, events, and groups. For details about the Discovery Wizard, see Chapter 2, "Navigator" in the Oracle Enterprise Manager Administrator's Guide.
Although launching Oracle 9iFS Manager as a standalone application provides the same repository management functionality, you cannot administer the Oracle 9iFS domain and its nodes from Oracle 9iFS Manager.
You can launch Oracle 9iFS Manager in standalone mode in two ways:
ifsmgr command, usually found in the $ORACLE_HOME/9ifs/bin/ folder.
system/manager).
The main window for Oracle 9iFS Manager displays.
Or:
oemapp ifsmgr command.
system/manager).
<host>:<port>:<sid>
where:
host is the machine name where the database is located.
port is the database listener port address, usually 1521 or 1526.
sid is the database system identifier.
For example:
my_ifs_machine:1521:ifs90
which connects to the ifs90 database using port 1521 on the my_ifs_machine machine.
The main window for Oracle 9iFS Manager displays.
Since service and server configuration parameters are stored in Oracle 9iFS along with your files and data as objects, you can use Oracle Enterprise Manager Java Console to manage these parameters.
To change the default values used to configure the services and servers, select the service or server from the Administrator's Tasks section of Oracle 9iFS Manager. For more information see Chapter 5, "Service and Server Configuration".
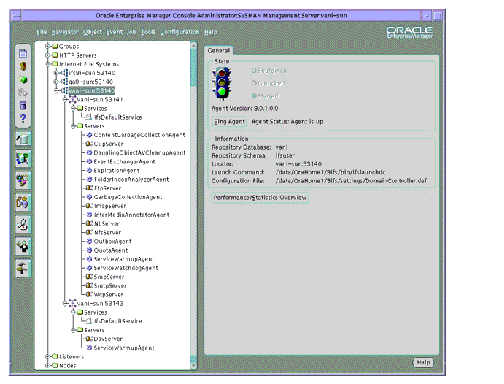

To get an overall picture of the domain's performance or to continuously monitor the domain, click the Performance/Statistics Overview button on the General tab. The following information is depicted graphically:
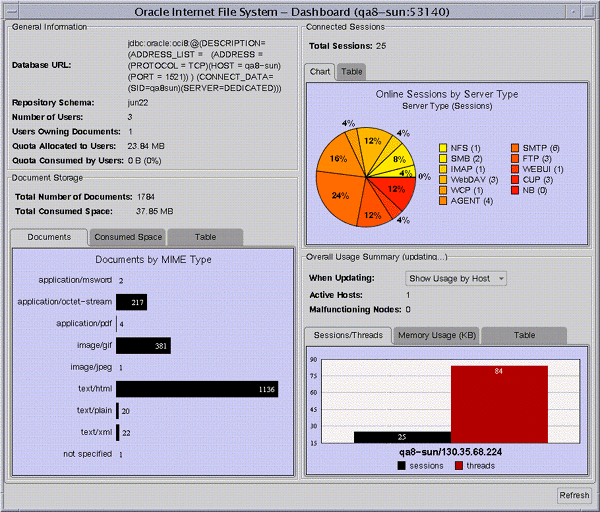
The left side of the screen monitors the Oracle 9iFS repository and its documents and users. It provides general information and information about document storage. The right side provides information about the domain, including information about usage by connected session and an overall usage summary by node showing each session on each machine.
The 9iFS Node Performance dialog shows the allocated and total memory and the thread count. The display is dynamic; that is, the allocated heap size and total heap size change as time passes. Likewise, the number of threads and system time change.
To display the Node Performance dialog, on the General property sheet associated with the node, click the Performance Overview button.
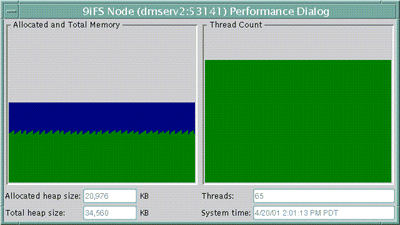
If your Total Heap size is equal to your "MX" setting for the JVM (the MX setting is different for the main node versus the Oracle 9iFS JServ process), and your Allocated Heap Size equals the Total Heap size more than once hour, then the Oracle 9iFS server may be spending too much time in "major" garbage collection, and your users may notice a frequent "stall" of the server during this garbage collection. You should increase your MX size the next time you restart the JVM. This will increase your memory usage on the middle-tier machine.
If you have developed a custom application, and your Thread Count continues to increase over time and never decreases, then you may have a thread leak in your software. In particular, check that you are calling LibrarySession.disconnect() whenever a user disconnects or is timed out.
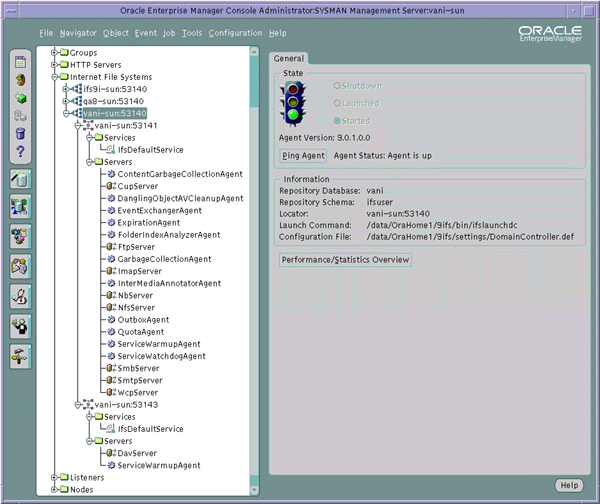
To see the services and servers started along with the node, double-click the node name, then double-click the Services or Servers folders. The property sheet displays the service and servers running in the selected node.
For each service the following information is shown:
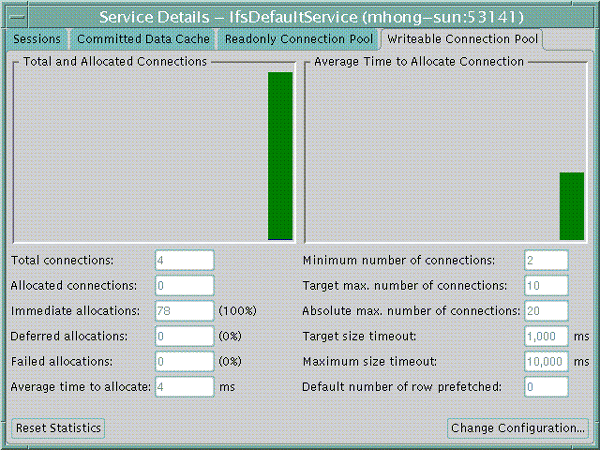
Click the View/Edit Service Details button on a Service property sheet to view service details. There are four dynamic displays that you can access from the four tabs. The parameters shown are detailed in Appendix B, "Service Configuration Properties".
The Sessions tab shows the number of session running and provides the following information about each session:

To stop a session, highlight the session in the table and click the Disconnect Session button.
The Committed Data Cache dynamically provides information about the percentage of cache hits and cache size and capacity and allows you to reset the cache statistics or change the cache configuration. Caching this data allows sessions to get the attribute values of frequently used LibraryObjects without a database request, greatly improving performance and scalability. Data that has not been recently used is periodically purged from the cache.
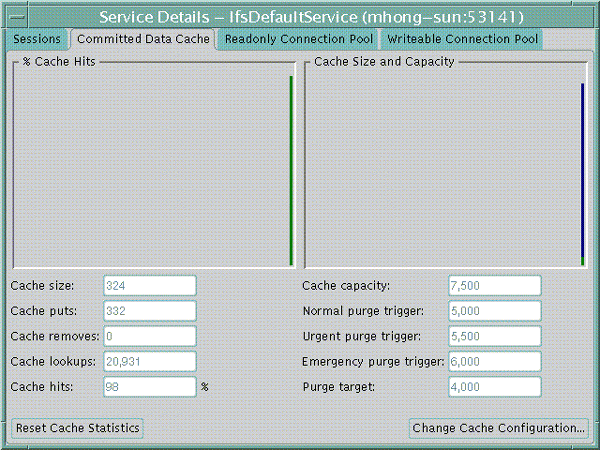
If your Cache hits is less than 90 percent, then the Oracle 9iFS Committed Data Cache may be too small. Proportionately increase all Cache settings (Cache capacity, Normal purge trigger, Urgent purge trigger, Emergency purge trigger, Purge target) through the "Change Cache Configuration" button. This will increase your memory usage on the middle-tier machine.
The Readonly Connection Pool dynamically displays the total and allocated connections and the average time to allocate connection and allows you to reset the Readonly Connection Pool statistics or change the configuration. The Readonly Connection Pool is a set of database connections shared by the sessions to perform database read operations. A minimum number of connections are created when the Oracle 9iFS domain is started. Depending on the number of concurrent operations performed by the sessions, and the nature of these operations, additional connections may be added to the pool up to a specified maximum.
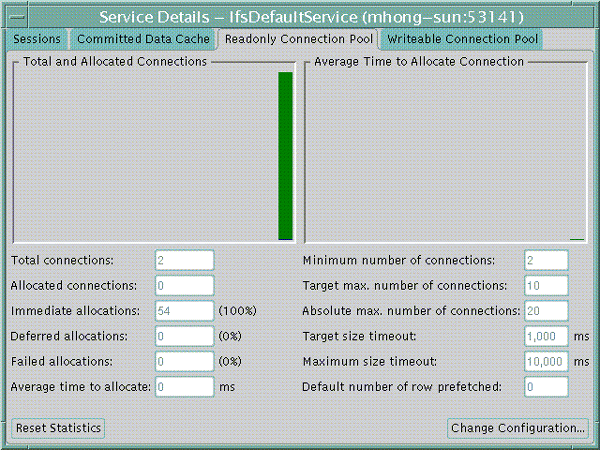
If the number of Failed allocations is greater than 0, or the Deferred allocations percentage is greater than 5 percent and the Average time to Allocate is more than 50 milliseconds, then your Connection Pool settings may be too small. Increase the Target and Maximum settings using the "Change Configuration" button. This will take more memory on the middle-tier machine for open cursors, and on the database machine for shadow processes.
The Writeable Connection Pool dynamically displays the total and allocated connections and the average time to allocate connection and allows you to reset the Writeable Connection Pool statistics or change the configuration. The Writeable Connection Pool is a set of database connections shared by the sessions to perform database read/write operations. A minimum number of connections are created when the Oracle 9iFS domain is started. Depending on the number of concurrent operations performed by the sessions, and the nature of these operations, additional connections may be added to the pool up to a specified maximum.
For each server, the following information is shown:
You can change the status of the server; that is, restart, suspend, or stop the server. Using the slider control you can set the priority associated with the server in increments running from minimum to maximum. You can also change the dynamic properties values associated with this server.
Click the Start Automatic Refreshing button to refresh the server information constantly. Otherwise, you must manually refresh the information by selecting Refresh from the Navigator menu.
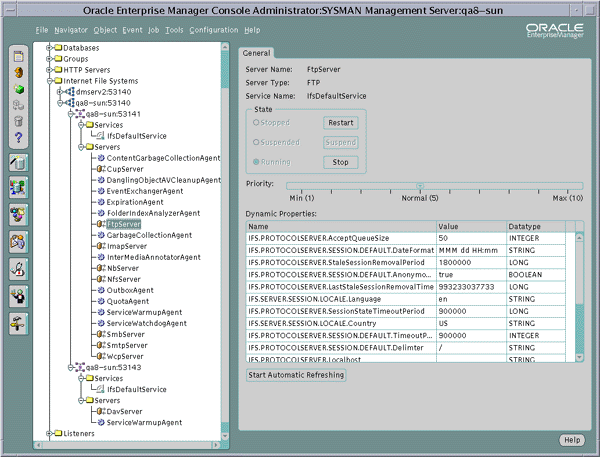
You can also use this page to determine if you have too many or too few protocol Here are the servers, and when you need them:
Log files are generated for the Oracle Enterprise Manager Java Console, the Oracle 9iFS Manager, and the dashboard. $ORACLE_HOME/9ifs/log/ifsmgr.log contains information for both Oracle Enterprise Manager Java Console and Oracle 9iFS Manager. $ORACLE_HOME/9ifs/log/dashboard.log contains information from the dashboard. You can set options for the ifsmgr.log file in:
No settings for the dashboard log may be modified.
|
 Copyright © 1999, 2002 Oracle Corporation. All Rights Reserved. |
|