| Oracle® Argus Safety Installation Guide Release 8.1 E71757-01 |
|

 Previous |
 Next |
This chapter includes the following sections:
Before installing Argus Safety Web, be aware of the following:
During the installation, the information in this document may be different from what you see on your monitor if additional modules were selected during the Argus Safety Web Installation.
A domain account with Local Administrator privileges to the Web server is required after the Argus Safety Web installation is complete.
Use the following procedure to install Argus Safety Web:
Open the Argus Safety folder and click setup.exe.
When the system displays the Argus Safety Setup screen, click Next >.
When the system displays the Customer Information screen:
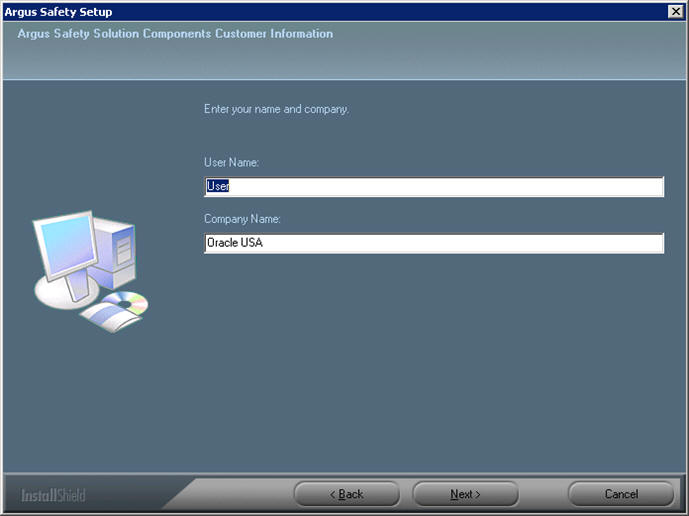
Enter the user name in the User Name field.
Enter the company name in the Company Name field.
Click Next >.
When the system displays the Default Directory screen, click Browse to select the default installation directory where the Argus Safety Solution Components will be installed.
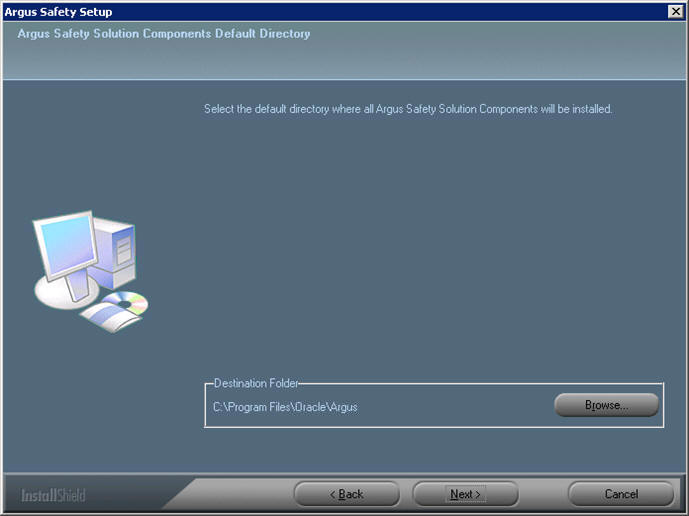
Click Next to display the Argus Safety Components list and select the default installation directory where the Argus Safety Solution Components will be installed.
When the system displays the component list, you can select Argus Global Application.
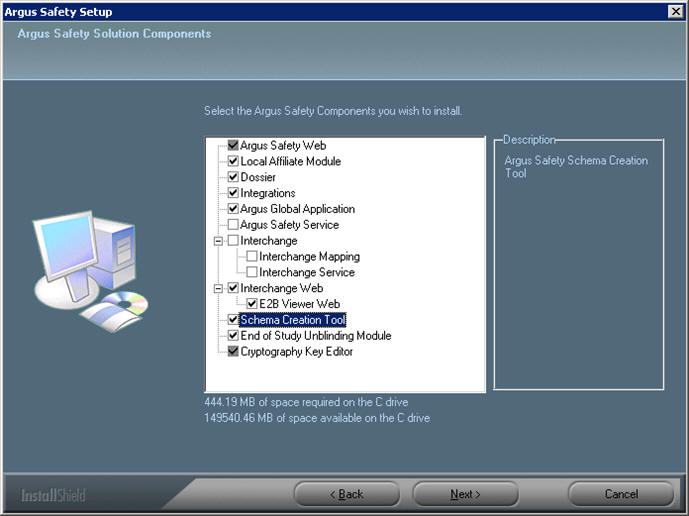
The Argus Global Application for Argus Safety Web option in the Installer module selection screen allows support for the multi-tenancy feature.
On selecting this option, global modules get installed on the same web server as Argus Safety Web and are accessible as a separate URL from the same web server.
Global modules are components of Global Application having the same functionality as Portlets in the Global Homepage for Web Center.
If you have chosen to install the IIS Global Homepage instead of the Webcenter Global Homepage for multi-tenant installations, you must make sure that you access the following URL after installing the IIS Global Homepage:
http://<web server>:<port>/GHP/GlobalHome.aspx
The Argus Global Application for the Argus Safety Web option is enabled only if Argus Safety Web is also selected.
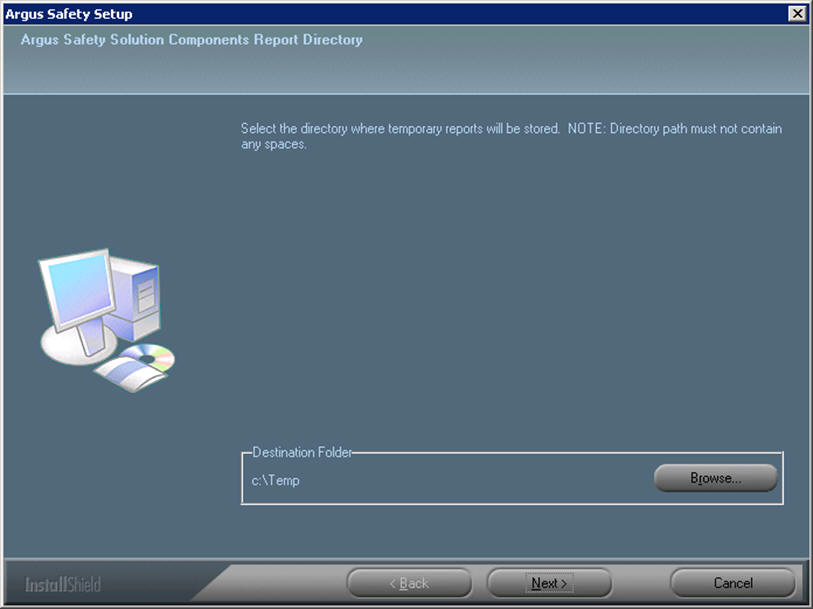
Select the modules to install and click Next. The Argus Safety Solution Components Report Directory is displayed. Select the directory where temporary reports will be stored. Users can browse through any path or leave this as default (C:\Temp).
|
Note: It is recommended to install the Cryptography tool on the Web Server. |
Click Next. The following screen is displayed.
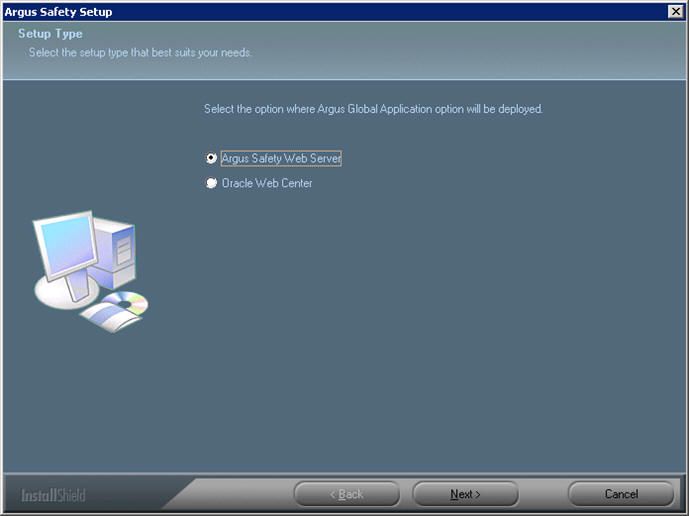
Select the applicable Setup Type from the listed radio buttons, where the Argus Global Application will be deployed and click Next >.
When the system asks whether you want to configure a database for Argus, click Yes to configure a database.
When prompted to enter a database name, enter the database name as you want it to appear on the Argus Login page.
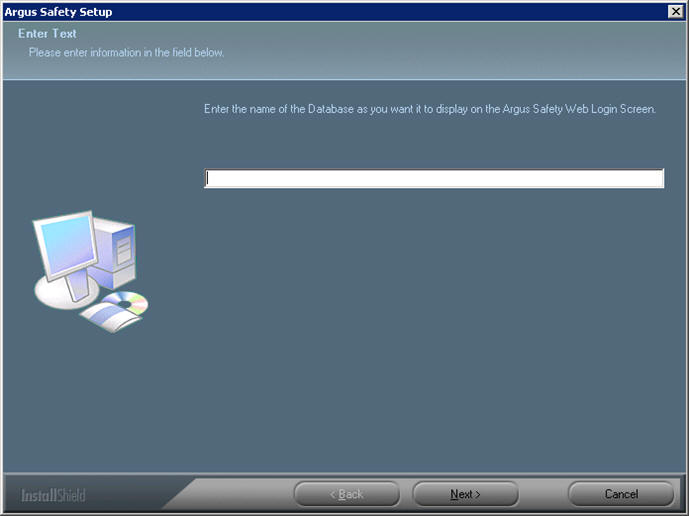
Click Next > to continue.
When prompted to enter the database SID: Enter the database SID.
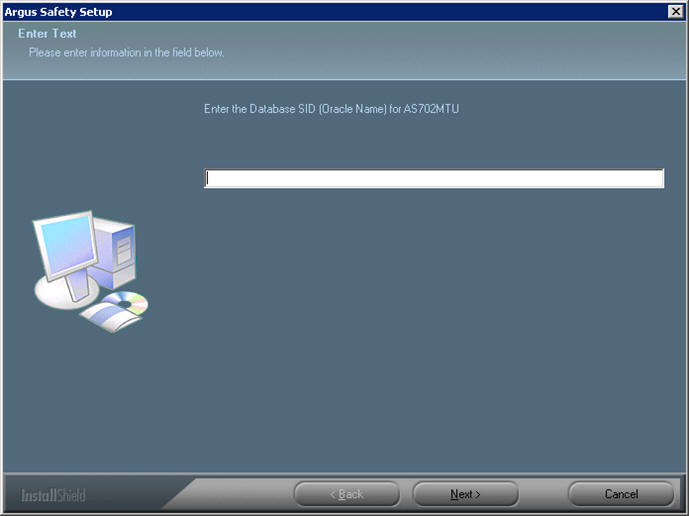
Click Next > to continue.
When the system ask if you would like to configure database settings for Argus: Click Yes to add an additional database to the Argus Login page.
When the system prompts you to enter a port number, enter the Port for the Argus website (default is 8083).
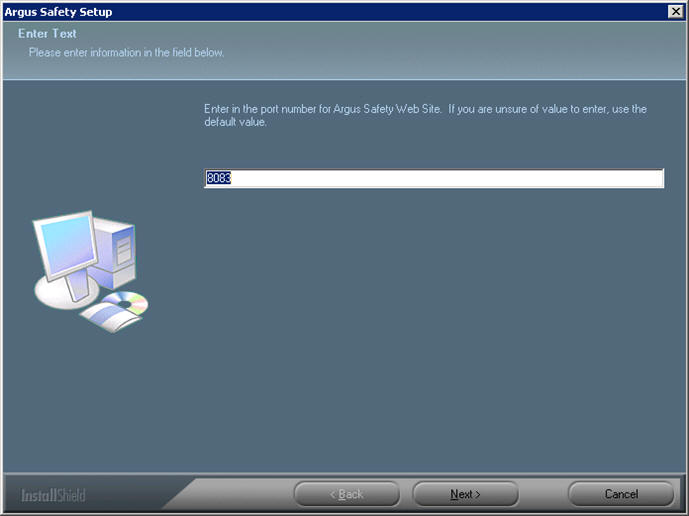
Click Next > to continue.
The installer installs the website and it related components and shows the progress of the installation.
When the system displays the Setup Completed screen, click Finish.
When the system displays the following message: Click OK to reboot the system.

|
Note: After installing Argus Safety Web, refer to the section The Argus Safety 8.1 Application Servers to set up the Argus Cryptography key. |
|
Note: For Windows 2012, IIS 6 Management Compatibility and Application Development > ASP.NET/ASP roles must be installed. |
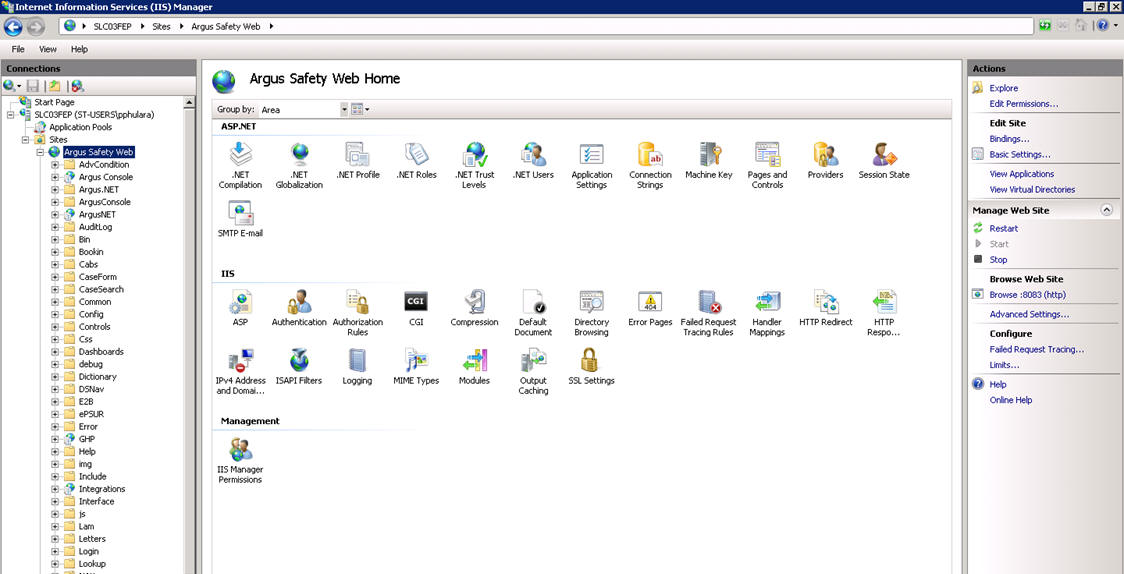
Select Start > Administrative Tools > Internet Information Services (IIS) Manager.
Expand the Connection Panel and open Sites.
Select Argus Safety Web.
On the right panel, click on Basic Settings.
Click on Connect as…
Click on Specific User and click on Set.
Enter Domain user name and password and click OK.
Click OK.
Click on Test Settings to verify the user credential is valid for the connection.

If multiple web servers are configured for Argus in a load-balanced environment, the reports folder must be on a shared path on the network. Connect the PDFReports, UploadedLetters, Integrations, GHP, ArgusNet, Argus Console and Scanned_Images using the domain account as shown in the following steps:
Open Argus Safety Web folder from the left panel.
Click on PDFReports on the left panel, and click on Basic Settings on the right panel.
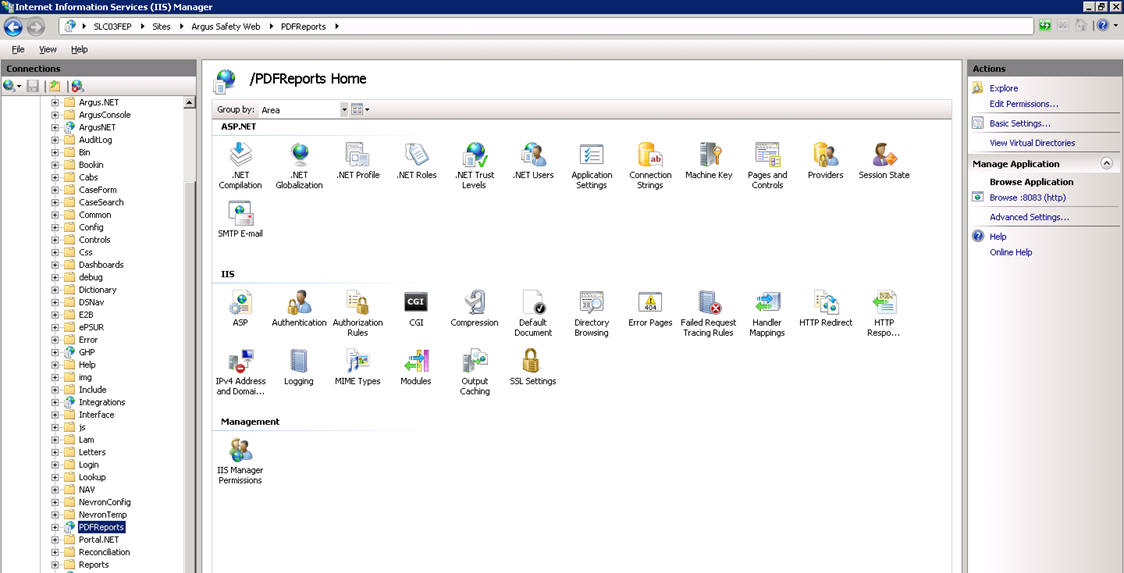
Change the Physical Path to a shared folder in the Domain.
Click on Connect as… and select Specific User.
Enter the Domain User ID and Password and click OK.
|
Note: You can click on Test Settings to verify the user authentication for the connection. |
Repeat the above-mentioned steps for UploadedLetters, and Scanned_Images.
Use the following procedure to enable SSL support for Windows 2012:
Obtain and install the SSL certificate.
Click Argus Safety Web > Bindings.
Click on Add, then change Type to HTTPS.
Select SSL Certificate, then click OK.
To set up a Load Balancer in Argus, you will need to setup:
The Argus Web Load Balancer IP Address
The Load Balanced Folders
The Shared Network Directory
If Argus Web is being installed in a Load Balanced Environment, the Load Balancer IP Address needs to be configured in Argus Console.
Login to Argus Console.
Select System Management from System Configuration Menu.
Click the Network Settings Folder.
Enter the Load Balancer IP Address and click Save.
When setting up the load balanced folders, update the network directories for the following virtual directories:
pdfreports
uploadedletters
scannedimages
The network directory is a shared directory that will be the same for all load balanced web servers.
Update argus.ini for the following entries:
cache=<shared directory for the pdfreports>
messagecachepath=<shared directory for the message cache>
upload=<shared directory for the uploaded letters>
|
Note: The Nevron temp file folder on all the Web Servers should point to a common file share such as PDFReports and other folders. The configuration file is present in the ASP\NevronConfig folder. Apart from this, you must also make sure that the client machine has also got access to that share. |
The following security recommendations should be made to the following files and folders on Argus Safety Web. This ensures that only the IIS User can access these files and local system login accounts outside of the Administrator cannot make changes to the files.
Windows Directory File
Minimum permission required for file is "Full Control" for the user under which IIS is running:
Argus.ini
Shared Folders
The following folders require minimum permission of "Full Control" for the user under which IIS is running:
MessageCache
PDFReports
Scanned_Images
UploadedLetters
Select Start > Administrative Tools > Internet Information Services (IIS) Manager.
Select Application Pools.
Right click on Argus Console Pool and select Advanced settings
Enter user ID and password in the identity field.
Reset IIS.
Repeat same configuration for Argus NET Pool.
|
Note: This configuration will prevent the following error from appearing when filtering data on the Worklist Portal screen:Error processing your request |
After changes have been made to the areas listed below, IIS needs to be reset to make the latest data / configurations available to the rest of the system:
Changes in config files:
Argus.ini, Argus.xml
Changes in following screens through Console:
Common Fields
System Management
Enabled Modules
Loading of MedDRA and WHO Drug dictionaries (J Drug is optional).
