Lesson: Learning Swing with the NetBeans IDE
The Java Tutorials have been written for JDK 8. Examples and practices described in this page don't take advantage of improvements introduced in later releases and might use technology no longer available.
See Dev.java for updated tutorials taking advantage of the latest releases.
See Java Language Changes for a summary of updated language features in Java SE 9 and subsequent releases.
See JDK Release Notes for information about new features, enhancements, and removed or deprecated options for all JDK releases.
Setting up the CelsiusConverter Project
If you have worked with the NetBeans IDE in the past, much of this section will look familiar, since the initial steps are similar for most projects. Still, the following steps describe settings that are specific to this application, so take care to follow them closely.
Step 1: Create a New Project
To create a new project, launch the NetBeans IDE and choose New Project from the File menu:
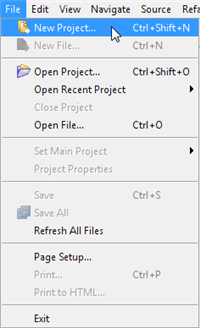
Creating a New Project
Keyboard shortcuts for each command appear on the far right of each menu item. The look and feel of the NetBeans IDE may vary across platforms, but the functionality will remain the same.
Step 2: Choose General -> Java Application
Next, select General from the Categories column, and Java Application from the Projects column:
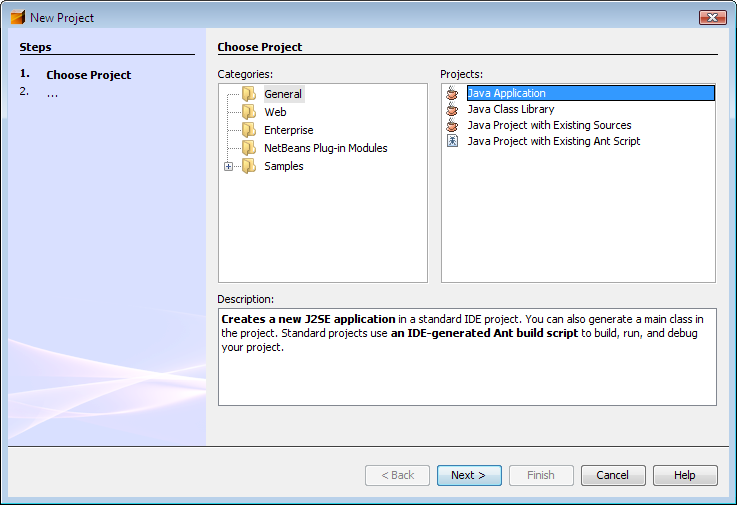
This figure has been reduced to fit on the page.
Click the image to view it at its natural size.
You may notice mention of "J2SE" in the description pane; that is the old name for what is now known as the "Java SE" platform. Press the button labeled "Next" to proceed.
Step 3: Set a Project Name
Now enter "CelsiusConverterProject" as the project name. You can leave the Project Location and Project Folder fields set to their default values, or click the Browse button to choose an alternate location on your system.
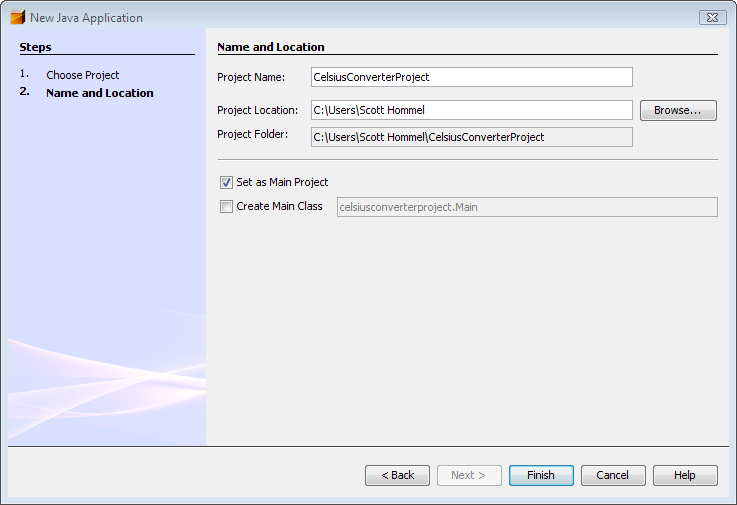
This figure has been reduced to fit on the page.
Click the image to view it at its natural size.
Make sure to deselect the "Create Main Class" check box; leaving this option selected generates a new class as the main entry point for the application, but our main GUI window (created in the next step) will serve that purpose, so checking this box is not necessary. Click the "Finish" button when you are done.
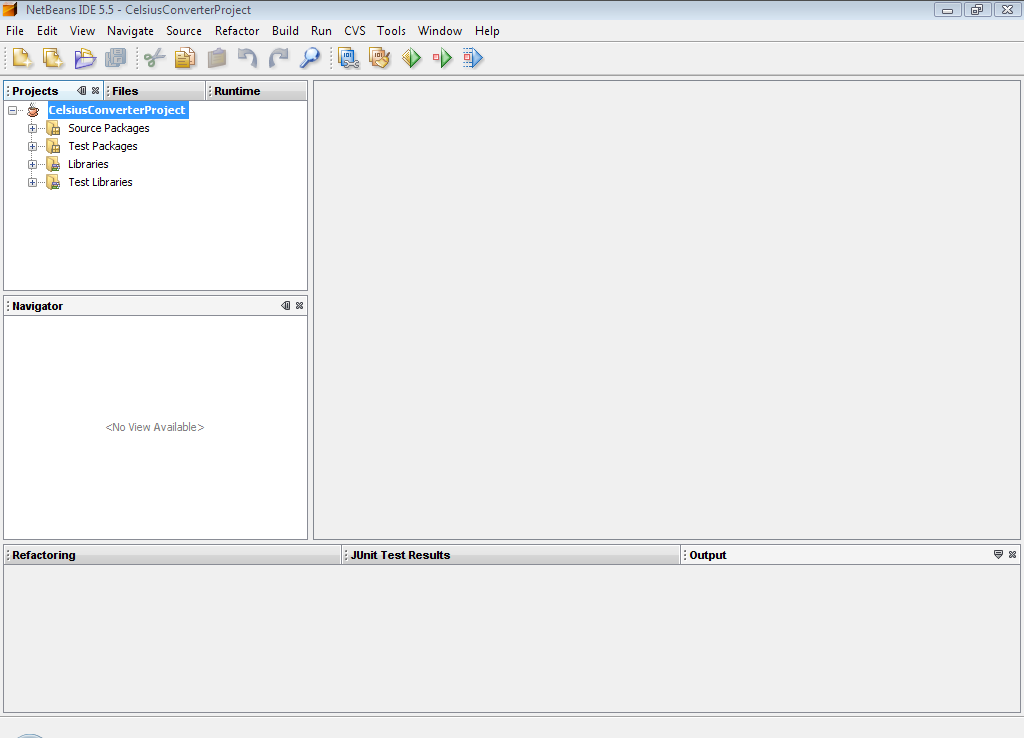
This figure has been reduced to fit on the page.
Click the image to view it at its natural size.
When the IDE finishes loading, you will see a screen similar to the above. All panes will be empty except for the Projects pane in the upper left hand corner, which shows the newly created project.
Step 4: Add a JFrame Form

This figure has been reduced to fit on the page.
Click the image to view it at its natural size.
Now right-click the CelsiusConverterProject name and choose New -> JFrame Form (JFrame is the Swing class responsible for the main frame for your application.) You will learn how to designate this class as the application's entry point later in this lesson.
Step 5: Name the GUI Class
Next, type CelsiusConverterGUI as the class name, and learn as the package name. You can actually name this package anything you want, but here we are following the tutorial convention of naming the package after the lesson in which is resides.
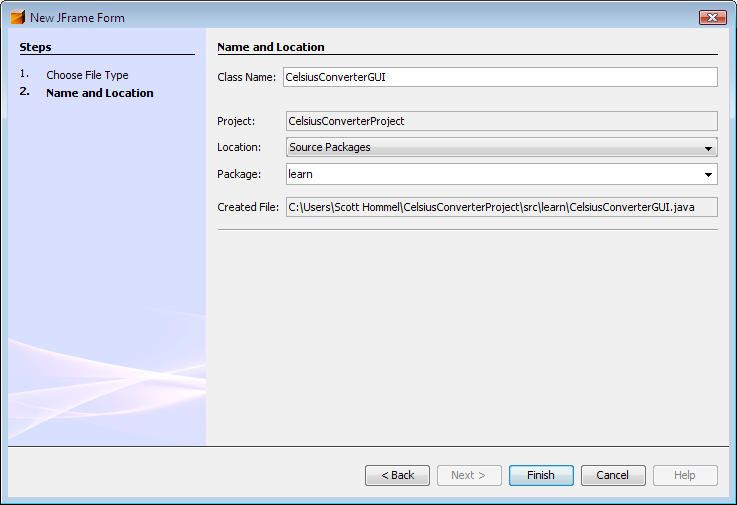
This figure has been reduced to fit on the page.
Click the image to view it at its natural size.
The remainder of the fields should automatically be filled in, as shown above. Click the Finish button when you are done.

This figure has been reduced to fit on the page.
Click the image to view it at its natural size.
When the IDE finishes loading, the right pane will display a design-time, graphical view of the CelsiusConverterGUI. It is on this screen that you will visually drag, drop, and manipulate the various Swing components.