28 Working with Business Objects
Create a business object to filter the attributes and methods retrieved from a data source and render the retrieve data on your portal page using data visualization.
Permissions:
To perform the tasks in this chapter, you need one of the following portal-level permissions:
-
Assets: Create, Edit, and Delete AssetsorCreate AssetsandEdit Assets(standard permissions) -
Application Integration Visualization: Manage Application Integration Visualization(advanced permissions)
28.1 About Business Objects
Introduced in WebCenter Portal 12c (12.2.1) is the ability to retrieve data from a REST or SQL data source using a business object, simplifying the complexities of application integration. The retrieved data can be rendered on a portal page in a data visualization using a visualization template. For example, the data can be presented in one of the built-in visualization templates, or a developer can build a custom visualization template in JDeveloper.
The basic steps to accomplish this are:
-
Create data source. Create a REST or SQL data source from which to retrieve the data to present on the page (see Creating a REST Data Source and Creating a SQL Data Source).
-
(Optional) Create business object. If you need to filter the attributes and methods retrieved from the data source, create a business object (see Creating a Business Object). If you do not create a unique business object, one is automatically created when a data source is selected in the Define Data Visualization wizard, and all the attributes and methods for the data source are added to the business object. Manually-created business objects are listed on the portal Assets page and in the Define Data Visualization wizard, but automatically-created business objects are internal and not exposed anywhere.
-
Determine visualization template. Decide if you can use one of the built-in visualization templates (see About the Built-In Visualization Templates), or if you need to work with a developer to create a custom visualization template. When a custom visualization template is uploaded to a portal, it is shown on the Assets page for the portal; it can also be made available as a shared asset, available to all portals.
-
Configure data visualization. Add a data visualization component (Data Presenter Visualization) to a page, then configure the component to define the data visualization that you want to render on the page (see Configuring a Data Visualization).
The main function of a business object is to simplify the source of data to present that data on a portal page. When the data source is not complex, a business object is automatically created by WebCenter Portal when a data source is selected in the Define Data Visualization wizard. For an automatically-created business object, all the attributes and methods for the data source are added to the business object. In this case, the display name and description of each attribute and method are not available for configuration. Typically, advanced users create business objects manually as a portal asset, with a limited set of attributes that are relevant for building data visualizations. Business objects can be created only at the portal level (as a portal asset), not at the application level (as a shared asset).
A business object can expose multiple scalar attributes as well as collection attributes. For REST, it can support multiple methods such as GET, PUT, POST, and DELETE, based on support from the underlying REST data source. Each business object has a reference to the corresponding data service, which in turn has a reference to the underlying data control that provides the actual model to access the back-end data source.
28.2 Creating a Business Object
Before creating a business object, read About Business Objects.
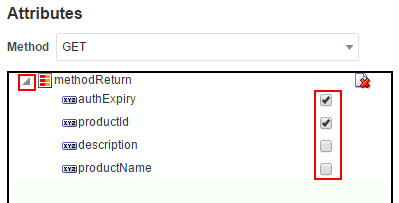
You can use an automatically-created business object that includes all the attributes and methods from the data source, or manually create a business object that retrieves only the data that you specify. If a data source contains multiple levels of hierarchy and data at various levels, you can select only one level to create visualizations. For example, if a data source returns two iterators (repeating data, such as phone numbers), then even though a business object can contain both iterators, a data visualization will use only the first iterator. If you wish to use both iterators, then you must create two separate business objects. Manually-created business objects should be simple.
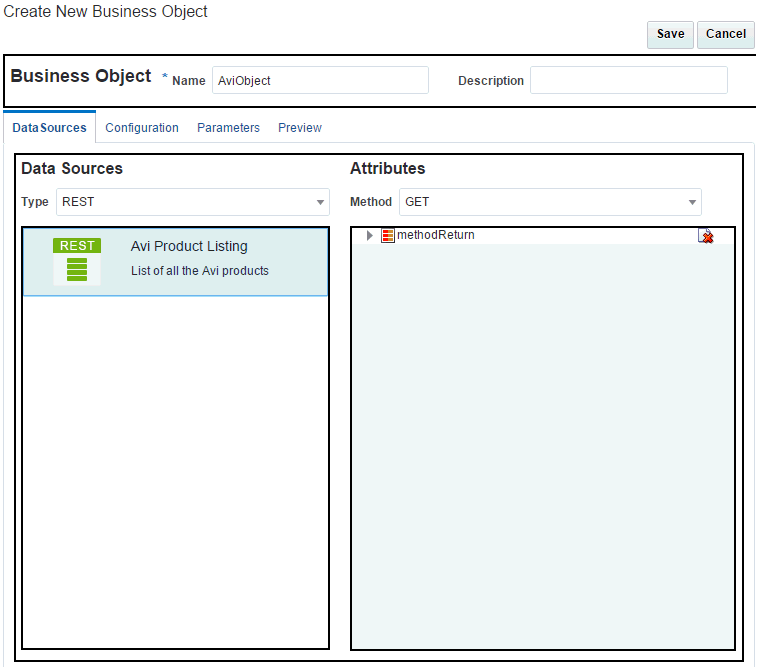
A business object is associated with a specific portal, and therefore can be created only at the portal level (as a portal asset), not at the application level (as a shared asset). When you create a business object to filter the attributes and methods retrieved from a data source, you can build it from scratch or create a copy of an existing business object and edit it. To build a new business object from scratch, follow the steps in the section. To copy an existing business object and edit the new copy, see:
To create a business object:
28.3 Editing a Business Object
You can edit a business object to change its configuration settings.
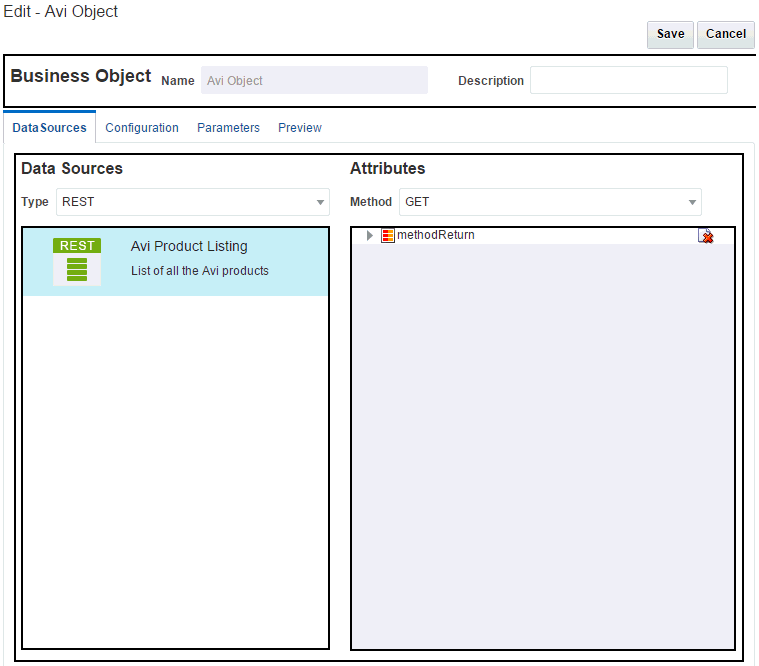
To edit a business object:
28.4 Managing a Business Object
See Also:
Accessing Portal Assets-
Create—You can create a new business object in the Create Business Object wizard.
For more information, see Creating a Business Object.
-
Delete—You can delete a business object when it is no longer required.
For more information, see Deleting an Asset.
-
Actions
-
Copy—You can create a copy of an existing business object, to use as the basis for a new business object.
For more information, see Copying an Asset.
-
Edit Properties—Each business object has certain properties associated with it that control how it is displayed in the portal. You can edit these properties through the Edit Properties dialog.
For more information, see Setting Properties on an Asset.
-
Show Properties—Each business object has an associated Show Properties dialog that summarizes useful information about it.
For more information, see Viewing Information About an Asset.
-
-
Available—You can control whether or not a business object is available for use in a portal by selecting or deselecting this check box.
For more information, see Showing and Hiding Assets.
-
Edit—You can edit an existing business object in the Edit Business Object wizard.
For more information, see Editing a Business Object.


