在 Kubernetes 上部署 Oracle Identity Role Intelligence
簡介
Oracle Identity Role Intelligence (OIRI) 提供一項服務,可讓使用者根據服務內設定的一組角色探勘規則,從資料來源 (純文字檔或 Oracle Identity Governance) 產生一組候選角色。本教學課程將示範如何在 Kubernetes 環境中部署 OIRI。
目標
完成這個實驗室時,您應該已在 Kubernetes 環境中安裝 OIRI。
- 安裝 OIRI 影像
- 建立並內建 OIRI 綱要
必要條件
在 Kubernetes 上部署 OIRI 的先決條件為:
- 從 12c 版本 2 (12.2.0.1)、企業內部部署環境或容器型開始的 Oracle Database 版本都已安裝並且執行。此外,也支援 Oracle Database 版本 18.3 和 19.3。
注意:如果您已將 OIRI 資料庫從 12.1.x 升級為 12.2.x、18c 或 19c,則應該將資料庫參數
compatible更新為 '12.2「 或更高的值。如果未完成,建立某些 OIRI 資料庫物件時將會看到ORA-00972: identifier is too long錯誤。
- 已安裝含
kubectl的 Docker 版本 19.03.11+ 和 Kubernetes 叢集 (v1.17+)。如需有關安裝 Kubernetes 叢集的資訊,請參閱 Kubernetes 文件。 - 啟用「識別稽核」的 Oracle Identity Governance 12c (組合修正程式 12.2.1.4.210428)。如需如何啟用「識別稽核」的詳細資訊,請參閱使用 Oracle Identity Governance 執行自助服務工作中的啟用識別稽核。
- NFS 掛載位置存在,用於建立永久磁碟區,此磁碟區將會在 Kubernetes 叢集節點之間使用。本教學課程的目的為
/nfs。
設定 Oracle Identity Governance (OIG) 認證
OIG 是 OIRI 生產執行處理的認證提供者。OIRI 需要設定下列 OIG 使用者和角色,以允許使用者存取 OIRI 應用程式,並啟用它以認證並發布角色至 OIG。
- OIRI 服務帳戶使用者:此使用者可讓服務為 OIRI 與 OIG 之間進行服務驗證,並用來將角色發布至 OIG。
- OIRI 應用程式使用者:此使用者用於登入 OIRI 應用程式。
- OrclOIRIRoleEngineer 角色:此角色必須指派給 OIRI 應用程式使用者,才能允許存取 OIRI 應用程式。唯有具備
OrclOIRIRoleEngineer角色的使用者能夠登入 OIRI 應用程式。
-
建立 OIRI 應用程式使用者。
建立使用者 (例如
admin) 以登入 OIRI。如需如何在 OIG 中建立使用者的詳細資訊,請參閱使用 Oracle Identity Governance 執行自助服務工作中的建立使用者。 -
建立 OIRI 角色工程師角色。
在 OIG 中建立「角色工程師」角色,並將其指派給您在上一個步驟中建立的使用者
admin。請建立此角色OrclOIRIRoleEngineer。請參閱使用 Oracle Identity Governance 執行自助服務工作中的建立角色。只有具備OrclOIRIRoleEngineer角色的使用者可以登入 OIRI 應用程式 -
建立 OIRI 服務科目使用者。
在 OIG 中建立服務帳戶,以便在 OIRI 與 OIG 之間服務認證,並且將角色發布至 OIG。
建立具備下列功能的管理員角色。
- 使用者 - 檢視 / 搜尋
- 角色 - 建立
- 存取原則 - 建立
以
Scope of Control和Organization作為Top建立此角色。建立
OIRIServiceAccountUser使用者並指派管理員角色。如需在 OIG 中建立管理員角色的資訊,請參閱使用 Oracle Identity Governance 執行自助服務工作中的建立管理員角色。
安裝 OIRI 影像
OIRI 服務由以下四個影像組成:
oiri:oiri 服務oiri-cli:指令行介面oiri-ding:資料擷取oiri-ui:使用者介面
這些影像可以從下列兩種來源之一下載:
- Oracle Software Delivery Cloud
- Oracle 容器登錄
從 My Oracle Support 安裝 OIRI 映像檔
-
尋找支援注意事項Oracle Identity and Access Management 的容器映像檔和 Oracle IDM Microservices (文件 ID 2723908.1) ,並識別 OIRI 的最新修正程式。下載修正程式檔案並擷取內容。
Archive: <patch>.zip inflating: oiri-12.2.1.4.<TAG>/oiri-12.2.1.4.<TAG>.tar inflating: oiri-12.2.1.4.<TAG>/oiri-cli-12.2.1.4.<TAG>.tar inflating: oiri-12.2.1.4.<TAG>/oiri-ding-12.2.1.4.<TAG>.tar inflating: oiri-12.2.1.4.<TAG>/oiri-ui-12.2.1.4.<TAG>.tar -
瀏覽至從 zip 檔案建立的檔案。
cd oiri-12.2.1.4.<TAG> -
將每個 tar 檔載入本機儲存庫。
docker load --input oiri-12.2.1.4.<TAG>.tar docker load --input oiri-ui-12.2.1.4.<TAG>.tar docker load --input oiri-ding-12.2.1.4.<TAG>.tar docker load --input oiri-cli-12.2.1.4.<TAG>.tar -
使用下列指令來驗證影像已載入。
docker images | grep 12.2.1.4.<TAG>輸出應類似於:
oiri-ui   12.2.1.4.<TAG>   c88384a36914   20 hours ago   568MB
oiri-ding 12.2.1.4.<TAG>   8a733b055959   20 hours ago   1.23GB
oiri-cli  12.2.1.4.<TAG>   58d75bf93160   20 hours ago   618MB
oiri      12.2.1.4.<TAG>   874276068356   20 hours ago   577MB
從 Oracle Container Registry 安裝 OIRI 映像檔
從 Oracle Container Registry 安裝映像檔時,您一開始只會下載 oiri-cli 映像檔。其他影像會依照部署命令檔的要求呼叫。
注意:Oracle Container Registry 目前僅提供 OIRI 的基礎版本。如需最新版本,請從 My Oracle Support 下載。
-
下載
oiri-cli影像。在瀏覽器中,瀏覽至 Oracle Container Registry。
按一下登入,並使用您的使用者名稱與密碼登入。
在「條款與條件」方塊中,選取「語言為英文」。按一下「繼續」和 ACCEPT「條款與條件」。
在您的 Docker 環境登入 Oracle Container Registry 時,輸入提示的 Oracle SSO 使用者名稱與密碼:
docker login container-registry.oracle.com提取
oiri-cli影像。docker pull container-registry.oracle.com/middleware/oiri-cli-12.2.1.4.<TAG> -
驗證安裝。
執行
docker images命令來顯示影像已安裝在儲存區域中:docker images | grep oiriOIRI Docker 映像檔現在已順利安裝並做好組態。
建立目錄
Kubernetes 叢集中的 OIRI 部署需要多個目錄。資料擷取和 oiri 需要 NFS 掛載點,但應設定本機目錄以產生 OIRI Helm 圖表所使用的 values.yaml。建立與下面顯示的目錄類似:
-
建立目錄。
mkdir /nfs/dingmkdir /nfs/oirimkdir -p /local/k8s/ -
設定權限。
確定為每個目錄提供寫入權限。
chmod 775 /nfs/ding /nfs/oiri /local/k8s/
執行 oiri-cli 容器
-
使用下列指令執行
oiri-cli容器。docker run -d --name oiri-cli \ -v /nfs/ding/:/app/ \ -v /nfs/oiri/:/app/oiri \ -v /local/k8s/:/app/k8s \ --group-add <group id> \ oiri-cli-12.2.1.4.<TAG> \ tail -f /dev/null注意:
<group id>是您主機上具有磁碟區存取權的群組 ID。輸出與下列類似。
docker run -d --name oiri-cli \ -v /nfs/ding/:/app/ \ -v /nfs/oiri/:/app/oiri \ -v /local/k8s/:/app/k8s \ --group-add <group id> \ oiri-cli-12.2.1.4.<TAG> \ tail -f /dev/null 430d5f4af68d87be3123fbdd77d53fb13b2b961e41243d69a3c1f367df514a84使用下列命令來驗證容器是否正在執行:
docker ps -a | grep oiri輸出與下列類似。
430d5f4af68d oiri-cli-12.2.1.4.<TAG> "tail -f /dev/null" About a minute ago Up About a minute oiri-cli
設定 Kubernetes 組態的容器存取
-
建立 OIRI 與 DING 的命名空間。
kubectl create namespace oirins namespace/oirins created kubectl create namespace dingns namespace/dingns created -
使用以下內容建立
oiri-service-account.yaml。將取代為 OIRI 命名空間,並以 DING 命名空間取代 。 apiVersion: v1kind: ServiceAccountmetadata: name: oiri-service-account namespace: <OIRINS>---apiVersion: rbac.authorization.k8s.io/v1kind: Rolemetadata: name: oiri-ns-role namespace: <OIRINS>rules:- apiGroups: ["*"] resources: ["*"] verbs: ["*"]---apiVersion: rbac.authorization.k8s.io/v1kind: Rolemetadata: name: ding-ns-role namespace: <DINGNS>rules:- apiGroups: ["*"] resources: ["*"] verbs: ["*"]---kind: ClusterRoleapiVersion: rbac.authorization.k8s.io/v1metadata: name: oiri-ingress-nginx-clusterrolerules:- apiGroups: [""] resources: ["configmaps", "endpoints", "nodes", "pods", "secrets"] verbs: ["watch", "list"]- apiGroups: [""] resourceNames: ["<OIRINS>"] resources: ["namespaces"] verbs: ["get"]- apiGroups: [""] resources: ["nodes"] verbs: ["get"]- apiGroups: [""] resources: ["services"] verbs: ["get", "list", "watch"]- apiGroups: [""] resources: ["events"] verbs: ["create", "patch"]- apiGroups: ["extensions"] resources: ["ingresses"] verbs: ["get", "list", "watch"]- apiGroups: ["extensions"] resources: ["ingresses/status"] verbs: ["update"]- apiGroups: ["networking.k8s.io"] resources: ["ingresses/status"] verbs: ["update"]- apiGroups: ["networking.k8s.io"] resources: ["ingresses", "ingressclasses"] verbs: ["get", "list", "watch"]---apiVersion: rbac.authorization.k8s.io/v1kind: ClusterRoleBindingmetadata: name: oiri-ingress-nginx-clusterrolebinding-<OIRINS>roleRef: apiGroup: rbac.authorization.k8s.io kind: ClusterRole name: oiri-ingress-nginx-clusterrolesubjects:- namespace: <OIRINS> kind: ServiceAccount name: oiri-service-account---apiVersion: rbac.authorization.k8s.io/v1kind: ClusterRoleBindingmetadata: name: oiri-clusterrolebinding-<OIRINS>roleRef: apiGroup: rbac.authorization.k8s.io kind: ClusterRole name: system:persistent-volume-provisionersubjects:- namespace: <OIRINS> kind: ServiceAccount name: oiri-service-account---apiVersion: rbac.authorization.k8s.io/v1kind: RoleBindingmetadata: name: oiri-rolebinding namespace: <OIRINS>roleRef: apiGroup: rbac.authorization.k8s.io kind: Role name: oiri-ns-rolesubjects:- namespace: <OIRINS> kind: ServiceAccount name: oiri-service-account---apiVersion: rbac.authorization.k8s.io/v1kind: RoleBindingmetadata: name: ding-rolebinding namespace: <DINGNS>roleRef: apiGroup: rbac.authorization.k8s.io kind: Role name: ding-ns-rolesubjects:- namespace: <OIRINS> kind: ServiceAccount name: oiri-service-account -
以 Kubernetes 叢集管理員身分執行下列
kubectl命令。在適當情況下,將取代為 OIRI 命名空間。 kubectl apply -f oiri-service-account.yaml TOKENNAME=`kubectl -n <OIRINS> get serviceaccount/oiri-service-account -o jsonpath='{.secrets[0].name}'` TOKEN=`kubectl -n <OIRINS> get secret $TOKENNAME -o jsonpath='{.data.token}'| base64 --decode` kubectl -n <OIRINS> get secret $TOKENNAME -o jsonpath='{.data.ca\.crt}'| base64 --decode > ca.crt -
將
ca.crt複製到 Kubernetes 本機目錄,並列出步驟 5.c 中建立的TOKEN,以共用ca.crt和TOKEN到 OIRI 安裝管理員。cp ca.crt /local/k8s echo $TOKEN eyJhbGciOiJSUzI1NiIsImtpZCI6ImpBSjd3d0puUDBPUlpxbWY2anBRclY4WElweFNka0dGSU4zQmF4ZmxhMTgifQ.eyJpc3MiOiJrdWJlcm5ldGVzL3NlcnZpY2VhY2NvdW50Iiwia3ViZXJuZXRlcy5pby9zZXJ2aWNlYWNjb3VudC9uYW1lc3BhY2UiOiJvaXJpbnMiLCJrdWJlcm5ldGVzLmlvL3NlcnZpY2VhY2NvdW50L3NlY3JldC5uYW1lIjoib2lyaS1zZXJ2aWNlLWFjY291bnQtdG9rZW4tYjU3bTQiLCJrdWJlcm5ldGVzLmlvL3NlcnZpY2VhY2NvdW50L3NlcnZpY2UtYWNjb3VudC5uYW1lIjoib2lyaS1zZXJ2aWNlLWFjY291bnQiLCJrdWJlcm5ldGVzLmlvL3NlcnZpY2VhY2NvdW50L3NlcnZpY2UtYWNjb3VudC51aWQiOiIxMjU3Y2MwMy0zZGQ3LTQzZTMtODdkYi04ZGExZjM3NTllNjAiLCJzdWIiOiJzeXN0ZW06c2VydmljZWFjY291bnQ6b2lyaW5zOm9pcmktc2VydmljZS1hY2NvdW50In0.Y8n5DPIyqrFOzRo5dtzaNdinQtwQov0RAdNbWb_DBpo1UATrHl72Re2-C7afcP-Jc19JlxS1I3CuyOAGO4-gqSa1fwK-ahNqbhHBoRKPj3o-j8fsbDEkhp_zJOxWBMBE7JgxufzJ_24LtlO6RGafcuiBdZ0vxyxVcEsPHAbNGSiMf_zO36530f6VmURy2MdzoF3fASN5hdiRnT3-7VSxF-Am7BQJnzYXhftMe7lOUW3st1WGeRi3R6dOAj3ibKvXgoA90MUearn1ibXWVkgqjuaoiMvnQQc0bopBLOsAY-s1ZGnwyYP92ulFaXdvYdyDxWXPPg4Tvjxh7gEhw-iTjg -
連線到
oiri-cli容器,然後執行下列命令。連線 :
docker exec -it oiri-cli bash執行:
touch /app/k8s/config
export KUBECONFIG=/app/k8s/config
kubectl config set-cluster oiri-cluster --server=https://<IPAddressofK8SPrimaryNode>:6443 --certificate-authority=/app/k8s/ca.crt --embed-certs=true
export TOKEN=<Token-Shared-by-Kuberetes-Admin>
kubectl config set-credentials oiri-service-account --token=$TOKEN
kubectl config set-context oiri --user=oiri-service-account --cluster=oiri-cluster
kubectl config use-context oiri
exit
起始組態檔
使用下列指令設定 OIRI 的初始組態:
注意:您可以在管理 Oracle Identity Role Intelligence 手冊中檢視所有參數的完整詳細資訊。
-
連線到
oiri-cli容器。docker exec -it oiri-cli bash -
檢視組態命令檔的說明
setupConfFiles.sh。您可以執行下列指令來檢視此程序檔的可用選項。./setupConfFiles.sh -h -
呼叫
setupConfFile.sh命令檔以執行組態檔設定。./setupConfFiles.sh -m prod \ --oigdbhost {OIG_DB_HOST} \ --oigdbport {OIG_DB_PORT} \ --oigdbsname {OIG_DB_SERVICE_NAME} \ --oiridbhost {OIRI_DB_HOST} \ --oiridbport {OIRI_DB_PORT} \ --oiridbsname {OIRI_DB_SERVICE} \ --useflatfileforetl true \ --sparkmode {SPARK_MODE} \ --dingnamespace {DING_NAMESPACE} \ --dingimage {DING_IMAGE} \ --imagepullsecret {IMAGE_PULL_SECRET} \ --k8scertificatefilename {KUBERNETES_CERTIFICATE_FILE_NAME} \ --sparkk8smasterurl {KUBERENETES_MASTER_URL} \ --oigserverurl {OIG_SERVER_URL} \例如:
./setupConfFiles.sh -m prod \
--oigdbhost oighost.example.com \
--oigdbport 1521 \
--oigdbsname oigdb.example.com \
--oiridbhost oirihost.example.com \
--oiridbport 1521 \
--oiridbsname oiridb.example.com \
--useflatfileforetl true \
--sparkmode k8s \
--dingnamespace ding \
--dingimage oiri-ding-12.2.1.4.<TAG> \
--imagepullsecret regcred \
--k8scertificatefilename ca.crt \
--sparkk8smasterurl k8s://https://12.34.56.78:6443 \
--oigserverurl http://oighost.example.com:14000 \
輸出與下列類似。
Output: INFO: OIG DB as source for ETL is true INFO: Setting up /app/data/conf/config.yaml INFO: Setting up /app/data/conf/data-ingestion-config.yaml INFO: Setting up /app/data/conf/custom-attributes.yaml INFO: Setting up /app/oiri/data/conf/application.yaml INFO: Setting up /app/oiri/data/conf/authenticationConf.yaml INFO: Setting up /app/data/conf/dbconfig.yaml注意:
--sparkk8smasterurl是內部使用的 URL,且應使用 IP 位址而非主機名稱,否則您在執行資料擷取時會看到錯誤。 -
確認已建立檔案。
檢查
/app/data/conf目錄。ls /app/data/conf/輸出應如下。
config.yaml custom-attributes.yaml data-ingestion-config.yaml dbconfig.yaml檢查
/app/oiri/data/conf目錄。ls /app/oiri/data/conf輸出應如下。
application.yaml authenticationConf.yaml
設定 Helm 圖表參數
使用下列命令設定 Helm 圖表的組態。
注意:您可以在管理 Oracle Identity Role Intelligence 手冊中檢視所有參數的完整詳細資訊。
-
連線到
oiri-cli容器。docker exec -it oiri-cli bash -
執行
values.yaml設定。./setupValuesYaml.sh \ --oiriapiimage {OIRI_API_IMAGE} \ --oirinfsserver {OIRI_NFS_SERVER} \ --oirinfsstoragepath {OIRI_NFS_PATH} \ --oirinfsstoragecapacity {OIRI_NFS_STORAGE_CAPACITY} \ --oiriuiimage {OIRI_UI_IMAGE} \ --dingimage {DING_IMAGE} \ --dingnfsserver {OIRI_NFS_SERVER} \ --dingnfsstoragepath {DING_NFS_STORAGE_PATH} \ --dingnfsstoragecapacity {DING_NFS_STORAGE_CAPACITY} \ --ingresshostname {INGRESS_HOSTNAME} \ --sslsecretname "{SSL_SECRET_NAME}"例如:
./setupValuesYaml.sh \ --oiriapiimage oiri-12.2.1.4.<TAG> \ --oirinfsserver oirihost.example.com \ --oirinfsstoragepath /nfs/oiri \ --oirinfsstoragecapacity 10Gi \ --oiriuiimage oiri-ui-12.2.1.4.<TAG> \ --dingimage oiri-ding-12.2.1.4.<TAG> \ --dingnfsserver oirihost.example.com \ --dingnfsstoragepath /nfs/ding \ --dingnfsstoragecapacity 10Gi \ --ingresshostname oirihost.example.com \ --sslsecretname "oiri-tls-cert" -
確認已建立
values.yaml檔案。ls /app/k8s/輸出應如下。
values.yaml -
結束容器
產生金鑰存放區
-
連線到
oiri-cli容器。docker exec -it oiri-cli bash -
使用
keytool建立金鑰存放區。keytool -genkeypair \ -alias <OIRI_JWT_KEY_ALIAS> \ -keypass <OIRI_KEYSTORE_PASSWORD> \ -keyalg RSA \ -keystore /app/oiri/data/keystore/keystore.jks \ -storetype pkcs12 \ -storepass <password>例如:
keytool -genkeypair -alias oii -keypass <password> -keyalg RSA -keystore /app/oiri/data/keystore/keystore.jks -storepass <password> -storetype pkcs12 What is your first and last name? [Unknown]: oiri.example.com What is the name of your organizational unit? [Unknown]: oiri What is the name of your organization? [Unknown]: example.com What is the name of your City or Locality? [Unknown]: Cambridge What is the name of your State or Province? [Unknown]: Massachusetts What is the two-letter country code for this unit? [Unknown]: US Is CN= oiri.example.com, OU=oiri, O=example.com, L=Cambridge, ST=Massachusetts, C=US correct? [no]: yes -
結束容器。
-
匯出 Oracle Identity Governance Server 憑證以進行簽章驗證。
從預設的 OIG 金鑰存放區匯出 Oracle Identity Governance Server 憑證,然後複製到
/nfs/oiri/data/keystore注意:預設的 OIG 金鑰存放區位於
OIG_ORACLE_HOME/user_projects/domains/base_domain/config/fmwconfig。cd OIG_ORACLE_HOME/user_projects/domains/base_domain/config/fmwconfigkeytool -export -rfc -alias xell -file xell.pem -keystore default-keystore.jks將檔案複製到 OIRI 金鑰存放區目錄。
cp xell.pem /nfs/oiri/data/keystore -
連線到
oiri-cli容器。docker exec -it oiri-cli bash -
將憑證匯入金鑰存放區。
keytool -import \
-alias xell \
-file /app/oiri/data/keystore/xell.pem \
-keystore /app/oiri/data/keystore/keystore.jks
建立公事包
-
連線至 OIRI 容器。
docker exec -it oiri-cli bash -
使用
oiri-cli建立公事包。oiri-cli --config=/app/data/conf/config.yaml wallet create在系統提示時提供下列參數:
- OIRI 資料庫 UserName 及密碼
- OIG 資料庫 UserName 與密碼
- OIG 服務帳戶 UserName 與密碼 (本教學課程中較早建立的
OIRIServiceAccountUser) - OIRI KeyStore 密碼
- OIRI JWT 金鑰別名和密碼
輸出與下列類似。
####### #### ######## #### ###### ## #### ## ## ## ## ## ## ## ## ## ## ## ## ## ## ## ## ## ## ## ## ## ## ######## ## ####### ## ## ## ## ## ## ## ## ## ## ## ## ## ## ## ## ## ## ## ## ## ## ####### #### ## ## #### ###### ######## #### Setting up wallet in [/app/data/wallet] DING Wallet created. Setting up wallet in [/app/oiri/data/wallet] OIRI Wallet created. -
確認 OIRI 和 DING 公事包已經建立。
ls /app/data/wallet輸出應如下。
Output:
cwallet.sso cwallet.sso.lck
ls /app/oiri/data/wallet輸出應如下。
Output:
cwallet.sso cwallet.sso.lck
建立與植入 OIRI 資料庫使用者
-
連線到
oiri-cli容器。docker exec -it oiri-cli bash -
使用
oiri-cli建立資料庫使用者。oiri-cli --config=/app/data/conf/config.yaml schema create /app/data/conf/dbconfig.yaml在系統提示時提供下列參數。
- SYS 密碼
輸出與下列類似。
####### #### ######## #### ###### ## #### ## ## ## ## ## ## ## ## ## ## ## ## ## ## ## ## ## ## ## ## ## ## ######## ## ####### ## ## ## ## ## ## ## ## ## ## ## ## ## ## ## ## ## ## ## ## ## ## ####### #### ## ## #### ###### ######## #### Creating the schema ci_oiri CREATING OIRI SCHEMA ............ =================================================== DB USER ci_oiri has been successfully created -
使用
oiri-cli植入綱要。oiri-cli --config=/app/data/conf/config.yaml schema migrate /app/data/conf/dbconfig.yaml輸出與下列類似。
#######  #### ########  ####          ######   ##       ####
##     ##  ##  ##     ##  ##          ##    ##  ##        ##
##     ##  ##  ##     ##  ##          ##        ##        ##
##     ##  ##  ########   ##  ####### ##        ##        ##
##     ##  ##  ##   ##    ##          ##        ##        ##
##     ##  ##  ##    ##   ##          ##    ##  ##        ##
 #######  #### ##     ## ####          ######   ######## ####
Migrating the OIRI schema
Migrating OIRI SCHEMA ............
===================================================
.....
OIRI Schema has been successfully migrated
驗證公事包和資料庫連線
-
連線至 OIRI 容器。
docker exec -it oiri-cli bash -
使用
verifyWallet.sh驗證公事包。./verifyWallet.sh輸出與下列類似。
 #######  #### ########  ####          ######   ##       ####
##     ##  ##  ##     ##  ##          ##    ##  ##        ##
##     ##  ##  ##     ##  ##          ##        ##        ##
##     ##  ##  ########   ##  ####### ##        ##        ##
##     ##  ##  ##   ##    ##          ##        ##        ##
##     ##  ##  ##    ##   ##          ##    ##  ##        ##
 #######  #### ##     ## ####          ######   ######## ####
Verifying Wallets. Wallet locations and entries will be validated
DING Wallet is Valid.
OIRI Wallet is Valid.
OIRI DB Connection is Valid.
OIG DB Connection is Valid.
KeyStore location and entries are Valid.
OIG Server Connection is Valid.
SUCCESS: Wallet locations and entries are valid.
安裝 OIRI Helm 圖表
-
建立 oiri 和 ding namespaces 的「映像檔提取密碼」。
kubectl create secret docker-registry regcred --docker-server=<registry_server_url> --docker-username=<registry_user> --docker-password=<registry_password> -n <oirins> kubectl create secret docker-registry regcred --docker-server=<registry_server_url> --docker-username=<registry_user> --docker-password=<registry_password> -n <dingns> -
如果您在執行
setupValuesYaml.sh時選取了-ssl/--sslenabled作為true,請設定 SSL 憑證並為憑證建立 Kubernetes 密碼。使用
openssl公用程式建立憑證。openssl req -x509 -nodes -days 365 -newkey rsa:2048 -keyout tls.key -out tls.crt -subj "/CN=<HOSTNAME>"例如:
openssl req -x509 -nodes -days 365 -newkey rsa:2048 -keyout tls.key -out tls.crt -subj "/CN=oiri.example.com" Generating a 2048 bit RSA private key ..+++ ............................+++ writing new private key to 'tls.key' -----注意:在上一個步驟中建立的憑證是自行簽署的,不應用於生產環境。在生產環境中,請在以下步驟中詳述的
create secret指令提供有效的憑證和金鑰。連線至
oiri-cli容器並建立包含先前步驟中建立之憑證的 Kubernetes 密碼。docker exec -it oiri-cli bashkubectl create secret tls oiri-tls-cert --key="tls.key" --cert="tls.crt"輸出應如下。
secret/oiri-tls-cert created -
安裝 OIRI Helm 圖表
helm install oiri /helm/oiri -f /app/k8s/values.yaml -n <oirinamespace>輸出與下列類似。
NAME: oiri
LAST DEPLOYED: Wed Apr 28 05:05:05 2021
NAMESPACE: default
STATUS: deployed
REVISION: 1
TEST SUITE: None
NOTES:
Please be patient while the chart installs. Pod may not be in running status.

To check the status of the pod, run following command.
Pods READY state must be 1/1 and status RUNNING

    kubectl get pods --namespace oiri
    kubectl get pods --namespace ding

Access OIRI UI by using following URL in your browser.

    https://100.94.12.189:30305/oiri/ui/v1/console

Admins can access DING History Server by port forwarding the ding-history pod through kubectl.

    kubectl port-forward <pod_name> <desired_port>:18080 -n ding

Inside the DING-CLI, use following commands to start data ingestion

    ding-cli --config=/app/data/conf/config.yaml data-ingestion start /app/data/conf/data-ingestion-config.yaml`
驗證安裝
檢查 OIRI Pod 是否已順利開始,以驗證安裝。Pod 執行之後,請登入 OIRI UI。
-
驗證 OIRI Pod 是否已順利啟動。
kubectl get pods --namespace oiri輸出應與下列類似:
NAME                       READY   STATUS    RESTARTS   AGE
oiri-549d5458fb-v6vjk      1/1     Running   0          2d22h
oiri-ui-7894b5b4b7-28klj   1/1     Running   0          2d22h
kubectl get pods --namespace ding輸出應與下列類似:
NAME READY STATUS RESTARTS AGE spark-history-server-85689d9545-svtvd 1/1 Running 0 2d22h -
在瀏覽器中使用下列 URL 存取 OIRI UI。
https://oirihost.example.com/oiri/ui/v1/console
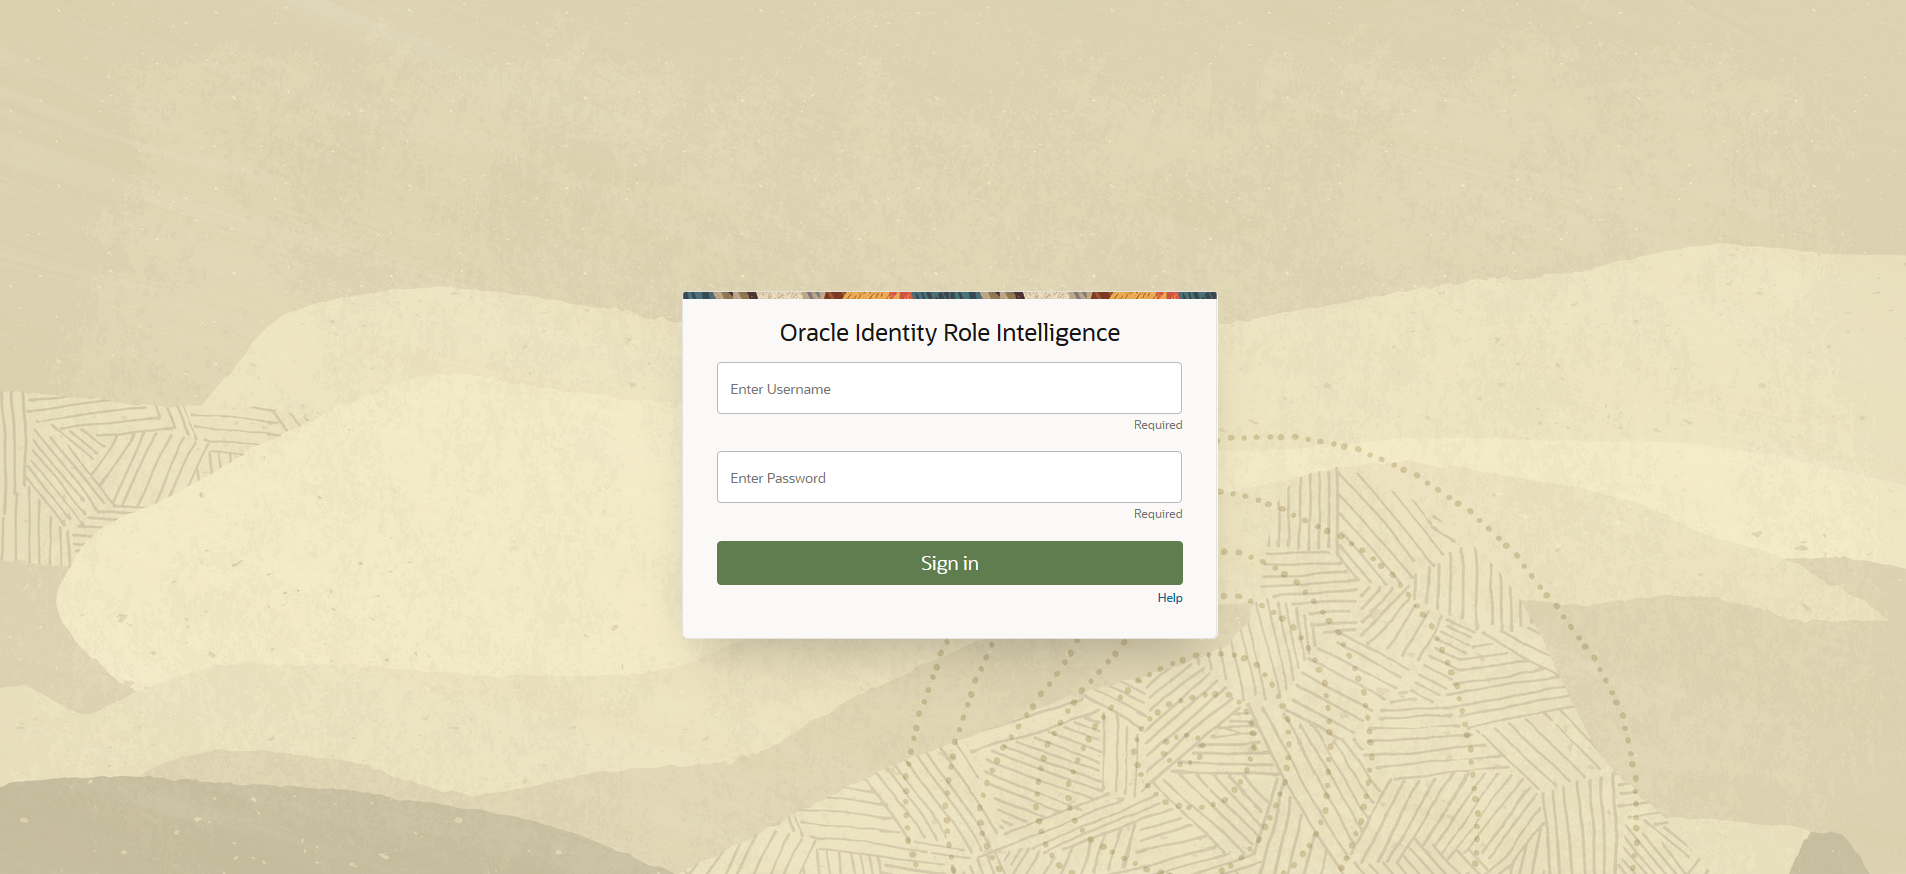
一開始您會看到 OIRI UI 登入畫面。
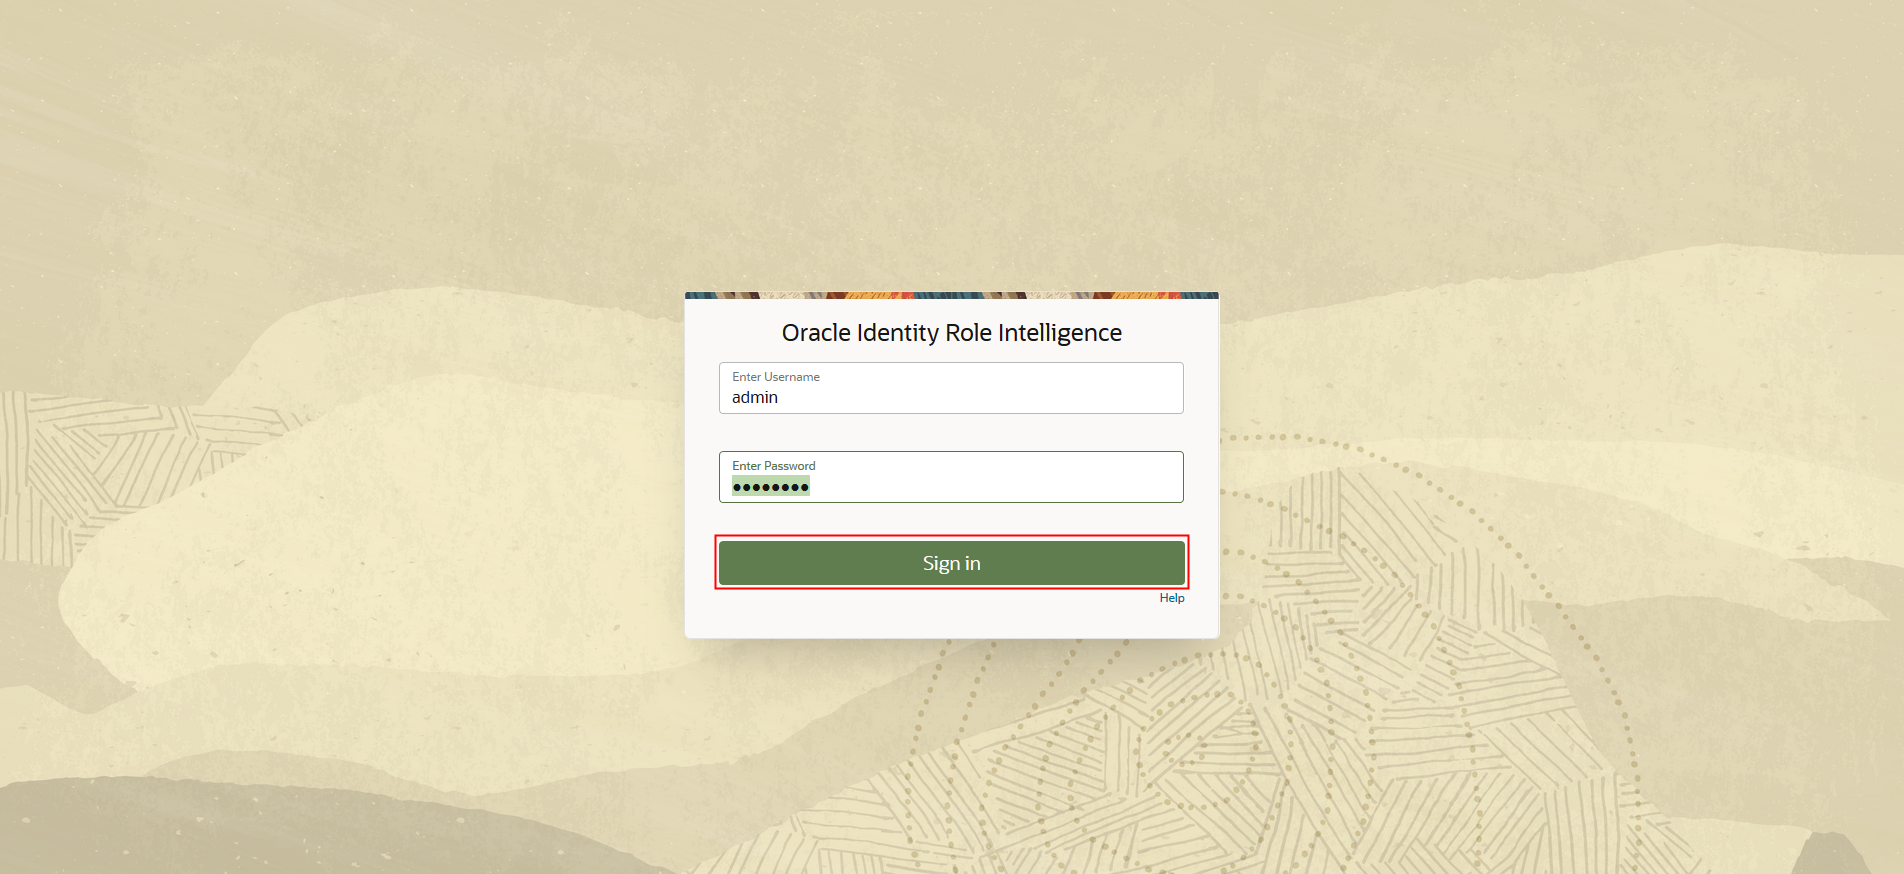
以授權的 OIG 使用者登入 。
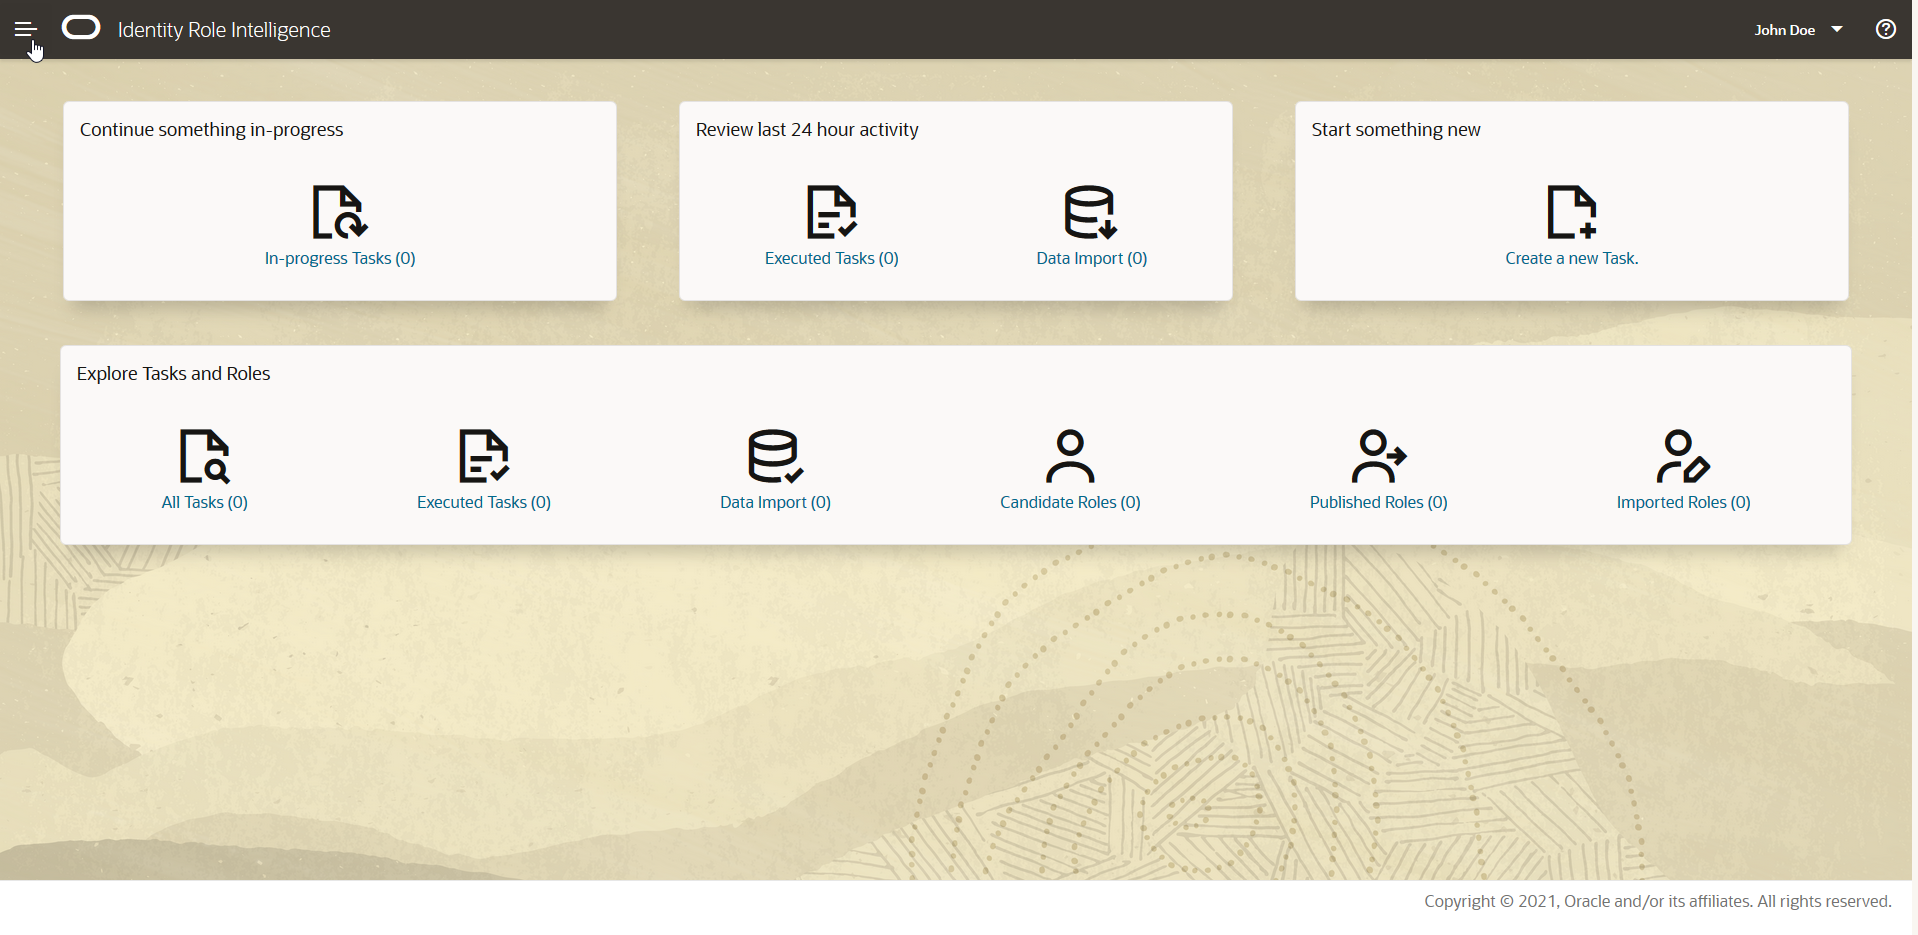
OIRI 主畫面應該如下所示:
升級 OIRI 影像
當 OIRI 影像的新建置版本釋出時,您可能需要升級容器。若要這麼做,您應該完成下列步驟。
-
移除現有的
oiri-cli容器。從主機:
docker rm -f oiri-cli -
使用新映像檔建立
oiri-cli容器。從主機:
docker run -d --name oiri-cli \
-v /nfs/ding/:/app/ \
-v /nfs/oiri/:/app/oiri \
-v /local/k8s/:/app/k8s \
{OIRI_CLI_NEW_IMAGE} \
tail -f /dev/null
輸出與下列類似。
docker run -d --name oiri-cli \ -v /nfs/ding/:/app/ \ -v /nfs/oiri/:/app/oiri \ -v /local/k8s/:/app/k8s \ oiri-cli-12.2.1.4.<TAG> \ tail -f /dev/null c78e8964d8d5445028b0b0aa4740f9fd980cbdaa5e31cd11085ac05da0d6a4a0 -
移除現有的
ding-cli容器。從主機:
docker rm -f ding-cli -
使用新映像檔建立
ding-cli容器。從主機:
docker run -d --name ding-cli \
-v /nfs/ding/:/app/ \
-v /nfs/oiri/:/app/oiri \
-v /local/k8s/:/app/k8s \
{DING_CLI_NEW_IMAGE} \
tail -f /dev/null
輸出與下列類似。
docker run -d --name ding-cli \ -v /nfs/ding/:/app/ \ -v /nfs/oiri/:/app/oiri \ -v /local/k8s/:/app/k8s \ oiri-ding-12.2.1.4.<TAG> tail -f /dev/null d47b534711ff4d27556ef57c0bd7a9ef3f9d0b12fb9f276bd053e85810374e7b -
連線到
oiri-cli容器。docker exec -it oiri-cli bash -
以最新影像更新 OIRI 組態。
在
oiri-cli容器中,發出下列命令。./updateValuesYaml.sh \ --oiriapiimage {OIRI_NEW_IMAGE} \ --oiriuiimage {OIRI_UI_NEW_IMAGE} \ --dingimage {DING_NEW_IMAGE} ./updateConfig.sh \ --dingimage {DING_NEW_IMAGE}輸出與下列類似。
./updateValuesYaml.sh \ --oiriapiimage oiri-12.2.1.4.<TAG> \ --oiriuiimage oiri-ui-12.2.1.4.<TAG>:<tag> \ --dingimage oiri-ding-12.2.1.4.<TAG> INFO: Setting up /app/k8s/values.yaml ./updateConfig.sh \ --dingimage oiri/oiri-ding:<tag> INFO: Setting up /app/data/conf/config.yaml INFO: Setting up /app/data/conf/data-ingestion-config.yaml INFO: Setting up /app/data/conf/custom-attributes.yaml INFO: Setting up /app/oiri/data/conf/application.yaml INFO: Setting up /app/oiri/data/conf/authenticationConf.yaml INFO: Setting up /app/data/conf/dbconfig.yaml -
使用新影像升級結構描述。
oiri-cli --config=/app/data/conf/config.yaml schema migrate /app/data/conf/dbconfig.yaml輸出應與下列類似:
####### #### ######## #### ###### ## #### ## ## ## ## ## ## ## ## ## ## ## ## ## ## ## ## ## ## ## ## ## ## ######## ## ####### ## ## ## ## ## ## ## ## ## ## ## ## ## ## ## ## ## ## ## ## ## ## ####### #### ## ## #### ###### ######## #### Migrating the OIRI schema Migrating OIRI SCHEMA ............ =================================================== ========== Before Migrate ============= Script:V1__RoleMining.sql Installed On:2021-04-14 15:25:56.075212 State:SUCCESS Version:1 Description:RoleMining ========== After Migrate ============= Script:V1__RoleMining.sql Installed On:2021-04-14 15:25:56.075212 State:SUCCESS Version:1 Description:RoleMining OIRI Schema has been successfully migrated -
升級 Helm 圖表以反映新的影像。
helm upgrade oiri /helm/oiri -f /app/k8s/values.yaml輸出與下列類似。
helm upgrade oiri /helm/oiri -f /app/k8s/values.yaml Release "oiri" has been upgraded. Happy Helming! NAME: oiri LAST DEPLOYED: Mon Apr 26 16:51:58 2021 NAMESPACE: default STATUS: deployed REVISION: 4 TEST SUITE: None NOTES: Please be patient while the chart installs. Pod may not be in running status. To check the status of the pod, run following command. Pods READY state must be 1/1 and status RUNNING kubectl get pods --namespace oiri kubectl get pods --namespace ding Access OIRI UI by using following URL in your browser. https://den01evo.us.oracle.com:30305/oiri/ui/v1/console Admins can access DING History Server by port forwarding the ding-history pod through kubectl. kubectl port-forward <pod_name> <desired_port>:18080 -n ding Inside the DING-CLI, use following commands to start data ingestion ding-cli --config=/app/data/conf/config.yaml data-ingestion start /app/data/conf/data-ingestion-config.yaml -
驗證 Pod 是否正在執行並使用正確的影像。
確認 OIRI Pod 正在執行中。
kubectl get pods --namespace oiri輸出應與下列類似:
NAME                     READY   STATUS    RESTARTS   AGE
oiri-677c96f67f-p6q8j    1/1     Running   0          41m
oiri-ui-f5c4df54-hrwsm   1/1     Running   0          41m
檢查每個 Pod 的
Image:值,例如:kubectl describe pod oiri-677c96f67f-p6q8j -n oiri | grep Image:輸出應與下列類似:
Image: oiri-12.2.1.4.<TAG>kubectl describe pod oiri-ui-f5c4df54-hrwsm -n oiri | grep Image:輸出應與下列類似:
Image: oiri-ui-12.2.1.4.<TAG>注意:輸出中列出的
<tag>應與您升級之最新影像的<tag>相符。為 DING pod 執行相同的作業,例如:
kubectl get pods --namespace ding
NAME                                    READY   STATUS      RESTARTS   AGE
oiri-ding-8337ee78f9845138-driver       0/1     Completed   0          4d5h
oiri-ding-baa5ce78fa1f4b2f-driver       0/1     Completed   0          4d2h
oiri-ding-c9a54178fecedd1a-driver       0/1     Completed   0          3d4h
spark-history-server-684dc84b66-jbmkg   1/1     Running     0          60m

kubectl describe pod  spark-history-server-684dc84b66-jbmkg -n ding | grep Image:
 Image:         oiri-ding-12.2.1.4.<TAG>
移除 OIRI
若要移除 OIRI,您應該視需要執行下列任務。
-
刪除 Helm 圖表。
連線到
oiri-cli容器。docker exec -it oiri-cli bash刪除 OIRI Helm 圖表。
helm delete oiri -
刪除 Kubernetes 命名空間。
已連線至
oiri-cli容器,請發出下列命令。kubectl delete namespace oiri kubectl delete namespace ding -
移除 OIRI 與 DING 容器。
結束容器時,在主機上執行以下動作。
docker rm -f oiri-cli docker rm -f ding-cli -
移除任何其他元件
移除建立以支援 OIRI 安裝的任何其他元件,例如:
- OIRI 綱要或資料庫
- 本機目錄
- NFS 目錄
相關連結
提供其他資源的連結。此區段為選擇性;若不需要,請刪除。
- https://docs-uat.us.oracle.com/en/middleware/idm/identity-role-intelligence/amiri/index.html
- 啟用身分識別稽核
致謝
- 作者 - Mike Howlett
- 提供者 - Anup Gautam,Gaurav Kumar,Rishi Agarwal,Tanmay Garg
如需產品文件,請瀏覽 Oracle Help Center。
其他學習資源
探索 docs.oracle.com/learn 上的其他實驗室,或是存取更多免費學習內容至 Oracle Learning YouTube 通道。此外,瀏覽 education.oracle.com/learning-explorer 以成為 Oracle Learning Explorer。
如需產品文件,請瀏覽 Oracle Help Center。
Deploy Oracle Identity Role Intelligence on Kubernetes
F50988-01
November 2021
Copyright © 2021, Oracle and/or its affiliates.