Release 2 (9.0.2)
Part Number A95101-01
Home |
Solution Area |
Contents |
Index |
| Oracle9i Application Server Application Developer's Guide Release 2 (9.0.2) Part Number A95101-01 |
|
To make the Employee Benefit sample application run within a portal framework, you have to make some changes to the application. The changes that you have to make are in the controller and the action handler objects. You also have to edit the links in the JSP files to make them work. The model layer (that is, the Employee and Benefit EJBs) remains the same.
Topics in this chapter:
The following figure shows how portal handles requests. This is important in understanding why you have to use APIs in the Java Portal Developer's Kit to code your links and parameters.
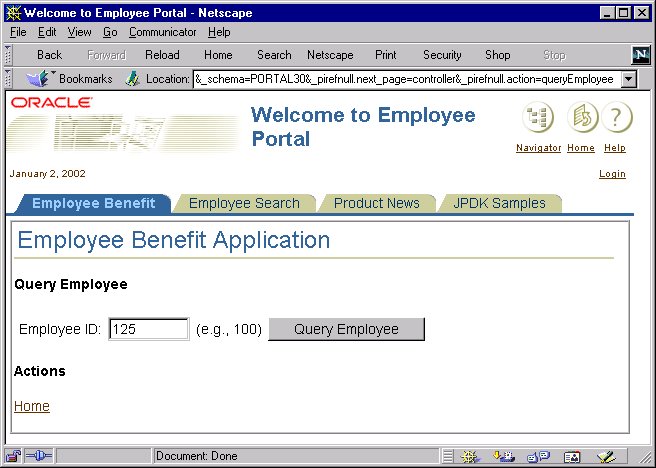
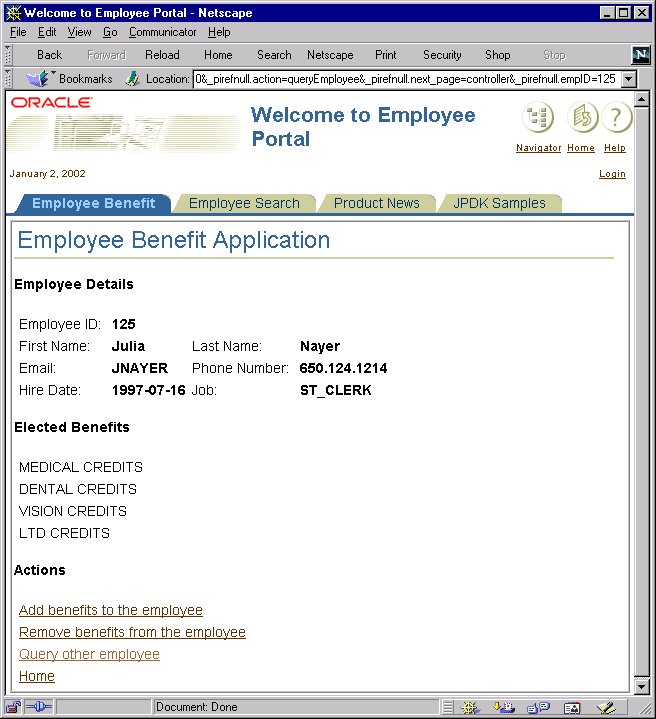
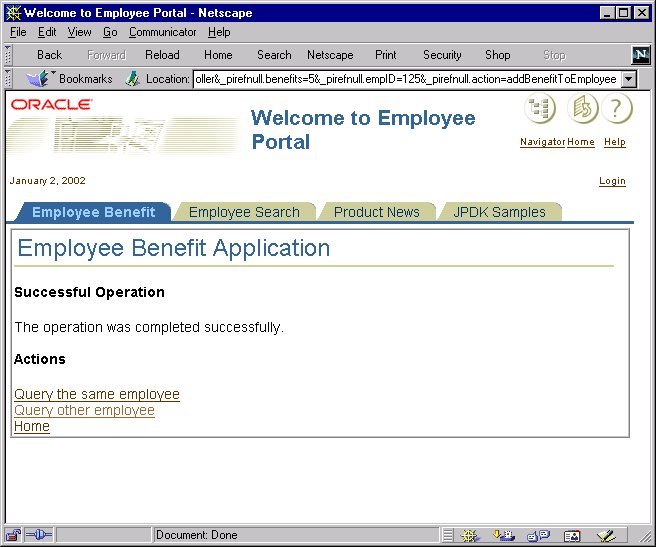
The screens for the application in a portal look the same as if the application were running outside of a portal. The only difference is that the portal pages contain tabs and icons as defined by users and administrators. Users and administrators can set up portals with different looks; see the portal documentation for details.
Figure 9-2 to Figure 9-5 show the pages of the application in a portal. You can compare these portal pages with the non-portal pages in Figure 2-1 and Figure 2-2.
Before you can run the sample application in a portal, you have to set up a few things outside the application as well as make some changes to the application itself.
You need to have a portal environment in which to run the application:
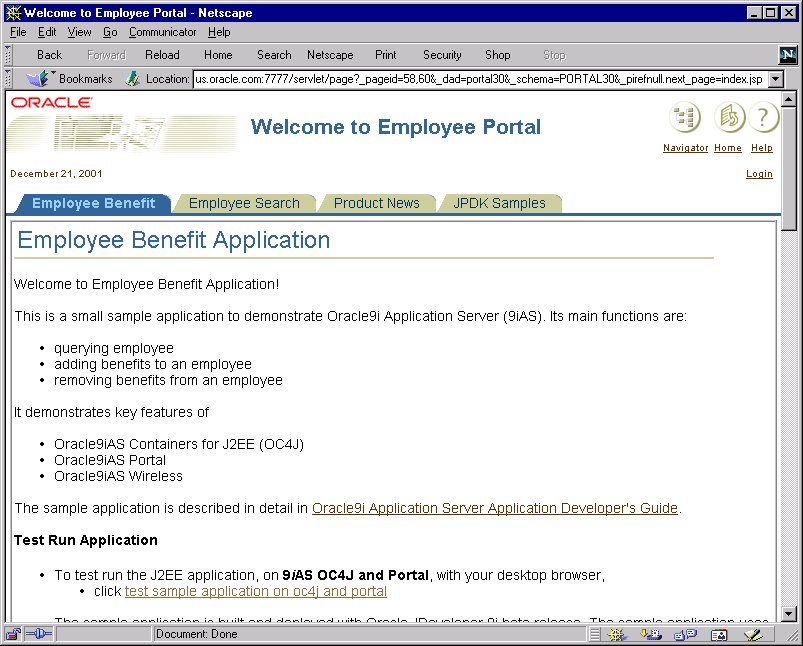
The following figure shows a sample portal page that contains the Employee Benefit application. The tabs at the top of the page take you to different pages in the portal. You can have different tabs in your portal page.
You need to add some calls to the JPDK API to make your application run in a portal environment.
See Section 9.4, "Update the Links Between Pages Within a Portlet".
See Section 9.5, "Use include instead of the forward Method".
When you need to link from one page in your application to another page within a portlet, you cannot simply specify the target page's URL in the href attribute of an <a> tag. Instead you have to do the following:
The parameterizeLink method enables you to add a query string to the link. (If you do not have a query string in your link, you can just use the absoluteLink method. See Section 9.7, "Make All Paths Absolute".)
In the Employee Benefit application, some of the places where you have to use the parameterizeLink method are:
The following files are affected: addBenefitToEmployee.jsp, removeBenefitFromEmployee.jsp, queryEmployee.jsp, error.jsp, and success.jsp.
The following example shows a link with two parameters in the query string.
// from addBenefitsToEmployees.jsp <a href="/empbft/controller?action=queryEmployee&empID=<%=empId%>">Query the same employee</a>
// from addBenefitsToEmployees.jsp <% String fAction = HttpPortletRendererUtil.portletParameter(request, SessionHelper.ACTION_PARAMETER); String fEmpId = HttpPortletRendererUtil.portletParameter(request, SessionHelper.EMP_ID_PARAMETER); %> ... <a href="<%=HttpPortletRendererUtil.parameterizeLink(request, PortletRendererUtil.PAGE_LINK, HttpPortletRendererUtil.portletParameter(request, "next_page") + "=controller" + "&" + fAction + "=queryEmployee" + "&" + fEmpId + "=" + empId)%>">Query the same employee</a>
In the example above, you may have noticed that the target of the link, which is the controller, is specified as the value of the next_page parameter. The reason for this is that requests in a portal environment are always directed to the portal. The portal then forwards the requests to providers (see Section 9.1, "How Portal Processes Requests"). For the provider to send the request to a specific target, you specify the target in the next_page parameter.
The name of the next_page parameter is specified in the provider.xml file (in the WEB-INF/providers/empbft directory in the webapp.war file). You can define the name of the parameter to be anything you want: it is the value of the pageParameterName tag.
In URLs for the application, the query string contains the next_page parameter. Portal sends the query string to the provider, which does the following:
// provider.xml
<?xml version="1.0" encoding="UTF-8" standalone="yes"?>
<?providerDefinition version="3.1"?>

<provider class="oracle.portal.provider.v2.DefaultProviderDefinition">
   <session>false</session>
   <useOldStyleHeaders>false</useOldStyleHeaders>

   <portlet class="oracle.portal.provider.v2.DefaultPortletDefinition">
      <id>1</id>
      <name>EmployeeBenefit</name>
      <title>Employee Benefit Portlet</title>
      <description>This portlet provides access to Employee Benefit
Application.</description>
      <timeout>10000</timeout>
      <timeoutMessage>Employee Benefit Portlet timed out</timeoutMessage>
      <showEdit>false</showEdit>
      <showEditDefault>false</showEditDefault>
      <showPreview>false</showPreview>
      <showDetails>false</showDetails>
      <hasHelp>false</hasHelp>
      <hasAbout>false</hasAbout>
      <acceptContentType>text/html</acceptContentType>
      <renderer class="oracle.portal.provider.v2.render.RenderManager">
         <renderContainer>true</renderContainer>
         <contentType>text/html</contentType>
         <showPage>index.jsp</showPage>
         <pageParameterName>next_page</pageParameterName>
      </renderer>
   </portlet>

</provider>
This is a special case to link to the ID page of the application. You can use this link as the first link to the application.
To create a link to the ID page and display it in the portal page, you need to use the following URL:
<%@ page import="oracle.portal.provider.v2.render.http.HttpPortletRendererUtil" %>
<%@ page import="oracle.portal.provider.v2.render.PortletRendererUtil" %>
...
<a href="<%=HttpPortletRendererUtil.parameterizeLink(request,
     PortletRendererUtil.PAGE_LINK,
     HttpPortletRendererUtil.portletParameter(request, "next_page") + "=controller")%>">
Note that the <a> tag uses JSP scriptlets. This means that this link has to be in a JSP file; it cannot be in an HTML file.
The href attribute uses JPDK APIs to ensure that the portal processes the link correctly, and that the Employee Benefit application sends the request to the controller object. This chapter explains why you have to express the link in this fashion.
After Oracle9iAS runs the JSP scriptlet, you end up with a link that looks something like:
http://<host>/servlet/page?_pageid=58,60&_dad=portal30&_schema=PORTAL30&
                     _pirefnull.next_page=controller
Call the include method instead of forward. You have to use include because the portal needs to add data from other providers. If you use forward, the portal does not have a chance to gather data from the other providers. See Figure 9-1.
RequestDispatcher rq = req.getRequestDispatcher(forward);
rq.forward(req, res);
RequestDispatcher rq = req.getRequestDispatcher(forward);
rq.include(req, res);
The only class that calls forward is the AbstractActionHandler abstract class.
Ensure that parameter names on your page do not conflict with parameter names from other pages in the portal. To protect your parameters, call the portletParameter method in the HttpPortletRendererUtil class to ensure that your parameters have unique names. The method prefixes parameter names with a unique string for each application; this enables applications to use the same parameter name safely.
By using the method, you ensure that your applications on the portal page read only their parameters and not parameters from other applications.
You have to use the method to protect all your field names in your HTML forms. You have to do this when retrieving and setting values for the fields.
The following files are affected: AddBenefitToEmployee.java, Controller.java, QueryEmployee.java, RemoveBenefitFromEmployee.java, addBenefitToEmployee.jsp, removeBenefitFromEmployee.jsp, queryEmployee.jsp, error.jsp, and success.jsp.
When you use the methods to protect the parameters, the links look something like the following:
http://<host>/servlet/page?_pageid=58%2C60&_dad=portal30&_schema=PORTAL30&
_pirefnull.action=addBenefitToEmployee&_pirefnull.next_page=controller&
_pirefnull.empID=125
http://<host>/servlet/page?_pageid=58%2C60&_dad=portal30&_schema=PORTAL30&
_pirefnull.action=removeBenefitFromEmployee&
_pirefnull.next_page=controller&_pirefnull.empID=125
http://<host>/servlet/page?_pageid=58%2C60&_dad=portal30&_schema=PORTAL30&
_pirefnull.action=queryEmployee&_pirefnull.next_page=controller&
_pirefnull.empID=125
The parameters used by the application are prefixed with _pirefnull. The other parameters in the URL are required by portal. Note also that the URL does not point to the controller directly. Instead it uses the _pirefnull.next_page parameter to indicate that the controller should handle the request. See Section 9.4.2, "The next_page Parameter" for details.
The following example retrieves the values of two parameters.
// from AddBenefitToEmployee.java
String benefits[] = req.getParameterValues(SessionHelper.BENEFIT_PARAMETER);
String client = req.getParameter(SessionHelper.CLIENT_TYPE_PARAMETER);
// from AddBenefitToEmployee.java
import oracle.portal.provider.v2.render.http.HttpPortletRendererUtil;
...
String fBenefits = HttpPortletRendererUtil.portletParameter(req,
                   SessionHelper.BENEFIT_PARAMETER);
String benefits[] = req.getParameterValues(fBenefits);
String fClient = HttpPortletRendererUtil.portletParameter(req,
                 SessionHelper.CLIENT_TYPE_PARAMETER);
String client = req.getParameter(fClient);
If your parameter is a form element (for example, a checkbox or a hidden element), you have to call the portletParameter method to protect the name before you can use it. The following example shows how to set the BENEFIT_PARAMETER in a form:
// from addBenefitsToEmployees.jsp
String fBenefits = HttpPortletRendererUtil.portletParameter(
                       request, SessionHelper.BENEFIT_PARAMETER);
<form ... >
...
<input type="checkbox" name="<%=fBenefits%>" value="<%=b.getId()%>">
Make all URL paths absolute paths using the absoluteLink or the htmlFormActionLink method in the HttpPortalRendererUtil class, depending on the HTML tag.
You cannot use paths relative to the current page because Oracle9iAS sends requests to portal first, and portal sends requests to providers. See Figure 9-1. When providers get the requests, the current path is the portal, not to the current page. By using absolute paths, you ensure that the provider can find the proper object.
The following files are affected: addBenefitToEmployee.jsp, removeBenefitFromEmployee.jsp, queryEmployee.jsp, error.jsp, and success.jsp.
Use the absoluteLink method to qualify paths in <a> and <link> tags.
// from addBenefitToEmployee.jsp
<link rel="stylesheet" type="text/css" href="css/blaf.css">
// from addBenefitToEmployee.jsp
<link rel="stylesheet" type="text/css"
  href="<%= HttpPortletRendererUtil.absoluteLink(request,
                       "./css/blaf.css")%>"
>
Use the htmlFormActionLink method to qualify paths in the <form> tag.
// from addBenefitToEmployee.jsp
<form method="GET" action="/empbft/controller">
// from addBenefitToEmployee.jsp
<form method="GET"
  action="<%=HttpPortletRendererUtil.htmlFormActionLink(request,
                            PortletRendererUtil.PAGE_LINK)%>">
<%=HttpPortletRendererUtil.htmlFormHiddenFields(request,
                            PortletRendererUtil.PAGE_LINK)%>
<input type="hidden"
  name="<%=HttpPortletRendererUtil.portletParameter(request, "next_page")%>"
  value="controller">
Note that in the portal version the action attribute does not point to the controller. Instead, it points to the portal. The actual target for the form is specified in a hidden field called next_page. The value of the hidden field specifies the target. See Section 9.4.2, "The next_page Parameter" for details.
When you use forms, you need to include additional parameters such as _dad and _schema. These parameters are needed by portal. To include these parameters, you can use the htmlFormHiddenFields method.
|
|
 Copyright © 2002 Oracle Corporation. All Rights Reserved. |
|