17.10 Viewing Exalogic Compute Nodes
To view Exalogic compute nodes, do the following:
-
On the left navigation pane, under Assets, from the drop-down list, select the All User Defined Groups option.
-
Select the
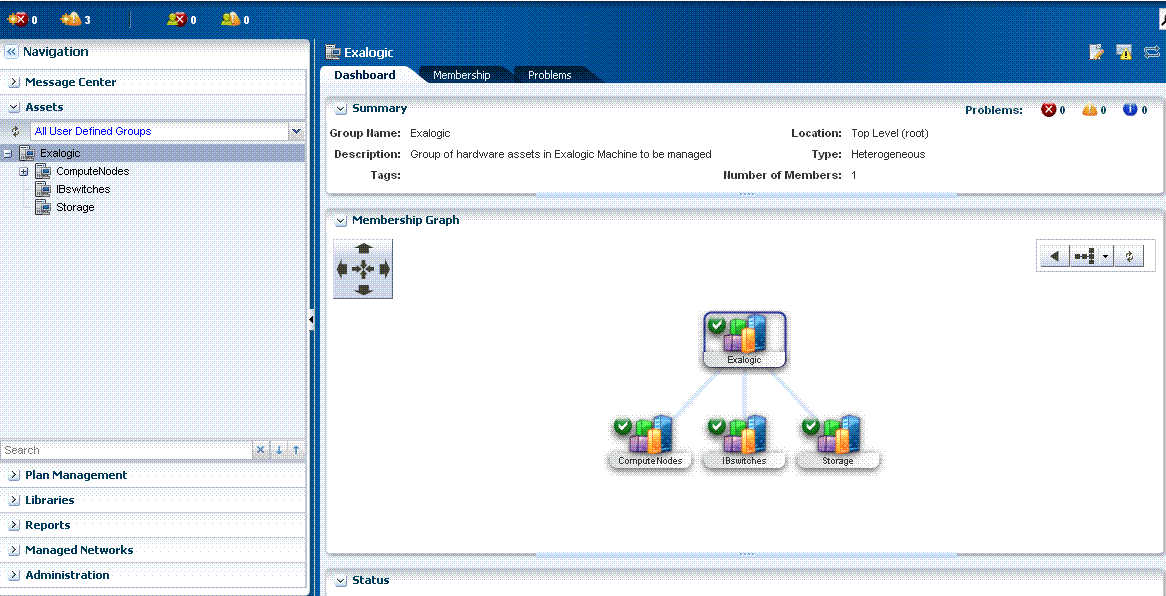
Exalogictop-level group. The Exalogic group page is displayed, as in Figure 17-9. -
On the left navigation pane, select a particular compute node under the
ComputeNodessub-group to view information about that compute node. -
Click the Hardware tab to view detailed information about that compute node. This information includes CPU, memory, network adapter, disk, power supply, and fan tray (fan). For example, see Figure 17-10.
Figure 17-10 Compute Node Hardware Information

Description of "Figure 17-10 Compute Node Hardware Information" -
Review this information to verify that the configuration corresponds to the compute node configuration in your Exalogic machine.
-
If you wish to launch the Service Processor (SP) console from within this screen, click the Console tab. If your console connection is not enabled, enable it by clicking the Enable the Console Connection icon.
-
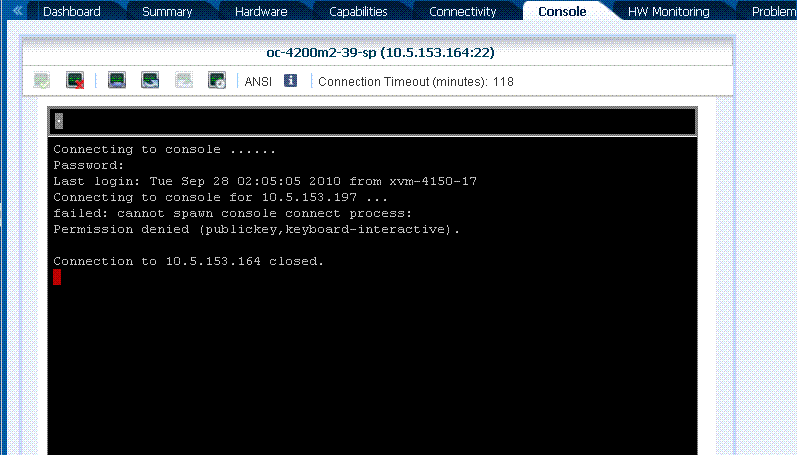
Click the Connect to the Console icon. The SP console for the selected compute node is launched, as shown in Figure 17-11.
Figure 17-11 Launching Service Processor Console

Description of "Figure 17-11 Launching Service Processor Console" -
On the right navigation pane named Actions, click the Launch LOM Controller option to verify that the Sun Integrated Lights Out Manager (ILOM) web interface for the compute node can be launched.
