Release 2 (9.0.2) for AIX-Based Systems, Compaq Tru64 UNIX, HP 9000 Series HP-UX, and Linux Intel
Part Number A95258-03
Home |
Contents |
Index |
| Oracle9i Application Server Installation Guide Release 2 (9.0.2) for AIX-Based Systems, Compaq Tru64 UNIX, HP 9000 Series HP-UX, and Linux Intel Part Number A95258-03 |
|
This chapter describes the deinstallation and reinstallation process for Oracle9i Application Server (Oracle9iAS). It contains the following sections:
The following steps guide you through the deinstallation process of Oracle9iAS.
In order to successfully deinstall Oracle9iAS from your host, Oracle Corporation recommends deinstalling all secondary (or subsequent) Oracle9iAS installations before you deinstall the primary (or first) installation.
To deinstall Oracle9iAS using Oracle Universal Installer:
After the Oracle Universal Installer is started, the Welcome screen appears. Click Deinstall Products.
The Welcome screen provides information about Oracle Universal Installer.
The installer provides you with two ways to deinstall products:

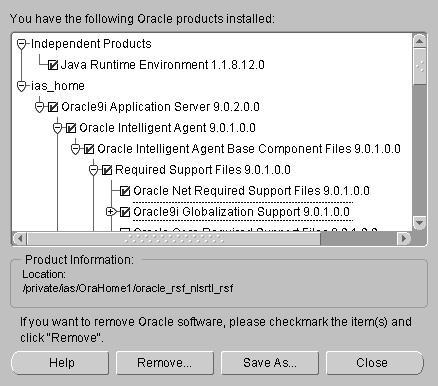
The Inventory screen appears when you click Deinstall Products on the Welcome screen, or Installed Products on any screen.
The Inventory screen displays all the components installed in Oracle home.
The following buttons and product information appear on the Inventory screen:

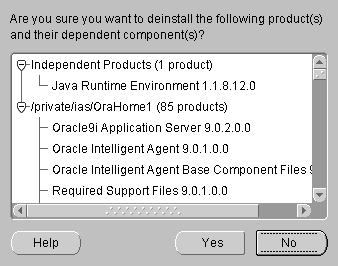
The Confirmation screen lists all the components selected for deinstallation in the previous step. Scroll down the screen to verify selected components.
The following buttons appear on the Confirmation screen:

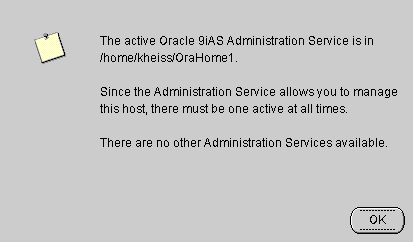
This screen presents one of the following messages:
/private/OraHome1. There are no other Administration Services available.
This message appears when there is only one Oracle9iAS installation on the host and you are about to deinstall it.
/private/OraHome1. You may select one of the Administration Services below to become the active one.
This message appears when there are multiple Oracle9iAS installations on the host and you are about to deinstall the primary installation. You must select one of the remaining Oracle9iAS installations which will then become the primary installation and the new location for the Oracle9iAS Administration Service.
The Remove Progress Bar screen appears when you click Remove. The installer detects all components chosen for deinstallation from the Inventory screen and removes them from Oracle home.
Oracle Universal Installer does not allow reinstallation of Oracle9iAS over an installed version. To reinstall Oracle9iAS over the same version, deinstall and then install the product.
|
|
 Copyright © 2002 Oracle Corporation. All Rights Reserved. |
|