Skip Headers

Oracle Application Server InterConnect Adapter for J.D. Edwards OneWorld XE Installation and User's Guide
10g (9.0.4)

Part Number B10418-01
Go To Documentation Library
Home
Go To Product List
Solution Area
Go To Table Of Contents
Contents
Go To Index
Index

Go to previous page Go to next page

3
Supported J.D. Edwards Interfaces

J.D. Edwards OneWorld XE Adapter is a software application allowing organizations to maintain a single source for customer information. Using the J.D. Edwards OneWorld XE adapter, an organization can facilitate the sales and marketing forces by combining all customer information into one source. This source can be accessed using multiple channels. A field sales person can consult the Web, the company call center, or any number of networks to access information needed for a customer.

This chapter discusses the following topics:

Using the J.D. Edwards OneWorld XE Adapter

J.D. Edwards OneWorld XE adapter allows OracleAS InterConnect users to browse the J.D. Edwards business functions, create events and procedures in iStudio, and execute the business functions.

Creating an Implemented Procedure

To create an implemented procedure using iStudio:
  1. Start iStudio.

  2. Open your project.

  3. Expand your project.

  4. Expand the Applications folder.

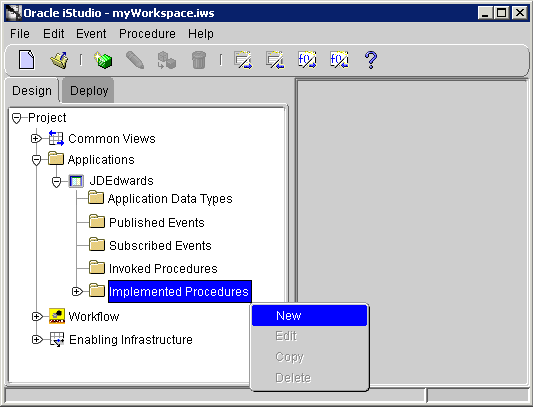
  5. Right-click Implemented Procedures and select New.

    Figure 3-1 Creating an Implemented Procedure

    Text description of newimpproc.gif follows.

    Text description of the illustration newimpproc.gif

    The Implement Wizard--Select a Procedure dialog displays.
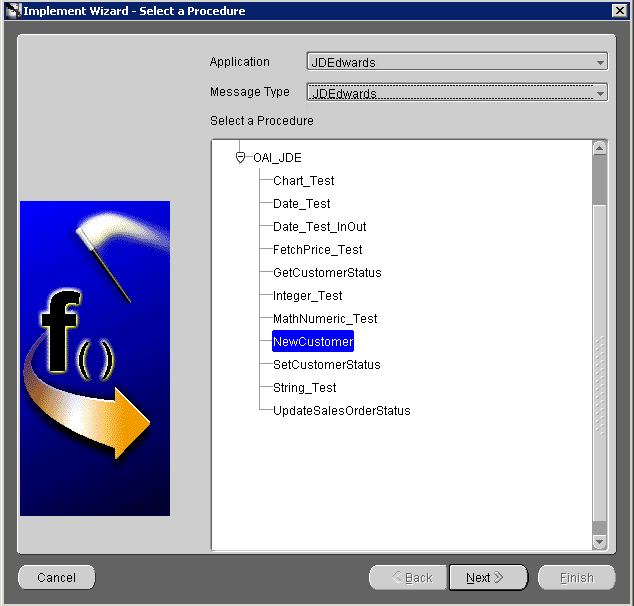
    Figure 3-2 Selecting a Procedure

    Text description of impselaproc.gif follows.

    Text description of the illustration impselaproc.gif

  6. Select the Application and Message Type from the dropdown menu.

  7. Select a procedure and click Next.

    The Implement Wizard--Define Application View dialog displays.
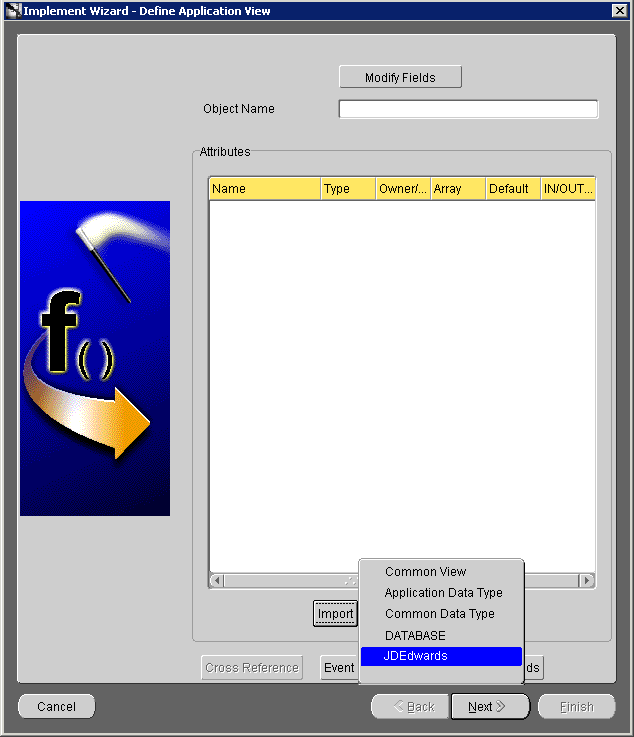
    Figure 3-3 Defining the Application View - Importing J.D. Edwards

    Text description of impsubwiz.gif follows.

    Text description of the illustration impsubwiz.gif

  8. Import attributes from J.D. Edwards.

    If this is the initial login for this machine, you must log in to J.D. Edwards.

    If this machine has been previously logged in to J.D. Edwards, enter the password on the JDE Login dialog and click OK.

    After logging in to J.D. Edwards and importing attributes, the Define Application View dialog is populated with the selected component and attributes.
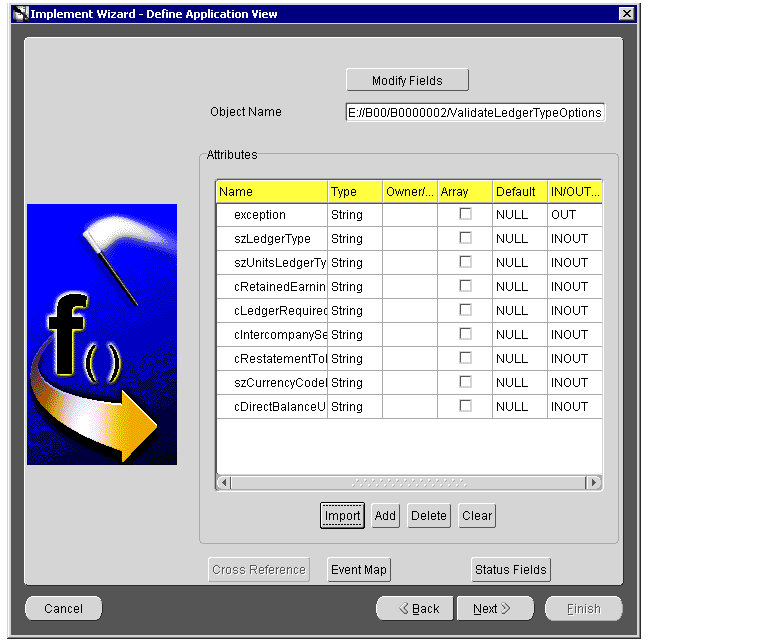
    Figure 3-4 Populated Define Application View

    Text description of supportedinterfaces6.gif follows

    Text description of the illustration supportedinterfaces6.gif

  9. Click Next to defining the mappings.

Importing Attributes from J.D. Edwards

When you use iStudio to import attributes from J.D. Edwards, you must first log into J.D. Edwards OneWorld XE adapter. When logging into J.D. Edwards from iStudio, the login fields automatically populate, leaving the Password field the only field that requires input.

To import attributes from J.D. Edwards:

  1. Click Import on the Define Application View dialog and select J.D. Edwards.

    The JDE Login dialog displays.

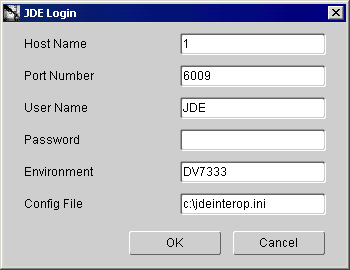
    Figure 3-5 J. D. Edwards Login Dialog

    Text description of islogin.gif follows.

    Text description of the illustration islogin.gif

    The first time you log in from a new workstation, you are required to enter information in every field that is required for your setup. Every subsequent login from that workstation only requires a password to log in. For every iStudio session, only one login is required.

  2. Enter information in the following fields:

    • Host Name--The host server name.

    • Port Number--The port number that will exchange data.

    • User Name--The user name.

    • Password--The password for the user that is accessing this information.

    • Environment--The environment variables.

    • Config File--The directory containing the configuration file. This should point to ...\oai\9.0.4\JDE\jdeinterop.ini.

  3. Click OK.

    The Component Selector dialog displays.

    When a component is made to J.D. Edwards OneWorld, parameters are passed to the connection object (User, Password, Environment) and an instance of the J.D. Edwards OneWorld Application bussiness function is returned. These credentials are further defined by the name of the Enterprise /Application server, and the defined TCP/IP port the serice listens on.
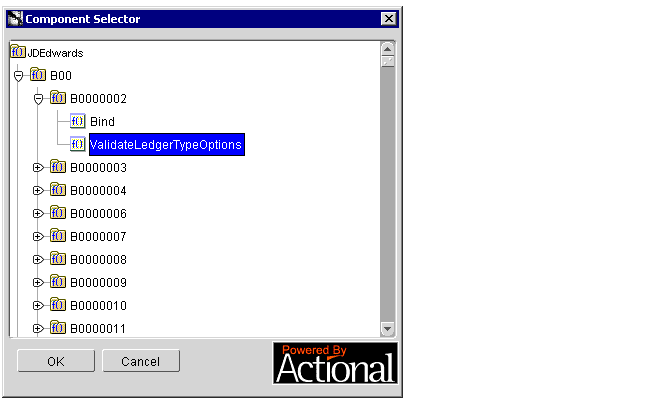
    Figure 3-6 Component Selector Dialog

    Text description of supportedinterfaces3.gif follows

    Text description of the illustration supportedinterfaces3.gif

  4. Expand the JDEdwards tree and select the node where your component is located.

  5. Click OK.

Creating a Subscribed Event

To create a Subscribed Event:

  1. Start iStudio.

  2. Open and expand your Project.

  3. Expand the Applications folder.

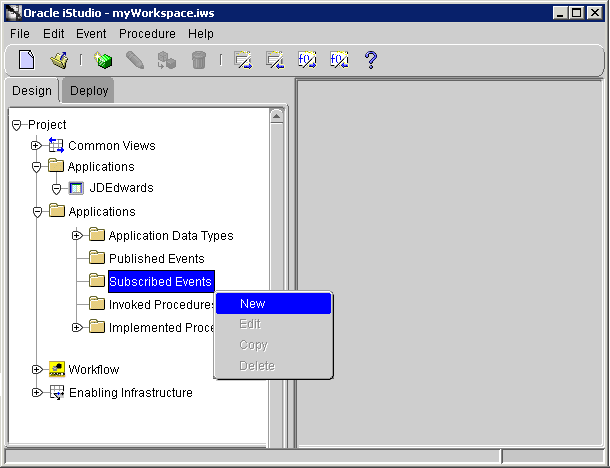
  4. Right-click Subscribed Events and select New.

    Figure 3-7 Creating a New Subscribed Event

    Text description of newsubproc.gif follows.

    Text description of the illustration newsubproc.gif

    The Subscribe Wizard--Select an Event dialog displays.
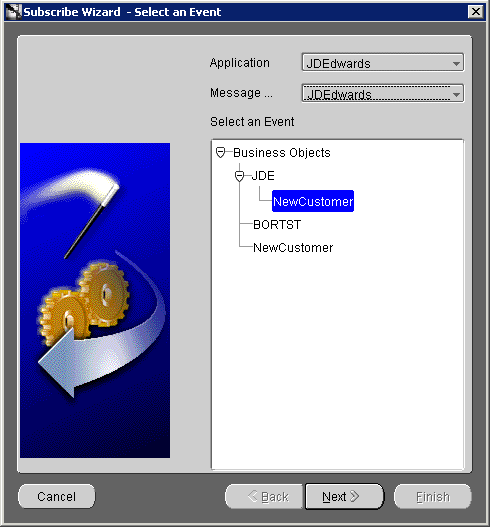
    Figure 3-8 Selecting an Event Dialog

    Text description of subselevent.gif follows.

    Text description of the illustration subselevent.gif

  5. Select the Application and Message Type from the dropdown menus.

  6. Select an event dialog and click Next.

    The Define Application View dialog displays.
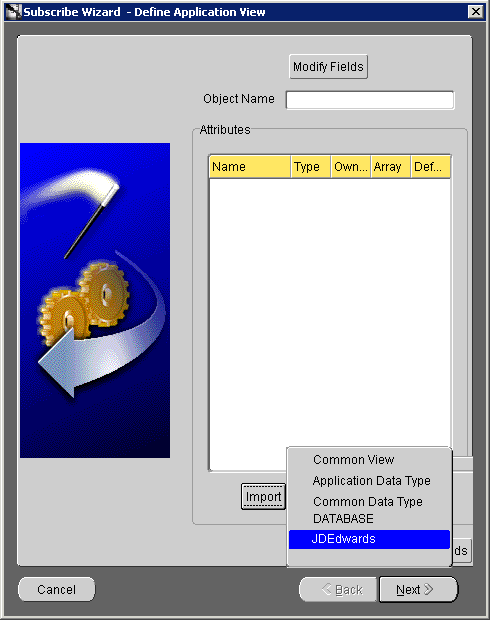
    Figure 3-9 Defining the Application View - Importing J. D. Edwards

    Text description of subsubwiz.gif follows.

    Text description of the illustration subsubwiz.gif

  7. Import attributes from J.D. Edwards.

    If this is the initial login for this machine, you must log in to J.D. Edwards.

    If this machine has been previously logged in to J.D. Edwards, enter the password on the JDE Login dialog and click OK.

    After logging in to J.D. Edwards and importing attributes, the Define Application View dialog is populated with the selected component and attributes.
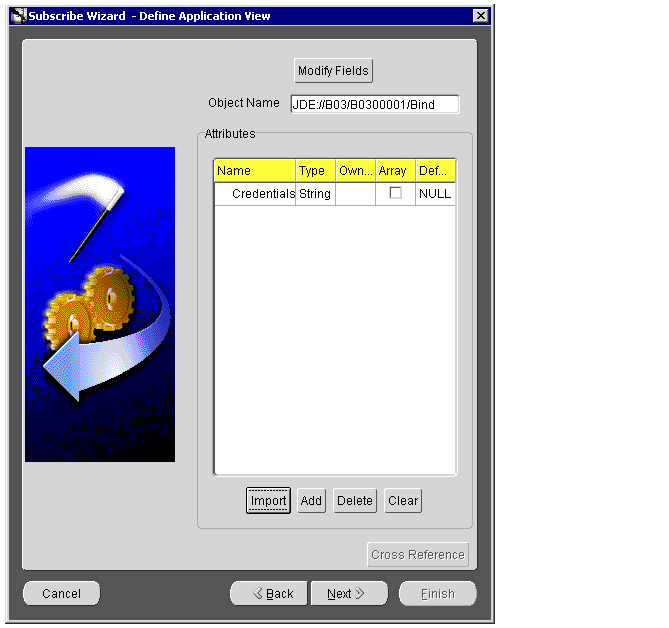
    Figure 3-10 Populated Subscribed Wizard - Define Application View

    Text description of supportedinterfaces4.gif follows

    Text description of the illustration supportedinterfaces4.gif

  8. Click Next.

  9. Click New to define the mappings, and click Finish.

    The newly populated event displays in the right panel of iStudio.


Go to previous page Go to next page
Oracle
Copyright © 2002, 2003 Oracle Corporation.

All Rights Reserved.
Go To Documentation Library
Home
Go To Product List
Solution Area
Go To Table Of Contents
Contents
Go To Index
Index