10g (9.0.4)
Part Number B10419-01
Home |
Solution Area |
Contents |
Index |
| Oracle Application Server InterConnect Adapter for PeopleSoft 8 Installation and User's Guide 10g (9.0.4) Part Number B10419-01 |
|
This chapter provides information for importing the custom Component Interface. This chapter discusses the following topic:
To utilize the PeopleSoft 8 adapter, a modification to the PeopleSoft server is required. The custom component, GET_CI_INFO, must be imported into PeopleSoft. Once the custom Component Interface is imported, Component Interfaces can be browsed within PeopleSoft. This task is only required on the initial setup to use OracleAS InterConnect.
The following instructions explain how to manually import the custom Component Interface, which will allow you to browse Component Interfaces within PeopleSoft 8.
The following steps provide a brief overview from a PeopleSoft application.
From the Application Designer:
For example, select Application Server from the drop down list.
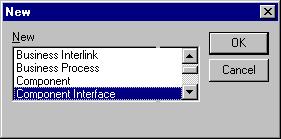
The New dialog box is displayed.

A list of Component Interfaces is displayed.
SIMPLECALENDAR and click Select.
The custom methods to be installed do not use any properties of the Component Interface.
A component is loaded into the screen.
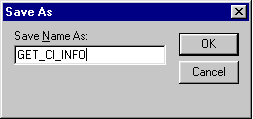
GET_CI_INFO in the Save Name As field and click OK.

A popup menu appears.
A text editor window is displayed.
<install_directory>\config\PeopleSoft\ directory and copy the contents of get_ci_info.pc into the text editor window.
GET_CI_INFO.
After importing the custom GET_CI_INFO PeopleSoft Component Interface on PeopleSoft, set the security settings for the GetCINamespace, GetDetails, and GetCollections methods for OracleAS InterConnect.
In the Application Designer:
The Maintain Security dialog box is displayed.
The Update/Display -- Permission Lists dialog box is displayed.
ALLPNLS, and click OK.
To retrieve a list of possible permission lists, click OK.
Click On This Row To Enter Data.
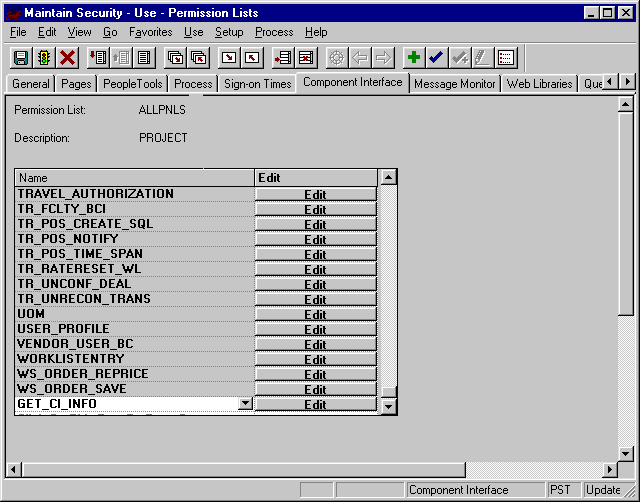
GET_CI_INFO to add a new Component Interface in the Maintain Security - Use - Permission Lists dialog.

A dialog box containing the permissions for this Component Interface is displayed.
The PeopleSoft server is set up. You can now browse PeopleSoft containing Component Interfaces.
|
|
 Copyright © 2002, 2003 Oracle Corporation. All Rights Reserved. |
|