3
Modeling Interactions for Oracle Application Server Integration Adapter for Tuxedo
Modeling interactions for Oracle Application Server Integration Adapter for Tuxedo involves defining an Oracle Connect for Tuxedo backend adapter using Oracle Studio. All the definitions specified in Oracle Studio are written to the platform where the Tuxedo workstation runs.
This chapter contains the following sections:
Setting Up Oracle Connect for Tuxedo
To work with the Oracle Connect for Tuxedo, you need to set up an adapter definition on the platform where the Tuxedo workstation runs to handle the interactions to and from a Tuxedo service. You use Oracle Studio to specify these definitions.
Task: Setting Up the Backend Adapter
- On the machine where Oracle Studio is installed, from the Start menu, choose Start > Programs > Oracle > Studio > Studio.
- In the Configuration Explorer, click the + next to the machine defined in "Configuring Oracle Connect for Tuxedo".
- Click the + next to the Bindings node. The binding configurations available on this machine are listed.
- Click the + next to the NAV binding node. The NAV binding configuration includes branches for data sources and adapters that are located on the machine.
Caution:
You must not delete the NAV binding configuration since it also contains Oracle Connect for Tuxedo system settings.
|
- Right-click Adapters and choose New Adapter from the popup menu, to open the New Adapter wizard.
- Enter a name for the backend adapter.
Note:
The name specified for the backend adapter is also the name specified setting up the delivery channel in Oracle Application Server ProcessConnect. For details see, "Setting Up the Delivery Channel".
|
Note:
The word event is a reserved word and cannot be used when naming an adapter.
|
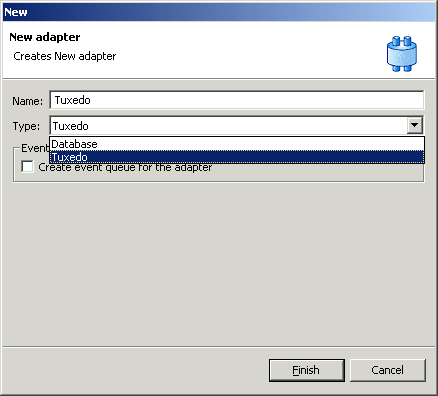
- Select
Tuxedo as the backend adapter type from the Type drop-down list:
Text description of the illustration 35a.gif
- Check the Create event queue for the adapter checkbox.
- Click Finish. The backend adapter is added to the tree and the definition opened for editing.
Generating Outbound Interactions
Oracle Connect for Tuxedo requires metadata describing the adapter interactions, including the structures used to pass information to and from the adapter.
Use the Metadata perspective in Oracle Studio to generate interaction metadata.
Task 1: Defining an Import Procedure
- On the machine where Oracle Studio is installed, from the Start menu, choose Start > Programs > Oracle > Studio > Studio.
- In the Configuration Explorer, click the + next to the machine defined in "Configuring Oracle Connect for Tuxedo".
- Click the + next to the Bindings node. The binding configurations available on this machine are listed.
- Click the + next to the NAV binding node.
- Click the + next to the Adapters node.
- Right-click the Tuxedo backend adapter defined in "Setting Up Oracle Connect for Tuxedo".
- Choose Import from the popup menu, to open the Metadata Import perspective, with the Tuxedo backend adapter displayed under the Adapters list.
- Right-click the Tuxedo backend adapter and choose New Import from the popup menu, to open the New Metadata Import wizard.
- Enter a name for the import. The name can contain letters and numbers and the underscore character only.
- Select the metadata import type. You can import the metadata either from a BEA Jolt file or from Tuxedo record definition files (FML or VIEW files).
Note:
Jolt files are files where definitions of Tuxedo services are bulked into one file along with the metadata using the BEA Jolt Bulk Loader. FML and VIEW files are metadata files used by Tuxedo in conjunction with a configuration file that includes the Tuxedo services.
|
For Jolt files, select Tuxedo Import Manager Using Jolt Bulk Loader File. For FML or VIEW files, select Import Manager Using VIEW Files.
- Click Finish. The metadata import wizard opens in Oracle Studio.
Task 2: Generating Outbound Interactions
After defining an import as described in the preceding task, the metadata import wizard opens in Oracle Studio. The input files are used to create the metadata. The import wizard generates record structures, which are used for the input and resulting output for outbound interactions. The following options are available:
Generating Outbound Interactions Using a Jolt File
A Jolt file is used to generate record structures, which are used for the input and resulting output for outbound interactions. The import wizard opens with a panel where you specify the Jolt file to use.

Text description of the illustration 17.gif
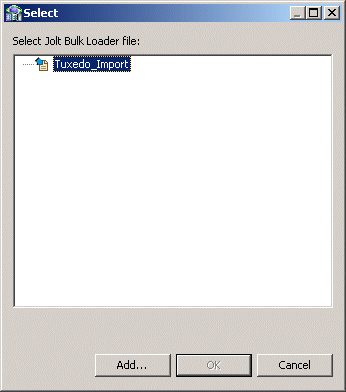
- Click Add to add the Jolt file.
A Select window opens. This window lists any files selected.
Text description of the illustration ftpa.gif
- Click Add.
The Add Resource window opens, which provides the option to select files from the local machine or FTP the files from another machine.

Text description of the illustration 18.gif
- If the files are on another machine, select the Import resource from remote machine option to start a file transfer process from the machine.
- Click Next to open the File Transfer wizard.

Text description of the illustration 19.gif
- Enter the server name where the Tuxedo workstation resides and, if not using anonymous access, enter a username and password to access the machine.
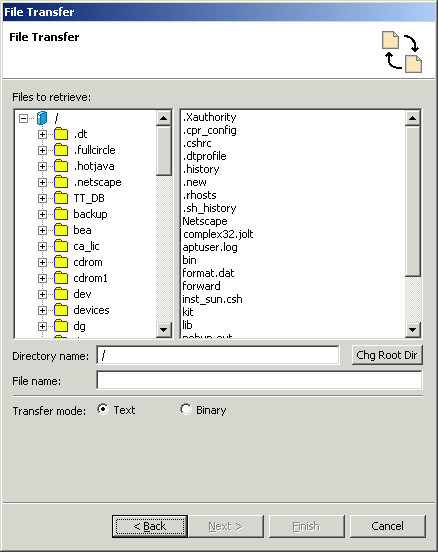
- Click Next. The machine is accessed and the directory structure displayed, enabling you to browse to the files to be transferred.
Text description of the illustration 20a.gif
To change the root directory, enter the name of the root directory in the Directory name field and click Chg Root Dir.
- Click Next. A summary screen is displayed with details of what is going to be transferred.
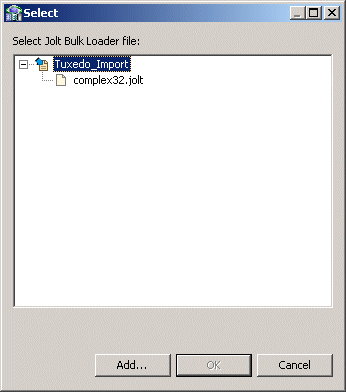
- Click Finish to start the transfer. The Select window is redisplayed with the list of transferred files.
Text description of the illustration 21a.gif
- Select the file you want to use in the import and click OK.
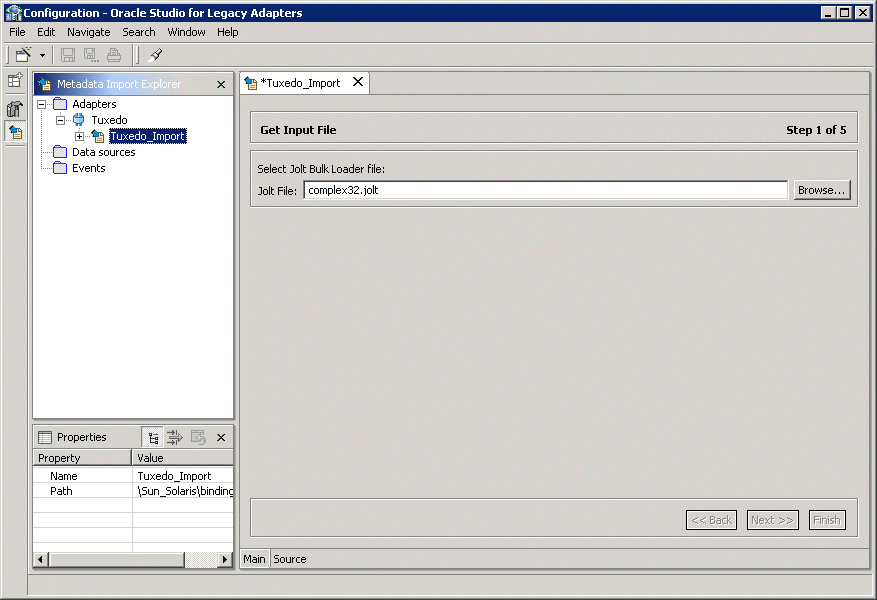
Text description of the illustration 22a.gif
- Click Next. The Apply Filters window opens.
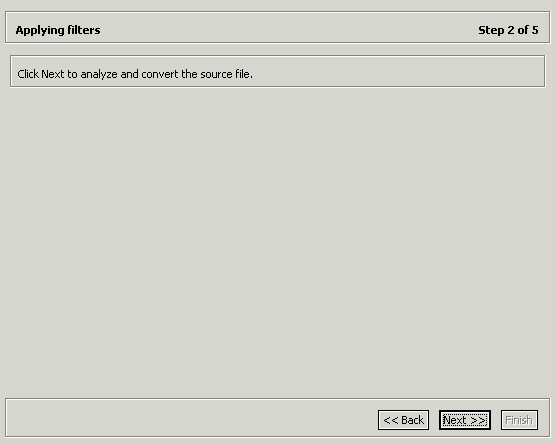
Text description of the illustration 24a.gif
- Click Next. The Select Interactions window opens.
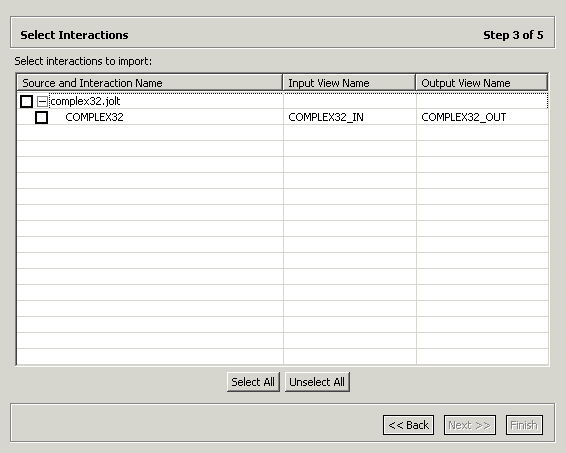
Text description of the illustration 25a.gif
The window lists the Services from the Jolt file as interactions, along with the input and output structures to use with each interaction. Select the interactions you want to implement from the list.
- Click Next.
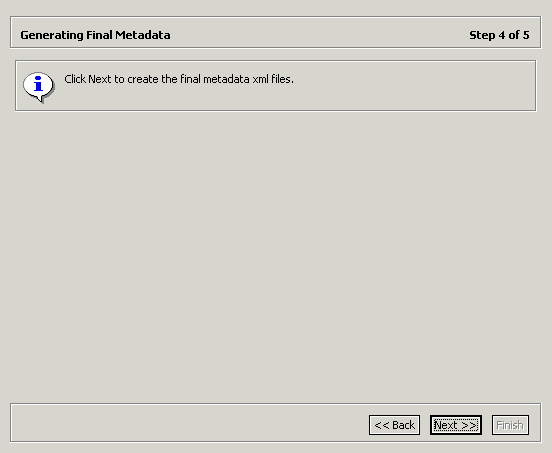
Text description of the illustration 26a.gif
- Click Next to generate the metadata definitions for the adapter.
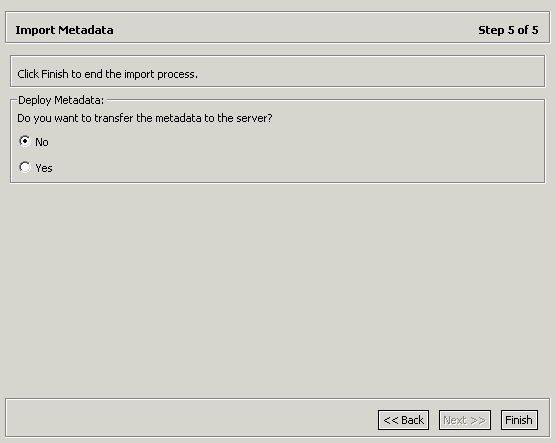
Text description of the illustration 27a.gif
- Specify that you want to transfer the metadata from the Windows machine to the Tuxedo workstation machine and click Finish.
The metadata is imported based on the options specified and it is stored on the machine where the Tuxedo workstation runs. An XML representation of the metadata is generated. This XML file can be viewed by expanding the Output node.
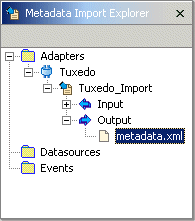
Text description of the illustration 28a.gif
After performing the import, you can view the metadata in the Metadata perspective in Oracle Studio. You can also make any fine adjustments to the metadata and maintain it, as necessary.
Generating Outbound Interactions Using View Files
A configuration file is used to get the information necessary for starting application servers and initializing the bulletin boards in an orderly sequence in Tuxedo. A configuration file can have a number of sections, including a SERVICES section which provides information on services used by the application, from which interactions are generated during the import procedure.
The view files contain metadata used by Tuxedo and are used to provide the data structures for the interactions. The import wizard opens with a panel where you specify the files to use.
Both the configuration files and the view files are binary files, compiled from text files. The import wizard uses the text files to generate the metadata. If the text files are no longer available, you can recreate them from the binary files as follows:
For configuration files, run the following Tuxedo command:
tmunloadcf config_file
where config_file is the name of the configuration file.
For view files, run either of the following Tuxedo command:
viewdis view_file
or, for 32bit view files:
viewdis32 view_file
where view_file is the name of the configuration file.
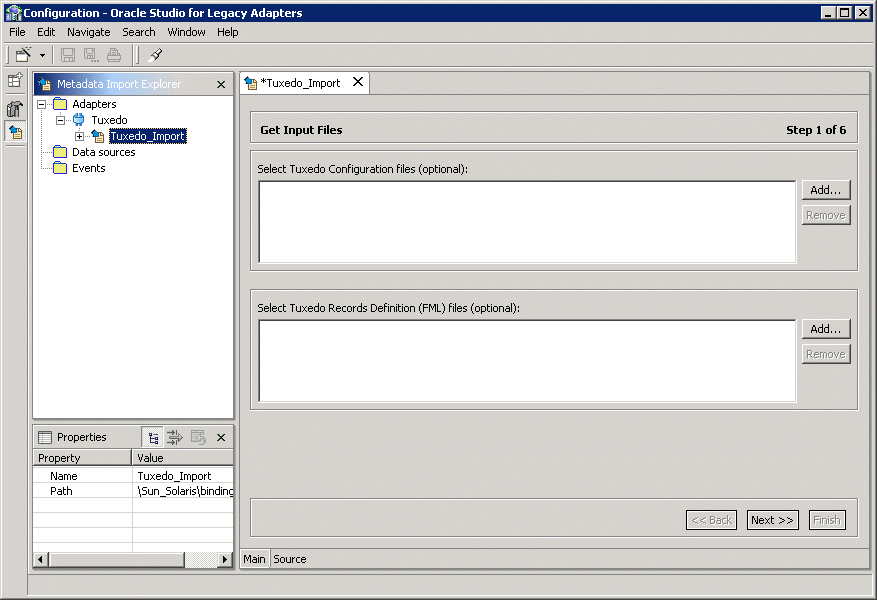
Text description of the illustration 17a.gif
- Click Add to add the Tuxedo configuration files.
A Select window opens. This window lists any files selected.
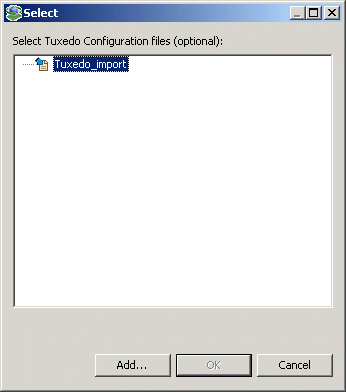
Text description of the illustration ftp.gif
- Click Add.
The Add Resource window opens, which provides the option to select files from the local machine or FTP the files from another machine.

Text description of the illustration 18.gif
- If the files are on another machine, select the Import resource from remote machine option to start a file transfer process from the machine.
- Click Next to open the File Transfer wizard.

Text description of the illustration 19.gif
- Enter the server name where the Tuxedo workstation resides and, if not using anonymous access, enter a username and password to access the machine.
- Click Next. The machine is accessed and the directory structure displayed, enabling you to browse to the files to be transferred.

Text description of the illustration 20.gif
To change the root directory, enter the name of the root directory in the Directory name field and click Chg Root Dir.
- Click Next. A summary screen is displayed with details of what is going to be transferred.
- Click Finish to start the transfer. The Select window is redisplayed with the list of transferred files.

Text description of the illustration 21.gif
- Select the files you want to use in the import and click OK.

Text description of the illustration 22.gif
- Repeat the previous steps (from step 1) for the Tuxedo record definition (FML) files.
- In the metadata import wizard, click Next after you have completed adding the list of files to use.

Text description of the illustration 23.gif
- Add additional simple record definitions, if necessary.
In addition to view files, you can include information stored in the following Tuxedo buffer types:
- XML data
- String data
- Carrays
Specify the name of the record and select the buffer type from the list in the Field Type field.
- Click Next. The Apply Filters window opens.

Text description of the illustration 24.gif
- Click Next. The Add Interactions window opens.

Text description of the illustration 25.gif
- Click Add to add an interaction for the Tuxedo adapter.
Interaction name - The name of the interaction. Select the interaction from the list. The list is taken from the list of services in the configuration file.
Mode - The interaction mode:
- sync-receive - The interaction expects to receive a response.
- sync-send - The interaction sends a request and does not expect to receive a response.
- sync-send-receive - The interaction sends a request and expects to receive a response.
Input - Identifies an input record. The input record is the data structure for the outbound interaction. The records generated from the FML programs specified at the beginning of the procedure are listed in a drop-down list. Select the relevant record for the interaction.
Note:
You must specify an input record for each interaction before you can click Next.
If the interaction does not require an input record, the record specified here is ignored.
|
Output - Identifies an output record. The output record is the data structure for the results of the outbound interaction. The records generated from the FML programs specified at the beginning of the procedure are listed in a drop-down list. Select the relevant record for the interaction.
Note:
You must specify an output record for the interaction if the mode is set to sync-send-receive or sync-receive, before you can click Next.
|
Description - Free text describing the interaction.
Interaction-Specific Parameters - Tuxedo specific parameters.
Input Buffer Type - The type of data used for the input.
Output Buffer Type - The type of the buffer to use for the results of an outbound interaction.
No Transaction - Enables a service to be executed, regardless of transaction context. This parameter should always be checked.
No Reply Expected - For future use.
No Blocking Request - Avoids a FROM request submission if a blocking condition exists.
No Timeouts - Ignores blocking timeouts.
- Add as many interactions as necessary and then click Next.

Text description of the illustration 26.gif
- Click Next to generate the metadata definitions for the adapter.

Text description of the illustration 27.gif
- Specify that you want to transfer the metadata from the Windows machine to the Tuxedo workstation machine and click Finish.
The metadata is imported based on the options specified and it is stored on the machine where the Tuxedo workstation runs. An XML representation of the metadata is generated. This XML file can be viewed by expanding the Output node.

Text description of the illustration 28.gif
After performing the import, you can view the metadata in the Metadata perspective in Oracle Studio. You can also make any fine adjustments to the metadata and maintain it, as necessary.
Generating Inbound Interactions
Inbound interactions are defined as events in Oracle Studio. When you defined Oracle Connect for Tuxedo's backend adapter with the Create event queue for the adapter box checked, as described in "Task: Setting Up the Backend Adapter", an event adapter was defined automatically. The event adapter is defined with the same name as the backend adapter with the word event appended to it. The backend adapter and the event adapter are linked by Oracle Studio. You can jump from one adapter definition to the other by right-clicking the adapter or event in the Configuration Explorer list and choosing the Linked Event or Linked Adapter option respectively.
The event adapter requires metadata describing the inbound interactions, including the structures used to pass information to and from the adapter.
Use the Import Metadata perspective in Oracle Studio to generate interaction metadata for the adapter.
Task 1: Defining an Import Procedure
- On the machine where Oracle Studio is installed, from the Start menu, choose Start > Programs > Oracle > Studio > Studio.
- In the Configuration Explorer, click the + next to the machine defined in "Configuring Oracle Connect for Tuxedo".
- Click the + next to the Bindings node. The binding configurations available on this machine are listed.
- Click the + next to the NAV binding node.
- Click the + next to the Adapters node.
- Right-click the Tuxedo adapter defined in "Setting Up Oracle Connect for Tuxedo".
- Choose Linked Event from the popup menu, to jump to the event adapter.
- Right-click the event adapter and choose Edit Event from the popup menu.
- Select the Properties tab to add the names of Oracle Application Server ProcessConnect users who can retrieve inbound interactions and Tuxedo users who can send inbound interactions.
- To add Oracle Application Server ProcessConnect users, click the + next to the routers node and right click the users property to add the user.
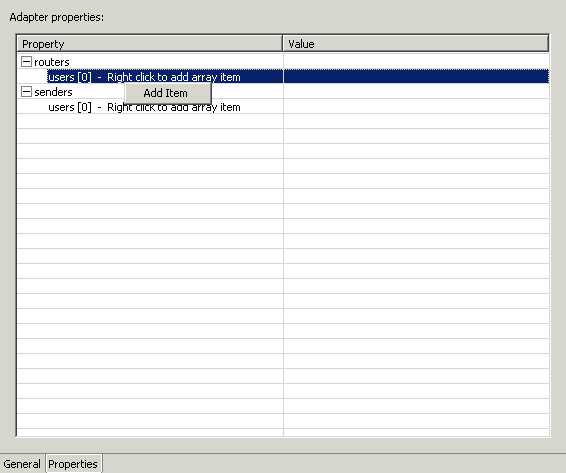
Text description of the illustration 50a.gif
- Enter the name of the Oracle Application Server ProcessConnect user in the Value column for the item added.
- To add Tuxedo users, click the + next to the senders node and right click the users property to add the user.
- Enter the name of the Tuxedo user in the Value column for the item added.
- Click the Save Editor Contents button to save the changes.
- Right-click the event adapter in the Configuration Explorer and choose Edit metadata from the popup menu, to open the Metadata perspective, with the event adapter displayed under the Events list.
- Right-click the event adapter and choose New Import from the popup menu, to open the New Metadata Import wizard.
- Enter a name for the import. The name can contain letters and numbers and the underscore character only.
- Select Event Queue Import Manager Using Tuxedo View/FML Files for the
Import Type.
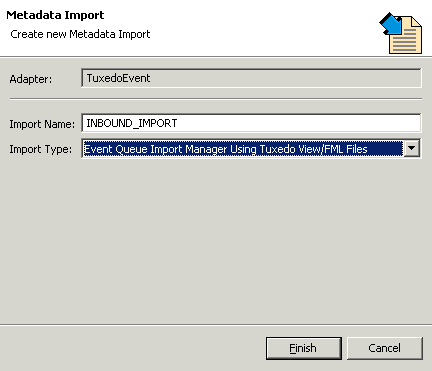
Text description of the illustration 51.gif
- Click Finish. The metadata import wizard opens in Oracle Studio.
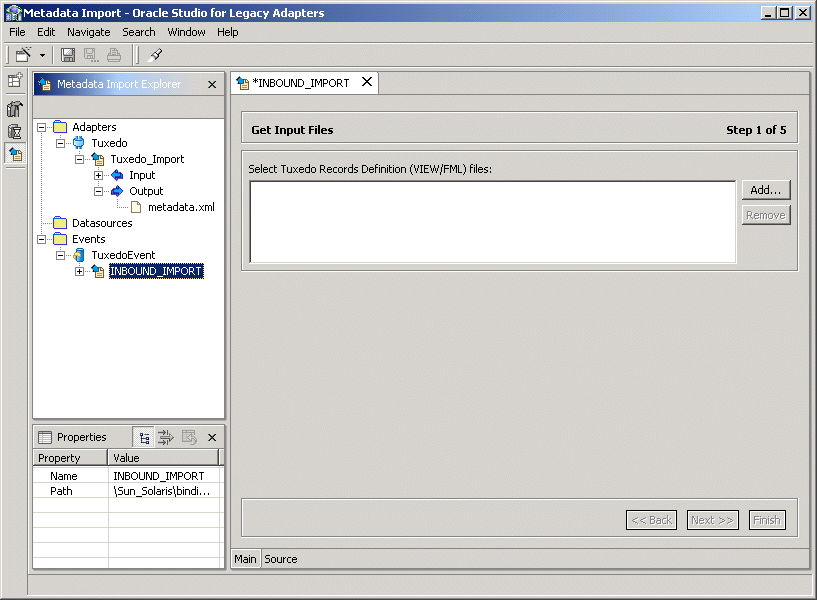
Text description of the illustration 51a.gif
Task 2: Generating Inbound Interactions
After defining an import as described in the preceding task, the metadata import wizard opens in Oracle Studio. Tuxedo View and FML files are used to create the metadata. The import wizard generates record structures, which are used for the record structures for inbound interactions.
View and FML files are binary files, compiled from text files. The import wizard uses the text files to generate the metadata. If the text files are no longer available, you can recreate them from the binary files as follows:
Run either of the following Tuxedo command:
viewdis view_file
or, for 32bit view files:
viewdis32 view_file
where view_file is the name of the configuration file.
- Click Add to add View or FML files.
A Select window opens. This window lists any files selected.
- Click Add.
The Add Resource window opens, which provides the option to select files from the local machine or FTP the files from another machine.
- If the files are on another machine, select the Import resource from remote machine option to start a file transfer process from the machine.
- Click Next to open the File Transfer wizard.
- Enter the server name where the files reside and, if not using anonymous access, enter a username and password to access the machine.
- Click Next. The machine is accessed and the directory structure displayed, enabling you to browse to the files to be transferred.
- Navigate to the location where the files reside and select the files to be transferred and the transfer method (Text or Binary)
- Click Next. A summary screen is displayed with details of what is going to be transferred.
- Click Finish to start the transfer. The Select window is redisplayed with the list of transferred files.
- Select the files you want to use in the import and click OK.
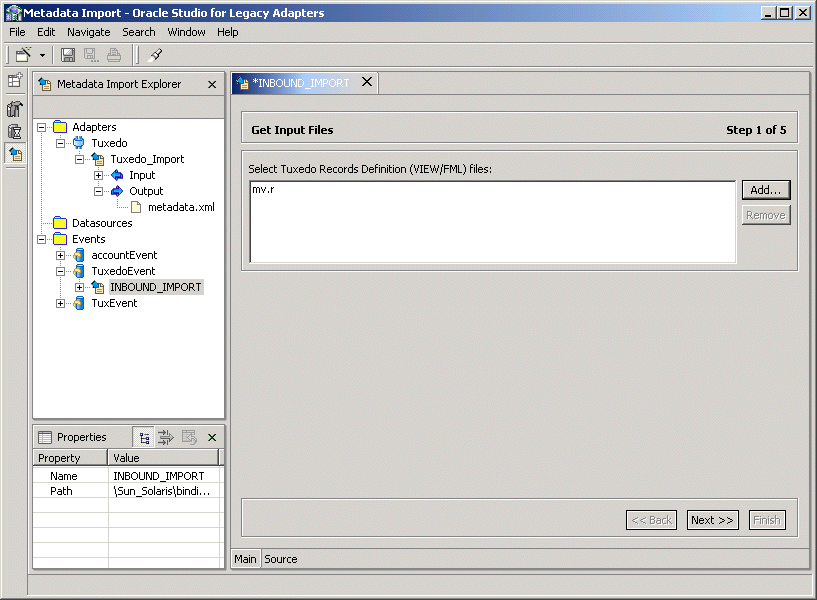
Text description of the illustration 52a.gif
- In the metadata import wizard, click Next after you have completed adding the files.
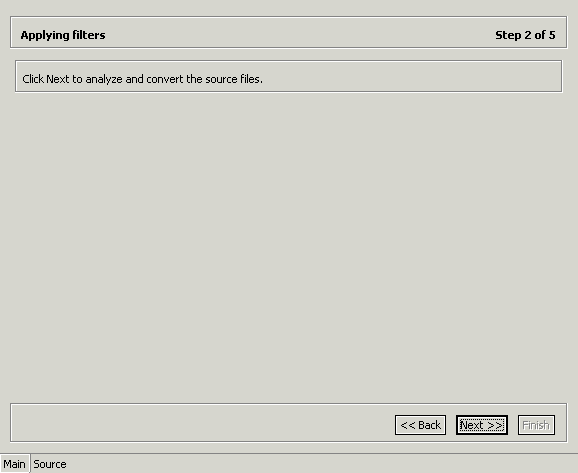
Text description of the illustration 53a.gif
- Click Next to apply the filters. The Add Events window opens.
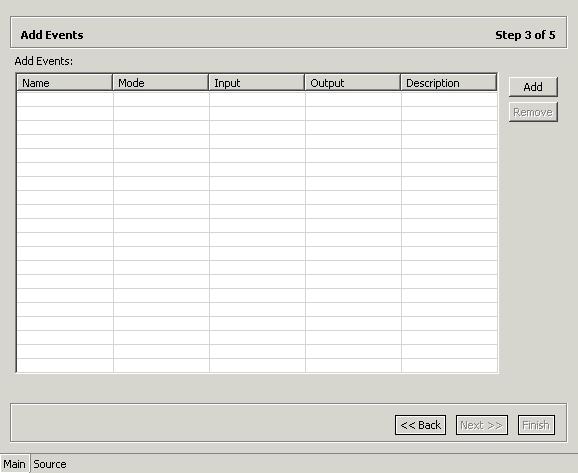
Text description of the illustration 54.gif
- Click Add to add an interaction for the Tuxedo adapter.
Name - The name of the interaction.
Mode - The interaction mode:
async-send - The inbound interaction sends a request and does not expect to receive a response.
Input - Identifies an input record. The input record is the data structure for the inbound interaction. The records generated from the program specified at the beginning of the procedure are listed in a drop-down list. Select the relevant record for the interaction.
Note:
You must specify an input record for each interaction before you can click Next.
|
Output - For internal use. You cannot enter a value in this field.
Description - Free text describing the interaction.
- Add as many interactions as necessary and then click Next.
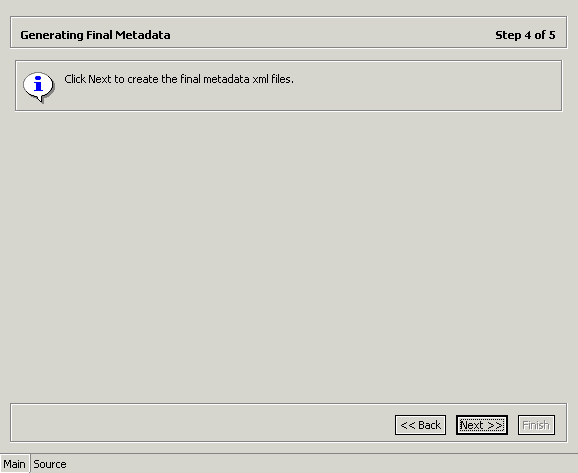
Text description of the illustration 55.gif
- Click Next to generate the metadata definitions for the adapter.
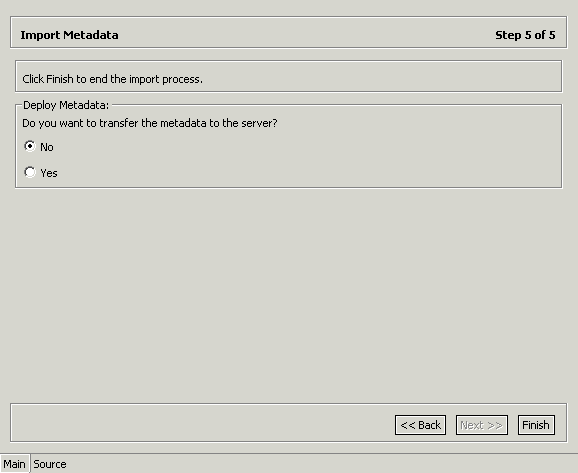
Text description of the illustration 56.gif
- Specify that you want to transfer the metadata from the Windows machine to the Tuxedo machine and click Finish.
The metadata is imported based on the options specified and it is stored on the Tuxedo machine. An XML representation of the metadata is generated. This XML file can be viewed by expanding the Output node.
After performing the import, you can view the metadata in the Metadata perspective in Oracle Studio. You can also make any fine adjustments to the metadata and maintain it, as necessary.


