10g (9.0.4)
Part Number B10271-01
Home |
Contents |
Index |
| Oracle Discoverer Administrator Tutorial 10g (9.0.4) Part Number B10271-01 |
|
It will probably take you about 15 minutes to complete this lesson.
In this lesson you will create a complex folder and then create a condition within the complex folder.
A complex folder is a special type of folder that contains items from other folders. When you place an item from a simple folder into a complex folder, you are really making a reference to the original item.
You can simplify the data analysis tasks of an end user by gathering items from separate folders into one complex folder. This avoids the need for end users to select items from multiple folders and completely hides joins from end users.
Discoverer Administrator does not allow you to add an item to a complex folder if the item does not have a join associating it with the other items in the complex folder.
Note: If you place an item into a complex folder with the same name as another item, Discoverer Administrator adds a numeric suffix to the duplicate item. You cannot have two items with the same name in a folder.
For more information, click Help.
This lesson consists of the following exercises:
In this exercise you will create a complex folder that end users can use to analyze profit, product type, product category, and other relevant information associated with the video stores business area.
To create a complex folder:
This creates a new folder titled NewFolder in the New Video Stores business area.
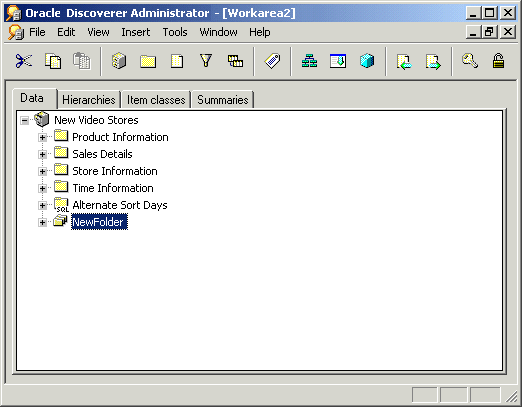
Notice how the icon representing a complex folder differs from the icon representing a simple folder.
Hint: To make it easier to copy items from one folder to another, open another Workarea window. This provides you with another view on the same Workarea. The next few steps show you how to do this.
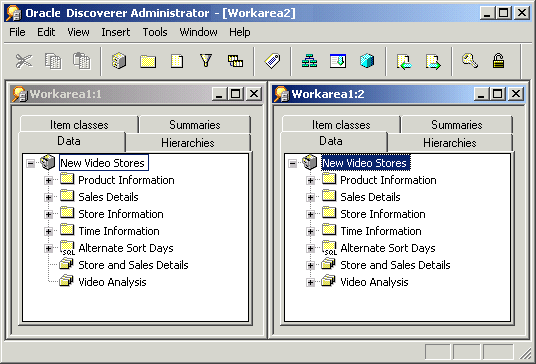
Now you're ready to add some items to your complex folders.
To select more than one item at once, hold down Ctrl while you click on the items.
This copies the selected items into the complex folder.
You will now repeat the process of copying items from other folders to populate the complex folder with all the items your end user needs.
You are now ready to populate the Video Analysis folder.
Note: The item classes providing lists of values are now shared between the two complex folders. The items you have copied into the complex folders inherit the properties of the original items. If you delete one of the original items from a folder all references to that item are also deleted.
In this exercise you created a complex folder that end users can use to analyze profit, product type, product category, and other relevant information associated with the video stores business area.
In this exercise you will create a condition in a complex folder.
A condition filters retrieved information. For example, you can create a condition for analyzing the chain of video stores that selects only the Video Sale or Video Rentals departments. The end user can make use of this condition in Discoverer Plus or Discoverer Viewer to review recent sales activity for each video store in those two departments to determine which stores are most profitable.
To create a condition:
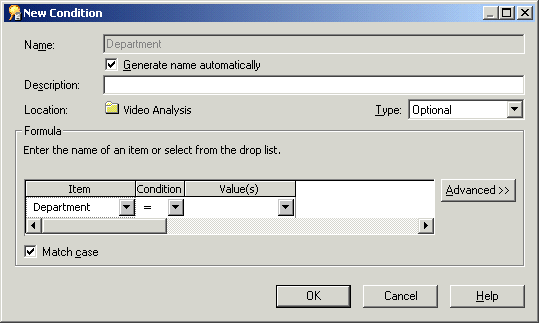
Note: The Item field already displays Video Analysis.Department.
This restricts the data to one of a number of values (e.g. Video Sales or Video Rentals).
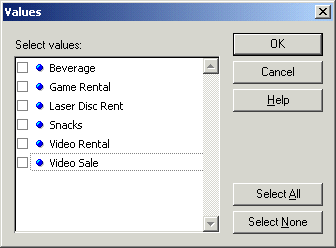
The Values dialog enables you select one or more values to be used in the Value(s) field.
Department is Video Rental or Video Sale into the Name field.
The New Condition dialog should appear as follows:
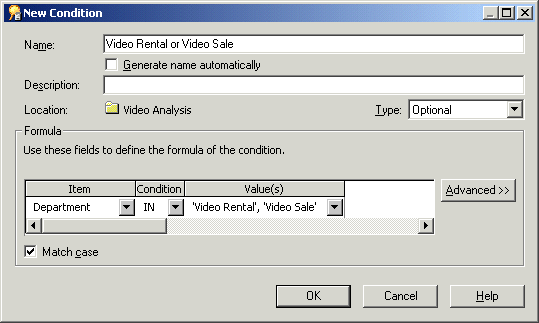
You have now created a condition in the Video Analysis folder that can filter data on the basis of whether a department is Video Rentals or Video Sales. This condition can be applied to a Workbook in Discoverer Plus.
The Discoverer Plus user sees a condition represented by a filter icon. The following figure shows how Discoverer Plus displays the condition 'Department is Video Rental or Video Sale'.
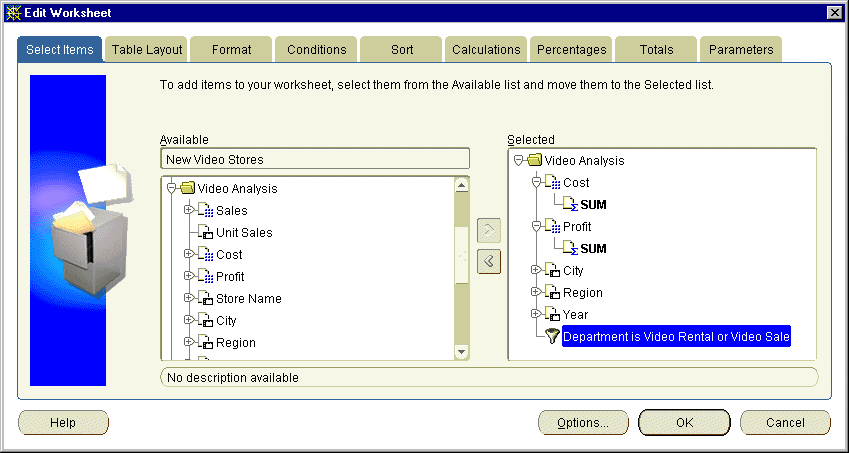
In this exercise you created a condition in a complex folder.
In this lesson you created a complex folder and then create a condition within the complex folder.
In this lesson you completed the following exercises:
In the next lesson you will create hierarchies that help end users navigate through data.
|
|
 Copyright © 1996, 2003 Oracle Corporation. All Rights Reserved. |
|