| Oracle® SOA Suite Tutorial Release 3 (10.1.3.1.0) Part Number B28937-01 |
|
|
View PDF |
| Oracle® SOA Suite Tutorial Release 3 (10.1.3.1.0) Part Number B28937-01 |
|
|
View PDF |
This chapter describes how to create the RapidService project. It contains these sections:
Section 6.3, "Add JSR-181 Library to the RapidService Project"
Section 6.10, "Verify the Hostname and Port in the Generated WSDL File"
The RapidService project represents a supplier that provides price quotes for customer orders. The other supplier which it competes with is SelectManufacturer. The supplier that provides the lower quote for a customer's order gets to fulfill the order.
In the case of the RapidService and CreditService projects, the descriptors are generated at design time. The RapidService project is developed in a "bottom-up" fashion: you start with Java classes and you develop a WSDL file from the Java classes. CreditService is the opposite: it is developed in a "top-down" fashion, where you start with a WSDL and using this WSDL file, you generate Java classes.
Start by creating a new project for RapidService in JDeveloper:
Right-click the SOADEMO application, and select New Project.
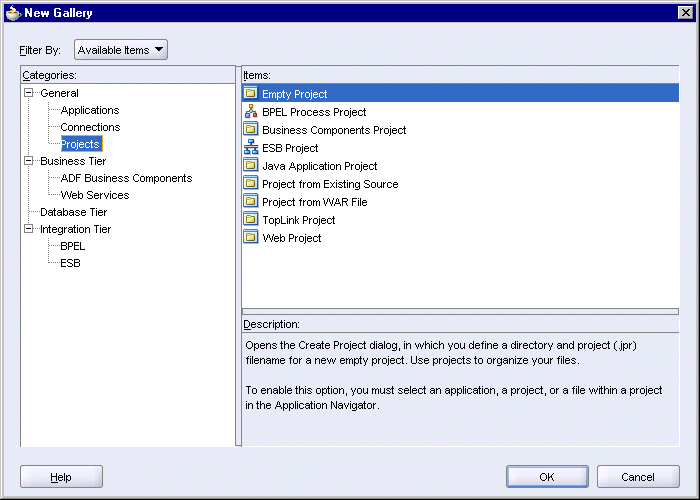
In the New Gallery, in the Categories section, expand General and select Projects. In the Items section, select Empty Project.
Figure 6-1 New Gallery for RapidService Project
Click OK.
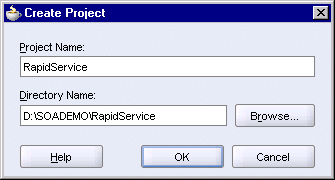
In the Create Project dialog, enter RapidService in the Project Name field.
Figure 6-2 Create Project Dialog for RapidService Project
Click OK.
In the Application Navigator, you should see an empty RapidService project located under the SOADEMO application.
Select File > Save to save your work.
Before you can compile and deploy the RapidService project, you need to add the JSR-181 library to it. RequestQuote.java, which you will create in Section 6.6, "Create RequestQuote.java", contains JSR-181 annotations.
Right-click the RapidService project and select Project Properties. In the Project Properties dialog, select Libraries on the left side.
Click Add Library.
In the Add Library dialog, select JSR-181 Web Services, located under Extension.
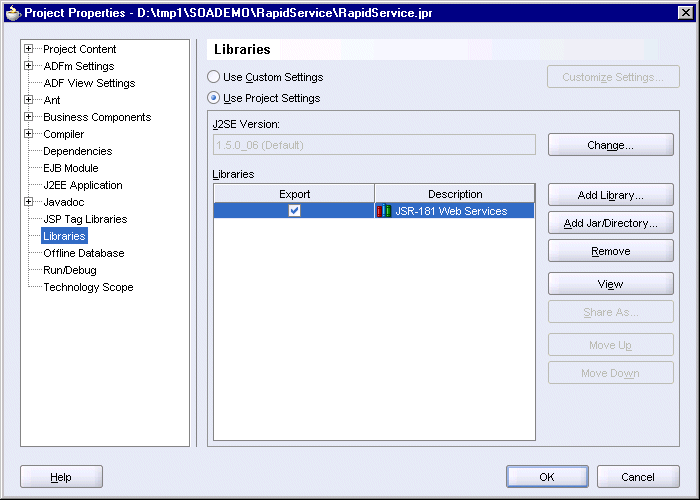
Click OK in the Add Library dialog. In the Project Properties dialog, you should see the JSR-181 library added to the list.
Figure 6-5 Project Properties Dialog with JSR-181 Library Added
Click OK in the Project Properties dialog.
Select the RapidService project in the Application Navigator and select File > Save to save your work.
Right-click the RapidService project, and select New. In the New Gallery, in the Categories section, expand General and select Simple Files. In the Items section, select Java Class.
Figure 6-6 New Gallery for Creating a Simple Java Class
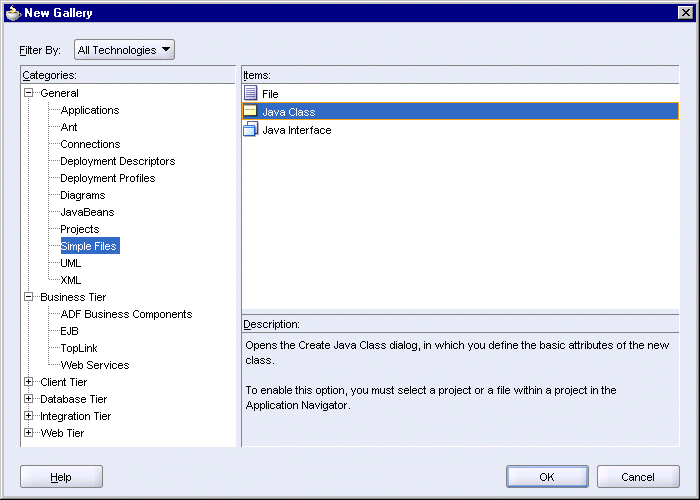
Click OK. This displays the Create Java Class dialog.
In the Create Java Class dialog, enter these values:
Name: enter Item.
Package: enter org.soademo.rapidservice.types.
Extends: enter java.lang.Object.
Public: select this option.
Generate Default Constructor: select this option.
Generate Main Method: do not select.
Click OK. JDeveloper displays the Item.java file in the editor.
Edit the file so that it contains the following lines:
package org.soademo.rapidservice.types;

public class Item {
    public Item() {
    }

    String itemId;
    long Quantity;

    public void setItemId(String itemId) {
        this.itemId = itemId;
    }

    public String getItemId() {
        return itemId;
    }

    public void setQuantity(long quantity) {
        this.Quantity = quantity;
    }

    public long getQuantity() {
        return Quantity;
    }
}
Select File > Save to save the file.
Right-click the RapidService project, and select New. In the New Gallery, in the Categories section, expand General and select Simple Files. In the Items section, select Java Class.
Figure 6-7 New Gallery Dialog for Creating a Simple Java Class

Click OK. This displays the Create Java Class dialog.
In the Create Java Class dialog, enter these values:
Name: enter Quote.
Package: enter org.soademo.rapidservice.types.
Extends: enter java.lang.Object.
Public: select this option.
Generate Default Constructor: select this option.
Generate Main Method: do not select.
Figure 6-8 Create Java Class Dialog for Quote.java

Click OK. JDeveloper displays the Quote.java file in the editor.
Edit the file so that it contains the following lines:
package org.soademo.rapidservice.types;

public class Quote implements java.io.Serializable {
    protected java.lang.String supplierName;
    protected java.lang.String supplierPrice;

    public Quote() {
    }

    public java.lang.String getSupplierName() {
        return supplierName;
    }

    public void setSupplierName(java.lang.String supplierName) {
        this.supplierName = supplierName;
    }

    public java.lang.String getSupplierPrice() {
        return supplierPrice;
    }

    public void setSupplierPrice(java.lang.String supplierPrice) {
        this.supplierPrice = supplierPrice;
    }
}
Select File > Save to save the file.
Right-click the RapidService project, and select New. In the New Gallery, in the Categories section, expand General and select Simple Files. In the Items section, select Java Class.
Figure 6-9 New Gallery for Creating a Simple Java Class

Click OK. This displays the Create Java Class dialog.
In the Create Java Class dialog, enter these values:
Name: enter RequestQuote.
Package: enter org.soademo.rapidservice. Note that this is different from the previous Java classes you created.
Extends: enter java.lang.Object.
Public: select this option.
Generate Default Constructor: select this option.
Generate Main Method: do not select.
Figure 6-10 Create Java Class Dialog for RequestQuote.java
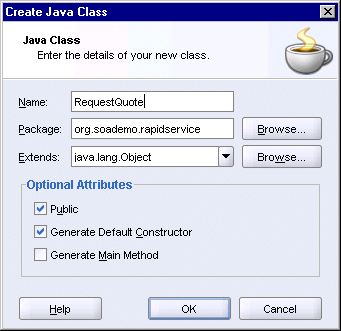
Click OK. JDeveloper displays the file in the editor.
Edit the file so that it contains the following lines:
package org.soademo.rapidservice;

import javax.jws.WebMethod;
import javax.jws.WebService;

import org.soademo.rapidservice.types.Item;
import org.soademo.rapidservice.types.Quote;

@WebService(serviceName="RapidService",
            targetNamespace="http://www.globalcompany.com/ns/rapidservice")

public class RequestQuote {
    public RequestQuote() {
    }

    @WebMethod(operationName="OrderQuote")
    public Quote processRequestQuote(String productName, String itenType,
                                     String partnum, String quantity,
                                     String price) {
        Quote priceQuote = new Quote();
        priceQuote.setSupplierName("RapidDistributors");
        priceQuote.setSupplierPrice("5000");
        return priceQuote;
    }

    @WebMethod(operationName="POItemsQuote")
    public Quote processQuote(Item[] items){
        Long totalPrice = new Long(0);
        for ( int i=0; i<items.length; i++)  {
            Item localItem = items[i];
            totalPrice += localItem.getQuantity()*110;
        }
        Quote priceQuote = new Quote();
        priceQuote.setSupplierName("RapidDistributors");
        priceQuote.setSupplierPrice(totalPrice.toString());
        return priceQuote;
    }
}
Select File > Save to save the file.
In the Application Navigator, you should see the following files for the RapidService project:
Figure 6-11 Application Navigator Showing Files for RapidService
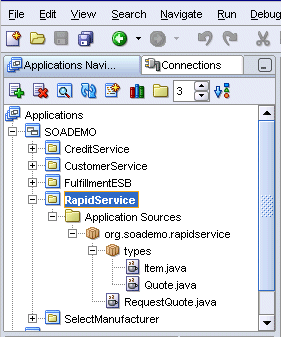
Right-click the RapidService project and select Rebuild. Check the log window for any errors.
Right-click the RapidService project, and select New. In the New Gallery, in the Categories section, expand Business Tier and select Web Services. In the Items section, select Java Web Service.
Figure 6-12 New Gallery for Generating Java Web Services
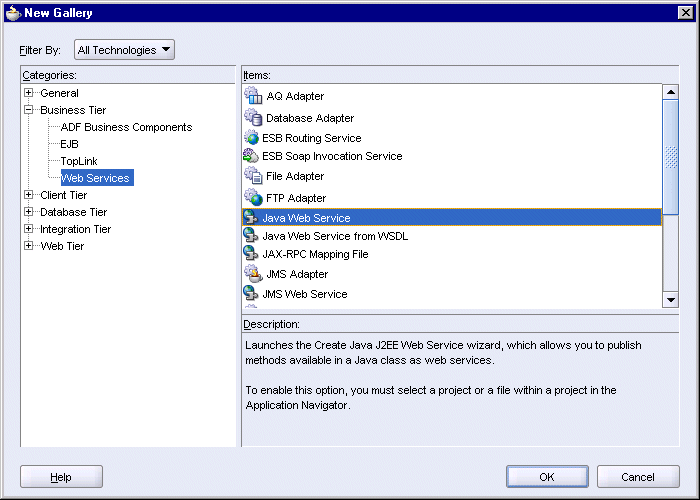
Click OK. This displays the Create J2EE Web Service Version dialog.
In the Select J2EE Web Service Version dialog, select J2EE 1.4 (JAX-RPC) Web Service and click OK.
Figure 6-13 Select J2EE Web Service Version Dialog

This launches the Create Java J2EE 1.4 Web Service wizard. Click Next to start.
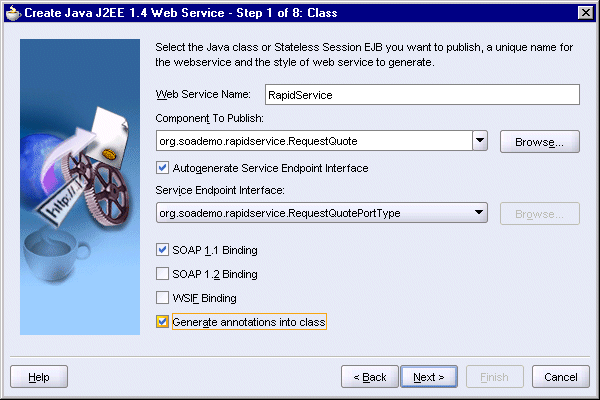
In Step 1, Class:
Web Service Name: enter RapidService.
Component to Publish: select org.soademo.rapidservice.RequestQuote from the dropdown.
Autogenerate Service Endpoint Interface: select this option (should be automatically selected for you).
Service Endpoint Interface: select org.soademo.rapidservice.RequestQuotePortType (this should be entered for you automatically).
SOAP 1.1 Binding: select this option.
SOAP 1.2 Binding: do not select.
WSIF Binding: do not select.
Generate annotations into class: select this option.
Figure 6-14 Create Java J2EE 1.4 Web Service Wizard: Step 1, Class
Click Next.
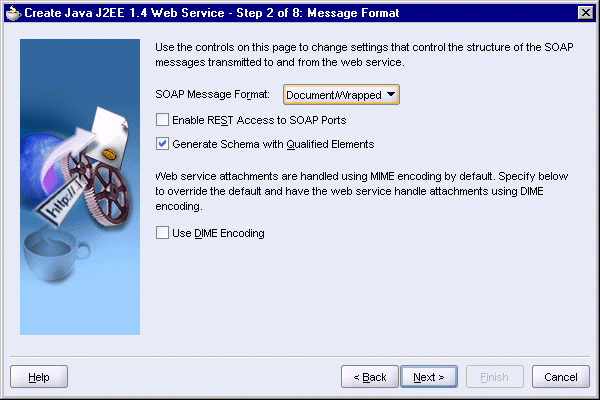
In Step 2, Message Format:
SOAP Message Format: select Document/Wrapped.
Enable REST Access to SOAP Ports: do not select.
Generate Schema with Qualified Elements: select this option.
Use DIME Encoding: do not select.
Figure 6-15 Create Java J2EE 1.4 Web Service Wizard: Step 2, Message Format
Click Next.
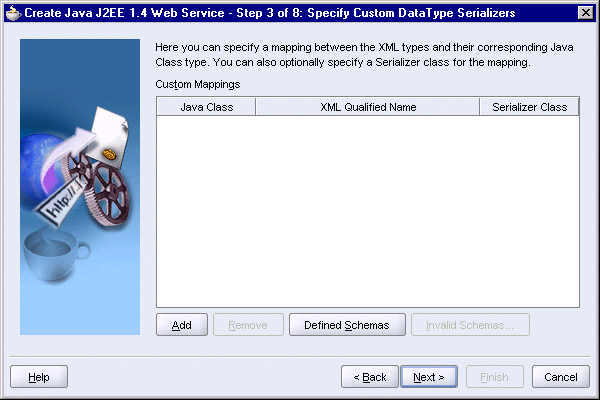
In Step 3, Specify Custom Data Type Serializers, click Next.
Figure 6-16 Create Java J2EE 1.4 Web Service Wizard: Step 3, Specify Custom Data Type Serializers
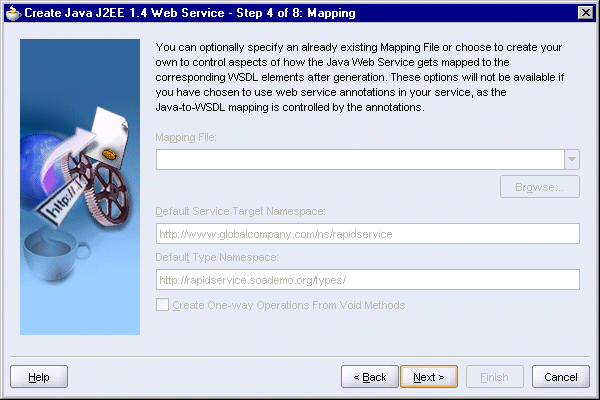
In Step 4, Mapping, click Next.
Figure 6-17 Create Java J2EE 1.4 Web Service Wizard: Step 4, Mapping
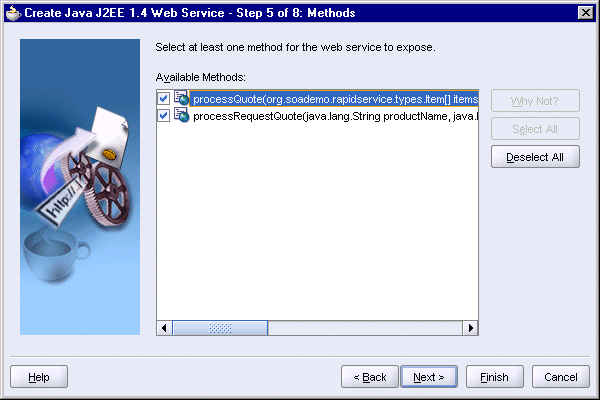
In Step 5, Methods, select processQuote and processRequestQuote.
Figure 6-18 Create Java J2EE 1.4 Web Service Wizard: Step 5, Methods
Click Next.
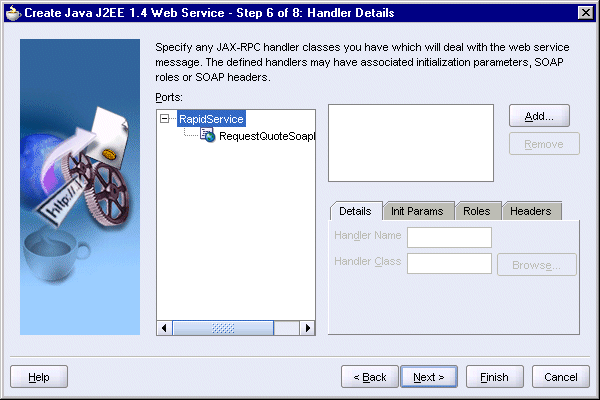
In Step 6, Handler Details, click Next.
Figure 6-19 Create Java J2EE 1.4 Web Service Wizard: Step 6, Handler Details
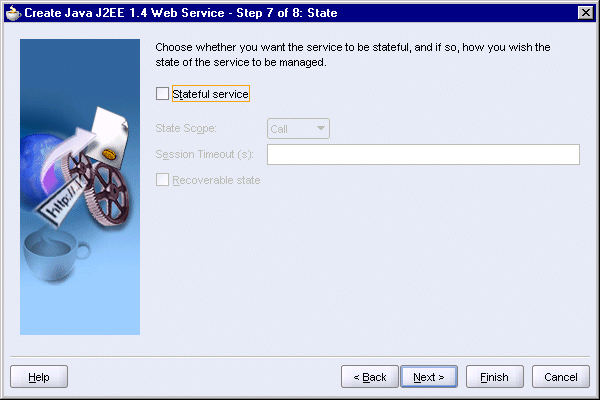
In Step 7, State, click Next.
Figure 6-20 Create Java J2EE 1.4 Web Service Wizard: Step 7, State
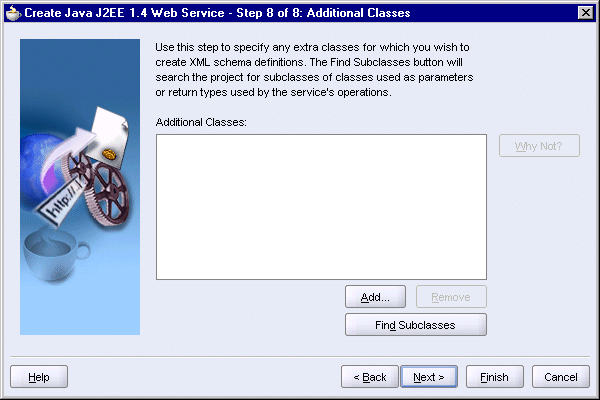
In Step 8, Additional Classes, click Next.
Figure 6-21 Create Java J2EE 1.4 Web Service Wizard: Step 8, Additional Classes
In the Finish page, click Finish.
JDeveloper displays the RapidService.wsdl file in the editor. RapidService.wsdl is one of the files created by the wizard.
Continue with the next section to see the files JDeveloper created.
Verify that the hostname and port in the RapidService.wsdl file are correct.
If RapidService.wsdl is not displayed in the editor, double-click it in the Application Navigator. The file is located under RapidService > Web Content > WEB-INF\wsdl.
Under Services, expand RequestQuoteSoapHttpPort.
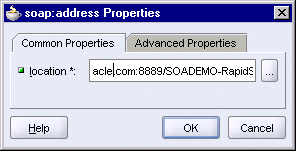
Right-click soap:address and select Properties. This displays the soap:address Properties dialog.
In the soap:address Properties dialog, verify that the hostname and port are correct. The hostname specifies the name of the machine running Oracle Application Server, and the port specifies the HTTP port at which Oracle HTTP Server or OC4J is listening.
Figure 6-23 soap:address Properties Dialog for RapidService.wsdl
Save your changes, if you made any.
After the wizard has completed, you should see the following files in the Application Navigator and Structure window.
Select View > Structure to display the Structure window.
In the Application Navigator, select SOADEMO > RapidService > Application Sources > org.soademo.rapidservice > RapidService.
In the Structure window, you should see the following files:
RequestQuote.java
RequestQuotePortType.java
RapidService.wsdl
RapidService-java-wsdl-mapping.xml
Figure 6-24 Structure Window Showing Files Created
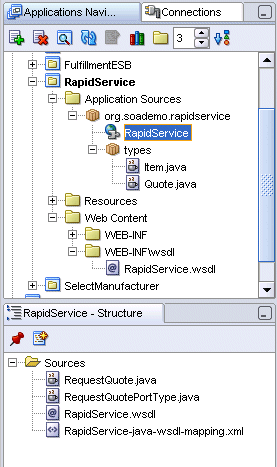
Expand the SOADEMO > RapidService > Web Content node in the Application Navigator to see the other files that JDeveloper created. See Figure 6-24.
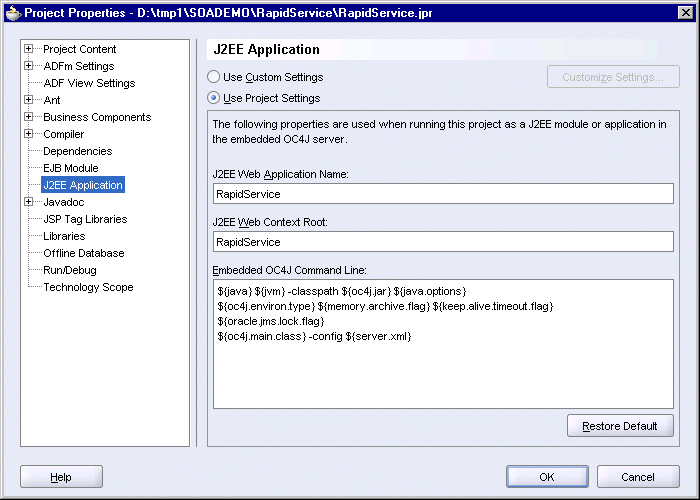
Double-click the RapidService project to display the Project Properties dialog.
On the left side, select J2EE Application.
Set the value of J2EE Web Application Name and J2EE Web Context Root to RapidService.
Figure 6-25 Project Properties Dialog for RapidService
Click OK.
Select File > Save to save your work.
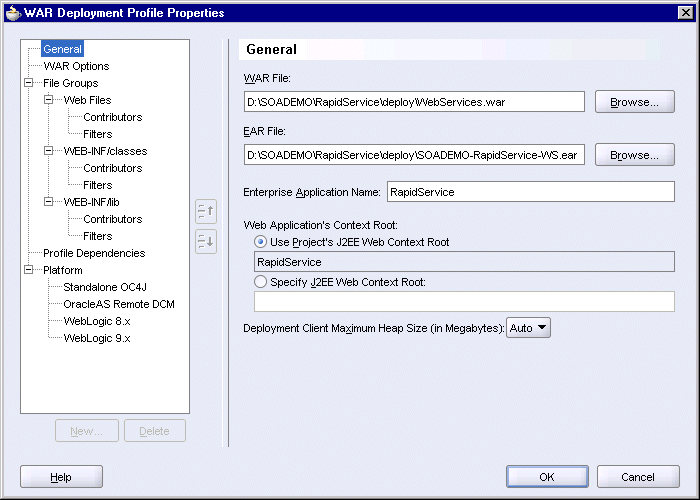
Double-click the deployment descriptor (Resources > WebServices.deploy) to display the WAR Deployment Profile Properties dialog.
Select General on the left side.
Set Enterprise Application Name to RapidService.
Figure 6-26 WAR Deployment Profile Properties Dialog, General Section
Click OK.
Select File > Save to save your work.
Right-click Resources > WebServices.deploy and select Deploy To > SoademoApplicationServer, where SoademoApplicationServer specifies the connection to your application server.
In the Configure Application dialog, click OK.
You can access the WSDL for RapidService by entering the following URL in a browser:
http://hostname:port/RapidService/RequestQuoteSoapHttpPort?WSDL
For hostname, enter the name of the machine running Oracle Application Server.
For port, enter the HTTP at which Oracle HTTP Server or OC4J is listening. The default port is 8888.
In the Application Server Control, RapidService appears in two places: in the Web Services tab (Figure 6-28) and the Applications tab (Figure 6-29) of the OC4J:home page.
Figure 6-28 Web Services Tab of OC4J:home Page Showing the RapidService Web Service
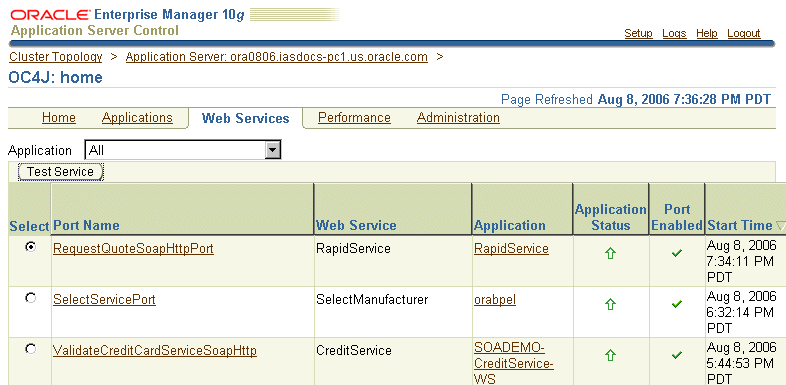
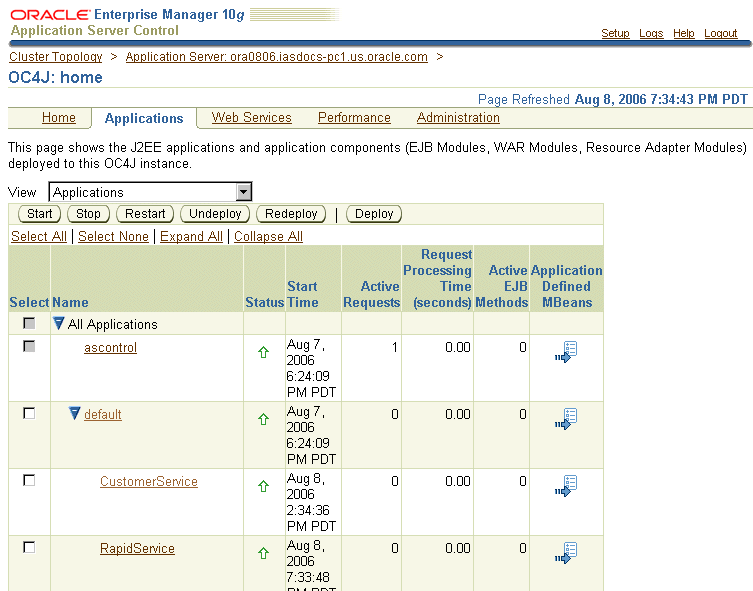
Figure 6-29 Applications Tab of OC4J:home Page Showing the RapidService Application
