| Oracle® Retail Omnichannel Cloud Data Service Installation Guide Release 19.1.000 F32768-04 |
|

 Previous |
 Next |
| Oracle® Retail Omnichannel Cloud Data Service Installation Guide Release 19.1.000 F32768-04 |
|
Previous |
Next |
This chapter describes the procedure to install and deploy the OCDS (BDI) Job Admin application on a WebLogic domain. The OCDS (BDI) Job Admin is an Oracle Retail Bulk Data Integration component. Additional information can be found about the Installation of a BDI Job Admin in the Oracle Retail Bulk Data Integration Installation Guide.
The installation of OCDS Job Admin component requires the existence of schemas in a database prior to installation. These schemas are created and loaded in your database using the Repository Creation Utility (RCU) described in the previous section, and the steps outlined in the OCDS Schemas chapter of this document.
The target WebLogic Admin Server and Managed Server should be running.
The JAVA_HOME environment variable must be set.
Perform the following procedure to install the OCDS (BDI) Job Admin Application:
Unzip ocds-jobadmin-deployment.zip.
Configure the conf/bdi-job-admin-deployment-env-info.json file with the database and WebLogic domain details. This file is used by the deployment script.
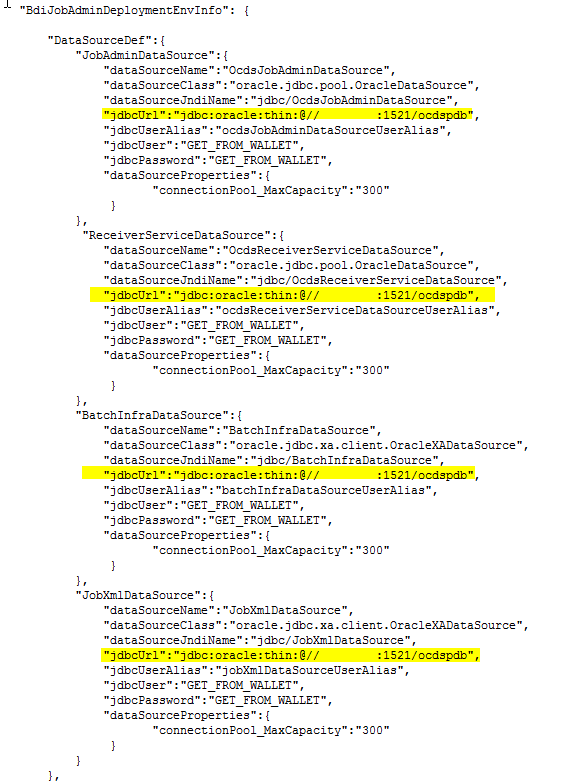
Edit the Datasource definitions for JobAdminDatasource:
jdbcUrl: Configure the jdbcUrl for all DataSources definitions in DataSourceDef.
BatchInfraDataSource references a schema created using the WebLogic RCU (<prefix>_WLS).
All other datasources reference the OCDS interface (ocds_ifc) schema created during the prerequisite step: OCDS Database Creation.
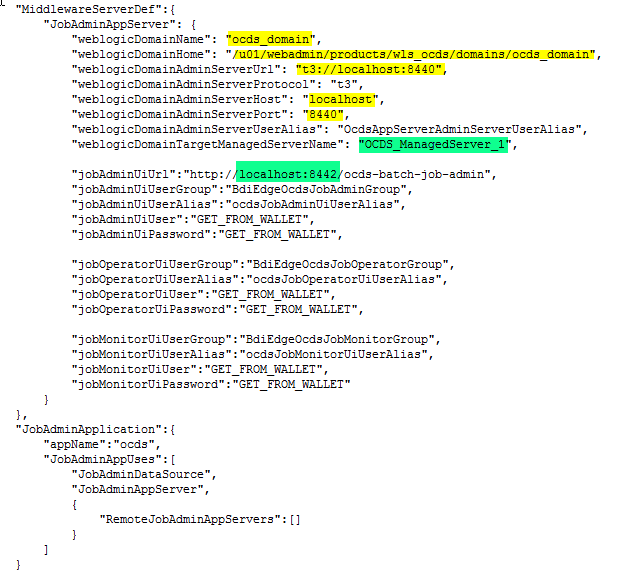
Edit the Middleware Server definitions for JobAdminAppServer
webLogicDomainName: WebLogic domain name.
webLogicDomainHome: WebLogic domain home directory.
webLogicDomainAdminServerUrl: Server URL information.
webLogicDomainAdminServerHost: Server host.
webLogicDomainAdminServerPort: Admin Server port.
webLogicDomainTargetManagedServerName: Managed Server name.
jobAdminUiUrl: Host and managed server port where Job Admin application will be deployed. This can be setup with the HTTPS port.
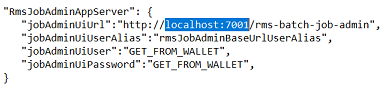
Edit RMS JobAdmin Server.
- jobAdminUiUrl: Host and managed server port where Job Admin application will be deployed. This can be setup with the HTTPS port.
Perform the following procedure to install and deploy the Job Admin Application.
Change to the ocds-jobadmin-deployment/bin folder and execute the version bdi-job-admin-deployer script for the o/s using the switches:
-setup-credentials -deploy-job-admin-app
On Linux:
./bdi-job-admin-deployer.sh -setup-credentials -deploy-job-admin-app
On Windows:
bdi-job-admin-deployer.cmd -setup-credentials -deploy-job-admin-app
There will be one prompt for a WebLogic user credential:
Enter username for alias (OcdsAppServerAdminServerUserAlias):
Enter the WebLogic Admin Server credentials.
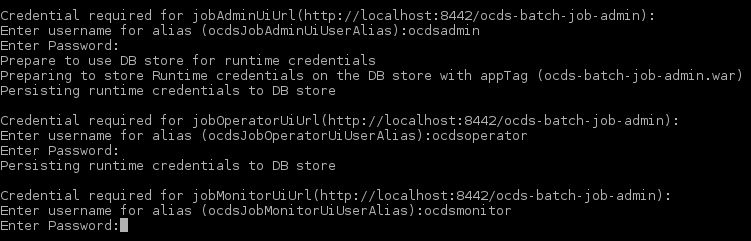
There will be three prompts to create JobAdmin user credentials:
Enter username for alias (ocdsJobAdminUiUserAlias):
Enter credentials to be used to create the Admin user.
Enter username for alias (ocdsJobOperatorUiUserAlias):
Enter credentials to be used to create the Operator user.
Enter username for alias (ocdsJobMonitorUiUserAlias):
Enter credentials to be used to create the Monitor user.
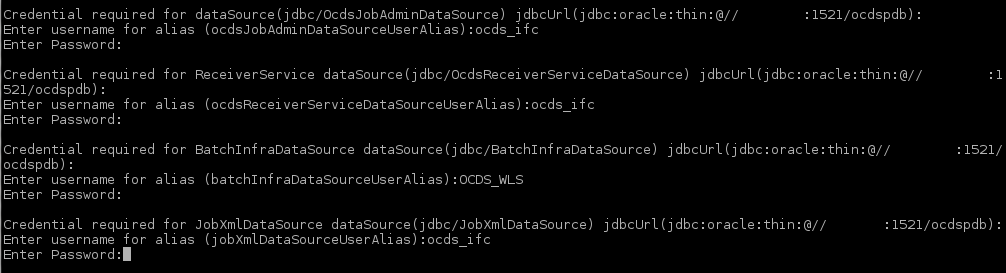
There will be four prompts for database user credentials. Three of the four credentials are for the OCDS Interface User named ocds_ifc.
Enter username for alias (ocdsJobAdminDataSourceUserAlias):
Enter the credentials for the OCDS Interface schema user. The username must be ocds_ifc. The password was defined as a prerequisite in the Chapter 3, "OCDS Schemas".
Enter username for alias (ocdsReceiverServiceDataSourceUserAlias):
Enter the credentials for the OCDS Interface schema user. The username must be ocds_ifc. The password was defined as a prerequisite in the Chapter 3, "OCDS Schemas".
Enter username for alias (batchInfraDataSourceUserAlias):
Enter the credentials for the <prefix>_WLS schema created during the Repository Creation Utility (RCU) step.
After the OCDS (BDI) Job Admin application has been successfully deployed you should be able to access and log into the application's user interface.
Verify that the BDI Job Admin has been deployed.
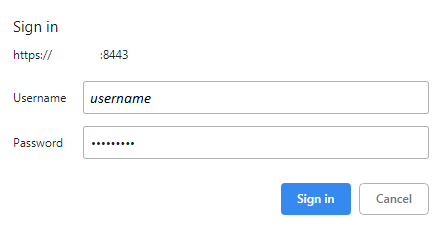
Go to http[s]://<host>:<port>/ocds-batch-job-admin/
Example: https://example:8443/ocds-batch-job-admin/
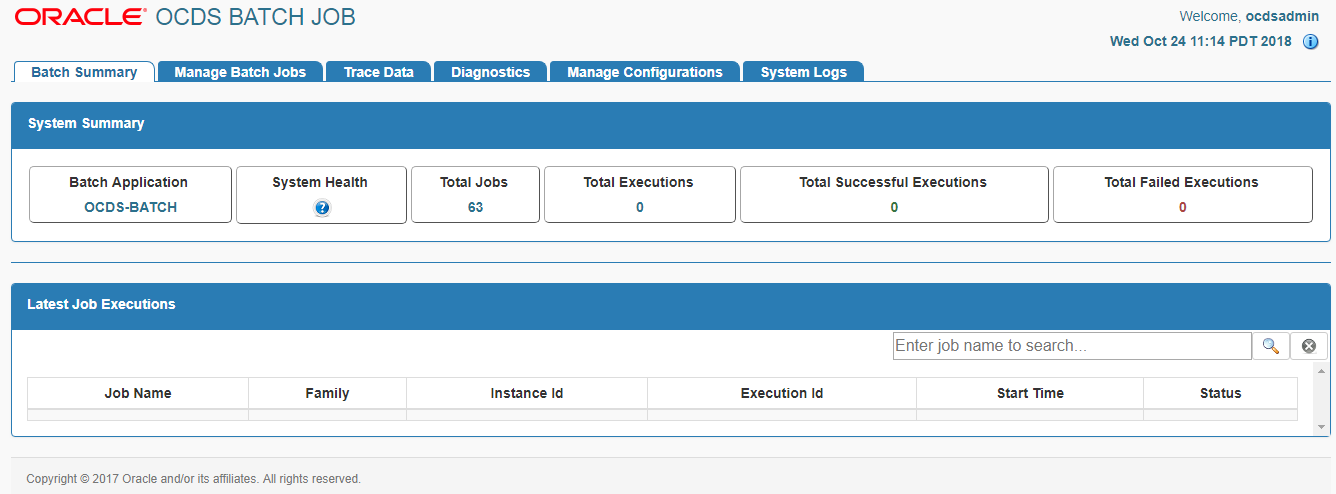
At the prompt enter one of the Job Admin User credentials created during the installation.
The OCDS Job Admin UI displays.