


|
|
This document summarizes the tasks required to install and configure a multiple-server installation of Oracle Communications Converged Application Server. This document contains the following sections:
For complete details about the hardware and software configurations supported by Oracle Communications Converged Application Server, see Supported Platforms in the Technical Product Description. This document describes supported operating systems, load balancers, database configurations, and other tools and configurations.
Oracle makes the installation program available via Web distribution as well as DVD, which is available when you obtain the physical product media. Use the following link to obtain the installation program from the Web:
The WebLogic Server installation program provides the ability to install the following products:
The installation program also allows you to selectively install one or more subcomponents of each of these product offerings, explained in Selecting the Components To Install. In addition, depending on your operating system platform, the installation program also makes the JRockit or Sun JDKs available for installation as well.
The installation program gives you the option to install the WebLogic Communications Server product and the core WebLogic Server product, upon which WebLogic Communications Server is based. In addition, when installing these products, you have the option of selecting specific product subcomponents to install. Depending on your needs, installing only the subcomponents you need can help you minimize run-time resource requirements, and potentially start-up times as well.
WebLogic Communications Server enables you to select two product components:
See also WebLogic Server Product Components You May Select for Installation in the Oracle WebLogic Server documentation for information about core WebLogic Server components.
The quick-start installation involves performing the following steps:
The Oracle Communications Converged Application Server software must be available on all server machines that will run a Oracle Communications Converged Application Server instance. Follow these steps for the Administration Server machine and for all other machines that will run a Managed Server:
chmod a+x ./owlcs1013_linux32.bin
./owlcs1013_linux32.bin
(Substitute the appropriate filename for the installation program you have obtained.)
To launch the generic JAR file installation:
bin directory of a supported Java VM is part of your PATH environment variable.java -jar ./owlcs1013_generic.jar
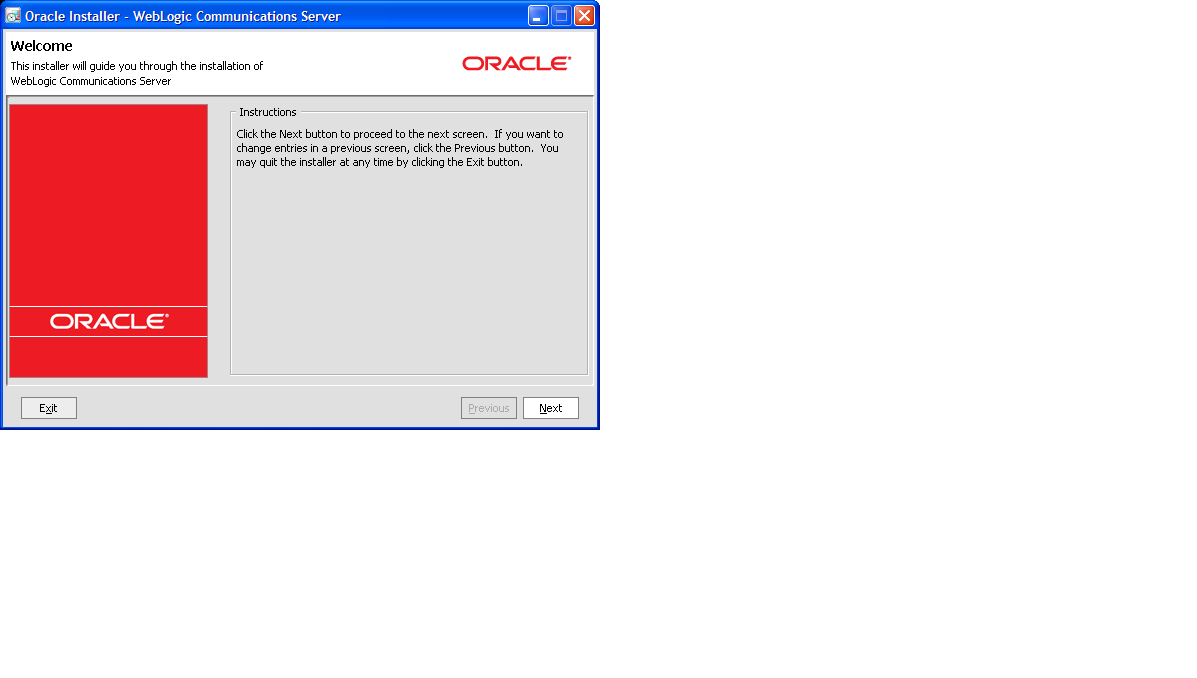
The Welcome screen appears as shown in Figure 1-1.
 " id="wp1094251" border="0" hspace="0" vspace="0"/>" id="wp1094315" border="0" hspace="0" vspace="0"/>" id="wp1094384" border="0" hspace="0" vspace="0"/>" id="wp1094509" border="0" hspace="0" vspace="0"/>" id="wp1094598" border="0" hspace="0" vspace="0"/>" id="wp1094737" border="0" hspace="0" vspace="0"/>" id="wp1095092" border="0" hspace="0" vspace="0"/>" id="wp1095234" border="0" hspace="0" vspace="0"/>" id="wp1095363" border="0" hspace="0" vspace="0"/>" id="wp1094076" border="0" hspace="0" vspace="0"/>
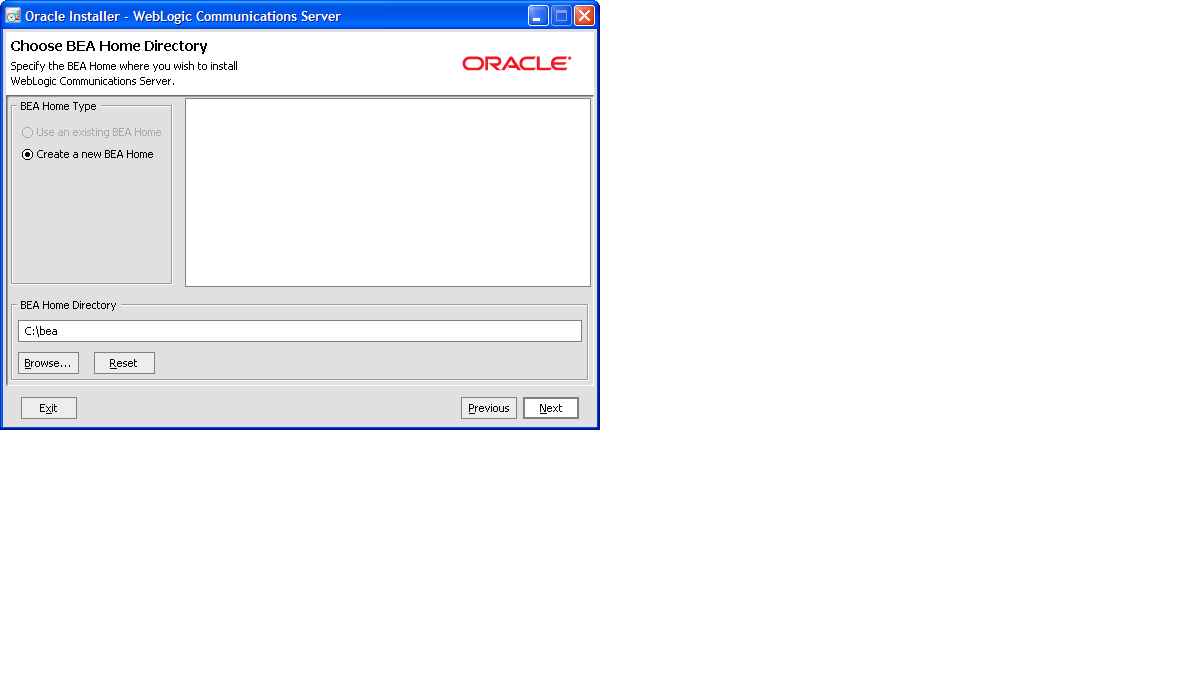 " id="wp1094251" border="0" hspace="0" vspace="0"/>" id="wp1094315" border="0" hspace="0" vspace="0"/>" id="wp1094384" border="0" hspace="0" vspace="0"/>" id="wp1094509" border="0" hspace="0" vspace="0"/>" id="wp1094598" border="0" hspace="0" vspace="0"/>" id="wp1094737" border="0" hspace="0" vspace="0"/>" id="wp1095092" border="0" hspace="0" vspace="0"/>" id="wp1095234" border="0" hspace="0" vspace="0"/>" id="wp1095363" border="0" hspace="0" vspace="0"/>" id="wp1094076" border="0" hspace="0" vspace="0"/>
If you have an existing directory into which one or more Oracle WebLogic products have been installed, that directory is selected by default. You may use that directory, or click Create a new BEA Home to specify a new directory to be created for the installation. By default, the BEA Home directory is named bea.
 " id="wp1094251" border="0" hspace="0" vspace="0"/>" id="wp1094315" border="0" hspace="0" vspace="0"/>" id="wp1094384" border="0" hspace="0" vspace="0"/>" id="wp1094509" border="0" hspace="0" vspace="0"/>" id="wp1094598" border="0" hspace="0" vspace="0"/>" id="wp1094737" border="0" hspace="0" vspace="0"/>" id="wp1095092" border="0" hspace="0" vspace="0"/>" id="wp1095234" border="0" hspace="0" vspace="0"/>" id="wp1095363" border="0" hspace="0" vspace="0"/>" id="wp1094076" border="0" hspace="0" vspace="0"/>
Select either Complete or Custom, and click Next. The steps that follow show a Custom installation.
 " id="wp1094251" border="0" hspace="0" vspace="0"/>" id="wp1094315" border="0" hspace="0" vspace="0"/>" id="wp1094384" border="0" hspace="0" vspace="0"/>" id="wp1094509" border="0" hspace="0" vspace="0"/>" id="wp1094598" border="0" hspace="0" vspace="0"/>" id="wp1094737" border="0" hspace="0" vspace="0"/>" id="wp1095092" border="0" hspace="0" vspace="0"/>" id="wp1095234" border="0" hspace="0" vspace="0"/>" id="wp1095363" border="0" hspace="0" vspace="0"/>" id="wp1094076" border="0" hspace="0" vspace="0"/>
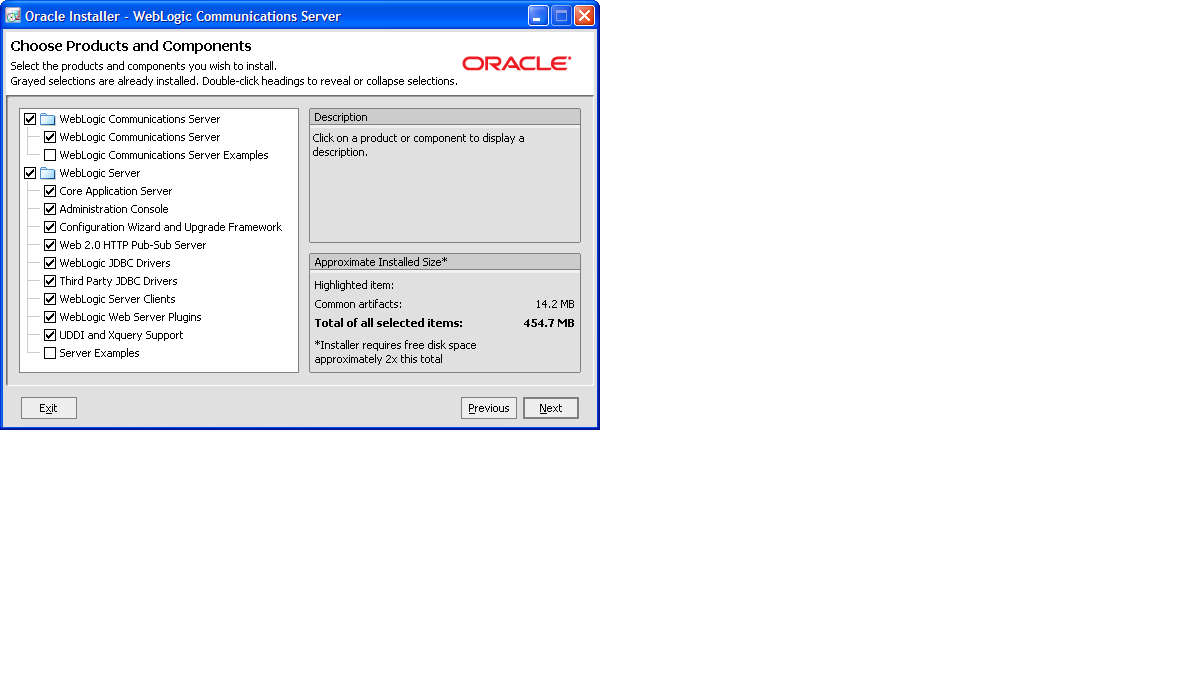
Select or deselect components as necessary, then click Next.
| Note: | WebLogic Communications Server requires the underlying WebLogic Server component in order to function. At a minimum, select the WebLogic Server Core Application Server and Administration Console components in addition to the WebLogic Communications Server component. |
 " id="wp1094251" border="0" hspace="0" vspace="0"/>" id="wp1094315" border="0" hspace="0" vspace="0"/>" id="wp1094384" border="0" hspace="0" vspace="0"/>" id="wp1094509" border="0" hspace="0" vspace="0"/>" id="wp1094598" border="0" hspace="0" vspace="0"/>" id="wp1094737" border="0" hspace="0" vspace="0"/>" id="wp1095092" border="0" hspace="0" vspace="0"/>" id="wp1095234" border="0" hspace="0" vspace="0"/>" id="wp1095363" border="0" hspace="0" vspace="0"/>" id="wp1094076" border="0" hspace="0" vspace="0"/>
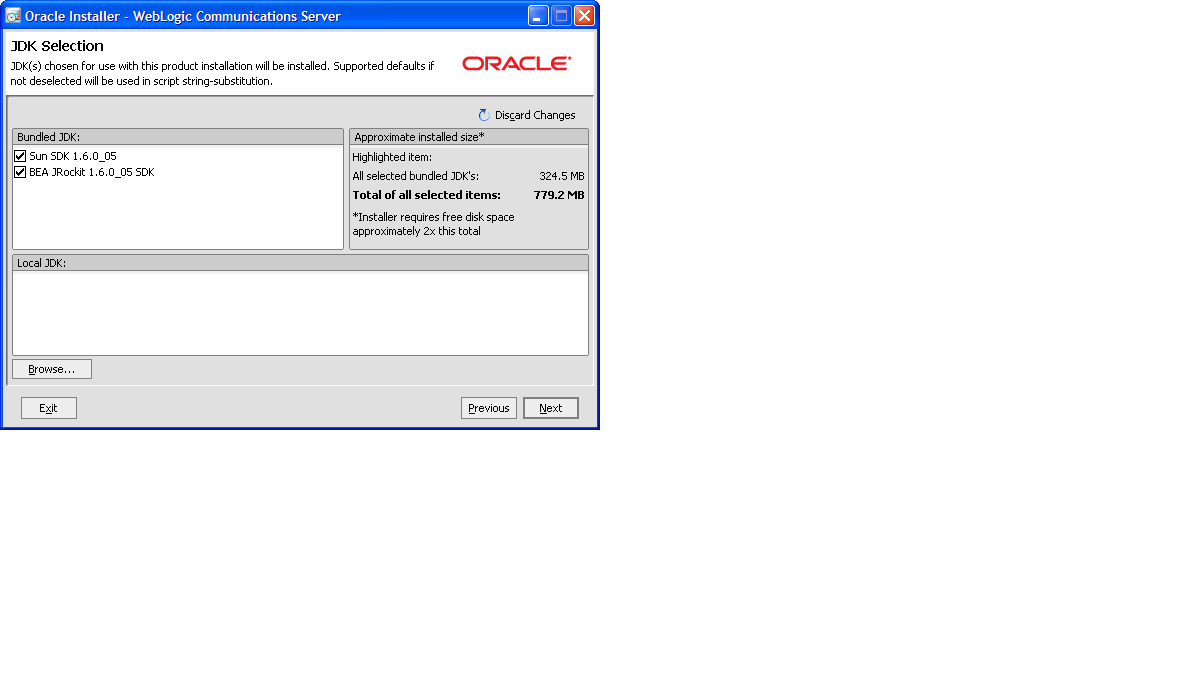
Select one or both JDKs or, if you have a suitable Java Runtime installed on your machine, deselect both JDKs. Click Next to continue.
 " id="wp1094251" border="0" hspace="0" vspace="0"/>" id="wp1094315" border="0" hspace="0" vspace="0"/>" id="wp1094384" border="0" hspace="0" vspace="0"/>" id="wp1094509" border="0" hspace="0" vspace="0"/>" id="wp1094598" border="0" hspace="0" vspace="0"/>" id="wp1094737" border="0" hspace="0" vspace="0"/>" id="wp1095092" border="0" hspace="0" vspace="0"/>" id="wp1095234" border="0" hspace="0" vspace="0"/>" id="wp1095363" border="0" hspace="0" vspace="0"/>" id="wp1094076" border="0" hspace="0" vspace="0"/>
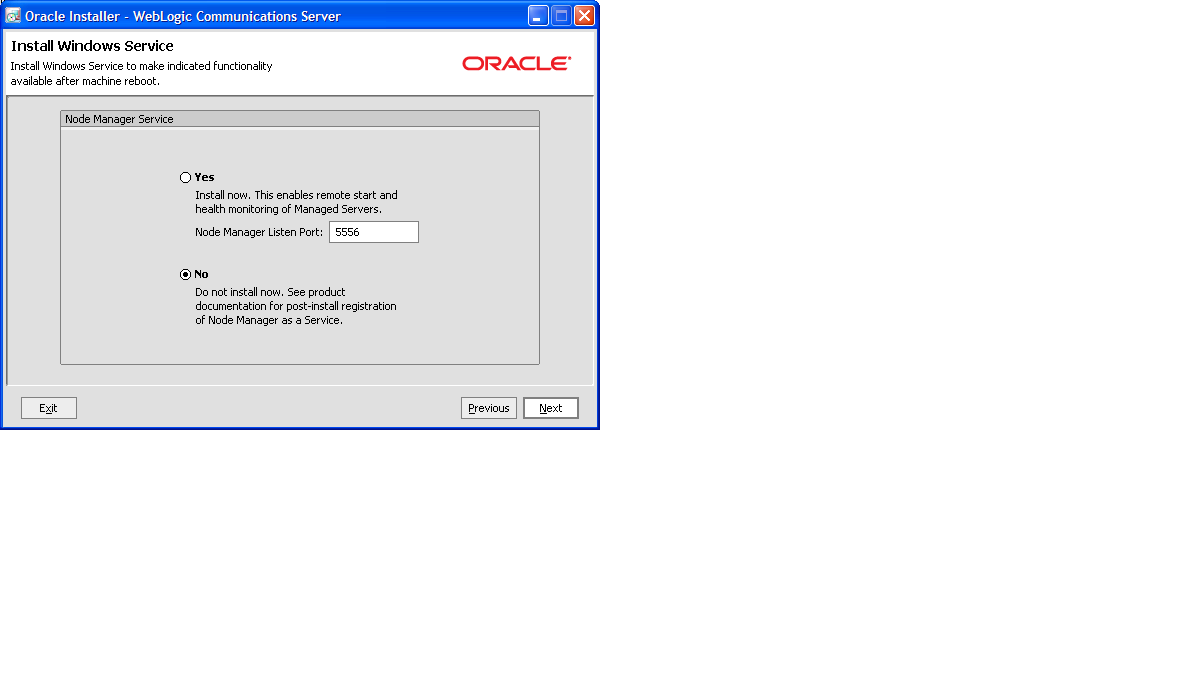
Node Manager is a WebLogic Server utility that enables you to start, shut down, and restart Administration Server and Managed Server instances from a remote location. Although Node Manager is optional, it is recommended if your WebLogic Server environment hosts applications with high availability requirements.
Select Yes or No, then click Continue.
 " id="wp1094251" border="0" hspace="0" vspace="0"/>" id="wp1094315" border="0" hspace="0" vspace="0"/>" id="wp1094384" border="0" hspace="0" vspace="0"/>" id="wp1094509" border="0" hspace="0" vspace="0"/>" id="wp1094598" border="0" hspace="0" vspace="0"/>" id="wp1094737" border="0" hspace="0" vspace="0"/>" id="wp1095092" border="0" hspace="0" vspace="0"/>" id="wp1095234" border="0" hspace="0" vspace="0"/>" id="wp1095363" border="0" hspace="0" vspace="0"/>" id="wp1094076" border="0" hspace="0" vspace="0"/>
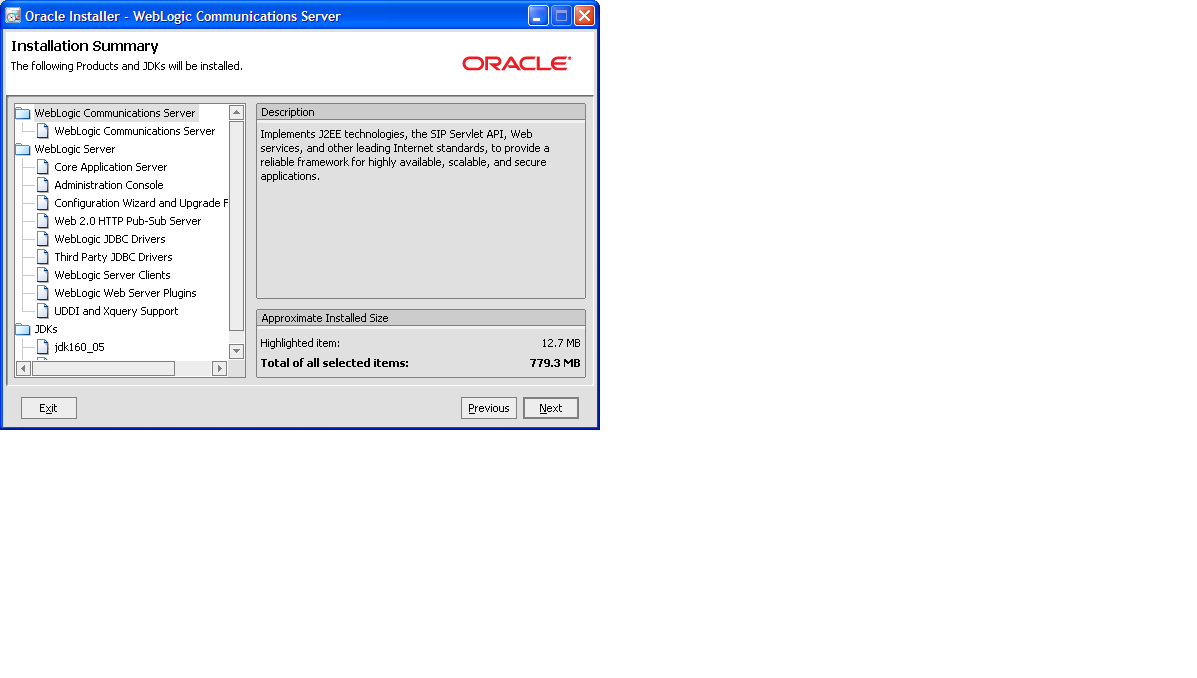 " id="wp1094251" border="0" hspace="0" vspace="0"/>" id="wp1094315" border="0" hspace="0" vspace="0"/>" id="wp1094384" border="0" hspace="0" vspace="0"/>" id="wp1094509" border="0" hspace="0" vspace="0"/>" id="wp1094598" border="0" hspace="0" vspace="0"/>" id="wp1094737" border="0" hspace="0" vspace="0"/>" id="wp1095092" border="0" hspace="0" vspace="0"/>" id="wp1095234" border="0" hspace="0" vspace="0"/>" id="wp1095363" border="0" hspace="0" vspace="0"/>" id="wp1094076" border="0" hspace="0" vspace="0"/>
Review the Installation Summary and click Continue to begin the installation.
 " id="wp1094251" border="0" hspace="0" vspace="0"/>" id="wp1094315" border="0" hspace="0" vspace="0"/>" id="wp1094384" border="0" hspace="0" vspace="0"/>" id="wp1094509" border="0" hspace="0" vspace="0"/>" id="wp1094598" border="0" hspace="0" vspace="0"/>" id="wp1094737" border="0" hspace="0" vspace="0"/>" id="wp1095092" border="0" hspace="0" vspace="0"/>" id="wp1095234" border="0" hspace="0" vspace="0"/>" id="wp1095363" border="0" hspace="0" vspace="0"/>" id="wp1094076" border="0" hspace="0" vspace="0"/>
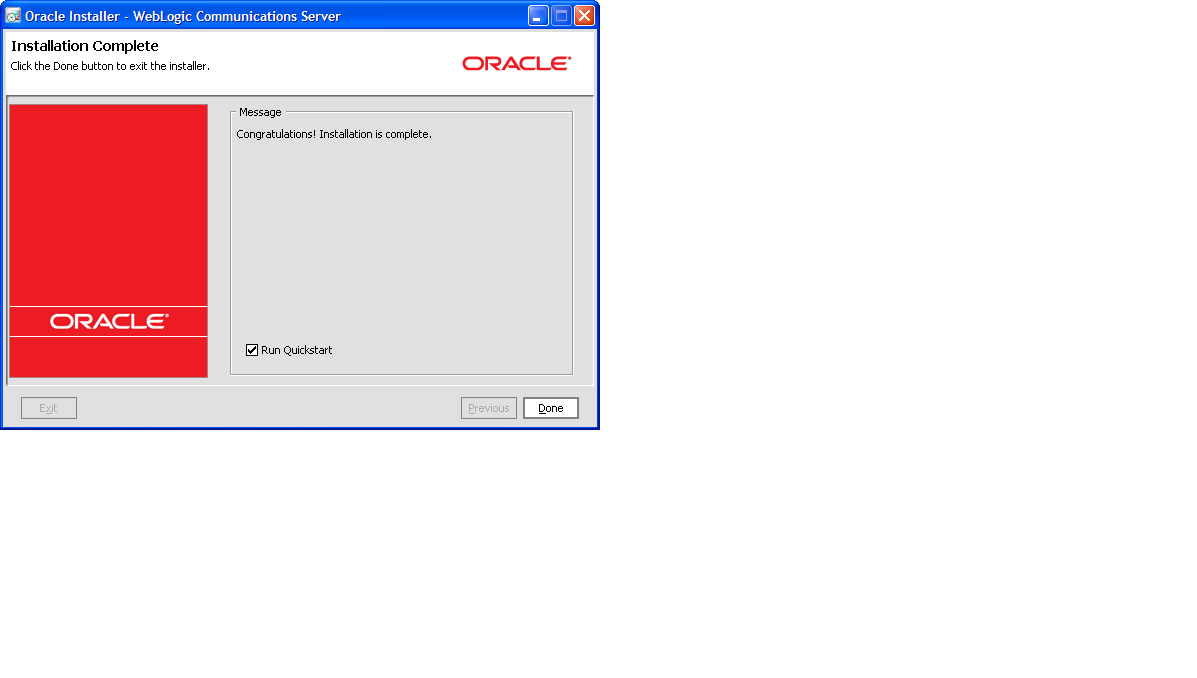
Select or deselect the Run Quickstart option, and click Done to exit the installer.
 " id="wp1094251" border="0" hspace="0" vspace="0"/>" id="wp1094315" border="0" hspace="0" vspace="0"/>" id="wp1094384" border="0" hspace="0" vspace="0"/>" id="wp1094509" border="0" hspace="0" vspace="0"/>" id="wp1094598" border="0" hspace="0" vspace="0"/>" id="wp1094737" border="0" hspace="0" vspace="0"/>" id="wp1095092" border="0" hspace="0" vspace="0"/>" id="wp1095234" border="0" hspace="0" vspace="0"/>" id="wp1095363" border="0" hspace="0" vspace="0"/>" id="wp1094076" border="0" hspace="0" vspace="0"/>
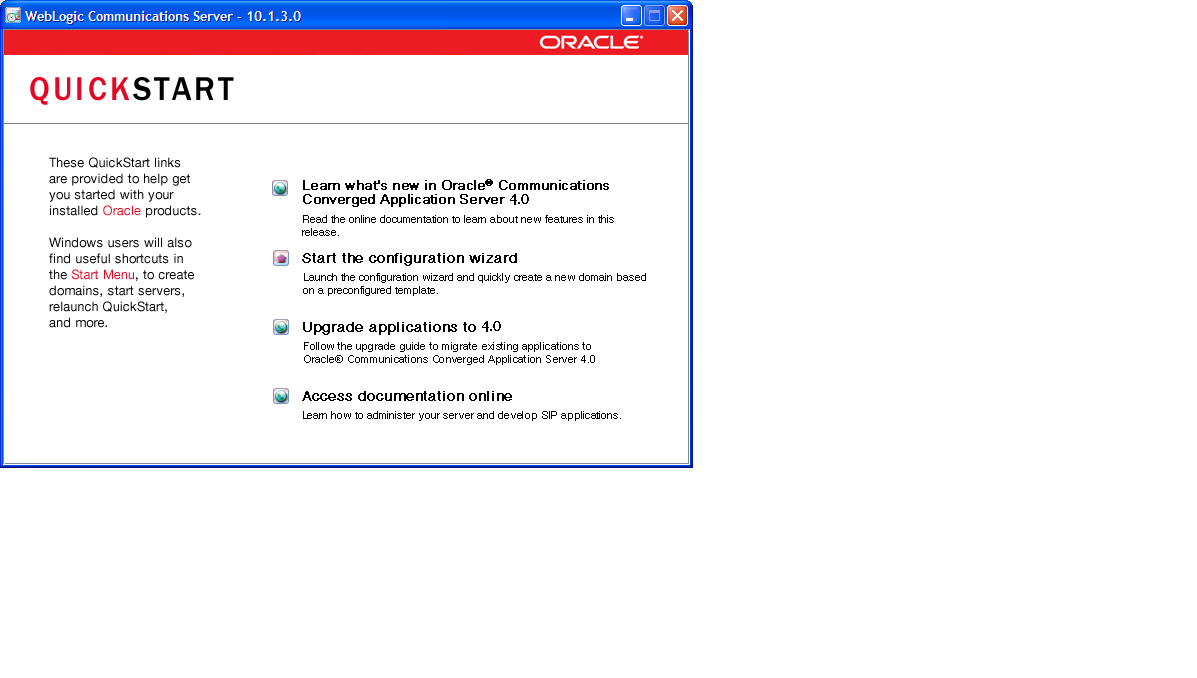
Select an option from the Quickstart application or click the close box to exit.
All related Oracle Communications Converged Application Server instances must be members of the same administrative domain. The Configuration Wizard provided with Oracle Communications Converged Application Server contains several templates to help you create different types of domains. The templates are provides as JAR files in the WLSS_HOME/common/templates/domains directory. Table 1-1 describes the available templates.
Follow these steps to install a new Oracle Communications Converged Application Server domain:
cd ~/bea/wlserver_10.3 /common/bin
./config.sh
replicateddomain.jar, and click OK.
The Oracle Communications Converged Application Server instances you intend to use must be created within a single administrative domain, and servers in the engine and SIP data tiers should be arranged into clusters to simplify deployment and management. If you used the Configuration Wizard to create a replicated Oracle Communications Converged Application Server domain, the domain is automatically created with default engine tier servers and SIP data tier servers arranged into clusters; you can modify this configuration to match the number of servers you want to use in your domain. See Modifying the Default Replicated Domain.
If you used the Configuration Wizard with the sipserverdomain.jar template, only a single server is configured. You will need to create engine and SIP data tier servers and clusters by hand.
| WARNING: | When you configure a domain with multiple engine and SIP data tier servers, you must accurately synchronize all server system clocks to a common time source (to within one or two milliseconds) in order for the SIP protocol stack to function properly. See Configuring NTP for Accurate SIP Timers in the Configuration Guide for more information. |
The default replicated Oracle Communications Converged Application Server domain is preconfigured with five separate servers and two clusters.
You may want to modify the default replicated domain if you want to add, remove, or rename servers in either of the clusters, or to configure the network settings of individual server instances. To modify the default configuration:
cd c:\bea\user_projects\domains\replicated
startWebLogic.cmd
| Note: | These quick-start instructions assume each managed server listens on a single network address. If you intend to run servers on multi-homed server hardware, or if you want to configure secure SIP transport protocols, see Configuring Network Resources. |
In the previous section you organized the SIP data tier servers into a cluster for administration purposes. You must also configure the datatier.xml file to define how SIP data tier servers are used to manage SIP application call state for your installation.
The SIP data tier cluster can be arranged into one or more partitions. A partition consists of one or more SIP data tier server instances that manage the same portion of the concurrent call state data. In a single-server Oracle Communications Converged Application Server installation, or in a two-server installation where one server resides in the engine tier and one resides in the SIP data tier, all call state data is maintained in a single partition. Multiple partitions are required when the size of the concurrent call state exceeds the maximum size that can be managed by a single server instance. In most cases, the amount of call state that can be managed by a server corresponds to the Java Virtual Machine limit of approximately 1.6GB per server.
Additional servers can also be added within the same partition to manage copies of the call state data. When multiple servers are part of the same partition, each server manages a copy of the same portion of the call data, referred to as a replica of the call state. If any server in a partition fails or cannot be contacted due to a network failure, another replica in the same partition can supply the call state data to the engine tier.
Before modifying datatier.xml, read
Configuring SIP Data Tier Partitions and Replicas in the Configuration Guide to fully understand the role of the SIP data tier and the format of the datatier.xml configuration file.
To modify datatier.xml for your domain:
datatier.xml configuration file with a text editor:cd c:\bea\user_projects\domains\replicated\config\custom
notepad datatier.xml
If you installed the default replicated domain, the datatier.xml file contains the entries shown in Listing 1-1, which defines a single partition with two replicas.
<?xml version="1.0" encoding="UTF-8"?>
<data-tier xmlns="http://www.bea.com/ns/wlcp/wlss/300">
<partition>
<name>partition-0</name>
<server-name>replica1</server-name>
<server-name>replica2</server-name>
</partition>
</data-tier>
To start the fully-configured Oracle Communications Converged Application Server domain, first start the Administration Server, then start individual Managed Servers to connect to the Administration Server. The sections that follow provide server startup instructions.
To start the Administration Server:
| Note: | Oracle Communications Converged Application Server start scripts use default values for many JVM parameters that affect performance. For example, JVM garbage collection and heap size parameters may be omitted, or may use values that are acceptable only for evaluation or development purposes. In a production system, you must rigorously profile your applications with different heap size and garbage collection settings in order to realize adequate performance. See Tuning JVM Garbage Collection for Production Deployments in the Configuration Guide for suggestions about maximizing JVM performance in a production domain. |
To start the Managed Servers in your domain:
mkdir c:\myManagedServer
cd c:\myManagedServer
| Note: | The Managed Server machines do not have a domain directory. Instead, they obtain their configuration by connecting to the Administration Server at startup. |
\common\bin directory:WL_HOME\common\bin\startManagedWebLogic.cmd server_name admin_url
The Oracle WebLogic Server installation program provides additional features you can use, depending on your needs and environment, including the following:
This guide shows the graphical-mode installation, the interactive, GUI-based method for installation. Installers also can be run in console mode, which is an interactive, text-based method used from the command line; and silent-mode, which is a non-interactive method that can be run from a script as well as the command line.
A separate uninstallation program is included in the BEA Home directory that can be run in graphical, console, or silent mode to remove the WebLogic Server software. This program does not remove any user-created configuration files, application files, or domains.
Complete details about each of these installation features are provided in the Installation Guide in the Oracle WebLogic Server documentation. The features can be used with WebLogic Communications Server as well as WebLogic Server.
After booting your domain, you may want to perform further administration procedures such as configuring network resources, enabling logging, or setting up security providers. For more information on these topics, see the Configuration Guide.


|