

|
This chapter describes how to install ALDSP using GUI mode.
It includes the following sections:
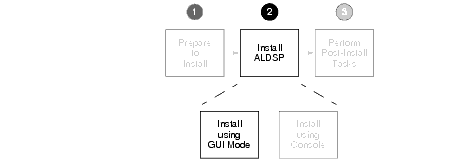
Figure 2-1 illustrates the current task in the overall installation process.

Before you begin installing ALDSP, confirm that the following prerequisites are met:
<aldsp_home> directory in which you are going to install ALDSP. The ALDSP 3.2 installer application installs WebLogic Server 10.0 MP1 if it is not present.<bea_home>/JDK 150_11/bin) is included in your PATH environment variable setting before any other JDK bin directories.| Note: | By default, WorkSpace Studio (Eclipse 3.2.2) is available for installation with ALDSP 3.2 in the <bea_home>\workSpaceStudio_1.1\workSpaceStudio directory. If you are planning to use an Eclipse version that is not bundled with ALDSP, then you need to manually clean up the Eclipse configuration directory to avoid some known issues in Eclipse 3.2.2. All files except config.ini and files under .settings subdirectory should be deleted. |
For additional information about installation prerequisites, see Installation Notes in Preparing to Install ALDSP.
This section describes how to install ALDSP using the GUI mode on Microsoft Windows and supported UNIX and Linux-based platforms.
On Microsoft Windows-based systems:
On UNIX and Linux-based systems:
where filename.bin is the name of the ALDSP installation program specific to your platform. For example, enter the following to start the Solaris version of the ALDSP installation program:
The installer application welcomes you to install ALDSP, as illustrated in Figure 2-2.
A screen appears enabling you to specify the BEA home directory, as illustrated in Figure 2-3.
The BEA Home directory (<bea_home>) serves as the central support directory for all the BEA products installed on your system.
You can also choose to create a new BEA Home directory if this is an initial installation.
Or you can choose a directory from the list or type the directory name in the BEA Home Directory field. You must install ALDSP in the same home directory where you installed WebLogic Platform 10.0 MP1.
A screen appears enabling you to choose the type of installation, as illustrated in Figure 2-4.
The following describes the options:
This option installs all ALDSP components mentioned in ALDSP Installation Components.
Enables you to choose the ALDSP components you need to install. If you select this option and click Next. The screen shown in Figure 2-5 is displayed.
If you want to install a new Eclipse instance, then select the Install Eclipse option. This option installs Eclipse at the following location:
<bea_home>\tools\eclipse_pkgs\1.1\eclipse_3.2.2\eclipse
If you already have Eclipse installed on your machine and want to use the same instance of Eclipse to work with ALDSP, then select the Use Existing Eclipse option and enter the location where Eclipse is installed.
<bea_home>\aldsp_3.2. See Figure 2-7.You have successfully installed an instance of ALDSP.


|