|
|
The following sections describe how to run the installation program in graphical mode:
This section discusses the content of the installation wizard. It goes through installation panels using default settings.
The installation wizard helps you to install BEA AquaLogic Service Registry on a local computer. You will complete the following configurations as you run the installation program:
The following figure shows the first panel of the installation wizard.
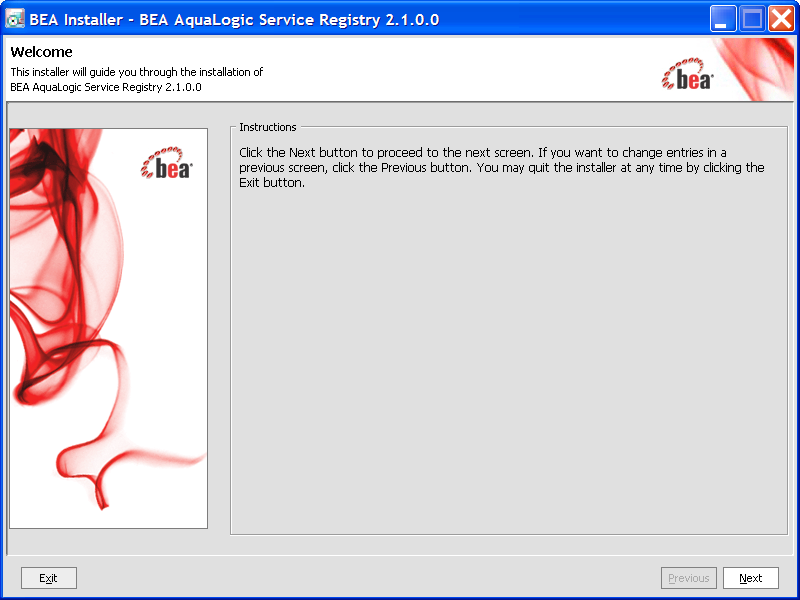
To stop this installation at any time, click Exit. To return to a previous panel, click Back.
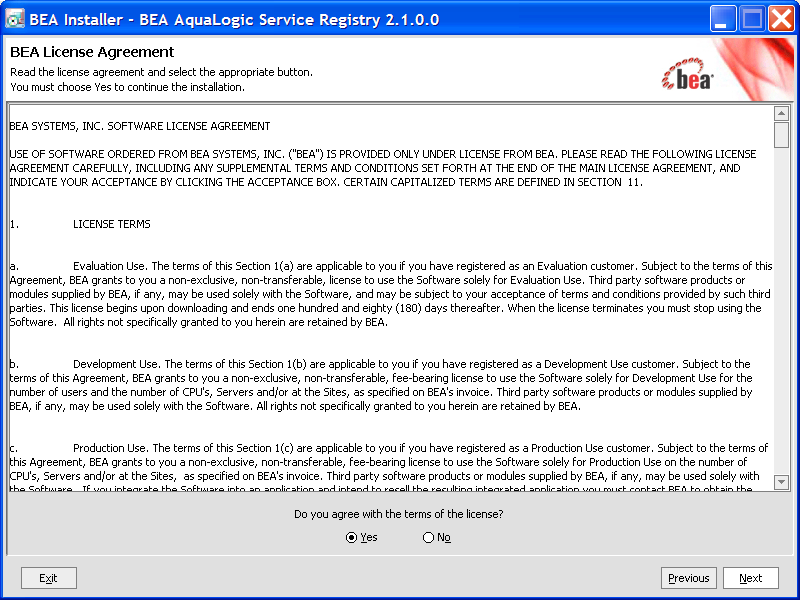
The preceding figure shows the BEA AquaLogic Service Registry license. To continue with the installation of the registry, read the license agreement and agree to it. Click Next.
If you do not accept the terms of the license agreement, click Exit.
Until you agree to the license, only the Exit button is enabled. You cannot proceed with the installation without agreeing to the license.
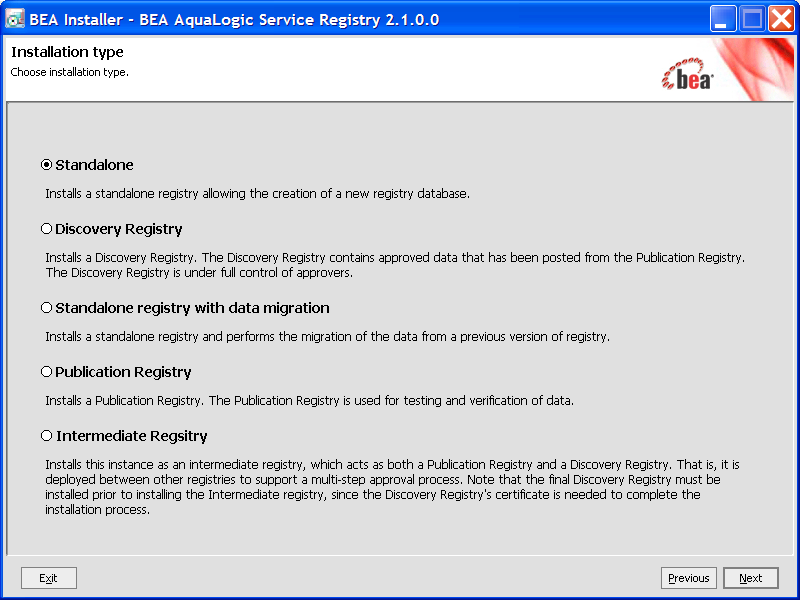
The preceding figure shows several installation scenarios. Select one.
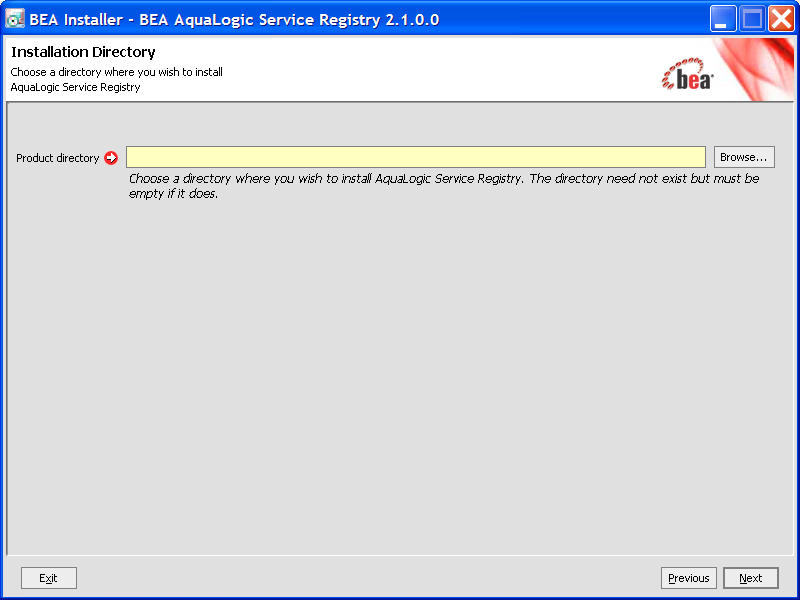
On the panel shown in Figure 6-4, type the path to the installation directory where BEA AquaLogic Service Registry will be installed. The default directory is the current working directory.
If you are installing on a Windows platform you can selected from the following:
| Note: | You must have read and write permissions on the installation directory. |
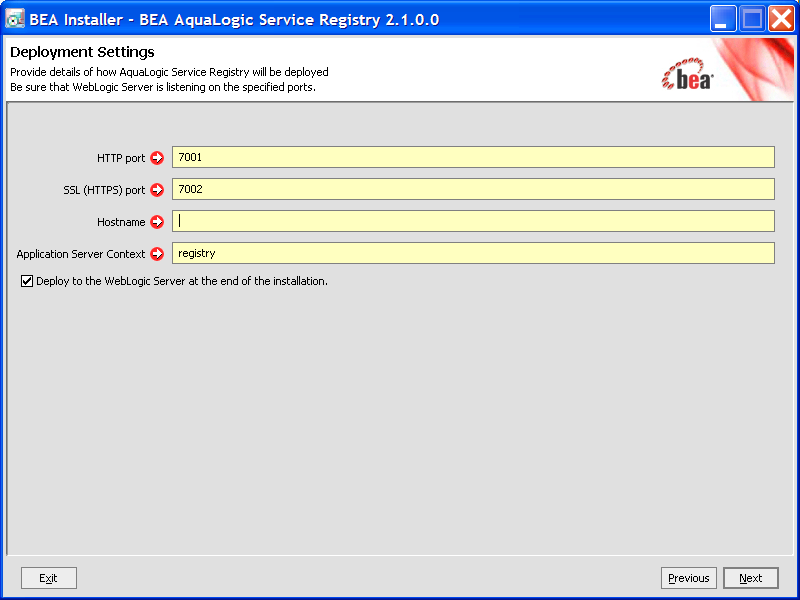
The preceding figure shows the server configuration settings. These settings will be used for the HTTP and HTTPS servers. The default recommended settings are filled in the text fields.
The host name, SSL Certificate Alias, and SSL password are used to create a new security identity in the local protected store. It creates a certificate and adds this certificate to REGISTRY_HOME/conf/clientconf.xml, REGISTRY_HOME/conf/pstore.xml, and also exports it to the certificate file REGISTRY_HOME/doc/registry.crt. This certificate file is used in several situations including the approval process registry scenario. See PStore Tool in the Administrator's Guide in
Using the AquaLogic Service Registry for instructions in how to operate the protected security store.
| Note: | The server configuration may be changed after install. See Reconfiguration After Installation. |
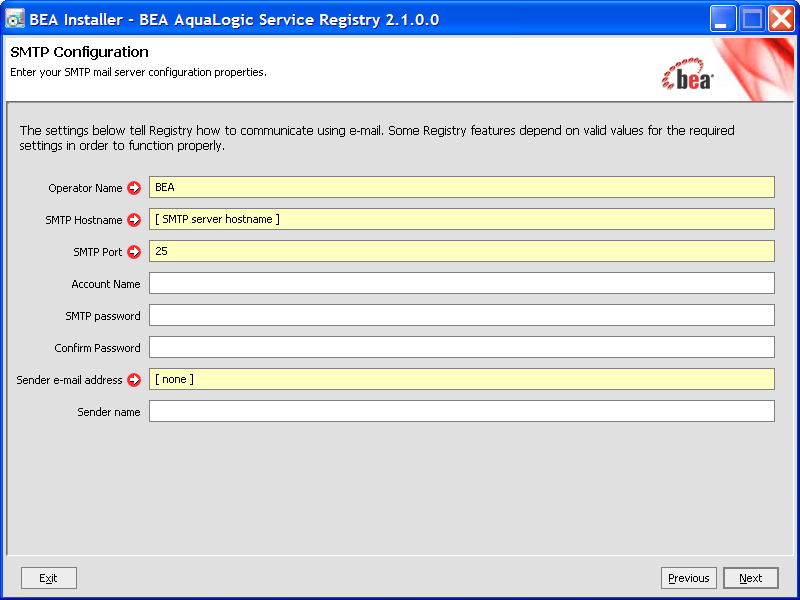
The preceding figure shows SMTP configuration. The SMTP configuration is important when users needs to receive E-mail notification from subscriptions and from the approval process.
The registry requires a database which may be created during installation. During installation you can create a new database, create schema in an existing empty database or connect to an existing database with created schema. Using the Setup tool, you can also drop the database or database schema. Select your database creation method on the following panel.
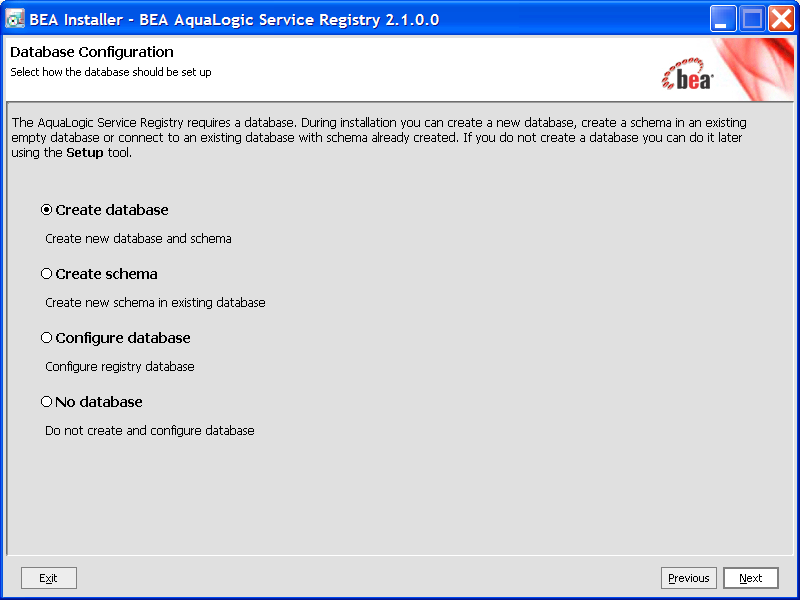
| Note: | For more information, see Database Installation. |
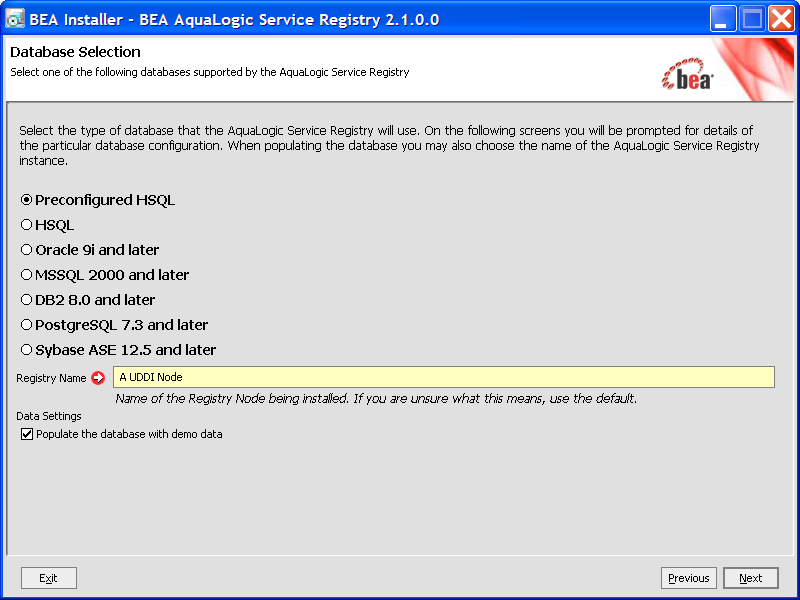
Figure 6-9 shows the supported database engines that can be prepared for BEA AquaLogic Service Registry.
You can specify the name of BEA AquaLogic Service Registry installation. The name is saved to the operational business entity. The registry name appears in the upper right corner of Registry Console and Business Service Console.
Select Install demo data if you want to evaluate the provided BEA AquaLogic Service Registry demos after installation.
The default database to create is the Preconfigured HSQL (HSQL). This database is recommended for evaluation purposes.
Note that it is possible to change the database after installation, using the Setup tool.
For more information on database installation, see Database Installation.
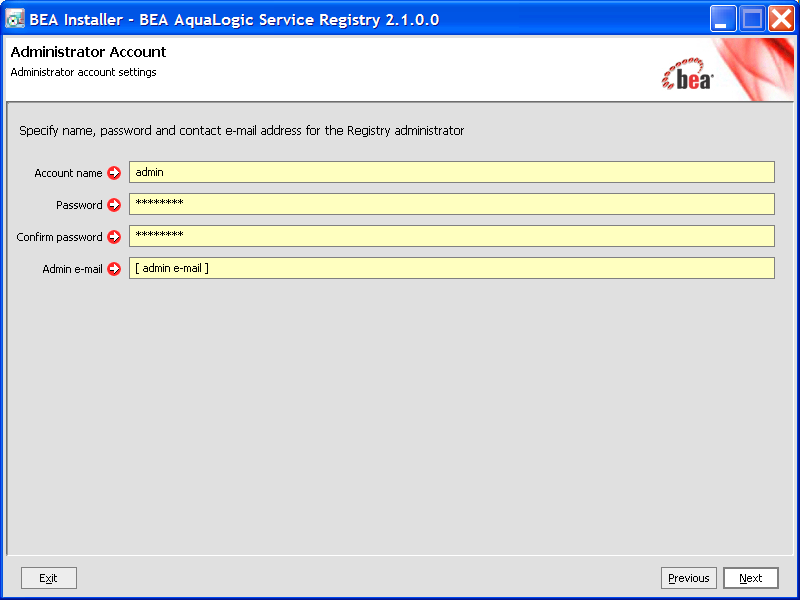
On the panel displayed in Figure 6-7, you are only required to provide administrator account settings. The database files will be installed into the REGISTRY_HOME/hsqldb/uddinode directory. The database user is uddiuser and the password is uddi.

Enter the path to JDBC Drivers on the panel shown in Figure 6-10. It is not necessary to configure this path for the HSQL and PostgreSQL databases as the JDBC drivers for these databases are installed in the distribution.
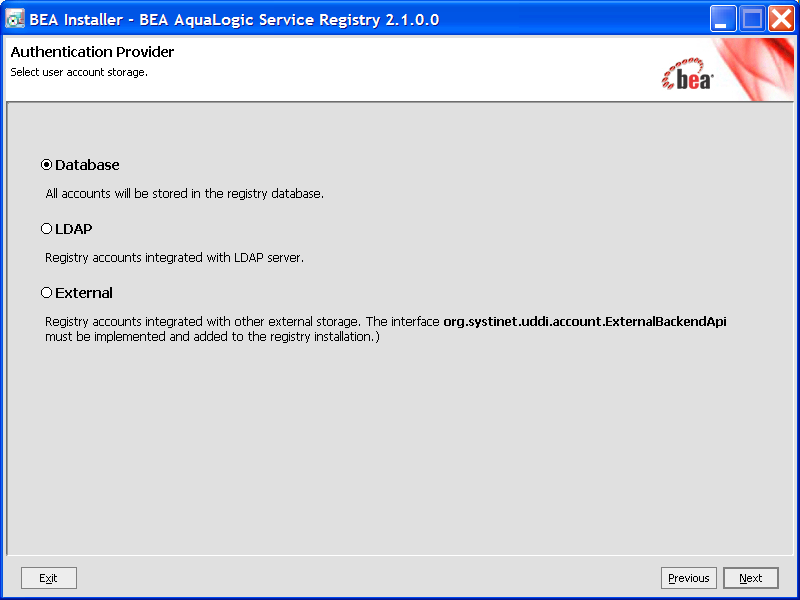
Figure 6-11 allows you to select an authentication provider.
com.systinet.uddi.account.ExternalBackendApi must be implemented and added to the registry installation.
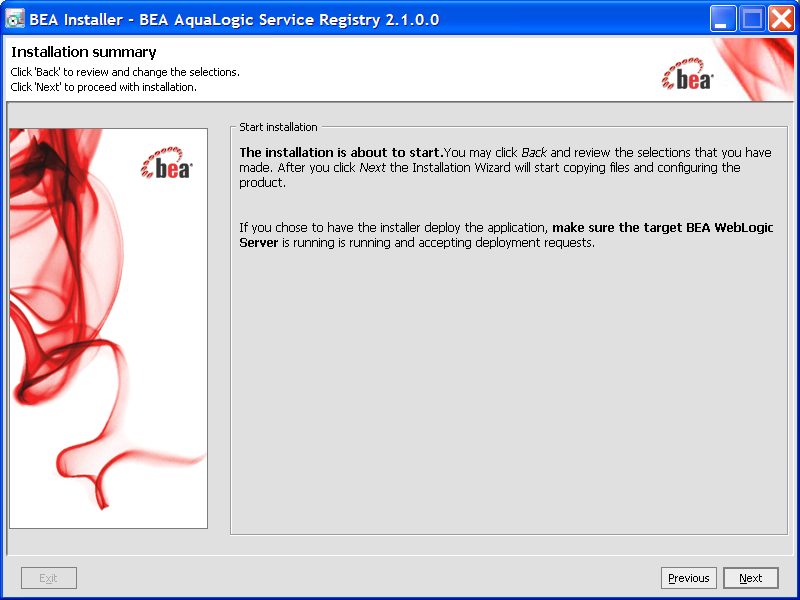
Figure 6-12 shows a summary of installation information. All required and optional properties are set. If you want to continue with the installation, click Next and the install process will start. If you want to change any property click Back.

Figure 6-13 shows the installation output and progress. Installation consists of copying files, configuring the server, and installing the database. When the installation has completed successfully, the Next button is enabled. If there is a problem, an error message and Recovery button will appear on the screen.
For more information on recovery, see Troubleshooting Your Installation.
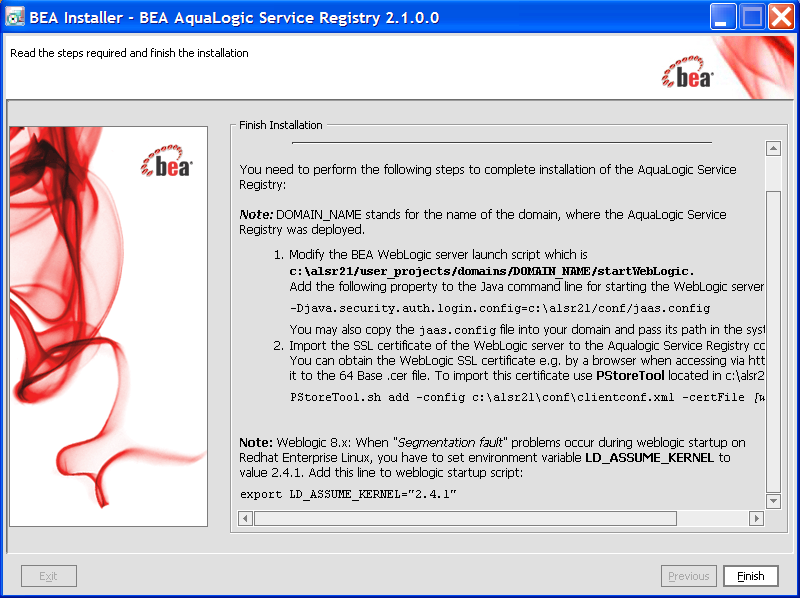
On this panel, click Finish to conclude the installation.
Note that WebLogic 8.1, 9.0, and 9.1 are supported.
When you finish running the installer successfully, complete the following steps to complete the deployment of AquaLogic Service Registry to WebLogic Server.
If you have not already done so, enable SSL in WebLogic. Restart WebLogic Server so that the previous changes in to the startup script in Step 1 take effect.
| Note: | AquaLogic Service Registry ships with sample client code that requires the WebLogic Server SSL certificate for the WebLogic Server instance on which AquaLogic Service Registry is deployed. Note that any other client code you use must also be configured for SSL connections to AquaLogic Service Registry using the appropriate tools for that type of client. |
Import the WebLogic Server SSL certificate to the BEA AquaLogic Service Registry configuration file.
You can obtain the WebLogic SSL certificate via a browser by accessing a WebLogic-hosted page using HTTPS, and exporting the certificate to a Base-64 .cer file.
To import this certificate into AquaLogic Service Registry, use the PStoreTool located in [registry_home]/bin PStoreTool.sh. add -config [registry_home]/conf/clientconf.xml -certFile [weblogic.cer]
This completes the deployment. The BEA AquaLogic Service Registry URL is:
http://[hostname]:[http_port]/[context]/uddi/web
For information about the installed product and troubleshooting tips, go to Installation Summary.


|