
This section describes the BANKAPP sample from a user perspective. Take a moment to work through the steps here to understand some of the features BANKAPP provides and how an end-user would interact with the application. This section takes you through some but not all of the possible transactions. We focus on opening and closing an account, viewing standard accounts, and performing a balance inquiry.
Make sure that you have all required components installed, and have properly configured the Active Expert to run the BANKAPP sample. (For complete instructions on how to prepare to run the Active Expert BANKAPP sample client, refer to the BEA TUXEDO Builder Release Notes or the readme file located in the same directory as the Active Expert sample application.)
To run the BANKAPP client:
You can also run the BANKAPP client by double-clicking on the sample application .exe.
Figure 5-1 shows the initial window that the user will see.
Figure 5-1 BANKAPP Client Main Window

The BANKAPP menu bar consists of the following menus and menu items.
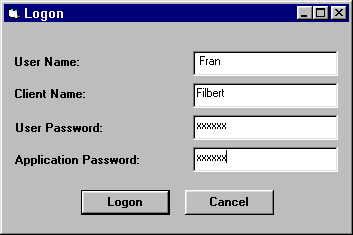
To log on to BANKAPP:
Figure 5-2 Logon
Note:
In the sample configuration that is installed with BEA TUXEDO Builder, the BANKAPP servers do not have security yet, so you do not need to enter any information in these fields initially to log on.
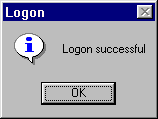
If the logon is successful, you get a confirmation dialog (shown in Figure 5-3). Click OK to continue.
Figure 5-3 Logon Confirm
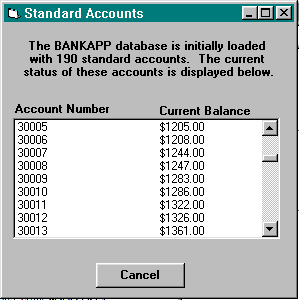
You can get a list of all the accounts loaded into BANKAPP when the application is initially configured. Note that this is a fixed list-it does not include any new accounts you create. This list shows account identification (ID) numbers and the current balance for each account. Currently, there are 190 standard accounts. This processing may cause a delay in display of this dialog, depending on the performance of the server. Also, standard accounts can be deleted from the data base using the Close Account transaction. Deleted accounts will not be displayed in this dialog.
To view the standard accounts:
Figure 5-4 Standard Accounts Confirm

When ready, the list of standard accounts displays (shown in Figure 5-5).
The accounts are shown in a scrollable dialog.
When you have finished viewing the accounts, click Cancel to close the dialog.
Figure 5-5 Standard Accounts
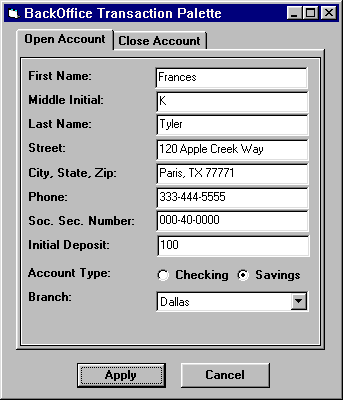
The BackOffice Transaction Palette gives you options to open and close accounts.
To open an account:
The Open Account tab should come up as the default. If not, click on the Open Account tab.
Figure 5-6 BackOffice - Open Account
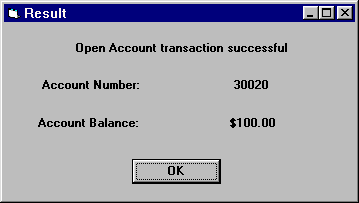
If the transaction is successful, you get a Result confirmation dialog showing your new account ID number and opening balance. (Figure 5-7 shows an example of this dialog.)
Figure 5-7 Open Account Result
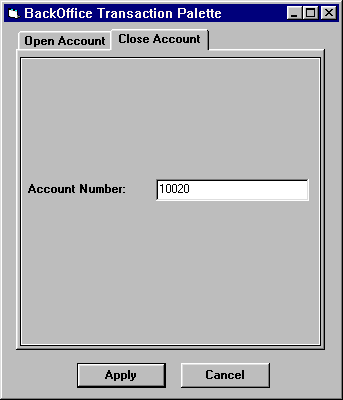
To close an account:
Figure 5-8 BackOffice - Close Account
The Teller Transaction window gives you options to perform the following operations on an account:
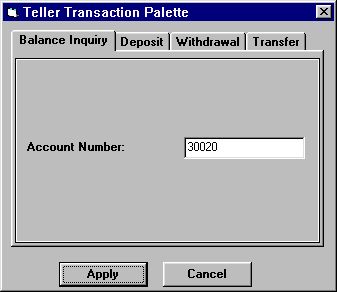
This section steps through only one of these transactions (Balance Inquiry) as an example. We suggest you try the other Teller transactions as well to get familiar with all possible actions. Try using a Teller transaction on the new account you just created.
To perform a Balance Inquiry:
Balance Inquiry
Figure 5-9 Teller - Balance Inquiry
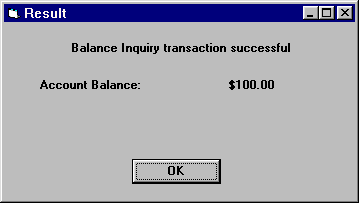
You get a Result dialog showing the current balance for the specified account (Figure 5-10 shows an example of this dialog.)
Figure 5-10 Balance Result
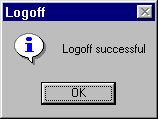
To log off from BANKAPP, choose File->Logoff from the menu bar.
This brings up a logoff confirmation dialog (shown in Figure 5-11). Click OK to complete the logoff.
Figure 5-11 Logoff Confirm
To exit the BANKAPP application, choose File->Exit from the menu bar.
This brings up an exit confirmation dialog (shown in Figure 5-12). Click Yes to exit.
Figure 5-12 Exit Confirm
