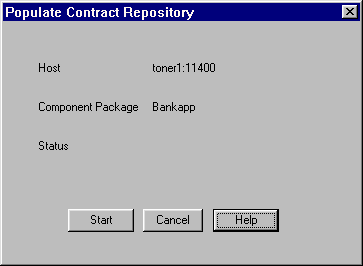
You get this window after you have selected a component package to export to the Contract Repository and clicked OK on the previous "Populate Contract Repository" window.
Figure 7-12 Populate Repository

Click Start to log on to the Contract Repository and begin the "populate repository" process. (Or click Cancel to close the window and discontinue the process.)
When you click Start, this window remains open to show the progress of the "populate repository" process.
Figure 7-13 Populate Repository - Phases

Table 7-6 explains the read-only fields on this window.
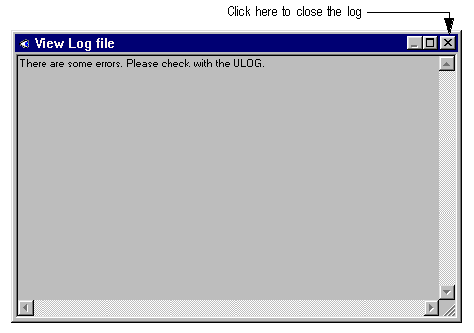
When the "populate repository" process is finished, the window confirms this and the Cancel button changes to a Close button. You must click View Log to display the results of the populate process, as shown in Figure 7-14.
After you have checked the log, you can click Close on the Populate Contract Repository window to close it.
Populating the Repository, What the Populate Repository Process Does
Figure 7-14 View Log

Close Button
See Also