
You can export client/server interface contracts from the Rose Expert to the Contract Repository, thereby populating the Contract Repository with the data. This gives you the ability to share the BEA TUXEDO services modeled in the Rational Rose paradigm with the rest of the Builder development environment by means of the shared Contract Repository.
In order to populate the Contract Repository with Rose Expert data, you must have at least one component package in the current Rational Rose model. If there are no component packages in the model, you get an alert message when you choose the Populate Repository menu option.
Figure 3-13 Populate Warning

If you get this warning, go back to the model and create a component package.
For more information on creating component packages, refer to topic Create Component Packages and a Component Diagram in the section Using Rational Rose to Model a TUXEDO Application.
During the "populate repository" process, the Rose Expert creates a text file called PopulateRepository.dat based on the application model for the selected component package. The PopulateRepository.dat file is read automatically by the bulk loader (crbld.java) that connects to the Contract Repository server.
After using the Rose Expert to populate the repository, you can access the objects you created by means of the Contract Repository Editor or any other BEA Builder product that uses the Contract Repository as a data source.
Table 3-5 shows how the Rose Expert data translates to the Contract Repository.
Note:
As a part of the populate repository process, the Rose Expert overwrites duplicate entires from previously generated data.
To populate the Contract Repository based on your application model:
How to Populate the Contract Repository with Model Data
ApplicationName.mdl) and contains at least one
component package.
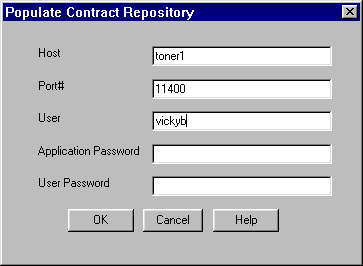
This brings up the Populate Contract Repository logon window as shown in Figure 3-14.
As a first step in populating the Contract Repository with Rose Expert data, you need to provide logon information for Contract Repository logon. (If you have specified default logon settings, the first three fields on this window will be set already. See Specifying Logon Settings.)
Table 3-6 explains the fields on this window.
Figure 3-14 Populate Contract Repository - Logon
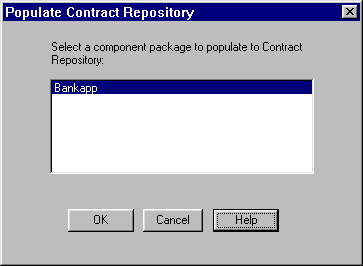
This brings up the Populate Contract Repository select package window as shown in Figure 3-15.
Figure 3-15 Populate Repository - Select Package
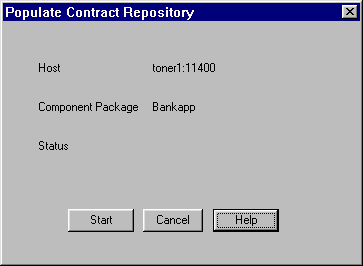
This brings up the Populate Repository start window as shown in Figure 3-16. The target host you specified in step 1 is displayed here.
Figure 3-16 Populate Repository
The window remains open to show the progress of the populate process. Table 3-7 explains the read-only fields on this window.
When the populate repository process is finished, the window indicates this and the Cancel button changes to a Close button as shown in Figure 3-18.
Figure 3-17 Populate Contract Repository - Phases
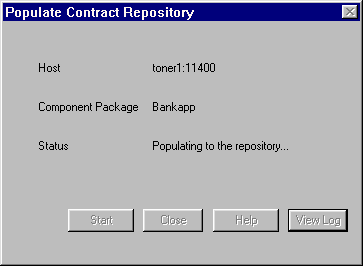
Figure 3-18 Populate Repository - Complete

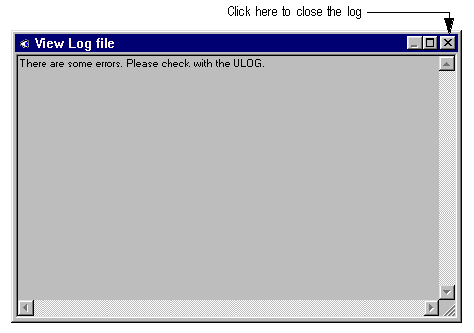
Figure 3-19 View Log
When the populate process completes successfully, the model elements in the chosen component package are available in the Contract Repository. (For information on working with the Contract Repostiory, refer to the online help for that product. Also, refer to Where to Find Related Information.)