The Configuration Data Editor is a maintenance application that allows you to add or delete machines from the Configuration Data file as well as updating current information.
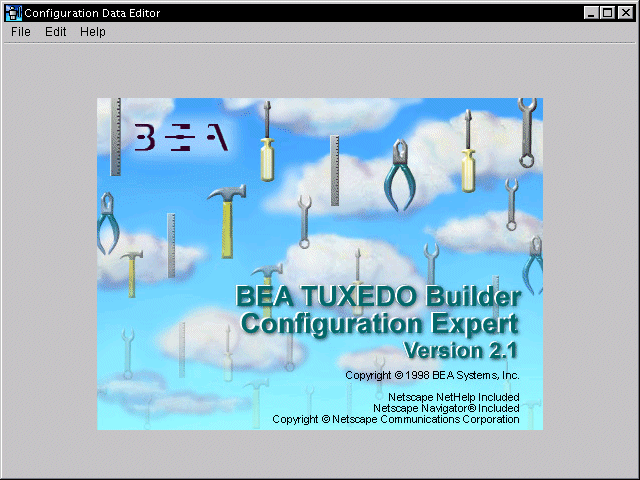
When you first bring up the Configuration Data Editor, the main window frame showing the Builder splash screen is displayed. This screen is similar to the Configuration Expert.
Figure 3-34 Initial Configuration Data Expert Window
Before you can view a configuration or available resources, you must either create a new application configuration file or open an existing one.
You can use the default Configuration Data file, ConfigExpert.dat, that is provided in the data directory.
The following sections describe how to:
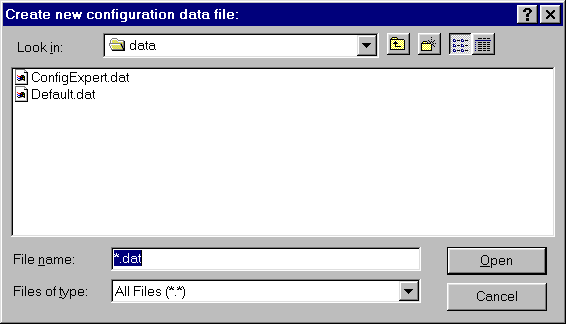
To create a new configuration data file:
Create a New Configuration Data File
This brings up the Create new configuration data file browser window as shown in Figure 3-35.
Figure 3-35 Create New Configuration Data File
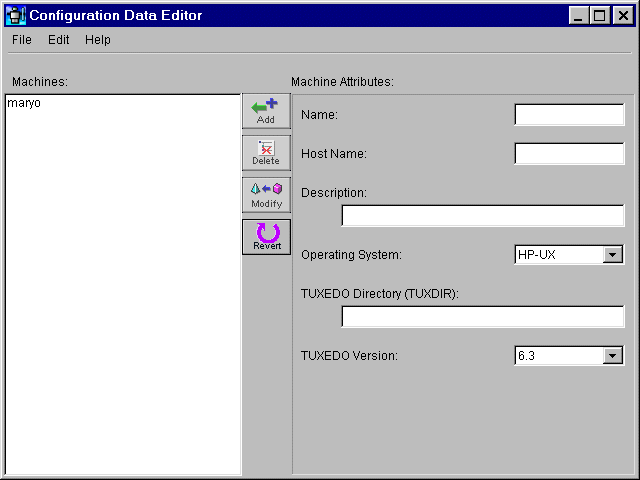
The Configuration Data Editor main window is displayed.
See the section Modifying Data Using the Configuration Data Editor.
Note:
You must fill in the fields for Name, HostName, Operating System, and BEA TUXEDO Directory.
Figure 3-36 Configuration Data Editor
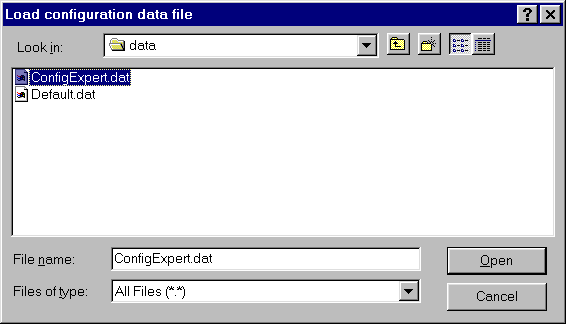
To open an existing configuration file:
This brings up the Load configuration data file window.
Figure 3-37 Load Configuration Data File Window
The Configuration Data Editor main window is displayed. See the section Modifying Data Using the Configuration Data Editor.
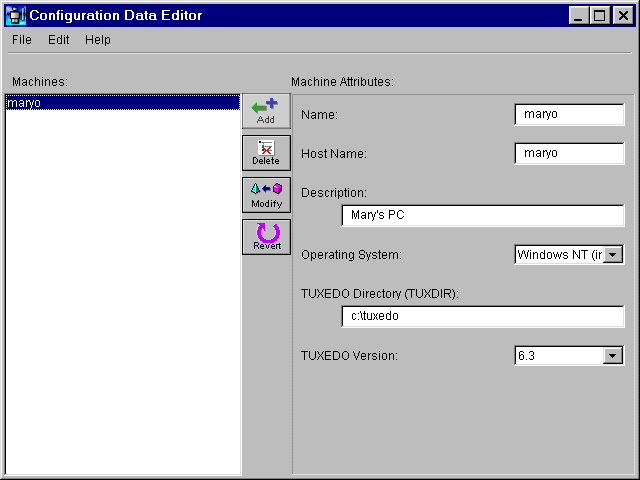
As shown in Figure 3-38, the Configuration Data Editor main window layout provides the following view:
Figure 3-38 Configuration Data Editor Main Window
The machines available in the Configuration Data file appear in the left panel, and the attributes that you want to modify appear in the fields in the right portion of the main window screen.
You can modify these attributes by selecting the specific machine you want to modify in the left panel, and filling in the appropriate information in the fields on the right.
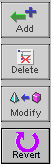
The Configuration Data Editor has a main menu bar for general navigation commands such as Save, Add, and Delete, and the Data Configuration toolbar for editing the configuration data for each object (vertical).
The Data Configuration toolbar is in the middle of the main window. Table 3-20 describes the Data Configuration toolbar buttons available for frequently used actions.
The following table explains each field on the right side of the Configuration Data Expert main window.
You can add, delete or modify machines using the Configuration Data Editor. The following section takes you through the steps to accomplish these tasks.
To add a machine using the Configuration Data Editor:
Modifying Data Using the Configuration Data Editor
Add a Machine
Note:
These are mandatory fields and the Add button is not activated until all fields are filled in.
Or
Choose Edit->Add
The newly added machine appears in the left panel of the Configuration Data Editor as shown in Figure 3-39. To modify this machine, see the task Modify a Machine.
For each machine added to the repository, a set of default template resource managers is added. For more information on this file see Resource Manager Template File.
Figure 3-39 Add a Machine with Configuration Data Editor
To delete a machine using the Configuration Data Editor:
Or
Choose Edit->Delete
The deleted machine no longer appears in the left panel of the Configuration Data Editor main window.
Note:
If you delete a machine from the list, you cannot use the configurations that are included with that machine!
Figure 3-40 Delete a Machine with Configuration Data Editor
To modify a machine using the Configuration Data Editor:
Or
Choose Edit->Update
The new machine attributes appear in the right panel of the Configuration Data Editor main window.
Figure 3-41 Modify a Machine with Configuration Data Editor