

This chapter describes how to install the MessageQ Client for Windows software. It includes the following topics:
To successfully install MessageQ Client software on your client machine, you must ensure that your environment meets the following installation requirements:
Installation Prerequisites
To perform the installation, you need the following hardware:
Hardware Requirements
Your system must meet the following software requirements before you can run the MessageQ Client software.
Software Requirements
where ncp tell
node show execnode is the name of the remote system. For more information about DECnet networking, see the DECnet documentation.
For a complete description of MessageQ server systems and TCP/IP transports supported by the MessageQ Client, see the MessageQ Client for Windows Release Notes.
This section describes the hardware, operating systems, and network transports supported by MessageQ Client for Windows, Version 4.0.
The MessageQ Client supports operating system and network environments as listed in Table 2-1. Platforms and Transports Supported
Client Platforms Supported
| Operating System | Transports |
|---|---|
|
Windows NT 3.51 (Intel or Alpha) |
Windows NT TCP/IP |
|
Windows 95 |
Windows 95 TCP/IP |
The MessageQ Client runs with all MessageQ, Version 2.1 or higher message server implementations with the following exceptions:
The MessageQ Client supports the DECnet network transport using the PATHWORKS products listed in Table 2-2. Client DECnet Support
| Operating System | PATHWORKS Version |
|---|---|
|
Windows NT V3.51 (Intel or Alpha) |
PATHWORKS for Windows NT V4.1B |
|
Windows 95 |
Not supported |
MessageQ Client systems require approximately 3 megabytes of free disk space to hold the MessageQ installation files.
We recommend that you back up your system disk before installing any software. For details on performing a system disk backup, see your Microsoft Windows system documentation.
If you have a previous version of the MessageQ Client already installed on your system, we recommend that you install Version 4.0 software in the default installation directory, c:\...\BEA Systems\MessageQ.
Regardless of the directory in which the product is installed, the icons for the Program Manager are overwritten to point to the new installation. If a previous version is installed, you will not be able to access it from the Program Manager using the icons.
The MessageQ Client is installed from the distribution media using a Windows setup.exe installation program.
Table 2-3 describes the MessageQ Client installation options.
To install the MessageQ Client, follow these steps:
\client\setup.exe to start the installation.
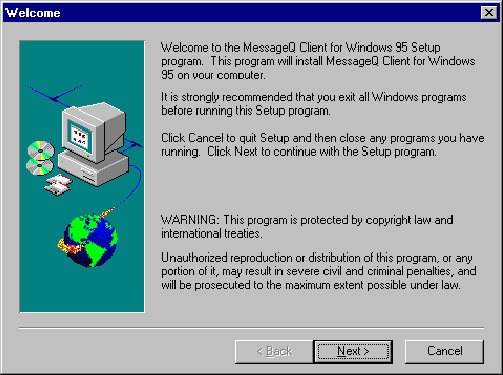
During the installation process, clicking on Next advances you to the next dialog box, and clicking on Back returns you to the previous dialog box.
Figure 2-1 The Welcome Screen
c:\...\BEA Systems\MessageQ) as shown in
Figure 2-2. Click the Browse button if you wish to specify a different installation
directory.
Note:
The installation replaces any files from a previous installation of the MessageQ Client.
Figure 2-2 Choose Destination Location Dialog Box
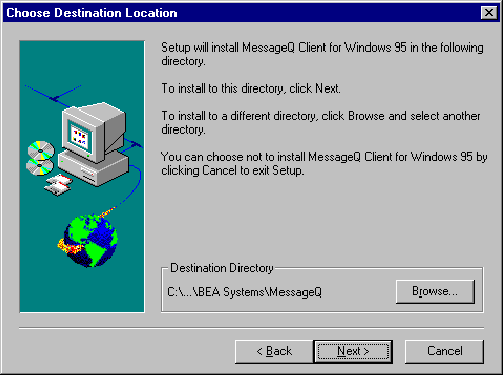
Figure 2-3 Setup Type Dialog Box
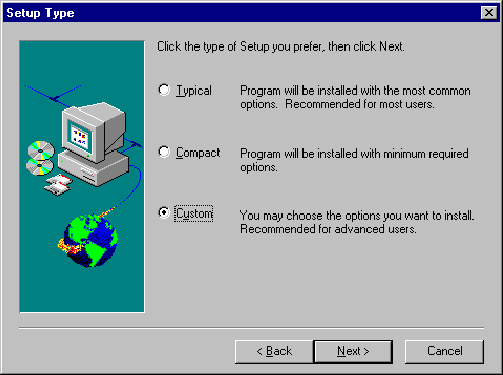
Note:
This dialog box does not appear if you selected the Typical or Compact installation.
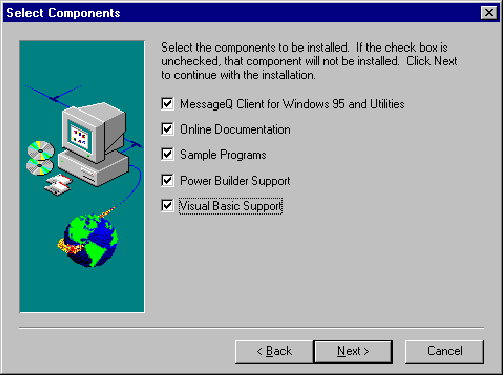
Figure 2-4 Select Component Dialog Box
If errors occur during the MessageQ Client installation procedure, see the Installation Prerequisites topic to ensure that the correct versions of the prerequisite software have been installed. If the installation fails, SETUP displays a dialog indicating that the installation failed. The installation will fail if the following conditions exist:
If you encounter a problem while using MessageQ and you believe the error is caused by a problem with MessageQ, call your BEA Support Center for high-level advisory and remedial assistance.
After completing the installation procedure, you can verify that the MessageQ Client software is successfully installed on your system.
Ensure that the files listed in Table 2-4 are located in directories identified by the PATH environment variable: Adding the MessageQ Client File Drive and Directory to Your Path
| Windows NT or Windows 95 |
|---|
|
|
|
|
|
TCP/IP or DECnet DLL |
\bin directory to your PATH environment variable. The default location is c:\...\BEA Systems\MessageQ\bin.
Environment Variable
Default Directory
INCLUDE
LIB
Table 2-5 INCLUDE and LIB Environment Variables
c:\...\BEA Systems\MessageQ\include
c:\...\BEA Systems\MessageQ\lib
To remove the MessageQ Client from your system, run the Client Uninstaller program. The Client Uninstaller program deletes MessageQ files, directories, and registry entries created during the installation process. Configuration settings stored in the Registry are not removed by the Client Uninstaller program.
Note also that the Client Uninstaller program cannot remove MessageQ directories if they contain files which were not created during the installation process (for example, log files). You must delete these files manually before you can delete the directories.
Uninstalling the MessageQ Client