


|

|
|
|
|
WebLogic Collaborate Installation on Windows Systems
The following sections describe WebLogic Collaborate installation procedures for Windows systems:
Installation Prerequisites
Before you install the WebLogic Collaborate software, make sure you have the following software and hardware configuration for your machine:
Note: The 256 MB RAM recommendation is for one instance of WebLogic Server, where the c-hub and c-enabler are colocated. You may need more memory if you run two instances of WebLogic Server.
The Java 2 SDK v1.2.2 software must be installed to run the WebLogic Collaborate sample applications, including the installation verification example. To avoid Java errors, modify PATH so that %JAVA_HOME%\bin is first in your PATH:
prompt> PATH=%JAVA_HOME%\bin;%PATH%
WebLogic Collaborate is supported on platforms that are certified and approved for WebLogic Server 5.1. For details about WebLogic Server 5.1 platforms, refer to http://www.weblogic.com/platforms/index.html.
BEA ships the Cloudscape software—a pure-Java relational database management system (RDBMS)—with WebLogic Server. If you installed WebLogic Server before October 1 2000, you should update your Cloudscape database with the 3.5.0 version. You can download Cloudscape 3.5.0 from the WebLogic Server 5.1.0 Service Packs section at the following URL:
http://commerce.bea.com/downloads/weblogic_server.jsp#wlssp.
The Oracle 8.1.5 client libraries must be installed on the machine running WebLogic Server 5.1. You must also have access to an Oracle 8.1.5 or 8.1.6 server. WebLogic Collaborate uses the WebLogic jDriver for Oracle, which is included with your WebLogic Server software.
For more information about configuring Oracle with WebLogic Server, see http://www.weblogic.com/docs51/install/install_jdbc.htm1.
Note: The following variables should be defined in the user you create for WebLogic Collaborate, to use an Oracle Database. Contact your Oracle Database Administrator for more information.
ORACLE_HOME=directory_where_Oracle_is_installed
PATH=$PATH:$ORACLE_HOME/bin
LD_LIBRARY_PATH=$LD_LIBRARY_PATH:$ORACLE_HOME/lib
For more information about configuring Microsoft SQL Server with WebLogic Server, see http://www.weblogic.com/docs51/classdocs/API_jmsq4.html.
For more details about using the JDBC specification for database access, see http://www.weblogic.com/docs51/classdocs/jdbcdrivers.html.
Installing the BEA WebLogic Collaborate Software Package
The WebLogic Collaborate installation procedure installs the following components:
To install the BEA WebLogic Collaborate software, complete the following steps:
The WebLogic Collaborate Introduction screen is displayed.
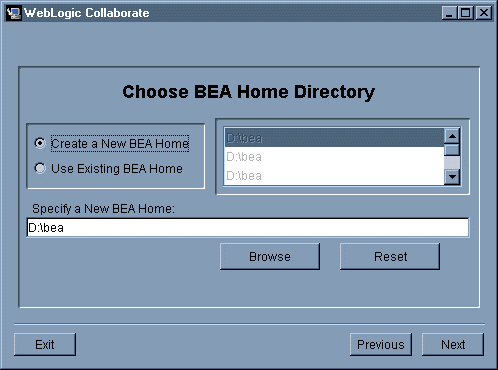
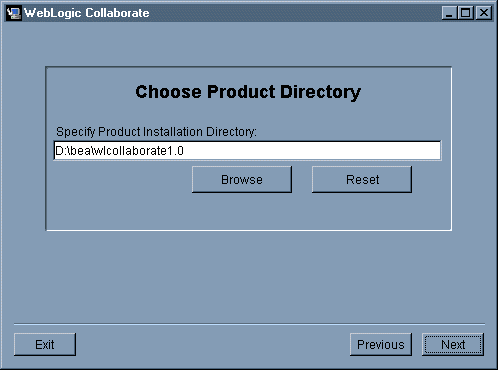
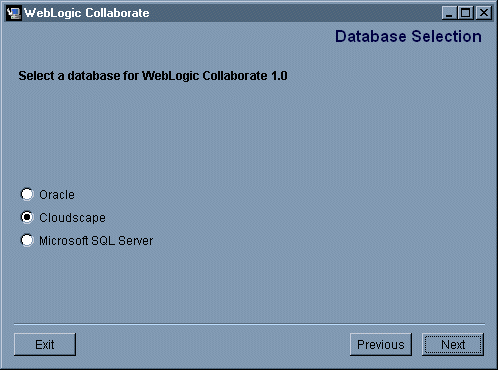
The next screen displayed in the installation process depends on the database you selected.
Cloudscape is the default database. It is a pure-Java relational database management system that BEA ships with WebLogic Server and requires no configuration to use.
The configuration dialog box prompts you to enter Oracle or SQL Server access configuration information.
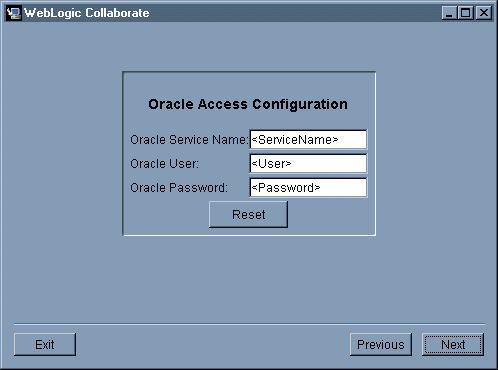
To configure the Oracle database, enter the Oracle Service name, user, and password in the appropriate fields and click Install. To configure the Microsoft SQL Server database, enter the Microsoft SQL Server host name, SQL user, and SQL password in the appropriate fields, and click Install. When the installation begins, a screen showing the status of the installation process is displayed. 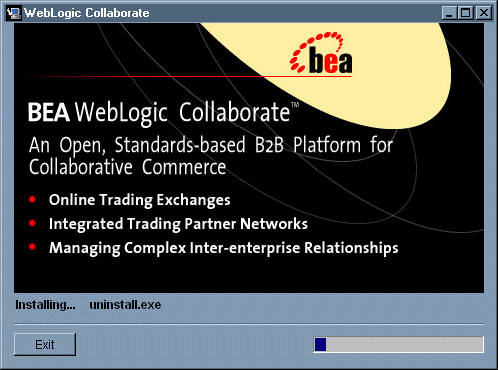
After all WebLogic Collaborate components are installed, the Install Complete screen is displayed, indicating that the installation procedure is complete. 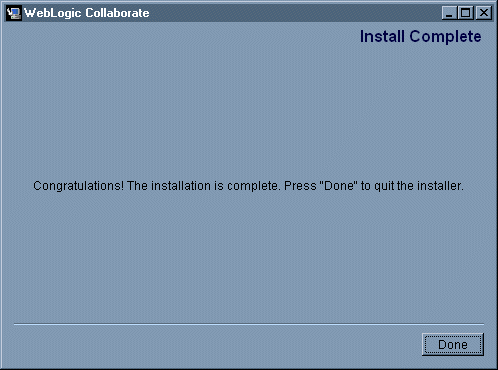
Copy the license file into the following directory:
%WLC_HOME%\license
Your license file is in the downloaded distribution if you downloaded the product from the BEA Web site, or is sent to you by email if you purchased the software on a CD.
Verifying the Software Installation
An installation verification example is provided to ensure that the installation of WebLogic Collaborate is successful. This section explains what the installation verification example does and how you run it.
How the Installation Verification Example Works
The installation verification example is a simple application that is automatically configured during the WebLogic Collaborate installation. You can run this example immediately after the installation procedure to verify that WebLogic Collaborate was installed successfully on your system. The verification example does the following:
Running the Installation Verification Example
When you complete the installation as described in Installing the BEA WebLogic Collaborate Software Package, verify that the installation is successful by completing the following procedure:
This example assumes the folder is named WebLogic Collaborate 1.0 and is installed in the Programs folder. For example, select:
Start—>Programs—>WebLogic Collaborate 1.0.
A Command window opens and the database schemas are created in the repository. Wait for this step to complete.
—>Bulkload Repository Data.
A Command window opens and the database repository data is loaded into the repository. Wait for this step to complete.
Start C-Hub.
A Command window opens. The WebLogic Server and one c-hub starts. Wait for the message "WebLogic Server started" to appear in the window.
Start Verifier.
The Verifier application is invoked, which in turn launches a Web browser with the following URL:
http://localhost:7001/Verifier.html
where localhost represents the name of the machine where you are running WebLogic Server.
The verification example starts. During verification, the Partner1 c-enabler sends a message to the Partner2 c-enabler. The message sent by Partner1 is the string ABCDEFGHI, and the message returned by Partner2 is abcdefghi.
If the verification sample executes successfully, a report containing a "verification SUCCESS" message is displayed in the browser. The report identifies the process flow and the status of the verifier application.
The following is an extract from a typical report:
WLC Verifier
Partner 2 enabler started
Waiting for request...
Partner 1 process flow.
Starting enabler... done.
Creating conversation... done.
Sending message: conversation id=verifierConv ...
string=ABCDEFGHI
Status=success
Waiting for response... done.
Processing reply:
Received string=abcdefghi
Verification SUCCESS
Termination conversation:verifierConversation:1.0requ...
success
Troubleshooting Your Installation
The following information can help you to troubleshoot the WebLogic Collaborate software installation.
Accessing Verifier.html
If your Web browser is unable to connect to the URL, it could indicate that your browser is using a proxy server and is preventing you from connecting to your local WebLogic Server.
To bypass the proxy server, change your browser's proxy settings so that the browser does not use the proxy server to access the servlet. For example, in Netscape:
localhost:listening_port
In the preceding syntax, listening_port is the listening port number specified in the weblogic.properties file. The default listening port number is 7001.
Note: If you are using Microsoft Internet Explorer, you can access the proxy settings by selecting Tools—>Internet Options—>Connections in your browser window.
Also check for error messages in the command prompt window in which WebLogic Server was started.
Starting the C-Hub
If the c-hub fails to start, the license may not be installed. Check for error messages in the command prompt window in which WebLogic Server was started (refer to step 4 in Running the Installation Verification Example).
Running the Verification Example
Confirm that your system has the installation prerequisites as described in Installation Prerequisites, and that the software prerequisites are installed in the correct locations.
Run the set command to confirm that the following environment variables are correct:
This environment variable should be set to the location of the Java 2 SDK v1.2.2 software on your machine; for example:
JAVA_HOME=D:\jdk1.2.2
This environment variable should be set to the location of the WebLogic Server 5.1 software on your machine; for example:
WL_HOME=D:\weblogic
This environment variable should be set to the location of the WebLogic Collaborate software on your machine; for example:
WLC_HOME=D:\bea\wlcollaborate1.0
Uninstalling the BEA WebLogic Collaborate Software Package
To remove the WebLogic Collaborate software from your system:
For example, on the Microsoft Windows Task Bar choose
Start—>Programs— >WebLogic Collaborate 1.0—>Uninstall.
On the Microsoft Windows Task Bar, choose Start—>Settings—>Control Panel. Choose Add/Remove Programs and then choose the WebLogic Collaborate program name from the list of programs. Click Add/Remove.
When you invoke the Uninstall script, a screen prompting you to confirm the removal of the software is displayed.
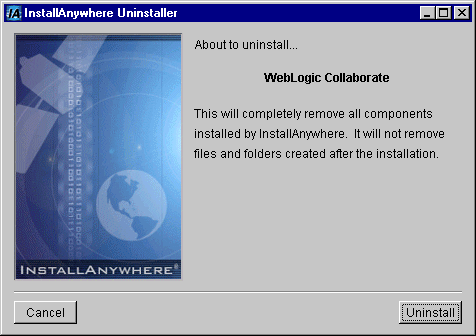
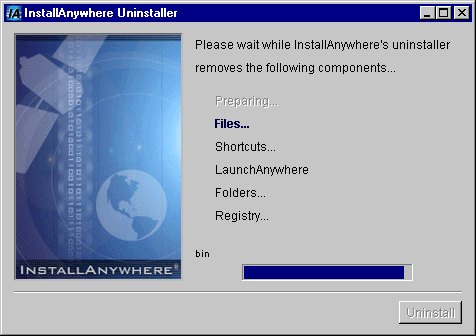
The WebLogic Collaborate software is uninstalled from your system. A screen showing the status of the process is displayed.
.
When the uninstall process is complete, a screen is displayed to indicate that it was successful. 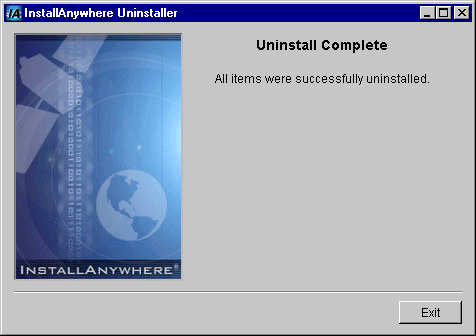
The WebLogic Collaborate product is removed from your system and from the Windows Registry.

|

|

|
|
|
|
Copyright © 2000 BEA Systems, Inc. All rights reserved.
|