bea.com | products | dev2dev | support | askBEA
 Download Docs   Site Map   Glossary 
Search

Development Guide

 Previous Next Contents Index View as PDF  

Creating a New Portal in a New Domain


Step 1: Create the New Domain

This section shows how to run the Domain Configuration Wizard to create a new complete set of enterprise applications which include all the administration, commerce, personalization and portal functionality offered by the WebLogic Portal platform.

  1. On the Windows platform, select Start —> Programs —> BEA WebLogic Platform 7.0 —> Domain Configuration Wizard.

    You can also launch the Domain Configuration Wizard by executing dmwiz.cmd (or dmwiz.sh on UNIX) from the following directory:

    <BEA_HOME>\weblogic700\common\bin

  2. From the list of domain templates on the left, select WLP Domain as shown in Figure  2-1. Name the domain; examples in this procedure use the name myNewDomain. Click Next.

    Figure 2-1 Select the WLP Domain


  3. In the Choose Server Type page, verify that Single Server (StandAlone Server) is selected, as shown in Figure  2-2, and click Next.

    Figure 2-2 Choose Server Type


  4. Verify that the domain location is correct in the Choose Domain Location page. For this example, it should be <BEA_HOME>\user_projects, as shown in Figure  2-3. Click Next.

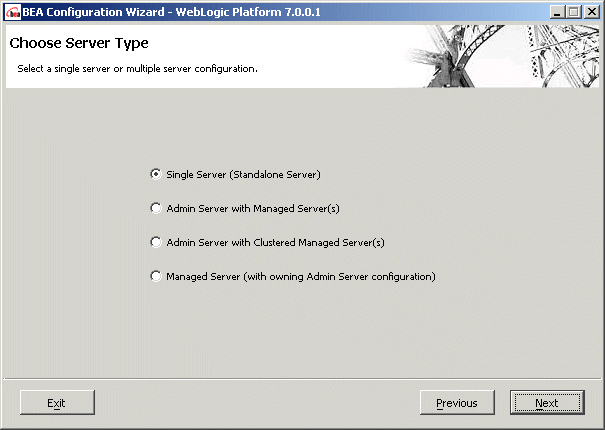
    Figure 2-3 Choose Domain Location


  5. Check the displayed server information in the Configure Standalone/Administrative Server page. If you are running WebLogic Portal locally, the information should be as shown in Figure  2-4. Click Next.

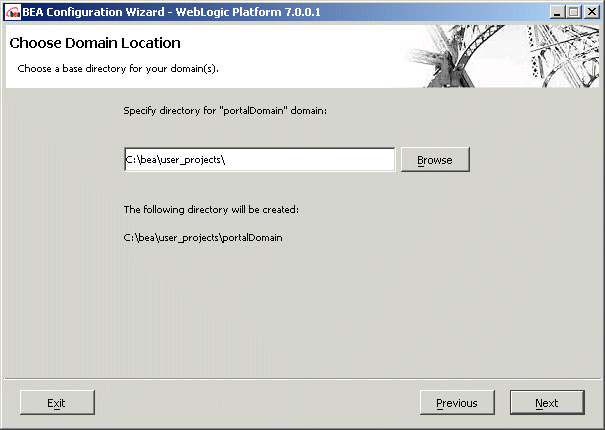
    Figure 2-4 Configure Server


Note: For more information on options in the Domain Configuration Wizard, consult "Using the Configuration Wizard" at http://download.oracle.com/docs/cd/E13196_01/platform/docs70/confgwiz/index.html.

  1. Create the administrative user by entering an administrator user name and password. A typical choice is weblogic/weblogic, as shown in Figure  2-5. Click Next.

    Figure 2-5 Create Administrative User


  2. Select Yes on the Create Start Menu Entry for Server page, as shown in Figure  2-6, then click Next.

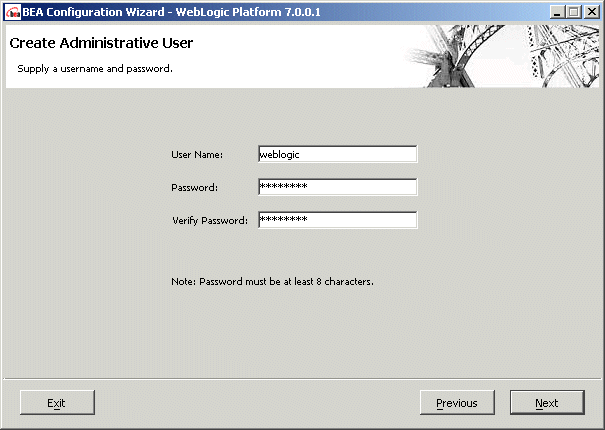
    Figure 2-6 Create Start Menu Entry


  3. Verify the settings in the Configuration Settings window, as shown in Figure  2-7, and click Create. The Wizard runs for a moment, processing and creating files.

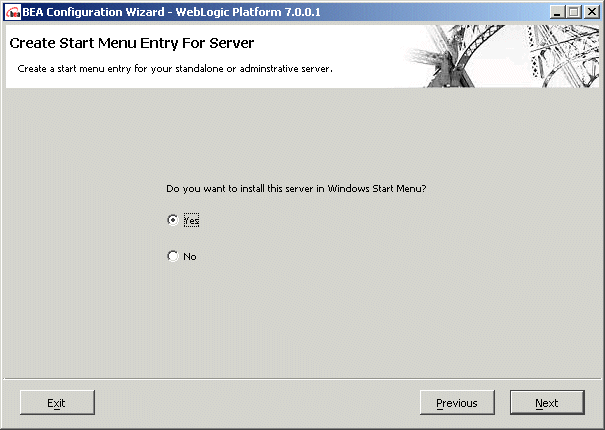
    Figure 2-7 Verify Configuration Summary


  4. The Configuration Wizard Complete page appears. Make sure End Configuration Wizard is selected and click Done, as shown in Figure  2-8.

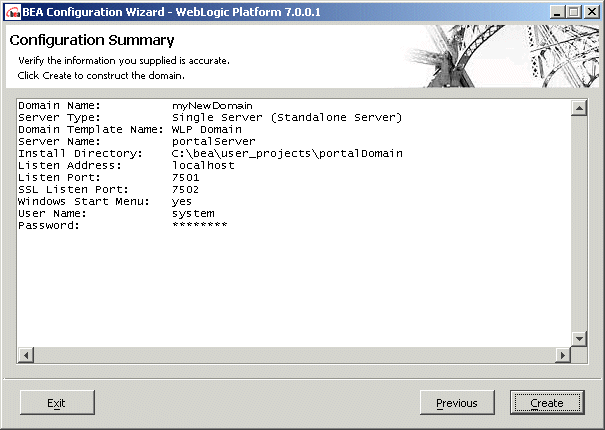
    Figure 2-8 End Configuration Wizard


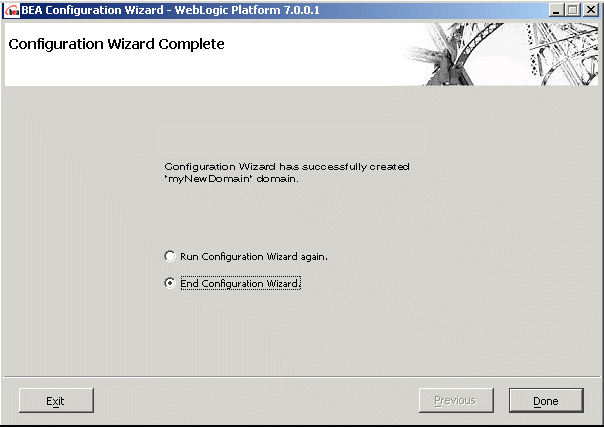
You are now ready to create a new portal and an associated portal Web application.

Notes on the Resources You Just Created

Site Infrastructure Provided by the Configuration Wizard: As part of creating the new domain, the domain wizard also creates a complete enterprise application called portalApp. With the portalApp-project file open in the E-Business Control Center, click the Site Infrastructure tab and select User Profiles, as shown in Figure  2-9. Notice that a user property set called CustomerProperties is already in place.

Figure 2-9 User Profiles


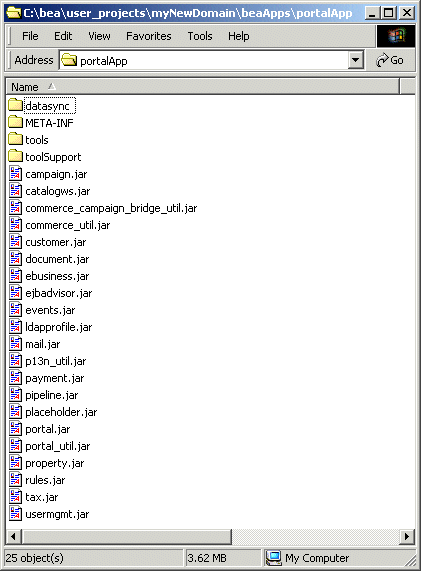
J2EE Resources Provided by the Configuration Wizard: The new enterprise application, as yet a blank template, includes built-in support for foundation services, personalization, interaction management, intelligent administration, and integration services. A look into the newly created directory shows the JARs used to implement these services, as shown in Figure  2-10.

Figure 2-10 JARs in the New Enterprise Application Directory


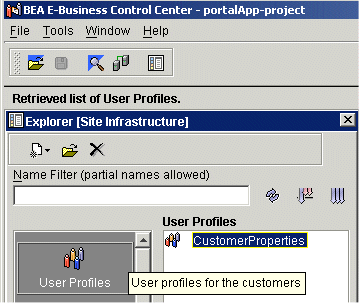
Step 2: Create the New Portal

With the supporting enterprise application resources in place, take the following steps to create and deploy a new portal.

  1. Start the server by selecting Start —> Programs —> BEA WebLogic Platform 7.0 —> User Projects —> <new domain name> Start Portal Server. (If you followed the examples in this procedure, the new domain name is myNewDomain.)

  2. When prompted for credentials, enter the username and password you created in Figure  2-5, such as weblogic/weblogic. The login is shown in Figure  2-11.

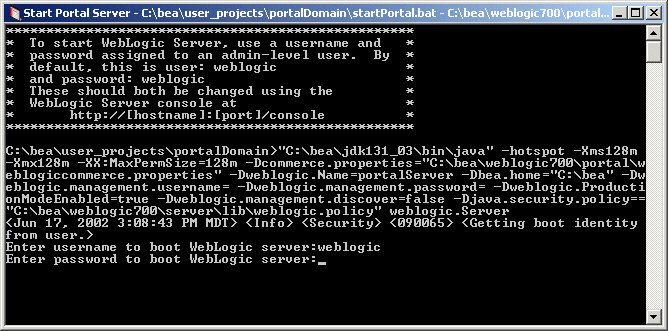
    Figure 2-11 Entering the Username and Password You Created for the Domain


Note: For UNIX platform only: By default, none of the new domain scripts have executable privileges, so they must be granted these privileges by a system administrator.

  1. Launch the E-Business Control Center by selecting Start —> Programs —> BEA WebLogic Platform 7.0 —> WebLogic Portal 7.0 —> E-Business Control Center.

  2. When it has started, choose File —> Open and open the portalApp-project.eaprj project file inside the <BEA_HOME> user_projects\<new domain name>\beaApps\portalApp-project directory, as shown in Figure  2-12 and Figure  2-13.

    Figure 2-12 A: Opening a Project File


    Figure 2-13 B: Opening a Project File


  3. Click the Presentation tab of the E-Business Control Center.

  4. Click the New icon in the Explorer toolbar and select Portal, as shown in Figure  2-14.

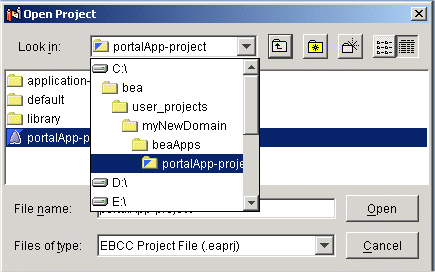
    Figure 2-14 Opening the New Portal dialog


  5. Be sure the Use the Portal Wizard option is selected, as shown in Figure  2-15. Click OK.

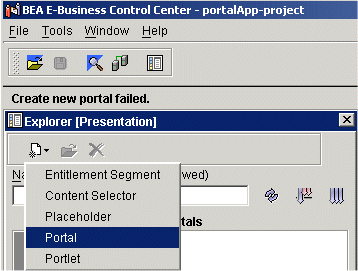
    Figure 2-15 Portal Wizard Screen


  6. Name the new portal, as shown in Figure  2-16. Examples in this procedure use the portal name ThisNewPortal.

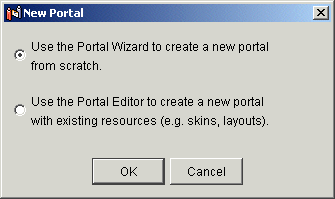
    Figure 2-16 Naming the New Portal


  7. Click the New button shown in Figure  2-17 to create a new portal Web application.

  8. Enter the portal name; in this procedure, the example name NewPortalWebApp is used. Click OK.

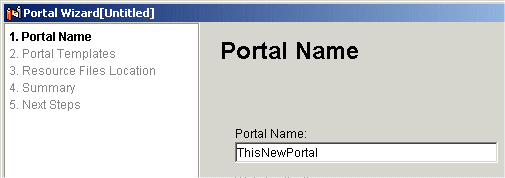
    Figure 2-17 Naming the New Portal Web Application


  9. Select a portal template, as shown in Figure  2-18. Click Next.

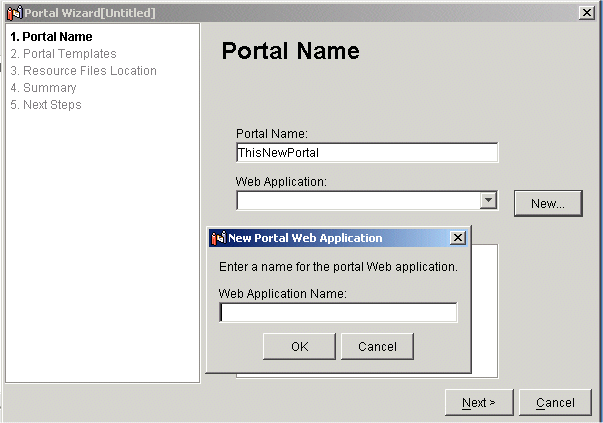
    Figure 2-18 Select a Portal Template


  10. In the Resource Files Location window (Figure  2-19), verify that the location for J2EE resources for the new Portal Web Application is correct.

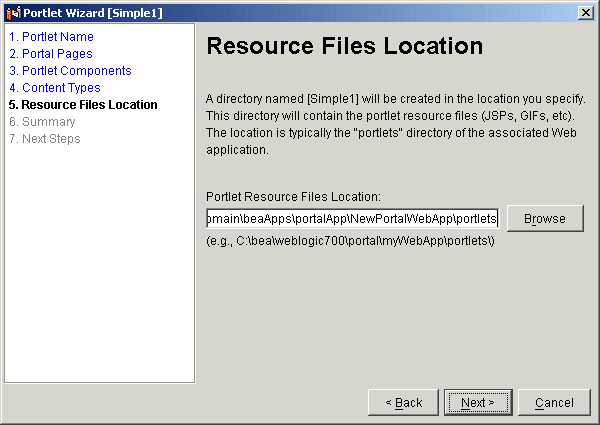
Note: If you are running the E-Business Control Center on the server machine, the default location should be correct.

  1. Click Create.

    Figure 2-19 Select a Location for Resource Files
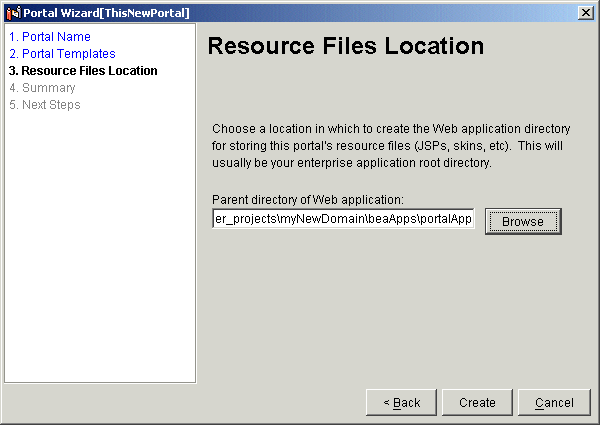


  2. The Portal Wizard creates files and lists them in the Summary page shown in Figure  2-20. Click Next.

    Figure 2-20 Summary


    Note: Listing  2-1 includes examples of two types of files are created automatically by the Portal Wizard; J2EE resources such as select_page_view.gif, and metadata used by the portal framework, such as security.wf. Notice the different directories used to store these files.

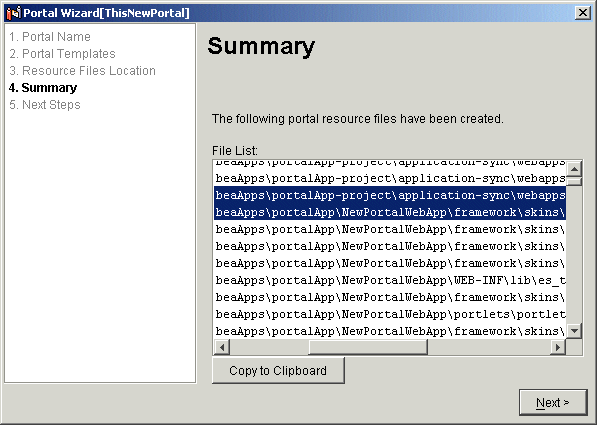
Listing 2-1 Different Types of Portal Resources

\portalApp\NewPortalWebApp\framework\skins\futurism\images\select_page_view.gif
\portalApp-project\application-sync\webapps\NewPortalWebApp\security.wf

  1. Deploy the new portal: Select the Yes, Hot Deploy Now radio button and click Deploy, as shown in Figure  2-21.

    Figure 2-21 Hot Deploying the New Portal


  2. When prompted, enter the administrator username and password you created in Figure  2-5, weblogic/weblogic.

    Figure 2-22 Enter the Administrator Username and Password


  3. The deployment process runs for a moment, displaying the window in Figure  2-23. Click Details to view the deployment log.

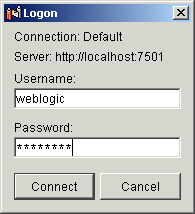
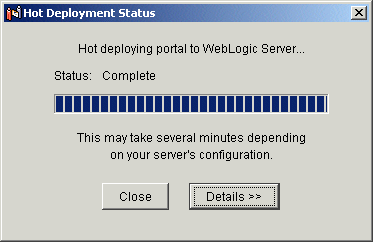
    Figure 2-23 Processing Message During Hot Deployment


  4. When the new portal has been deployed successfully, click Close, as shown in Figure  2-24.

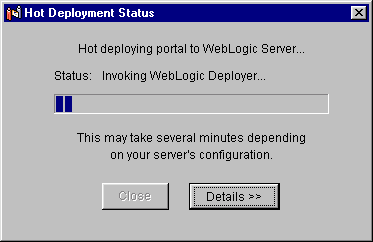
    Figure 2-24 Hot Deploy Success Message


  5. Confirm that the new portal is visible from within the WebLogic Portal Administration Tools, as shown in Figure  2-27, by navigating to the following URL:

http://<hostname>:<port>/portalAppTools/

If you are running the tools locally, the URL should be:

http://localhost:7501/portalAppTools/

  1. You will be prompted to log in, as shown in Figure  2-25. Log in as administrator/password.

Note: Do not use weblogic/weblogic.

Figure 2-25 Logging Into the Administration Tools


  1. The main Administration Tools window appears, as shown in Figure  2-26. Click the icon to the right of the Portal Management heading.

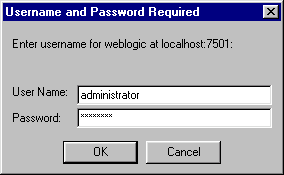
    Figure 2-26 Clicking the Portal Management Icon


  2. The Portal Management page appears, displaying the name of your portal Web application, as shown in Figure  2-27.

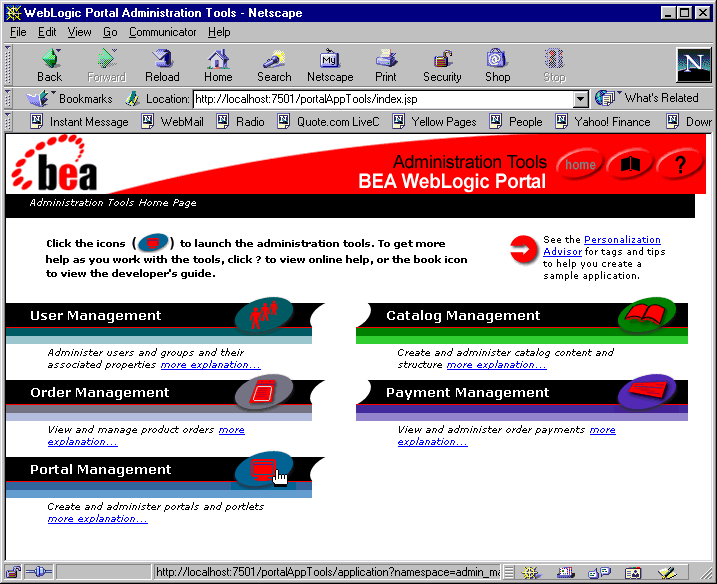
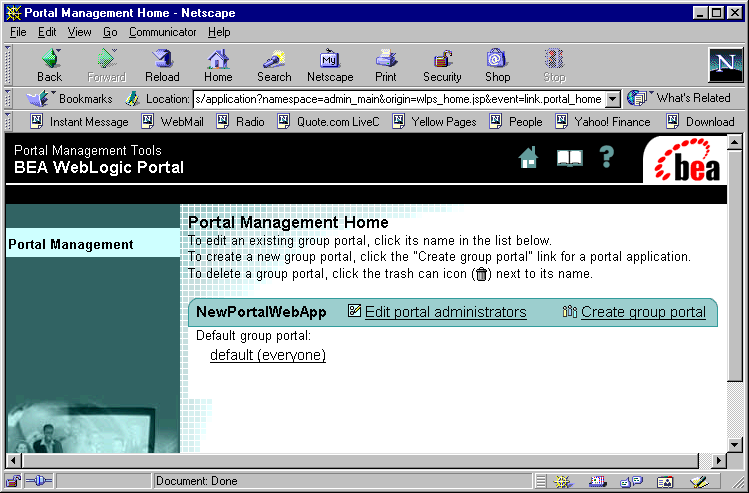
    Figure 2-27 Information About the Portal You Created in the Wizard, Viewed in the Administrator Tools


  3. The new empty portal should be visible through your browser, though no content has been placed inside this portal. View the portal by entering the following in your browser.

http://<hostname>:<port>/<newportalwebappname/index.jsp

If you are running the tools locally and used the sample names provided, the URL should be:

http://localhost:7501/NewPortalWebApp/index.jsp

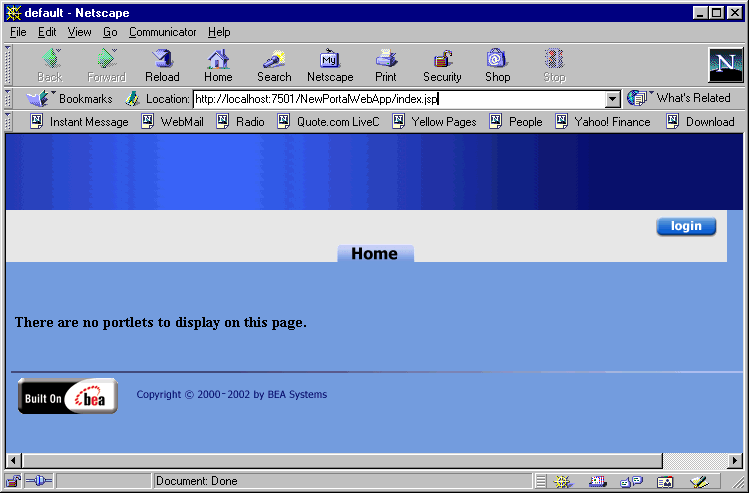
Figure 2-28 New Portal Viewed Through Your Browser


Step 3: Add a Portlet

Now that the portal is deployed and running, use the Portlet Wizard to add a new portlet to the portal.

  1. From the Presentation Tab in the E-Business Control Center, click the New icon in the Explorer and select Portlet, as shown in Figure  2-29.

    Figure 2-29 Choosing to Create a new Portlet


  2. Be sure Use the Portlet Wizard is selected, as shown in Figure  2-30, and click OK.

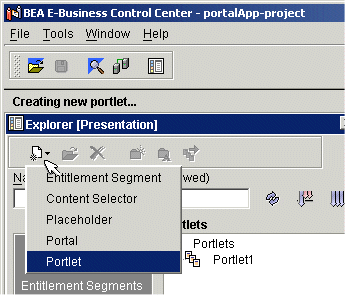
    Figure 2-30 Portlet Wizard Screen


  3. Name the new portlet, as shown in Figure  2-31. Examples in this procedure use the name BasicPortlet. Click Next.

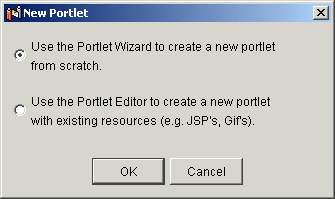
    Figure 2-31 Name the Portlet


  4. Associate the portlet with a portal page, as shown in Figure  2-32. In this example, select the only page displayed, the home portal page.

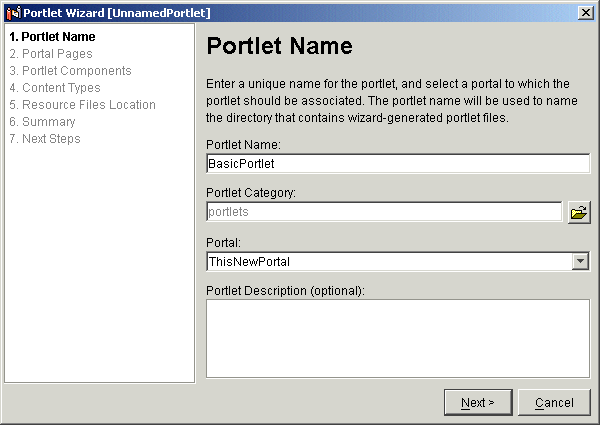
    Figure 2-32 Associate the Portlet with a Portal Page


  5. The Portlet Components page in Figure  2-33 shows components that can be added to the portlet, such as headers, banners, help and footers. For this example, do not select any additional components, and click Next.

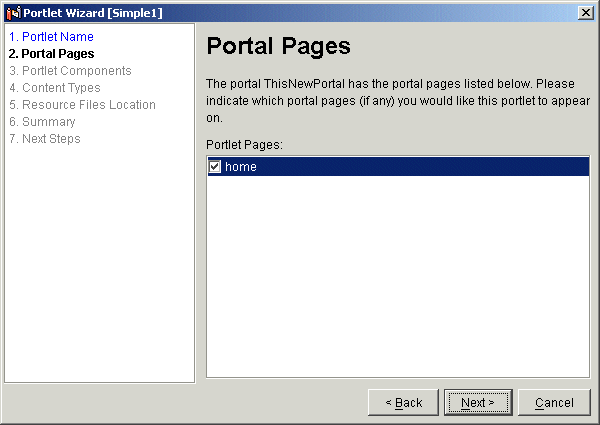
    Figure 2-33 Select Portlet Components


  6. Select a portlet content type, as shown in Figure  2-34. For this example, select Basic (no Webflow) and click Next.

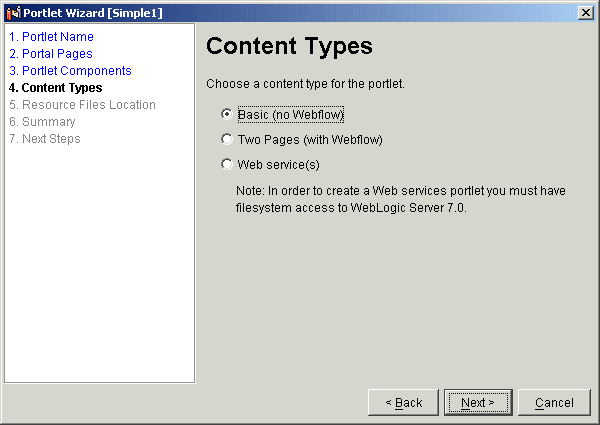
    Figure 2-34 Select a Content Type


  7. A default location for portlet resources appears; verify that it is correct. It should be something like:
    <BEA_HOME>\user_projects\<domainname>\beaApps\
    portalApp\<portalwebappname>\portlets

    For this example, the location shown in Figure  2-35 should be correct:

    C:\bea\user_projects\myNewdomain\beaApps\
    portalApp\NewPortalWebApp\portlets

    Click Next.

    Figure 2-35 Select Resource Files Location


  8. The Summary page in Figure  2-36 shows the files created by the Portlet Wizard. Click Create.

    Figure 2-36 View Summary


  9. When the Next Steps page appears as shown in Figure  2-37, uncheck both boxes and click Close.

    Figure 2-37 Unmark Options and Close the Next Steps Window


  10. Sync the portal project: Click the Synchronize button on the E-Business Control Center toolbar, shown in Figure  2-38.

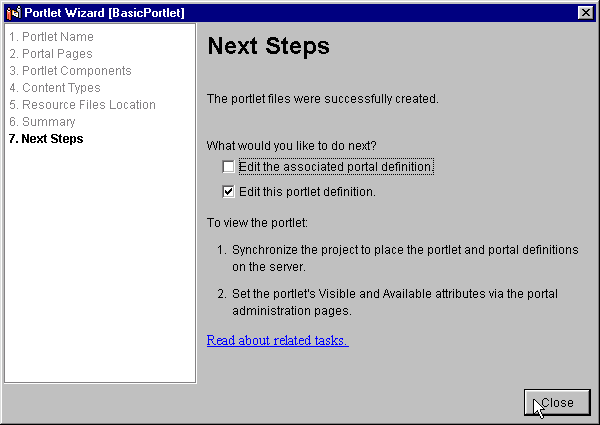
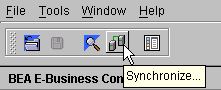
    Figure 2-38 The Syncronize Button in the E-Business Control Center


Note: For this example, the Default connection settings, localhost:7501, should work.

  1. The E-Business Control Center synchronizes the data you created in the Portlet Wizard, then displays the message in Figure  2-39. Click Close.

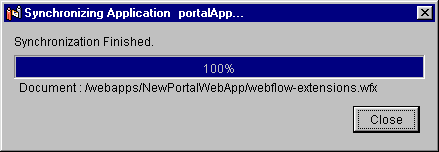
    Figure 2-39 Synchronization Is Complete


  2. If a window appears prompting you to reset compaign states, click Cancel.

To see this portlet from the browser, it must be designated as visible and available, as shown in Step 4: Make New Portlet Visible.


Step 4: Make New Portlet Visible

The new portlet is now on the server, but must be made available using the WebLogic Portal Administration Tools.

  1. In your Web browser, navigate to the following URL: http://<hostname>:<port>/portalAppTools. For this example, use the URL http://localhost:7501/portalAppTools.

  2. Log in as administrator/password as shown in Figure  2-40.

    Figure 2-40 Logging Into the Administration Tools


  3. When the Administration Tools main page apears, click Portal Management, as shown in Figure  2-41.

    Figure 2-41 Go to Portal Management


  4. From the Portal Management Home page, click the Default Portal, as shown in Figure  2-42.

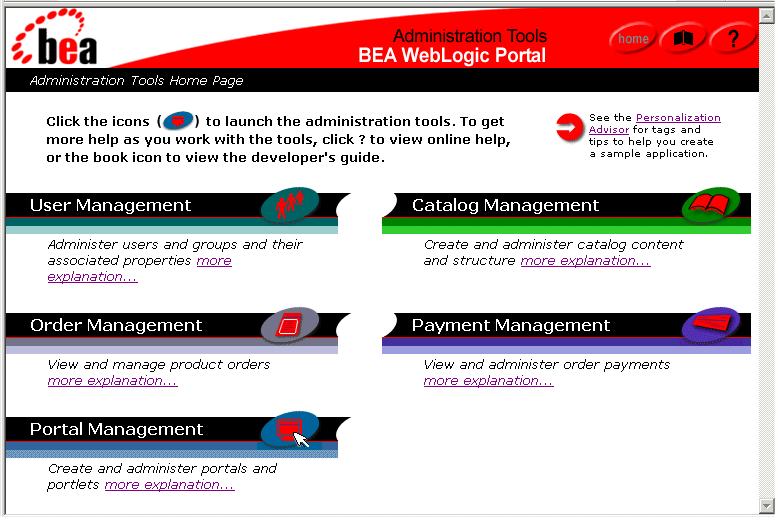
    Figure 2-42 Select Default Group Portal


  5. From the Group Portal Management Home page, click Manage Pages and Portlets as shown in Figure  2-43.

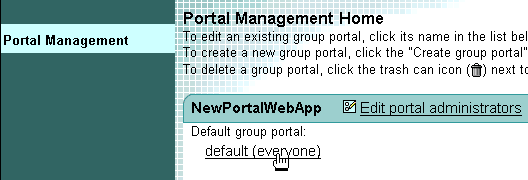
    Figure 2-43 Manage Pages and Portlets


  6. Next, in the Pages and Portlets page, click Edit Portlets, as shown in Figure  2-44.

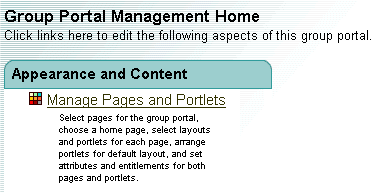
    Figure 2-44 Click Edit Portlets


  7. In the Edit Portlet Entitlements and Attributes page, select the portlet (BasicPortlet in this example), then click the Set Attributes button as shown in Figure  2-45.

    Figure 2-45 Choose to Set Attributes


  8. Set the Portlet attributes to Visible and Available, as shown in Figure  2-46.

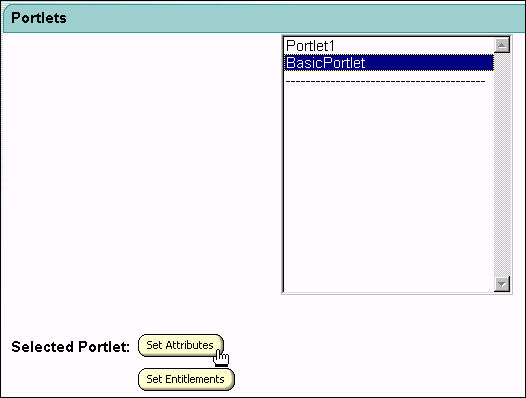
    Figure 2-46 Set Portlet Attributes


  9. Click Save. The attributes of the portlet, in this example BasicPortlet, are now set such that it can be seen.

  10. View the results by navigating to http://<hostname>:<port>/<webappname>/index.jsp; for this example, go to http://localhost:7501/NewPortalWebApp/index.jsp. The result should resemble that shown in Figure  2-47.

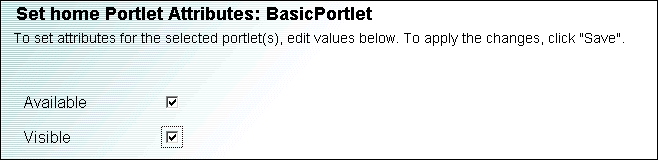
    Figure 2-47 Viewing the New Portlet


Back to Top Previous Next