Troubleshooting
This chapter discusses how to troubleshoot problems that you are having with the Oracle Mobile Field Service Store and Forward applications.
This chapter covers the following topics:
- Troubleshooting the Application Publishing
- Troubleshooting the Mobile User Concurrent Program
- Reviewing Upload Errors
- Manually Publishing Mobile Applications
- Understanding the Java Utility Command Syntax
- Publishing Applications with Multiple Mobile Server Instances
- Usage Examples
- Tracing Oracle10g Lite Mobile Server
- Troubleshooting Screen Personalization
- Troubleshooting Wireless Integration
- Troubleshooting Automatic Synchronization and Notification
Troubleshooting the Application Publishing
Use this chapter to troubleshoot any problems that you are having with Oracle Mobile Application Foundation or Oracle Mobile Field Service Store and Forward.
Please check to ensure that the environment variables are set correctly in the file asgovars.env. Run the relevant diagnostic check as described in "Running Pre-seeded Tests".
Troubleshooting the Mobile User Concurrent Program
This section discusses known issues regarding the concurrent program that creates mobile users, Manages Mobile Users. This Java concurrent program creates mobile users. JDK 1.3.1 is required in the concurrent tier. Therefore, you need to apply the appropriate patch and follow the instructions in My Oracle Support to use JDK 1.3.1.
Problems and Resolutions
The Concurrent Program Fails to Create Mobile Users
Problem: After the patch is applied and the post-installation setup is completed, the concurrent program still does not work.
Resolution: Restart the concurrent managers so that the new environment settings are initialized. To find out whether a concurrent request is being initialized to JDK 1.3.1 settings, use the following script:
select variable_name,value
from fnd_env_context e,
fnd_concurrent_processes p,
fnd_concurrent_requests r
where p.concurrent_process_id = e.concurrent_process_id
and p.concurrent_process_id = r.controlling_manager
and r.request_id=&request_id
and e.variable_name in ('AF_JRE_TOP','AFJVAPRG','AF_CLASSPATH')
This script accepts a concurrent request ID and prints the environment settings for that request.
The Concurrent Program Only Works Intermittently
Problem: The concurrent program only works intermittently.
Resolution: Make sure all concurrent managers are restarted. It is possible that only one concurrent manager was restarted. However, a concurrent request might be started by any of the concurrent managers. If all the concurrent managers are not restarted, then some of the requests might not have the correct settings. To verify this, use the script listed above for requests that fail.
The Concurrent Program Log Shows the Error Message "oracle.lite.web.resource.ResourceException: java/lang/ThreadLocal"
Problem: The log generated by the concurrent request shows this error.
Resolution: This is the clearest indication that the JDK version is not 1.3.1. The above mentioned class (ThreadLocal) is in JDK 1.2.2 or higher. Again, check if the environment settings are correct.
All Environment Settings Appear Correct, But the Concurrent Program Still Does Not Work
Problem: The environment settings that appear in the script listed in "The Concurrent Program Fails to Create Mobile Users" indicate that JDK 1.3.1 is used. However, the concurrent program still fails.
Resolution: Look into the concurrent request's log file and look for any exceptions. Then for each of the environment variables AF_JRE_TOP, AFJVAPRG, and AF_CLASSPATH, check if the files listed exist.
Reviewing Upload Errors
Upload errors are generated during the upload process when some of the data fails to be applied to the enterprise database. Upload errors can be caused by the following:
-
System issues.
It is possible that the system is on a different mobile patch level than what is required.
-
Setup issues.
The correct business process type or the correct profile setting is not set on the enterprise system. For example, it is necessary that the expense type for an expense line is set correctly.
-
Faulty data or conflicts.
Oracle Mobile Application Foundation maintains a log of all upload errors. You can use the Mobile Application Foundation Administration Console to view and manage these errors. See the upload errors sections in Chapter 8, "Administrative Tasks" for further details.
Manually Publishing Mobile Applications
For the mobile applications to function, you must create mobile application objects and publish the mobile application file. You can accomplish this by running the Java post-install program for each mobile application. The Java post-install program does the following:
-
Registers the mobile object definitions for the mobile applications in the Oracle10g Lite mobile server repository.
-
Publishes the mobile applications to the Oracle10g Lite mobile server repository.
Use the following procedure to run the Java post-install program:
-
Shut down the mobile server while publishing mobile applications and then restart the mobile server after publishing is complete.
Steps
-
Run the environment variable script.
See "Steps to Run the Environment Variable Script" for a complete description of this procedure.
-
Publish the application for the mobile framework (JTM):
java -Xms32m -Xmx1536m -DJTFDBCFILE=<DBC_NAME>-
DAFLOG_ENABLED=TRUE-
DAFLOG_LEVEL=STATEMENToracle.apps.asg.setup.InstallationMgr
<DB_HOST_NAME><DB_PORT_NUM><DB_SID><APPS><APPS_PASSWORD>
MOBILEADMIN<MOBILEADMIN_PASSWORD> CSM_TOP CSML.ini html/download/csml.zip
See "Understanding the Java Utility Command Syntax" for an explanation of the command syntax of this Java program.
-
Publish the mobile applications for the mobile products that you want to implement.
See "Usage Examples" for usage examples for Oracle Mobile Field Service Store and Forward - Laptop and Oracle Mobile Field Service Store and Forward - Pocket PC.
Understanding the Java Utility Command Syntax
The following Java utility is used in the preceding procedure, "Manually Publishing Mobile Applications":
java -DJTFDBCFILE=<DBC FILE PATH> -DAFLOG_ENABLED=TRUE
–DAFLOG_LEVEL=STATEMENT oracle.apps.asg.setup.InstallationMgr <DB_HOSTNAME> <DB_PORTNUM> <ORACLE_SID> <APPS_USER_NAME> <APPS_PASSWD> <PROD_TOP_NAME> <INI_FILE_NAME> <ZIP_FILE_NAME>
Its command syntax is as follows:
-
DJTFDBCFILE, DAFLOG_ENABLED, and DAFLOG_LEVEL are used by the JTT Logging Framework.
-
DBC_FILE is usually found under the $FND_TOP/secure directory.
-
The parameters <DB_HOST_NAME>, <DB_PORT_NUMBER>, <ORACLE_SID>,<APPS_USER_NAME>, and <APPS_PASSWD> are used to generate the connection string to the database.
-
<PROD_TOP_NAME> refers to the application directory for the mobile product for which the publishing is done. It should be NULL if publishing is not done.
-
<INI_FILE_NAME> refers to the name of the list file which has the list of files to be published. It should be NULL if publishing is not done.
-
<ZIP_FILE_NAME> refers to the name of the zip file which contains the files to be published. The location of this file is relative to the <PROD_TOP_NAME>. It should be NULL if publishing is not done.
Publishing Applications with Multiple Mobile Server Instances
If you plan to set up multiple mobile servers to support a greater number of mobile users and distribute the load, you should publish the mobile application only once, to the primary server.
The primary server is usually the mobile server which you set up first and installed the repository on. This server contains the directory location where the mobile application files are stored when you publish them. The webtogo.ora file contains an entry, ROOT_DIRECTORY, which points to this location.
Secondary mobile servers need to have access to the location of this root directory through network file sharing (NFS). The ROOT_DIRECTORY webtogo.ora entry of the secondary mobile servers will point to this directory location.
When you publish applications, you need to set the ORACLE_HOME to the location of the directory where the primary mobile server is installed.
Usage Examples
To run the post-install step for Oracle Mobile Field Service Store and Forward - Pocket PC, the command would be:
java -Xms32m -Xmx1536m -DJTFDBCFILE=<DBC_NAME> -
DAFLOG_ENABLED=TRUE-DAFLOG_LEVEL=
STATEMENToracle.apps.asg.setup.InstallationMgr
<DB_HOST_NAME><DB_PORT_NUM><DB_SID><APPS><APPS_PASSWORD>
MOBILEADMIN<MOBILEADMIN_PASSWORD> CSM_TOP CSW.ini html/download/CSW.zip
to run the post-install step for Oracle Mobile Field Service Store and Forward - Laptop, the command would be:
java -Xms32m -Xmx1536m -DJTFDBCFILE=<DBC_NAME> -
DAFLOG_ENABLED=TRUE-DAFLOG_LEVEL=
STATEMENToracle.apps.asg.setup.InstallationMgr
<DB_HOST_NAME><DB_PORT_NUM><DB_SID><APPS><APPS_PASSWORD>
MOBILEADMIN<MOBILEADMIN_PASSWORD> CSM_TOP CSML.ini
html/download/CSML.zip
Use this java command to run InstallationManager:
java -Xms32m -Xmx1536m -DJTFDBCFILE=<DBC_NAME> -
DAFLOG_ENABLED=TRUE-DAFLOG_LEVEL=
STATEMENToracle.apps.asg.setup.InstallationMgr
<DB_HOST_NAME><DB_PORT_NUM><DB_SID><APPS><APPS_PASSWORD>
MOBILEADMIN<MOBILEADMIN_PASSWORD><PROD_TOP><INI_FILE><ZIP_FILE>
Where:
| PROD_TOP | INI_FILE | ZIP_FILE |
|---|---|---|
| JTM_TOP | jtm/JTM.ini | html/download/jtm.zip |
| CSM_TOP | CSW.ini | html/download/CSW.zip |
| CSM_TOP | CSML.ini | html/download/CSML.zip |
| CSM_TOP | CSW_2000_ARM.ini | html/download/CSW.zip |
| CSM_TOP | CSW_2003_XSCALE.ini | html/download/CSW.zip |
Tracing Oracle10g Lite Mobile Server
This section lists the steps required to enable or disable tracing in Oracle10g Lite mobile server for selected users. These steps do not require the mobile server to be restarted.
Enabling Tracing in Oracle10g Lite Mobile Server
-
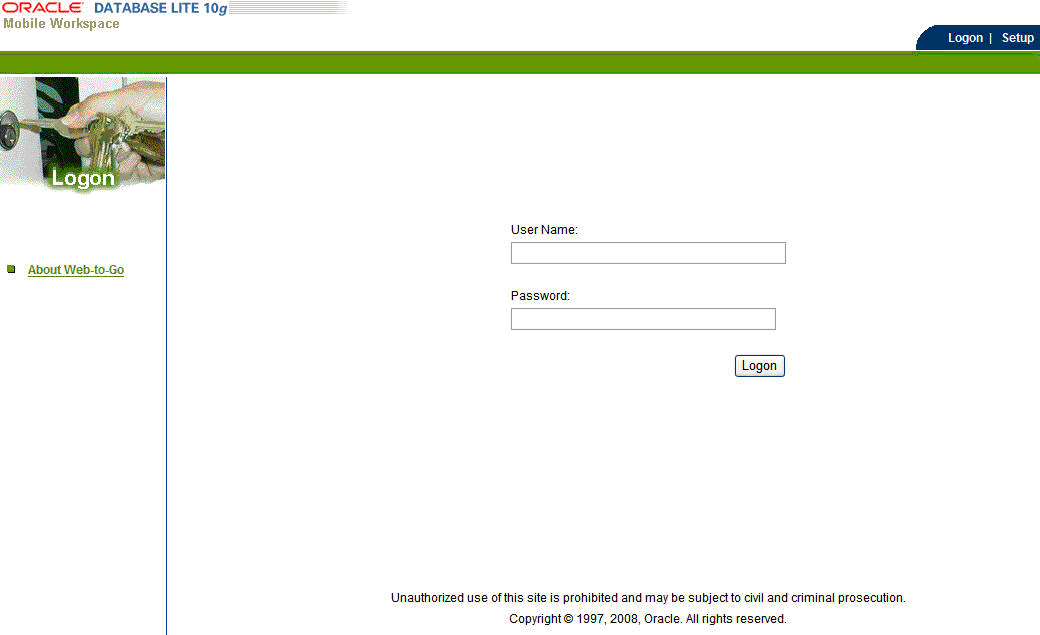
Access the Mobile Server Login page.
This page is available at: http://<mobile_server_host>:<port>/webtogo

-
Enter Administrator in the User Name field and the password in the Password field, and then click Logon.

-
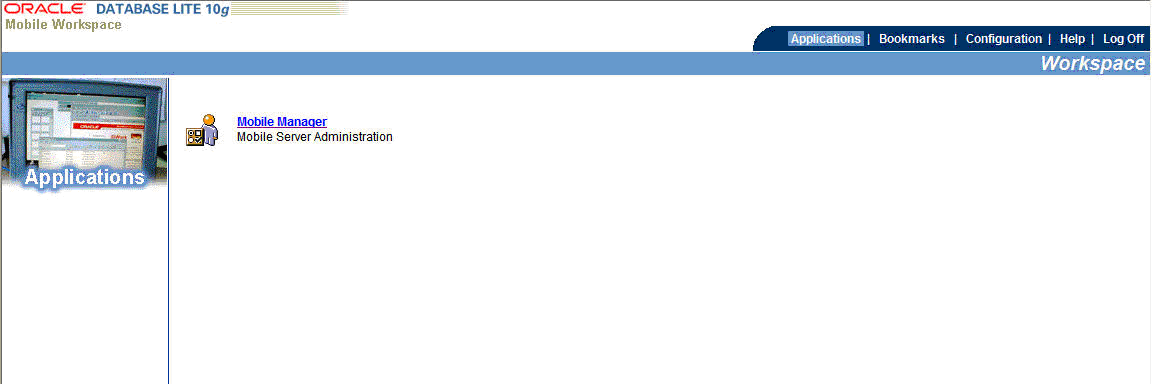
Click Mobile Manager link.
The Mobile Manager page appears.
-
Select the Server tab.
-
Click Trace on the left side of the page.
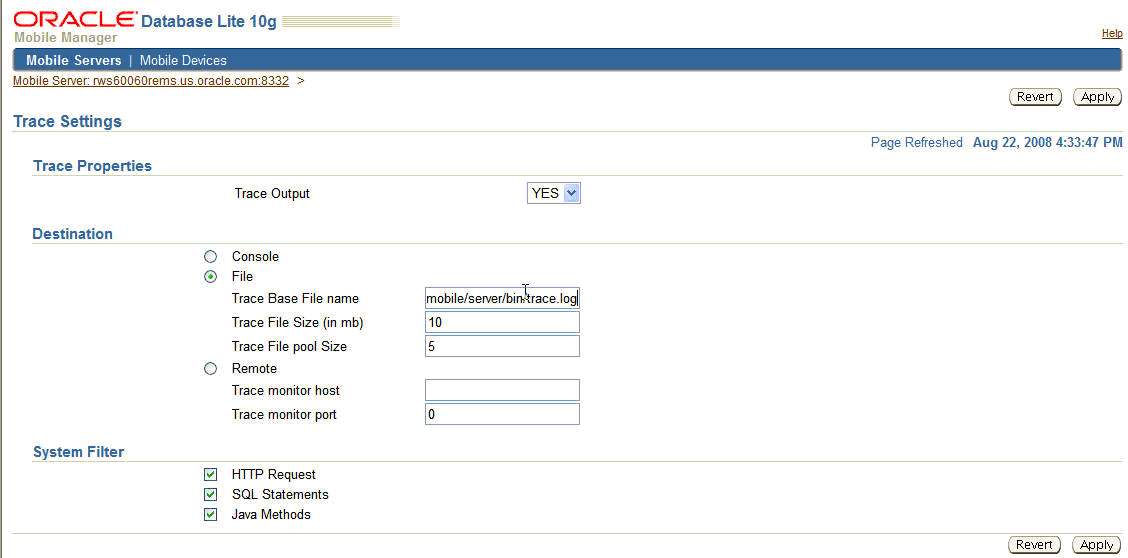
The Server Trace Settings page appears.

-
Set the following parameters:
-
For Trace Output, select Yes..
-
For System Filter, select both the HTTP Requests and SQL Statements check boxes.
-
In User Filter section, click the Selective Users radio button and then type the comma-separated list of users.
-
-
Scroll down and specify the following:
-
Click the File radio button to specify the destination.
-
Type trace.log in the Trace File base name field.
-
Type 10 in the Trace file size of (in MB) field.
-
Type 15 in the Trace file pool size field.
-
Select the Create trace file for every user check box.
With the above settings, every user will have a separate trace file. These trace files are located in the Oracle10g Lite $ORACLE_HOME/mobile/server/bin folder. The files are named trace_log_<user_name><log_file_num>.log. So, for example, user FBRAMER's trace files are named as trace_log_FBRAMER1.log, trace_log_FBRAMER2.log, and so on. The Trace file pool size (15 in this case) specified above controls when the log_file_num cycles. For example, once trace_log_FRBAMER15.log reaches 10MB size, the next file name will be trace_log_FBRAMER1.log. Note that it will overwrite existing file with the same name. So, the Trace file pool size should be set so that all the files will be available as needed.
-
-
Click Save.
A dialog box appears indicating that the save was successful.
-
Click OK.
Files to be Uploaded
The following files need to be uploaded after obtaining trace.
-
trace_sys1.log. If available, trace_sys2.log and so on.
-
trace_log_main1.log. If available, trace_log_main2.log and so on.
-
trace_log_<user_name>*.log. See step 7 in "Enabling Tracing in Oracle10g Lite Mobile Server".
Disabling Tracing in Mobile Server
-
Complete steps 1 through 4 in "Enabling Tracing in Oracle10g Lite Mobile Server".
-
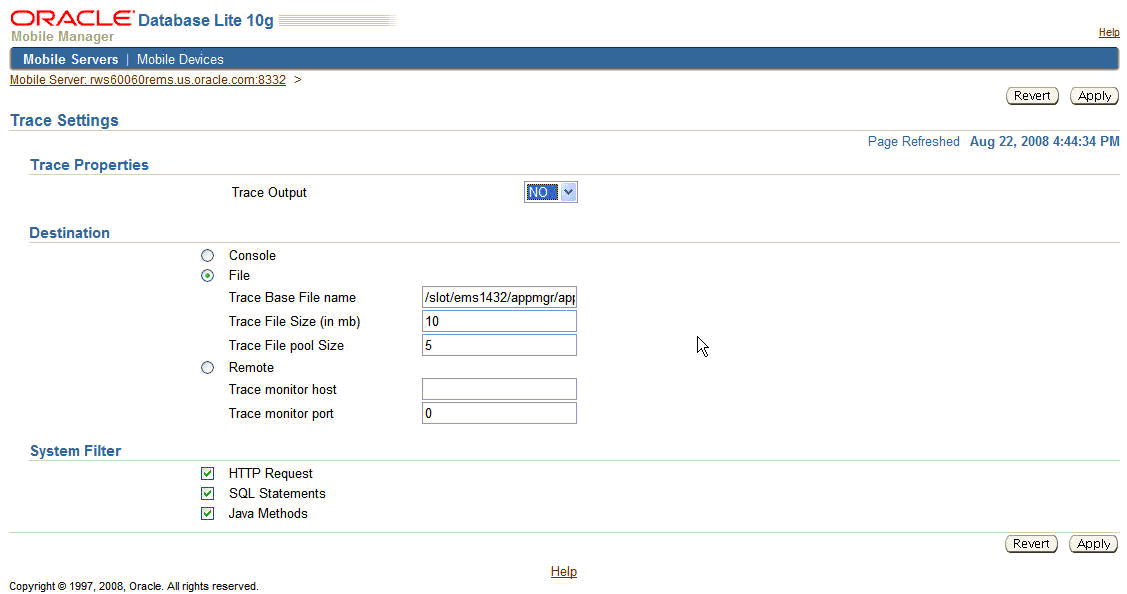
Click Trace on the left side of the page and then set Trace Output to No.

-
Click Save.
A dialog box appears indicating that the save was successful.
-
Click OK.
Troubleshooting Screen Personalization
Checking screen personalization involves some simply checks for administrator and technician:
-
For the administrator:
Verify that MSFPerzAsst.exe is present under the ORACE folder of the administrator's Pocket PC. If not, then verify that the corresponding section of the setup.inf file is uncommented under folder $CSM_TOP/html/download/CSW2/custom/wce/wm6.
-
For a technician:
Verify that the <screen name>.per file is present under the ORACE\config folder of the technician's Pocket PC.
Troubleshooting Wireless Integration
A technician can perform some simple checks to troubleshoot wireless integration with a pocket PC.
To Check Wireless Integration
-
Verify that the profile values are set correctly. Navigate to them at Field Service > Preferences in the Pocket PC.
-
Verify that the InstallMFSNavigator component is installed on the Pocket PC device.
Troubleshooting Automatic Synchronization and Notification
Use these step to troubleshoot automatic synchronization and notification.
-
Verify that ASMgr and EIM are running.
-
If ASMgr is not running, then run ASMgr by tapping ASMgr in the Orace folder.
-
If EIM is not running, then run EIM by tapping ASMgr Menu Options > MFS EIM.
-
Verify that the value of profile "CSM: Email Account name for message interception" and the e-mail account display name in the Pocket Outlook are the same.
-
If the names are not the same, then set the profile value, run the JTM Master Lookup concurrent program, and synchronize to get the latest profile value downloaded to the client device.
-
Check Field Service > Preferences or ASMgr > Options > MFS EIM Email Account to see the value of “CSM: Email Account name for message interception” in the Pocket PC.
-
If it is not defined, then verify that the e-mail account setup in the Pocket PC has Message Format set to Plain Text.
-
Verify that the e-mail account setup in the Pocket PC has Message Download Limit set to "Entire message."
-
Verify that the e-mail account setup in the Pocket PC has Download Attachments set to "Do not download."