You will start with a JDeveloper application predefined with the Business Components and page definition bindings that are required for the Excel workbook. You open an ADF desktop integration-compatible workbook and use the ADF bindings to create ADF Desktop Integration components, including a read-only table. You then specify Download table functionality in Excel. Next, using another page definition, you define a workbook with LOV and Insert/Update/Delete functionality.
An Excel workbook may contain one or more worksheets. In this tutorial you create two workbooks, each with a single worksheet. It would be possible to combine both worksheets that you develop into a single workbook, since the workbook properties are the same for both.
You run the JDeveloper application to deploy it in the Weblogic server, then you execute the application developed in the Excel workbooks.
Finally, you publish the workbooks.
Before starting this tutorial you should:
-
Have access to or have installed Oracle JDeveloper 11.1.2. You can download it from Oracle Technology Network. Install it into a directory of your choice, which, in this tutorial is referred to as JDEVELOPER_HOME.
-
Have access to, or have installed Microsoft Office 2007 or 2010.
-
Have access to, or have installed an Oracle 11g database, including the HR schema.
-
Install the pre-defined application. Right-click the following link and select Save Link As... and save the adfdi_bc.zip file in a directory of your choice (e.g. Temp).
-
Unzip the adfdi_bc.zip file into a directory of your choice.
Before starting to work with desktop integration you need to configure the various software pieces to support ADF Desktop Integration. This part guides you through the steps to do this.
In order to be able to follow this tutorial you need to load the startup Fusion Web application and check that the application can successfully connect to the database.
You also perform these tasks in Part 1 of the tutorial.
Before you can install the Oracle ADF Desktop Integration add-in, Microsoft Office Excel 2007 or 2010 must have Microsoft .NET programmability support enabled.You can enable .NET programmability during the installation of Microsoft Office Excel 2007 or 2010. However if you did not enable it at that time, follow the steps below.
-
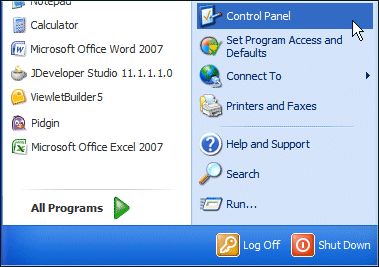
On your desktop click the Start button.

In the Start Menu, select Control Panel.
-
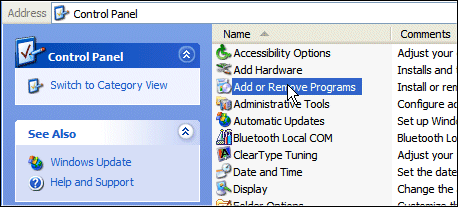
In the Control Panel window, double-click the Add or Remove Programs option.
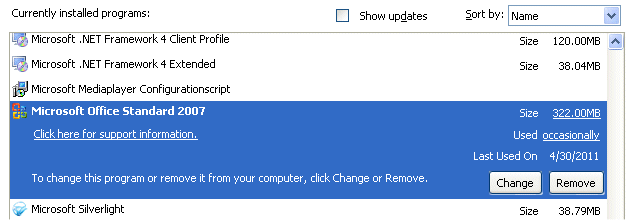
Once the list of installed programs is populated, scroll down to the Microsoft Office Standard 2007 (or 2010) entry and select it.
-
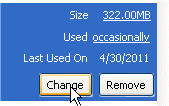
Click the Change button.
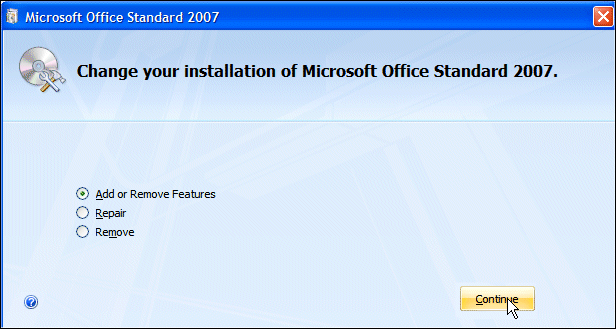
Select the Add or Remove Features radio button and click Continue.
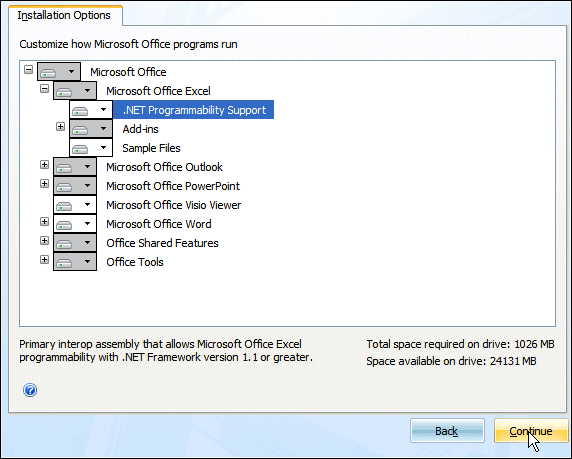
Expand the Microsoft Office | Microsoft Office Excel nodes. Select .NET Programmability Support. Click Continue.
-
Wait for the Configuration to proceed,

and when finished, click Close.
Close the Add or Remove Programs window.

-
Close the Control Panel window.

You've successfully added .NET programmability support to Excel.
 Read more...
 If one or more of these pieces of software is not installed, the setup tool installs it in the following order:
Windows Installer
Microsoft .NET Framework
Microsoft Visual Studio Tools for Microsoft Office
ADF Desktop Integration add-in
-
Start JDeveloper by selecting Start > All Programs > Oracle Fusion Middleware 11.1.2.0.0 > JDeveloper Studio 11.1.2.0.0.
If the Migrate User Settings dialog box opens, click NO.
-
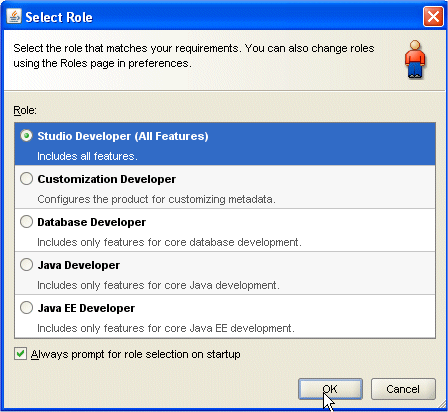
If prompted for a User Role, choose Studio Developer (All Features) .
Close the Tip of the Day window.
-
The JDeveloper IDE should now be displayed.
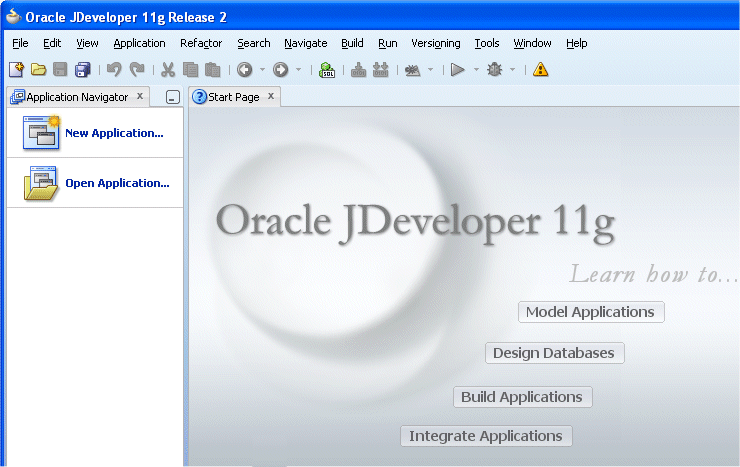
-
From the Tools menu choose Install ADF Desktop Integration.
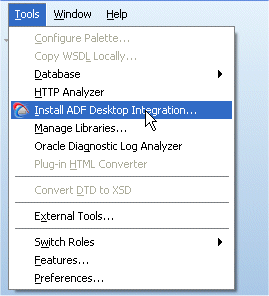
-
Accept the licence agreement.
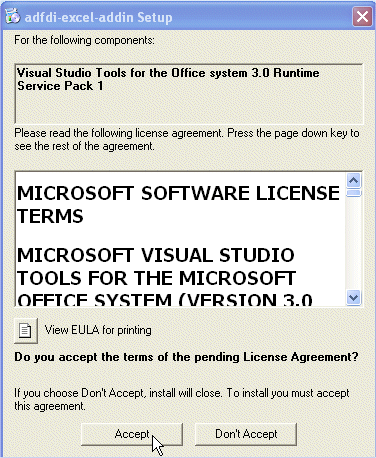
The ADF Desktop Integration installer is started.
-
Various verification checks are carried out, and if all is in order, installation can begin. Click the Install button to proceed.
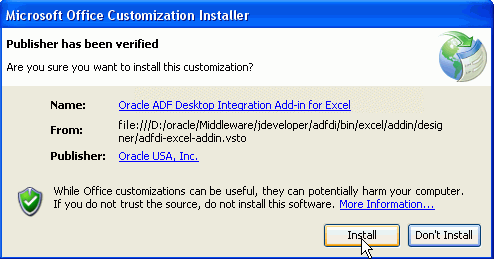
-
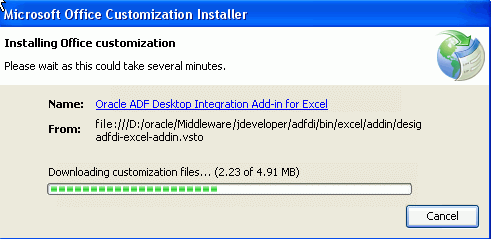
Installing the ADF Desktop Integration add-in starts. Notice that depending on software already installed, you might be prompted to install other mandatory prerequisites, and in some cases to reboot your computer.
-
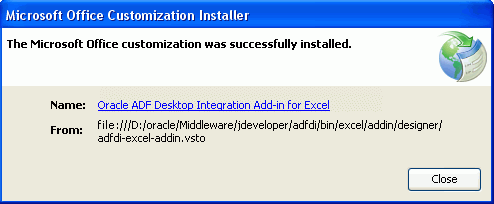
Once Microsoft Office customization has been successfully installed, click Close to exit.
-
On your desktop, click the Start button.

-
In the Start menu, select All Programs > Microsoft Office > Microsoft Office Excel 2007 (or 2010).

-
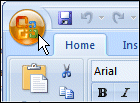
Once Microsoft Excel is started, click the Office button.
-
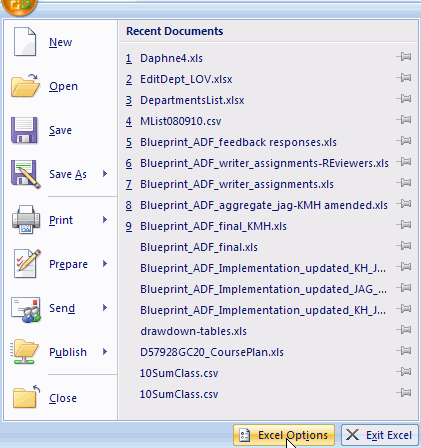
In the Office window, click Excel Options.
-
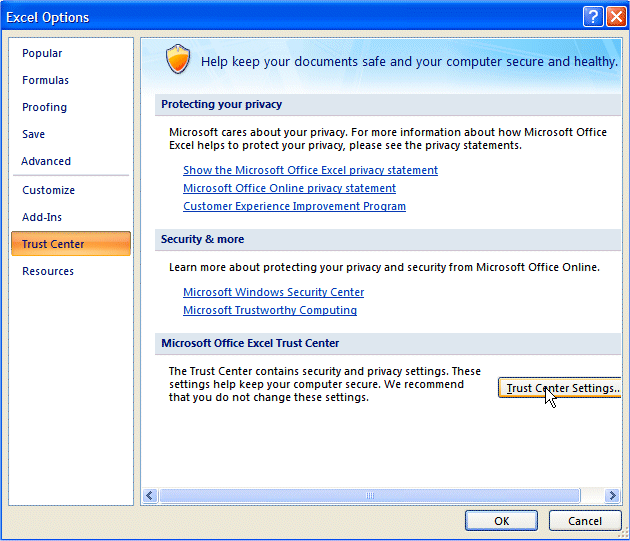
In the Excel Options window, click the Trust Center tab, then click the Trust Center Settings button.
-
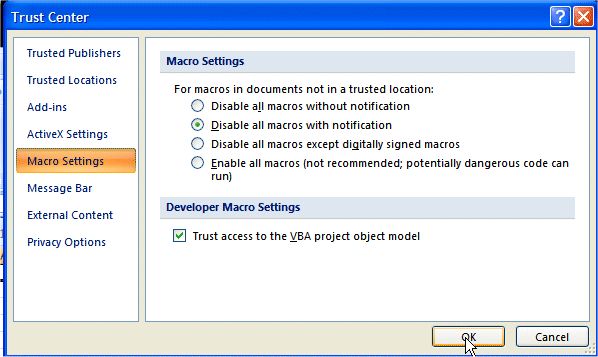
In the Trust Center window, click the Macro Settings tab, then check the Trust access to the VBA project object model checkbox. Click OK.
-
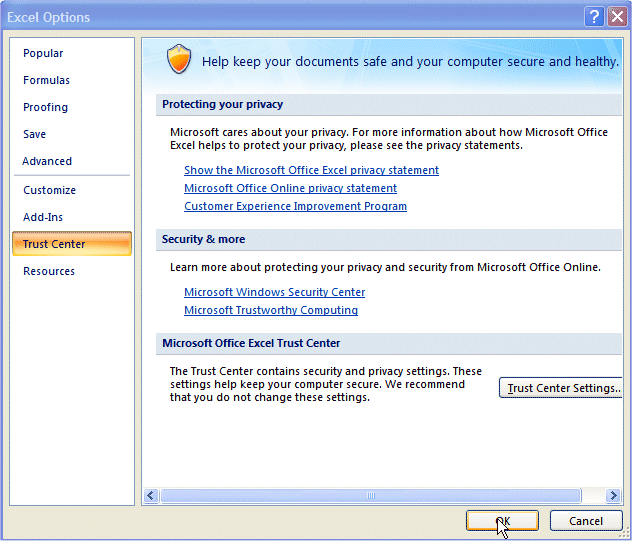
Back in the Excel Options window, click OK.
-
Back in Excel, close the application.

 Read more...
 It has been built using ADF Business Components. The page definition bindings that are required for the Excel workbook have already been defined in the application.
-
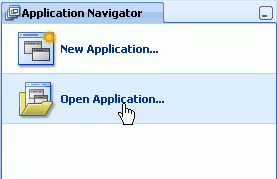
Back in JDeveloper, click the Open Application link (or Select File > Open from the main menu).
-
In the Open Application dialog, open the folder where you unzipped the adfdi_bc.zip file, and select the ADFdi_BC.jws file. Click Open.
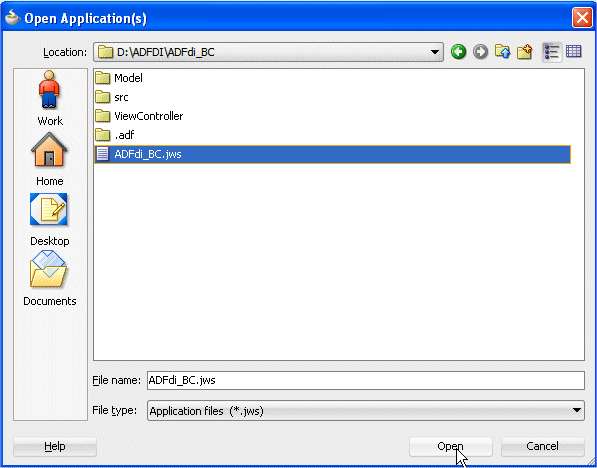
If prompted to migrate the application from a previous version, accept to proceed.
-
Once the application has loaded, you should see two projects in the Application Navigator. The Application Navigator should look as follows:
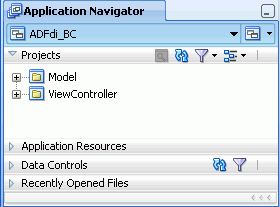
Click the Save All
 icon on the JDeveloper menu bar, or select File > Save All from the menu.
-
Right click the Model project and select Project Properties from context.
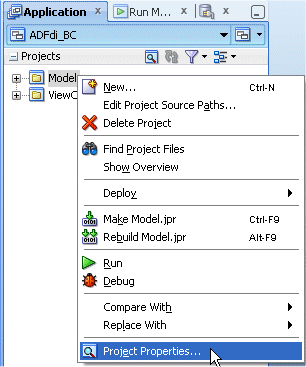
-
In the Project Properties dialog, select the Business Components node, and click the Load Extension button.

-
Once loaded, click the Edit icon next to the Connection field.
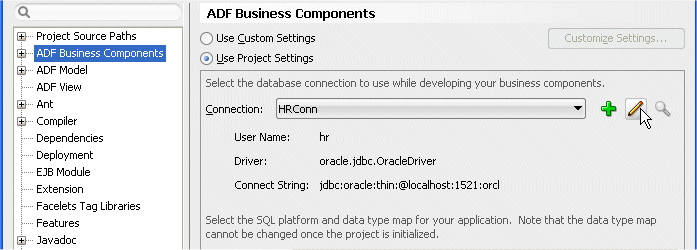
-
In the Edit Database Connection dialog, check the following values (and amend if necessary):
Property Value Connection Name HRConn Connection Type Oracle (JDBC) Username hr Password hr Save Password (checked) Driver Thin Host Name (your host, example: localhost) JDBC Port (your port number, example 1521) SID XE (or your database SID) 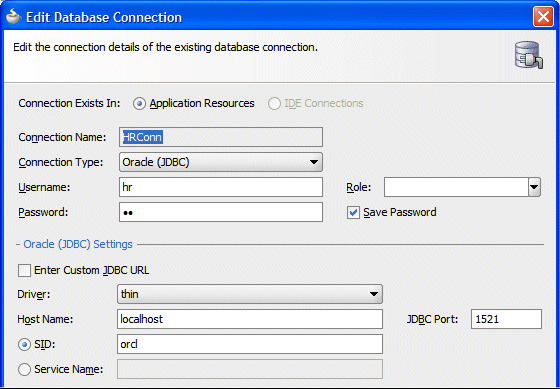
-
Click the Test Connection button and verify the success of the connection parameters.

Click OK and OK again to return to the Application Navigator.
-
Expand the Model project nodes to view all existing Business Components. The Application Navigator should now look as follows:
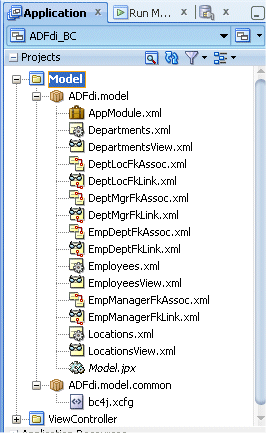
-
Right click the AppModule node and select Run from context.
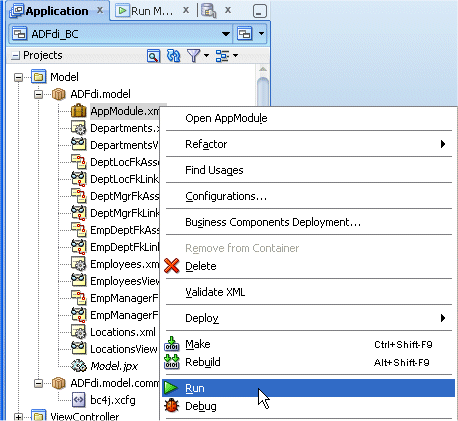
-
The Business Component Browser launches.
The Business Component Browser is invaluable for testing and debugging Business Components applications. Read more...
It is important to verify that the startup application is working before moving further with the tutorial. The browser enables you to test that the Business Components are working correctly and that the application can retrieve data from the database.
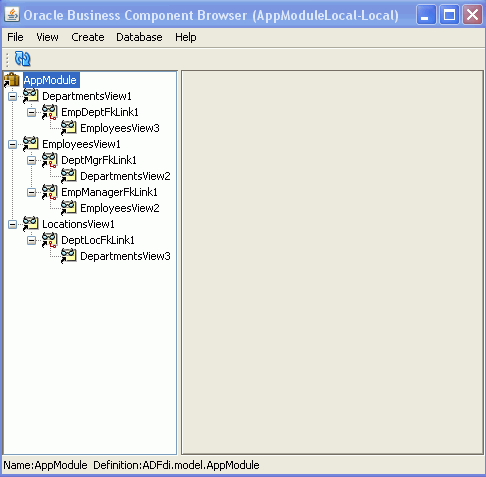
-
Double click the DepartmentsView1 node to display Departments data.
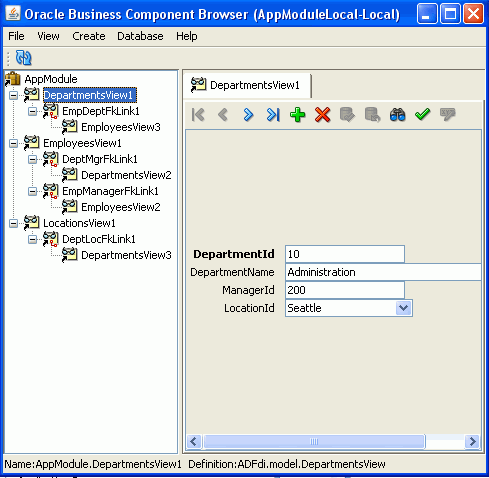
-
Click the right arrow to browse department information.
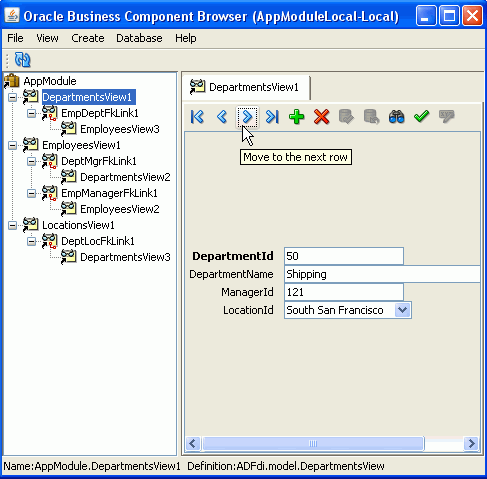
Close the Business Component Browser window.
-
Click Save All
 on the JDeveloper menu bar, or select File > Save All from the menu.
You have now set up your development environment and you are ready to start developing ADF Desktop Integration-enabled Excel workbooks.

 Expand all |
Hide all

 Part 2:
